

Make a floral statement using my Crochet Rose Granny Square Pattern! A great 3d granny square that is easy to understand and perfect for blankets, pillows and cardigans!
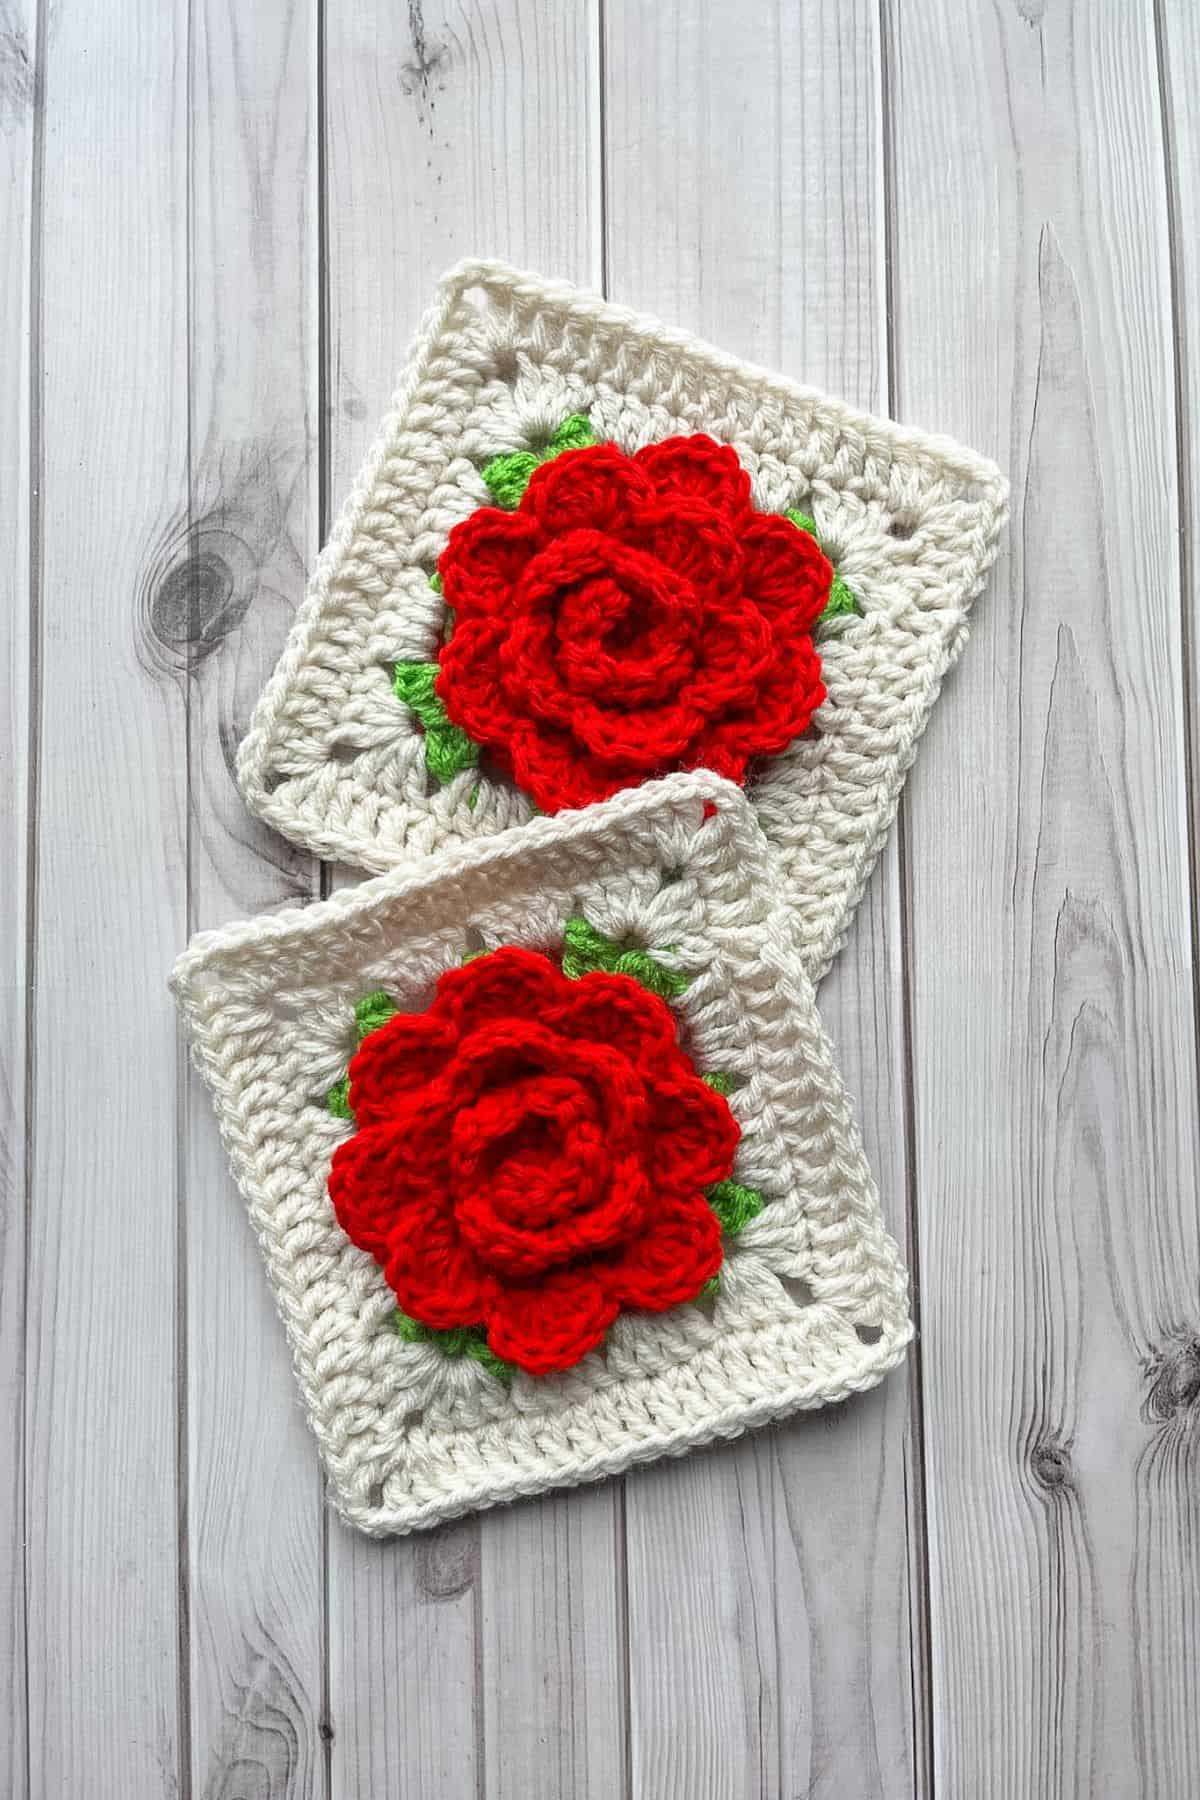
My husband and bbno$ was the inspiration to make this 3d flower granny square! My husband saw a photo of bbno$ wearing a rose granny square crochet cardigan that used 3d rose granny squares and plain solid granny squares and asked if I could make him something like that for him because it looked really comfy. I told him I was too busy to make a full cardigan, but I’ll make a rose crochet granny square pattern and add the cardigan to the back of my list of things to make so that way I can make it when I have free time.
Now the granny square rose crochet pattern isn’t the only thing my husband has helped inspire to make. I made the crochet football amigurumi pattern this year because he was super hyped for the SuperBowl and needed something to hold and squeeze during stressful moments.
I also made us matching keychains - a crochet onigiri keychain and an orange crochet cat keychain because we both like the show fruits Basket (iykyk).
If you are looking for simple granny square patterns for beginners, try my Beginner Crochet Granny Square Patterns post!
Now lets get started making this floral granny square pattern!
Jump to:
✏️ Things To Note:
- Finished Size: This crochet rose square measures approximately 6 inches wide, making it the perfect size to embellish just about anything. And it's big enough to stand out as a lovely floral accent for any project.
- Yarn & Hook: The free 3d flower granny square pattern works well with lightweight yarns like dk or sportweight, but you can always use chunky yarn too. Just remember, changes in yarn or hook size will affect the final dimensions of your crochet rose granny square.
- Skill Level: The crochet rose square pattern is easy, ideal for intermediate crocheters or anyone looking for a quick project. It uses only basic stitches and works up in under 20 minutes once you’ve got the hang of it.
🪡 Materials Needed
- Red Heart Yarn - Cherry Red
- Red Heart Yarn - Spring Green
- Red Heart Yarn - Aran
- 5mm Hook
- Tapestry needle
💭Abbreviations to Remember (US terms)
- Magic ring (mr)
- Chains (ch)
- Half double crochet (hdc)
- Double crochet (dc)
- Increase (inc)
- Slip stitch (sl st)
- Double crochet 2 together (dc2tog)
- Double crochet 3 together (dc3tog)
🍵Instructions for Crochet Rose Granny Square Pattern
For this rose granny square pattern, we will be working in rounds.
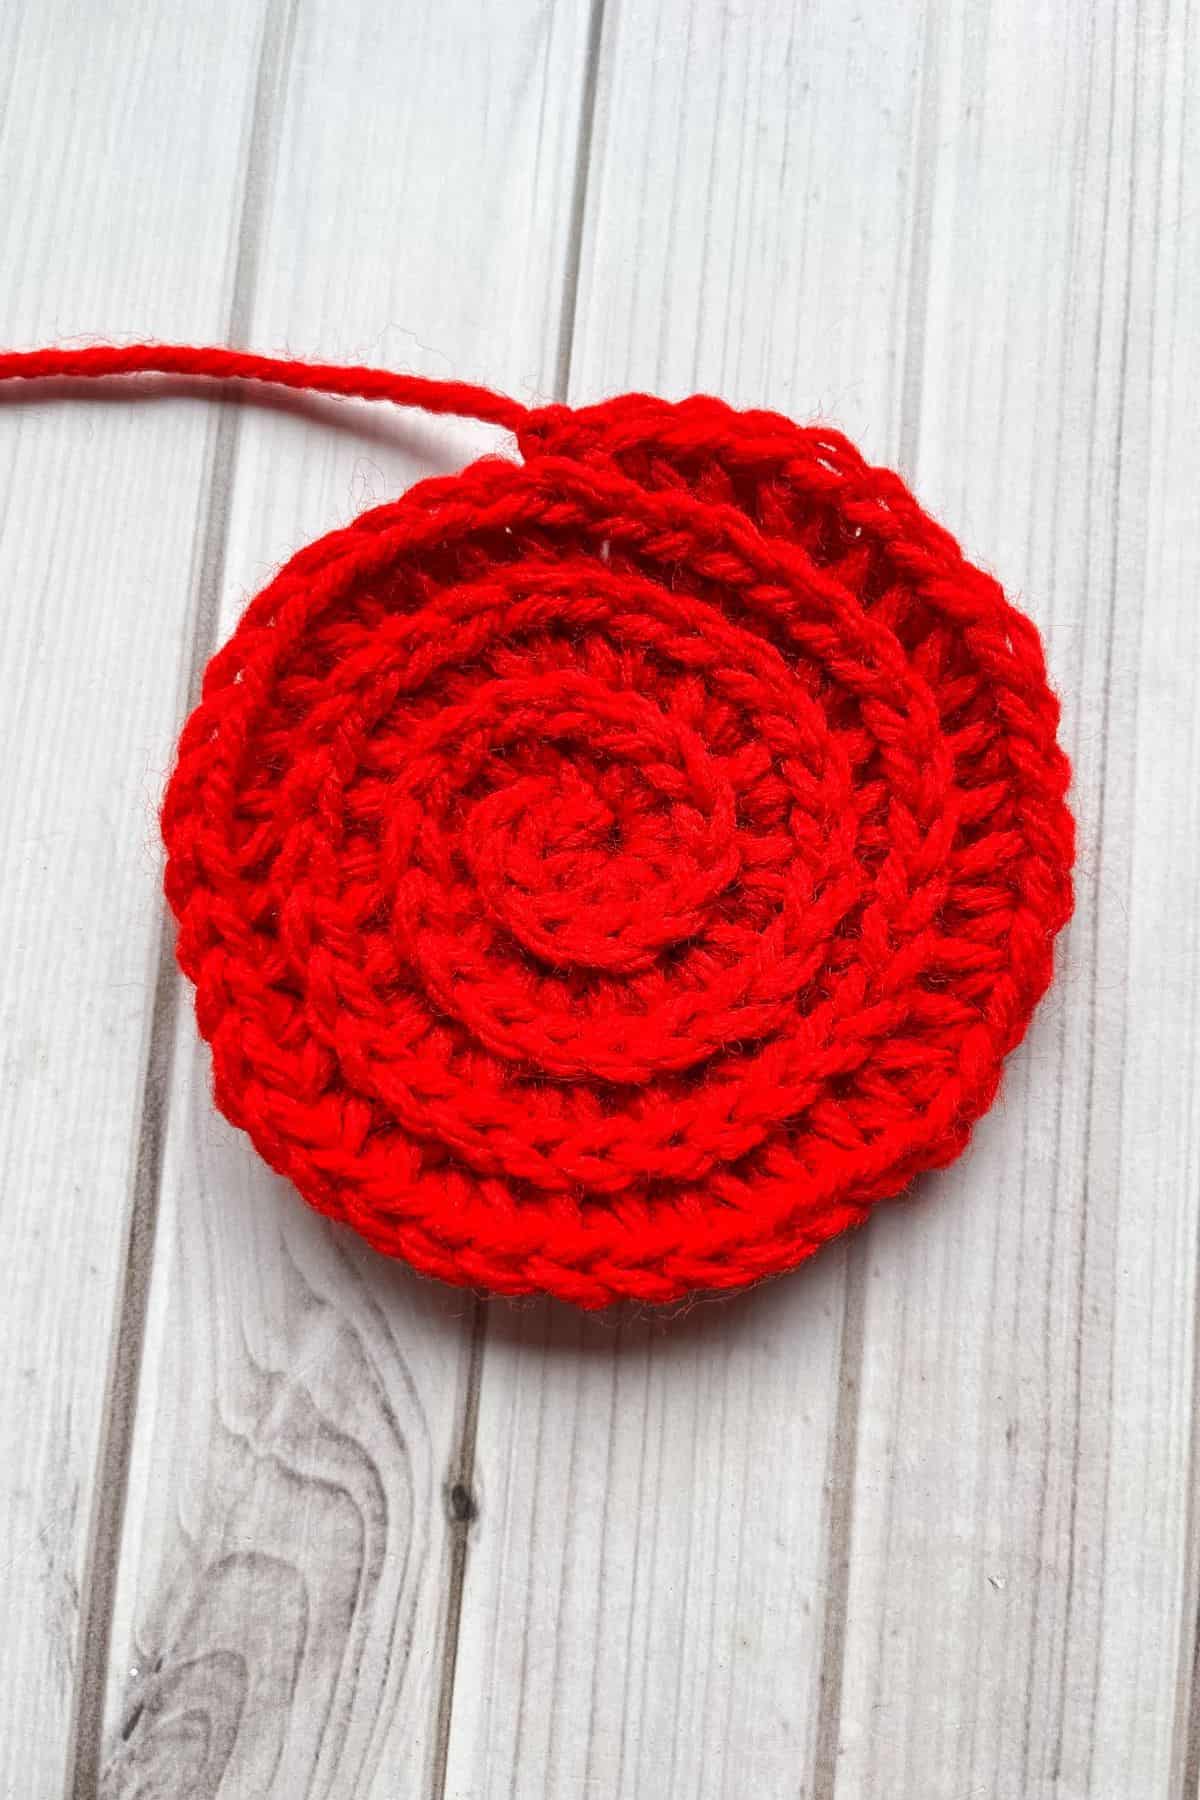
Round 1: With the red yarn make a mr, then hdc x10 into the circle and pull tight (10).
Round 2: Make a hdc inc into the 3RD LOOP of every stitch (20). The 3rd loop is the horizontal bar that can be found below the back loop of the stitch, this leaves both the top loops of the stitch visible.
Round 3: In the 3rd loop, make a hdc inc, hdc. Then repeat for the rest of the round (30).
Round 4: In the 3rd loop, make a hdc inc, hdc x2. Then repeat for the rest of the round (40). Make a sc into the next stitch and then a sl st. Fasten off the red yarn and weave in the tail.
Now we will start crocheting the petals.
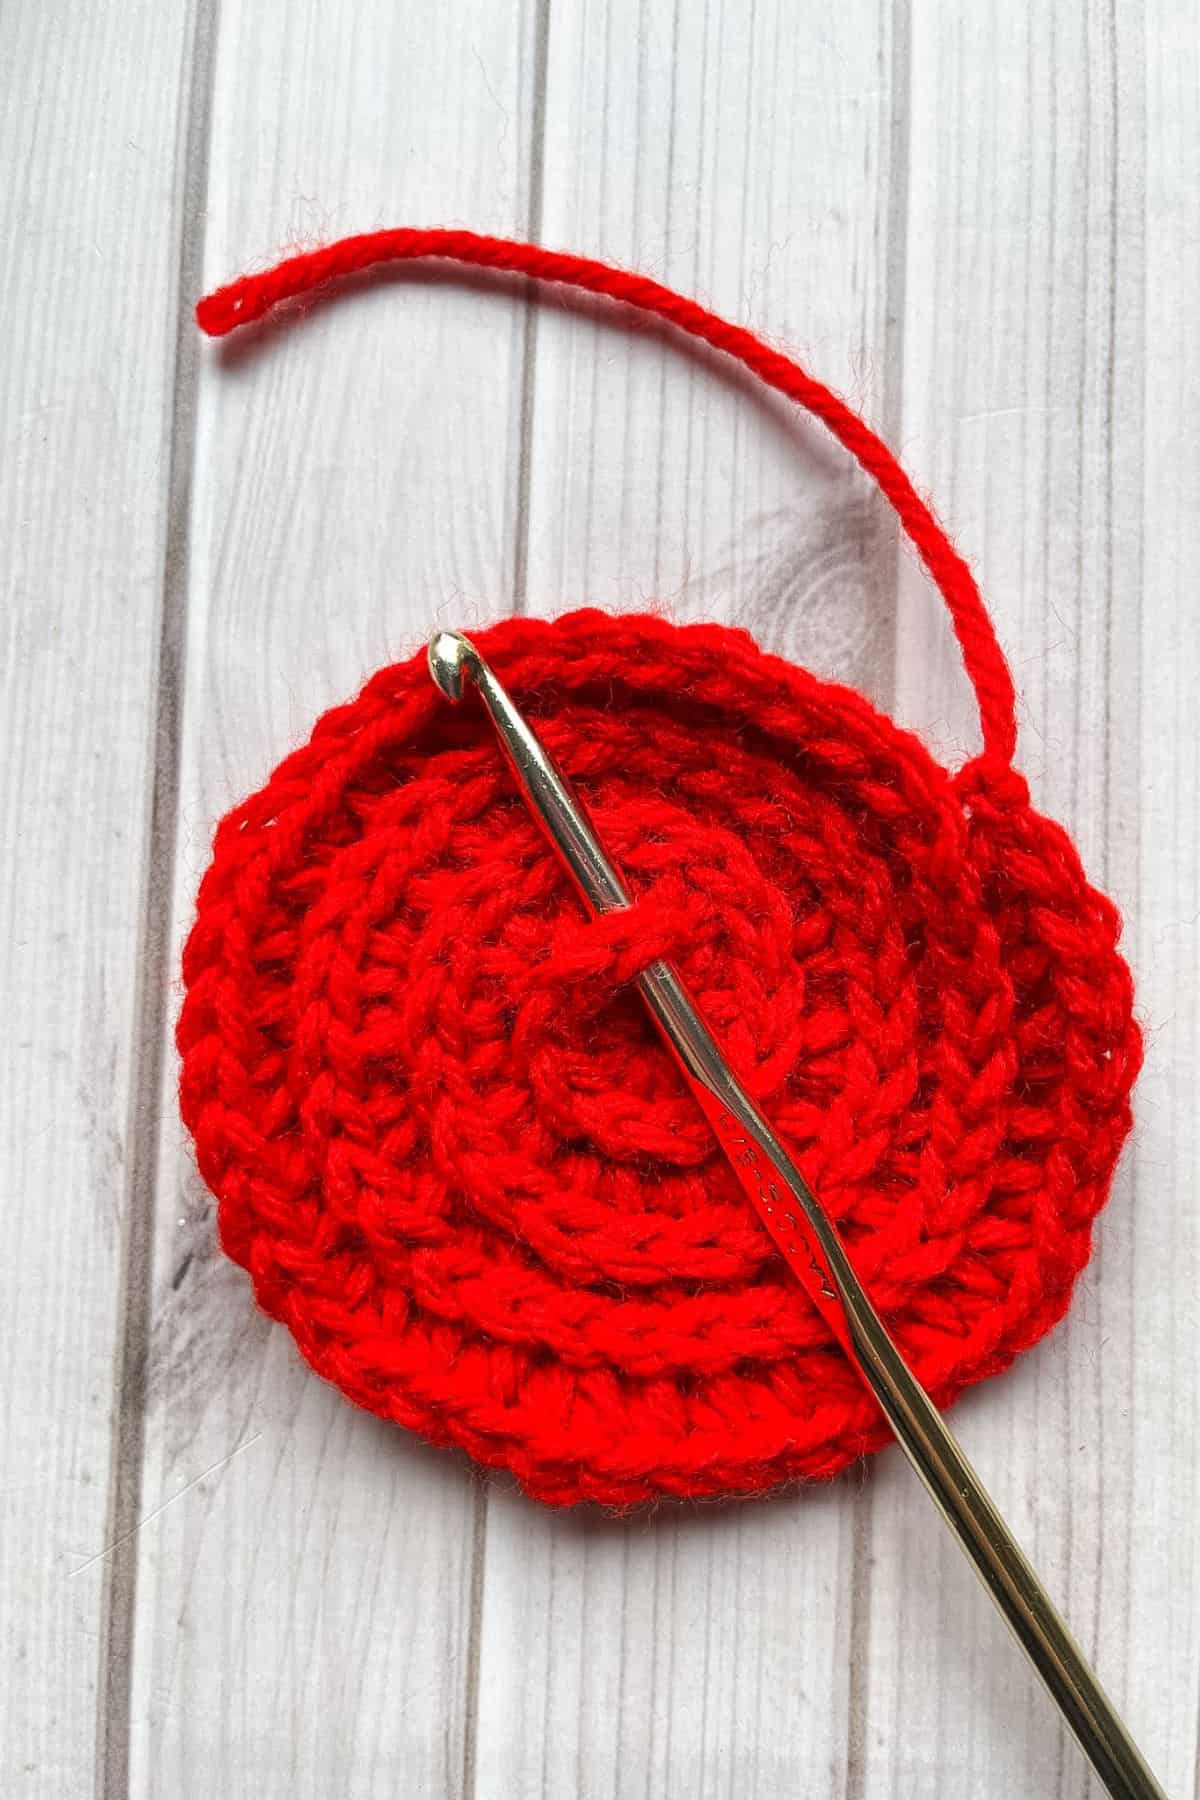
Step 1: Rejoin the red yarn to the center of the circle by going through the top loops that we left untouched.
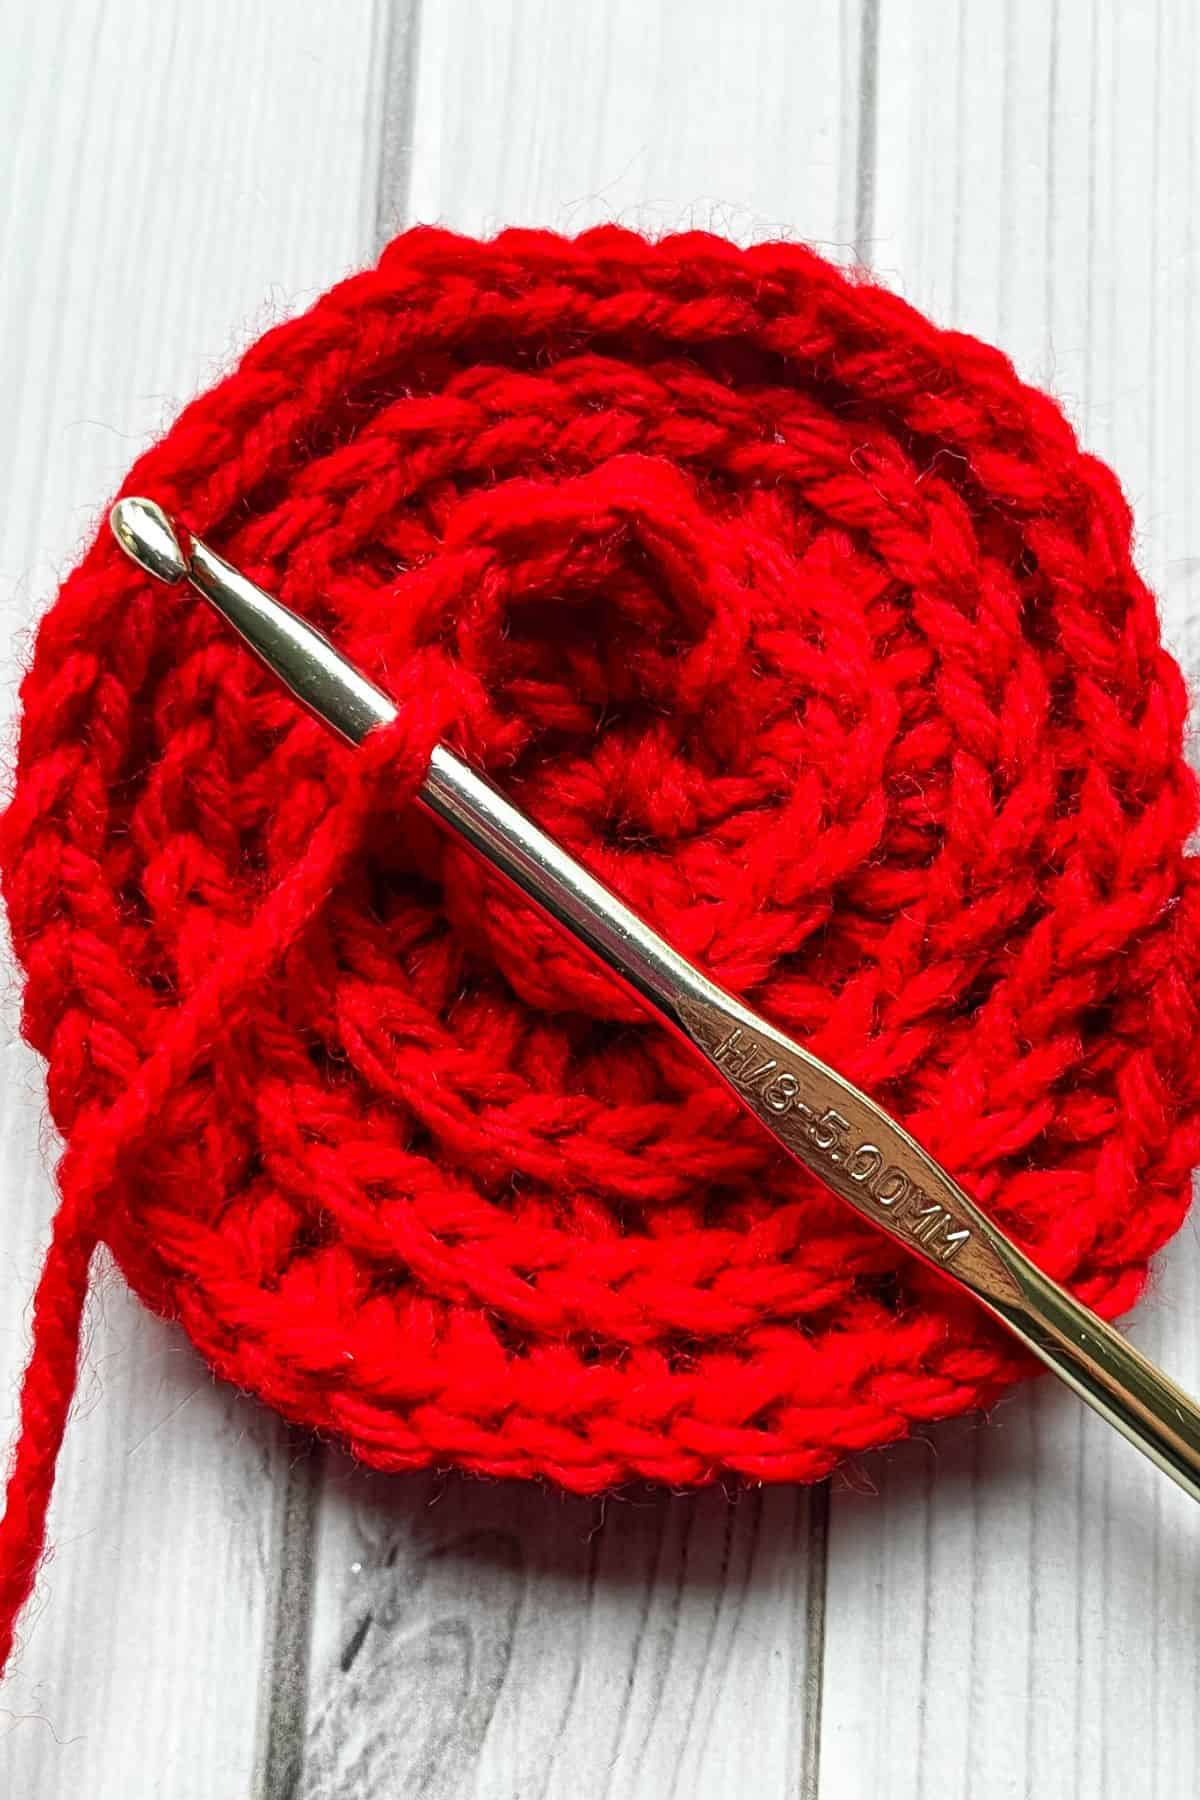
Step 2: Dc x3 into the next stitch.
Step 3: Sl st into the next stitch.
Repeat steps 2 and 3 2 MORE TIMES.
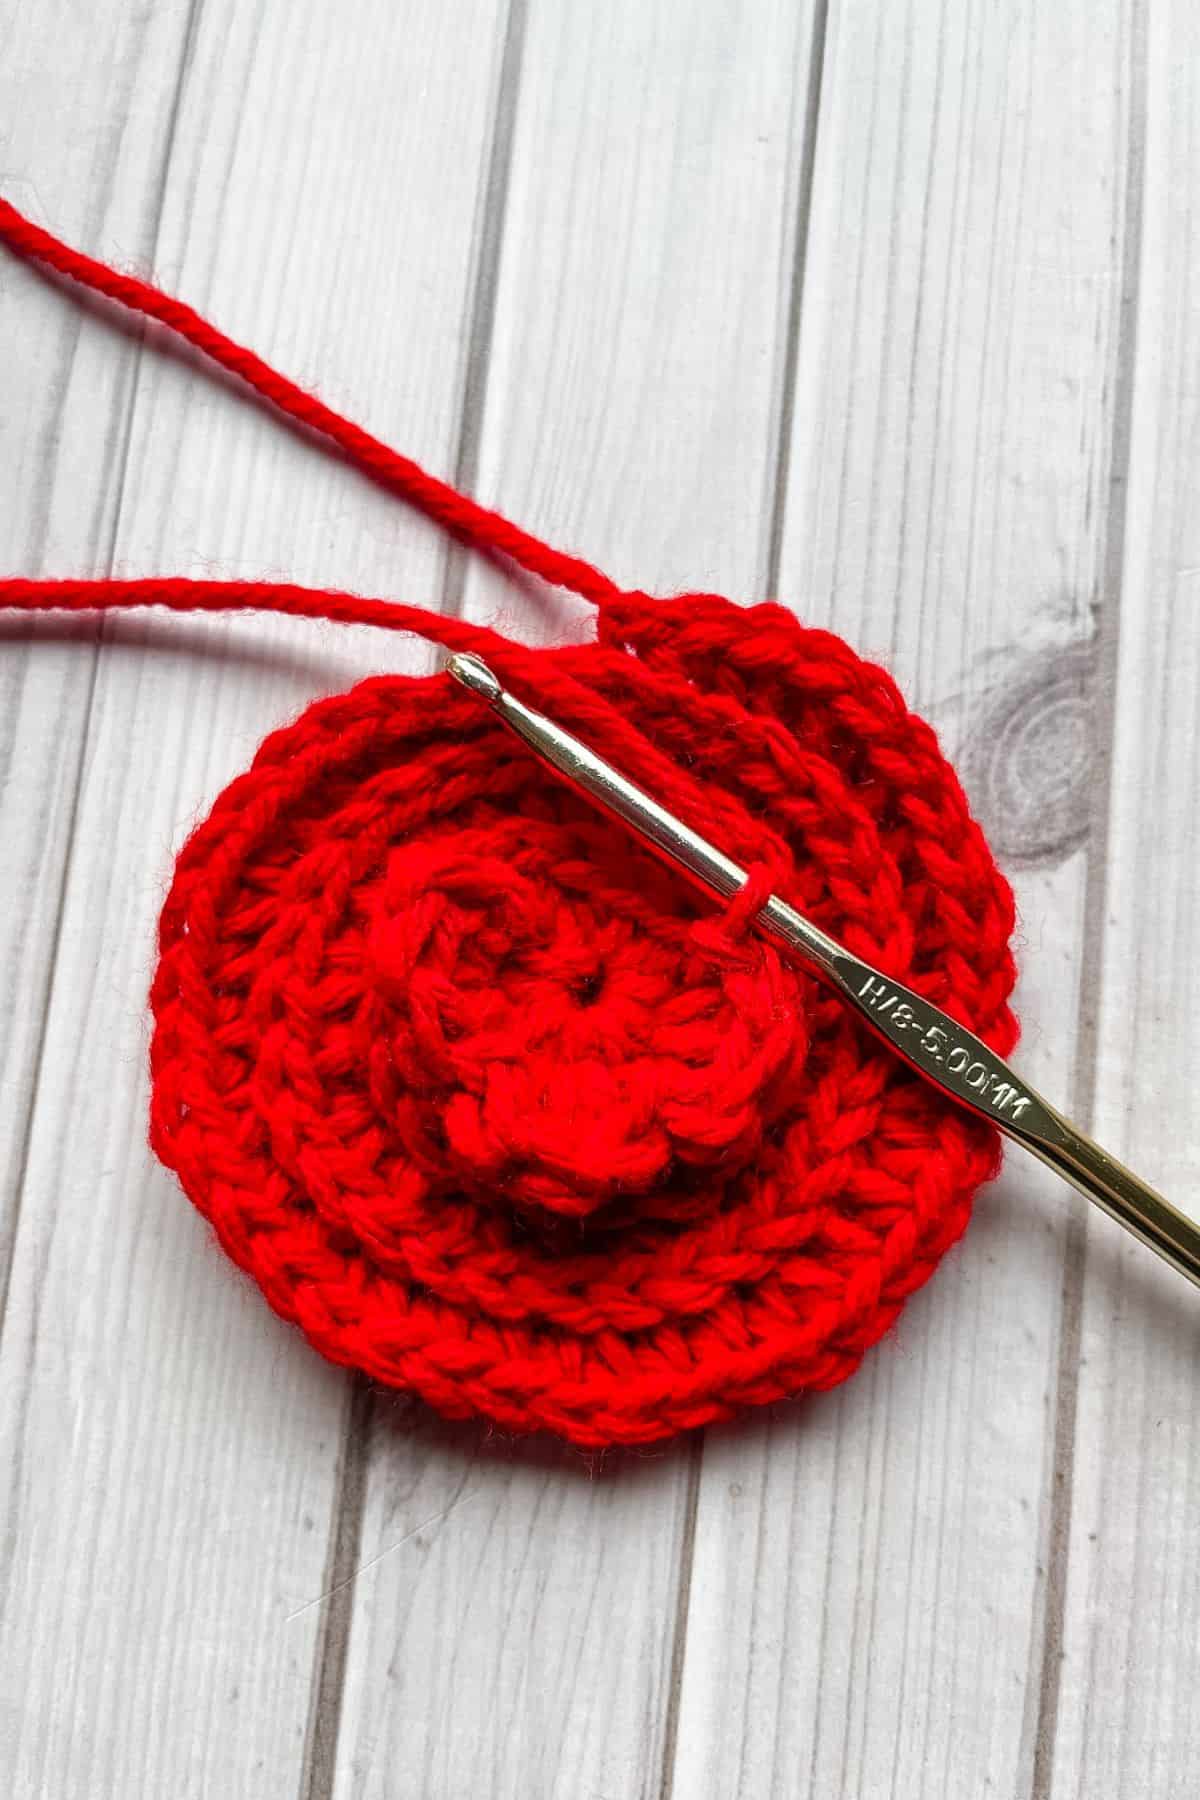
Step 4: Skip a stitch, dc x5 into the next stitch.
Step 5: Skip a stitch and sl st into the next stitch.
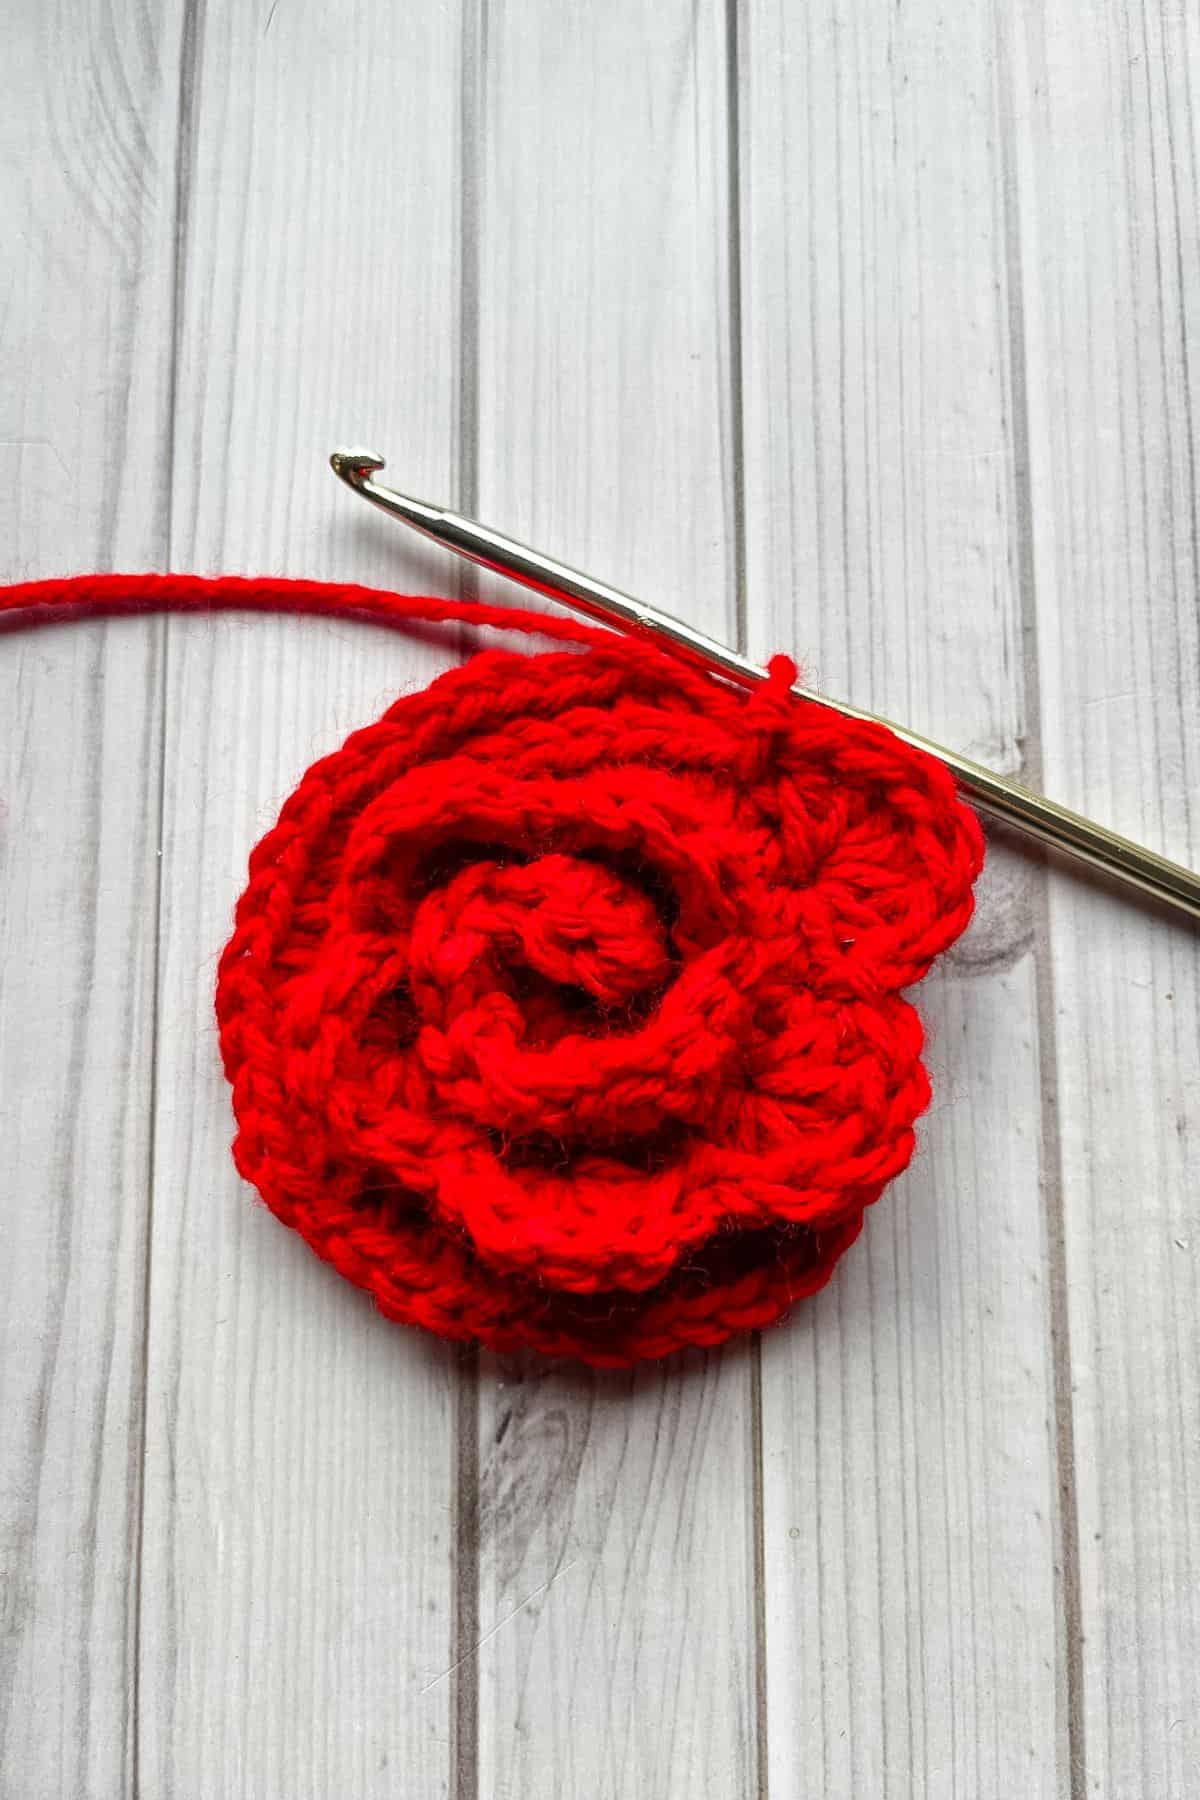
Repeat steps 4 and 5 5 MORE TIMES.
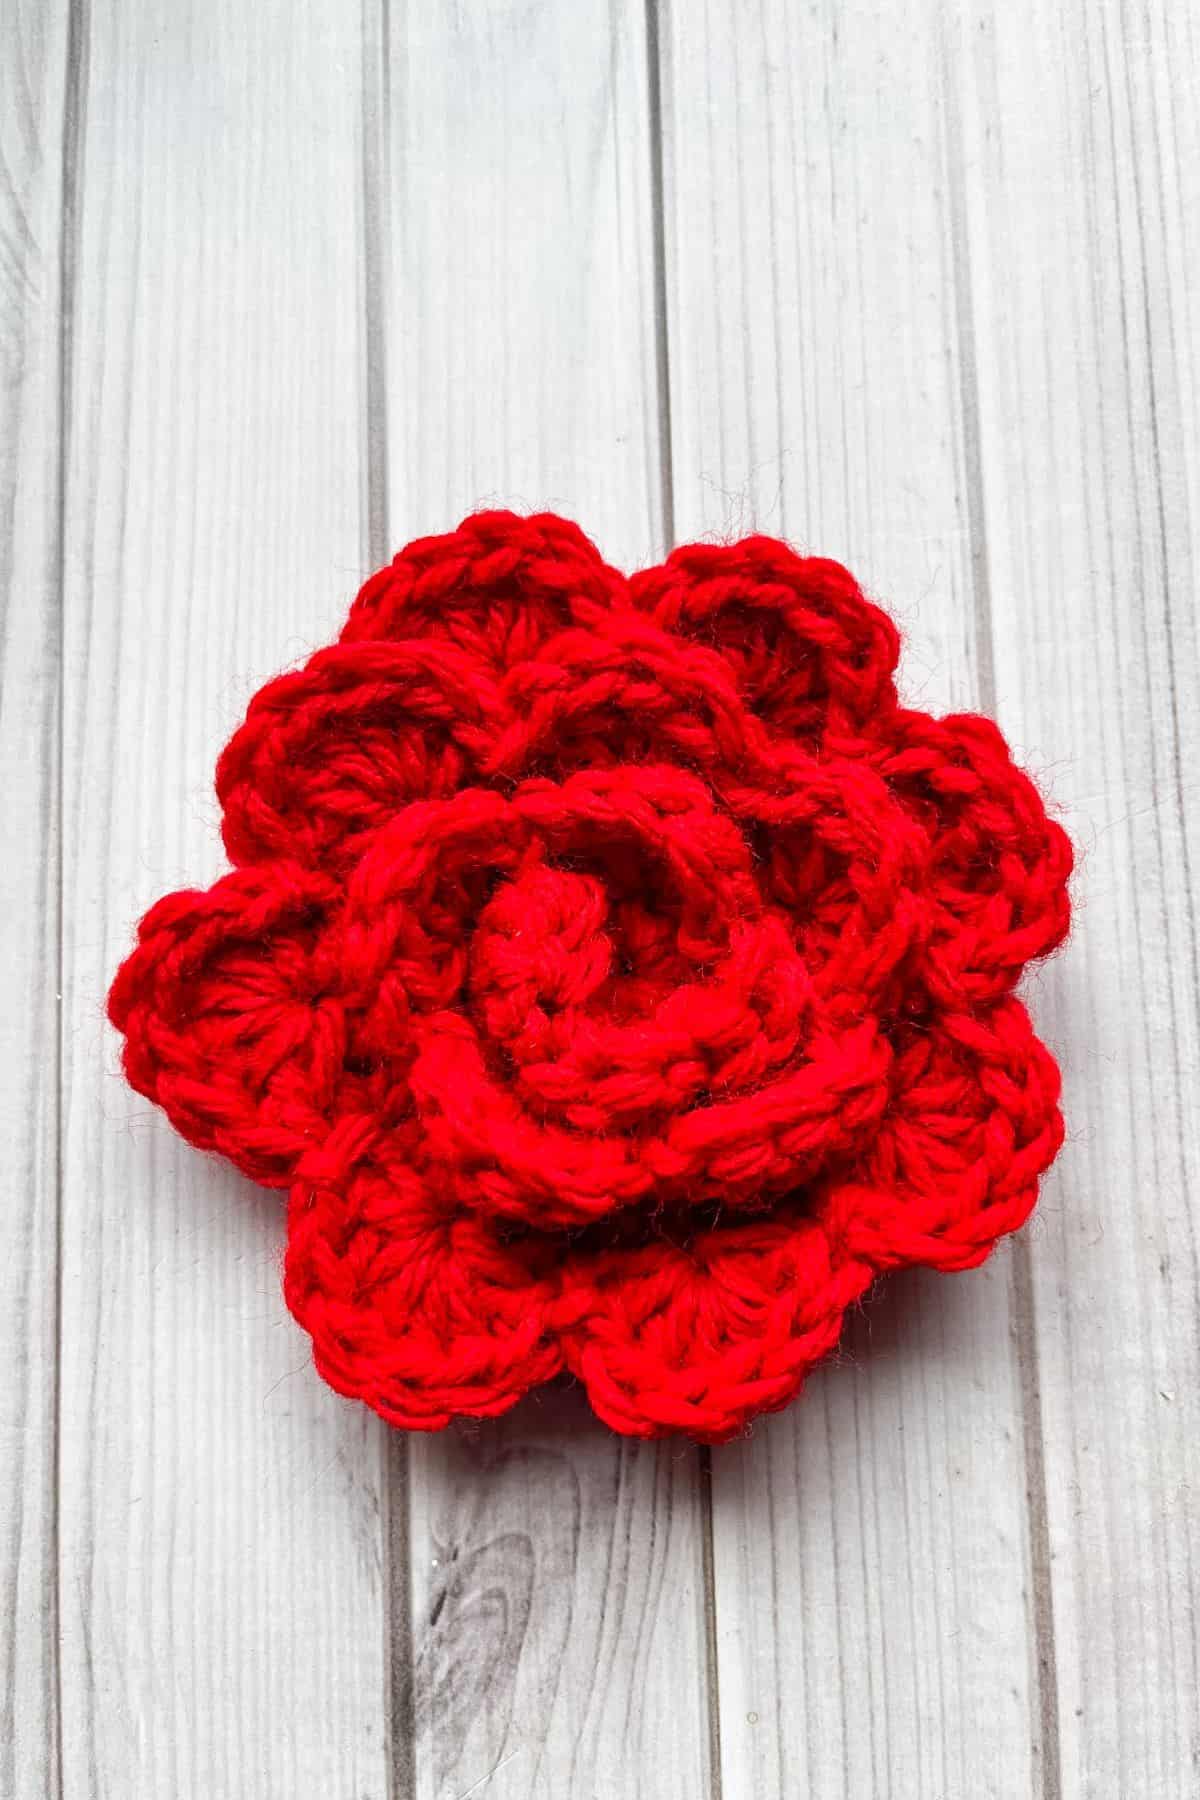
Step 6: Skip a stitch, dc x6 into the next stitch.
Step 7: Skip a stitch and sl st into the next stitch.
Repeat steps 6 and 7 7 MORE TIMES.
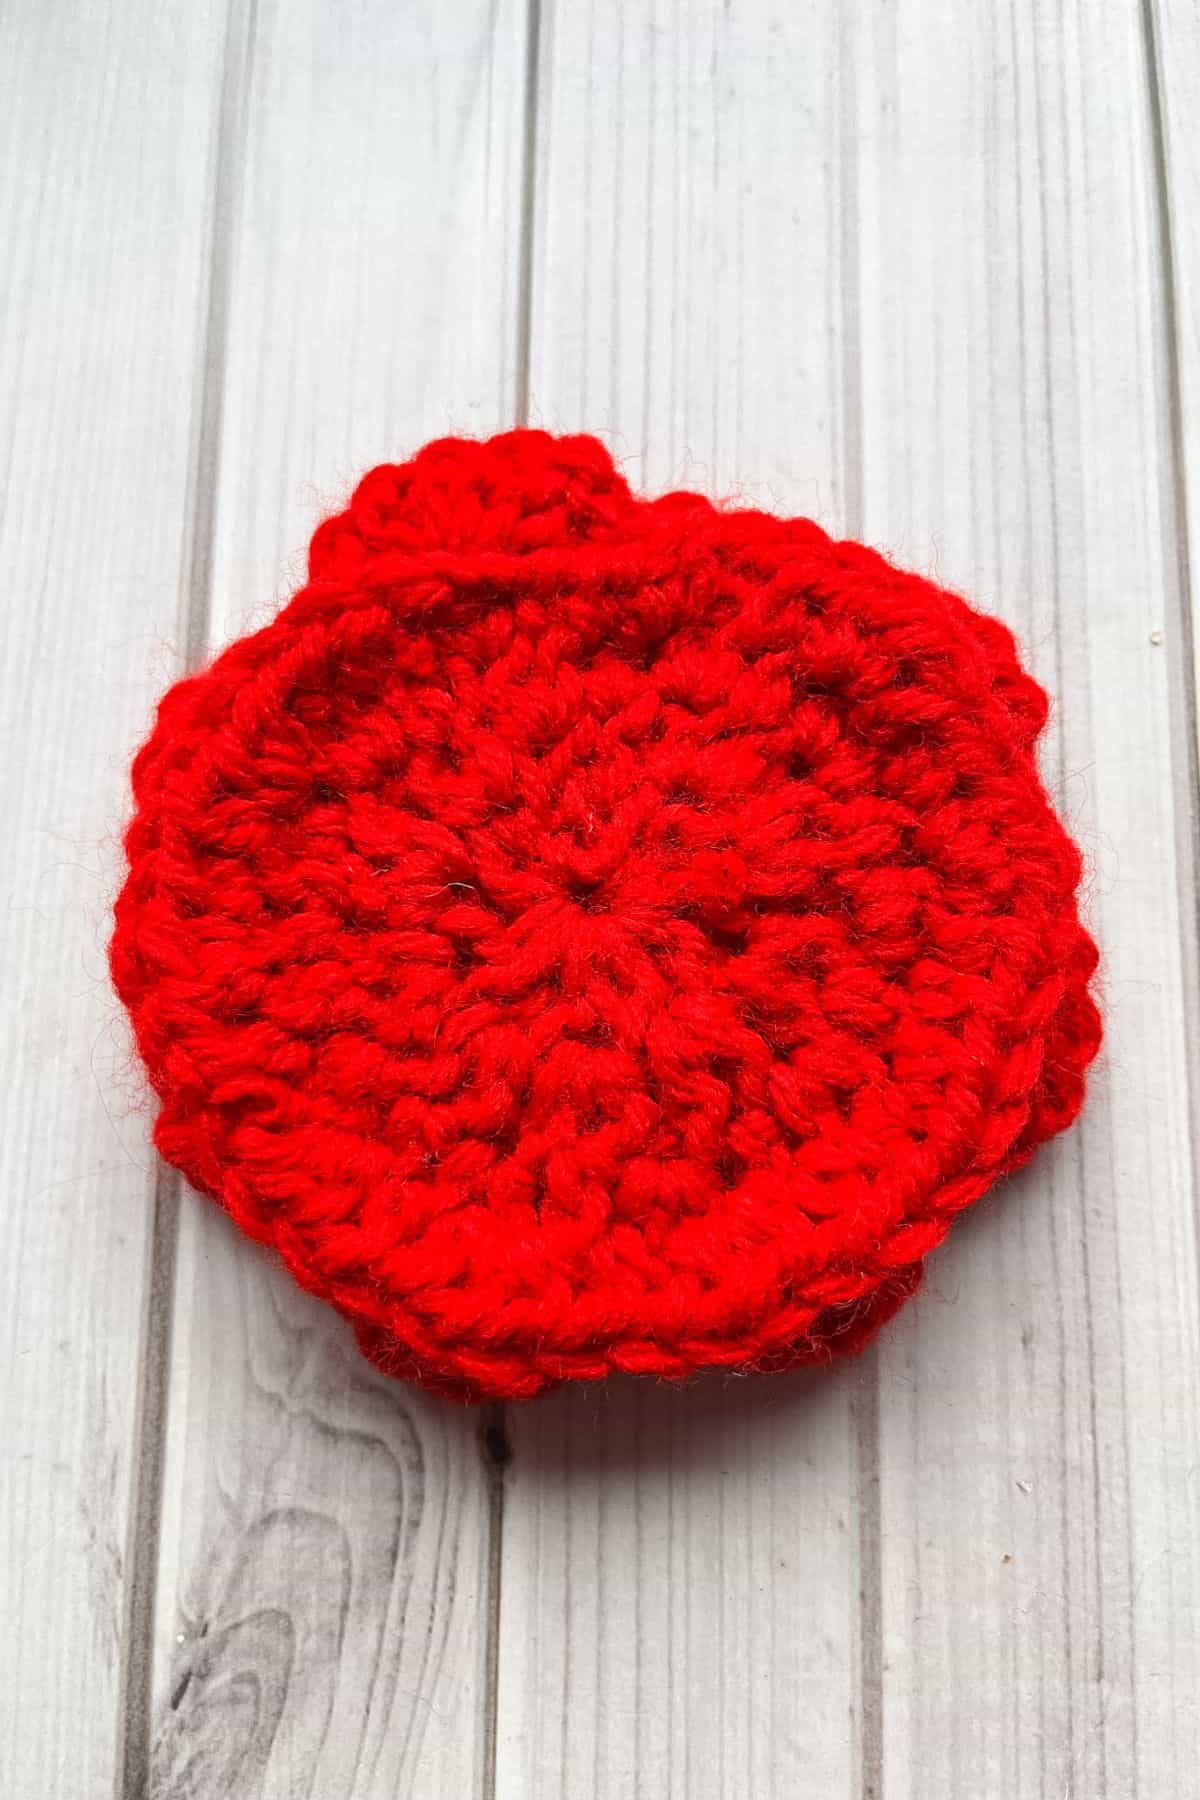
During the last few stitches if you are on the outer round, just use the front loop and leave the back loop alone for building your square.
Now the petal part of the rose granny square is finished. Fasten off the yarn and weave in the ends.
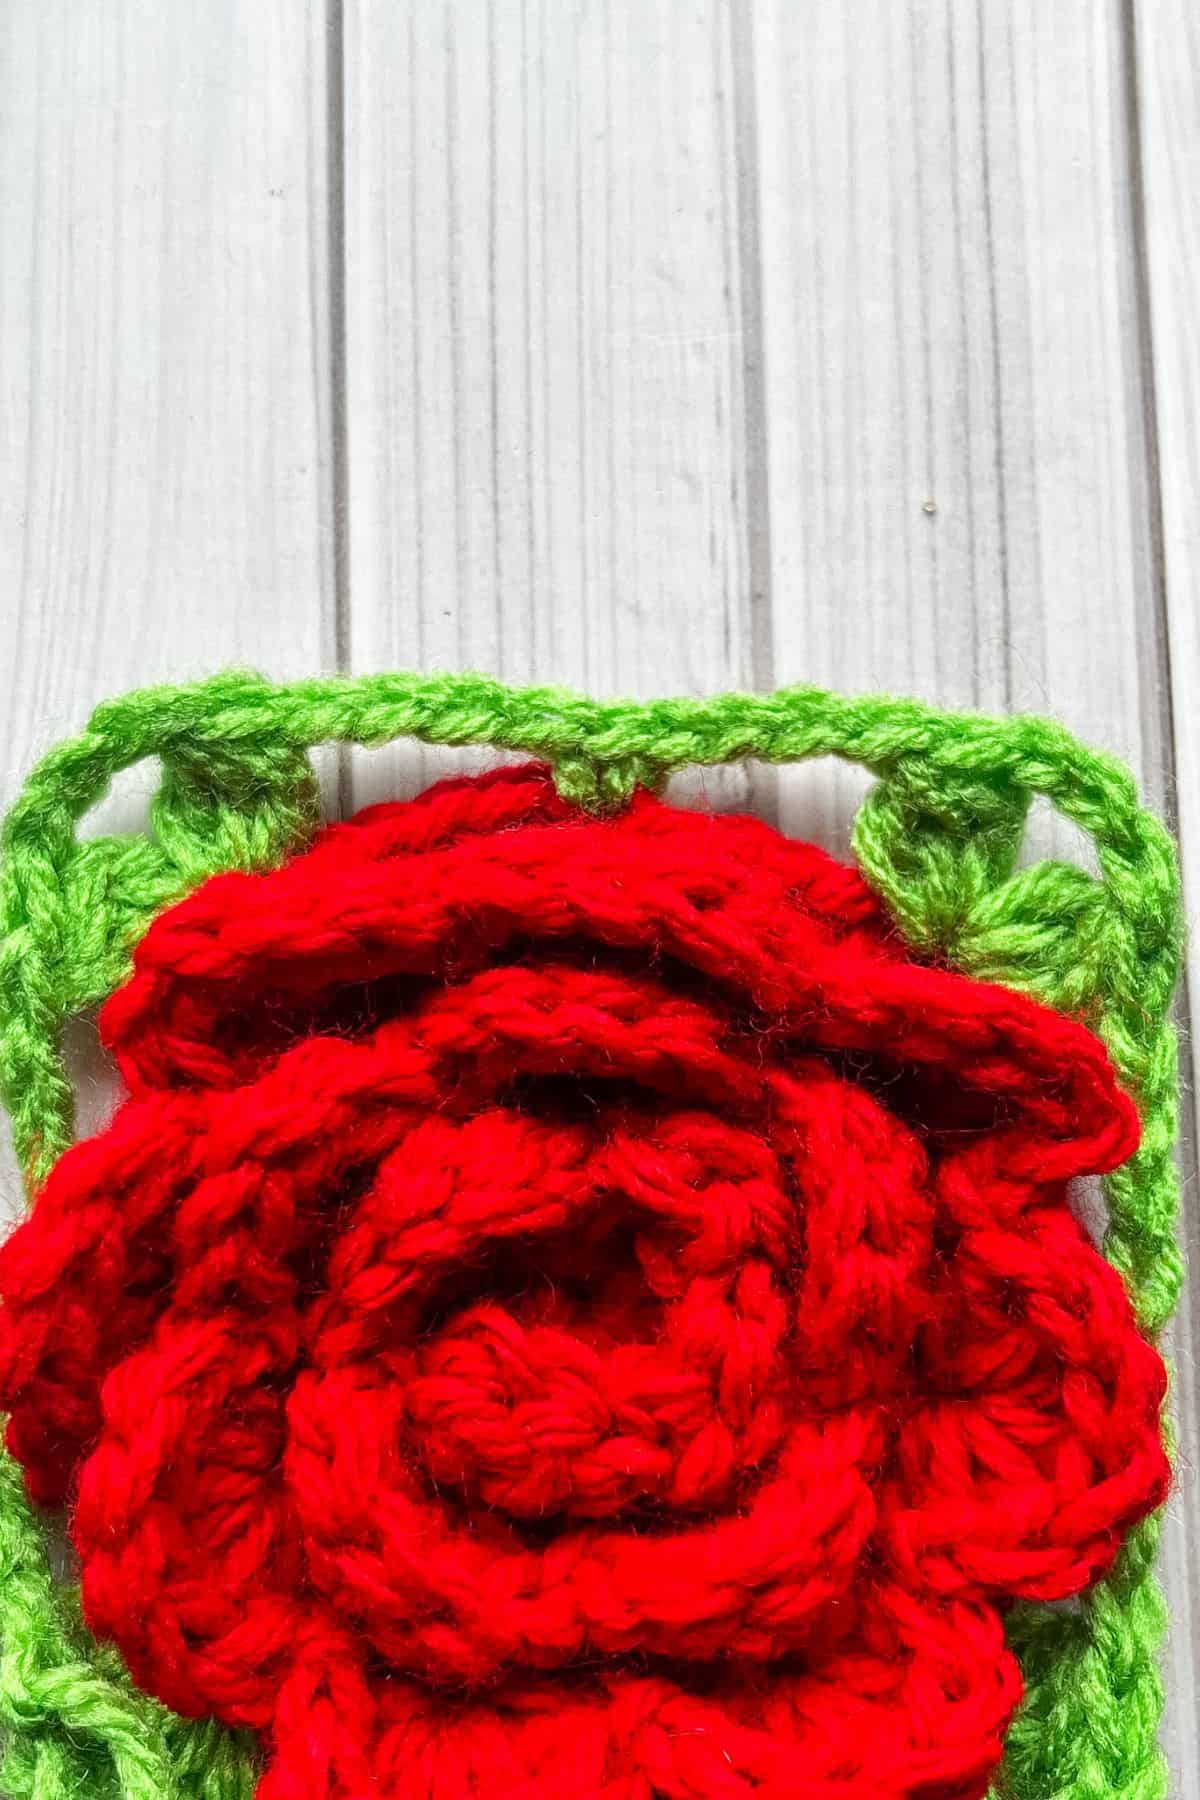
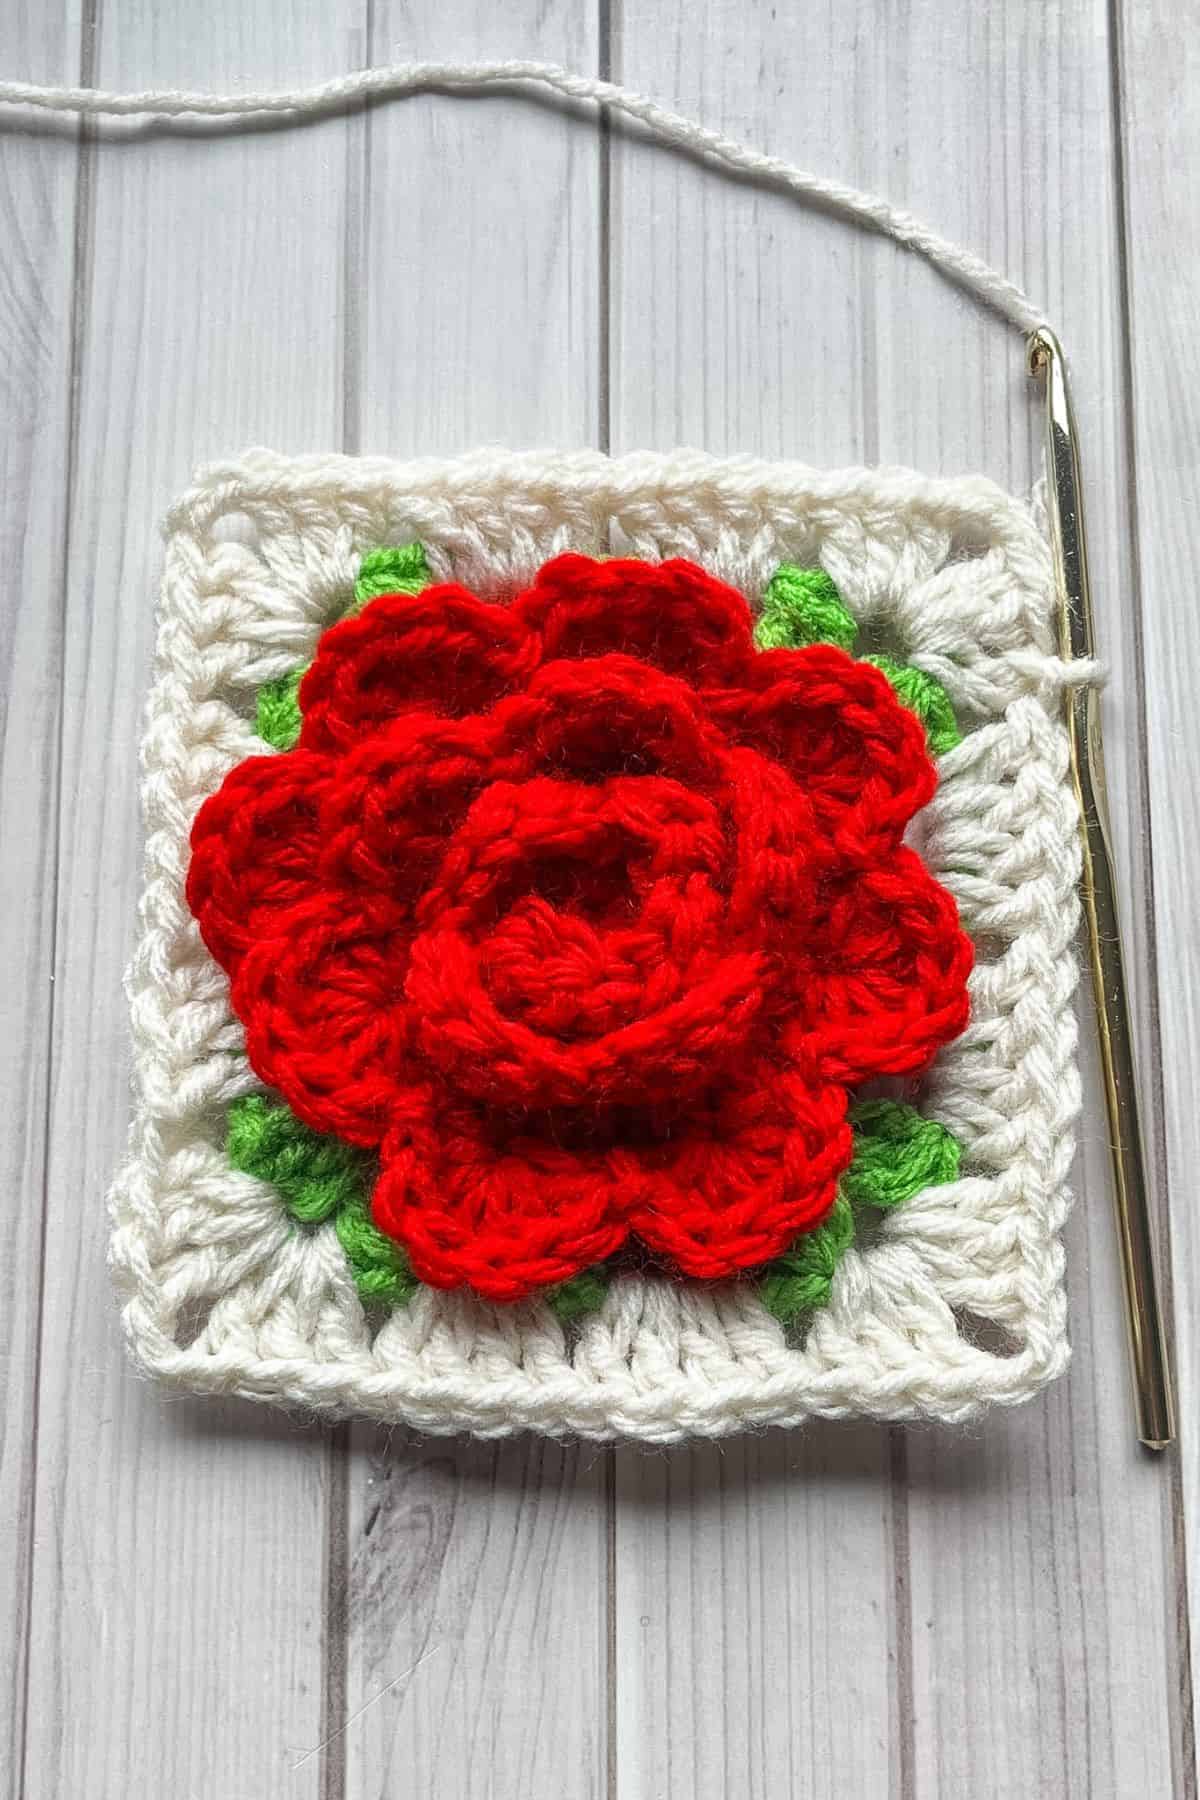
Round 5: Join the green yarn anywhere from round 4. Then in the same stitch: ch x2, dc2tog, ch x3, and dc3tog. *Then ch x4, skip 4 stitches, sc, ch x4, skip 4 stitches. In the next stitch: dc3tog, ch x3 and dc3tog. Repeat from *for the rest of the round, then after corner #4 ch x4, skip 4 stitches, sc, ch x4, skip 4 stitches. Finally sl st to the 1st cluster you made at the beginning of this round. Fasten off the green yarn and weave in the end.
Round 6: Join the cream yarn into the ch-3 space in between the cluster stitches in the corner. Ch x3 (counts as a dc), dc x2, ch x2, and dc x3 into the ch-3 space. Dc x4 into every ch-4 space, skip every sc, and for the other 3 corners: dc x3, ch x2, dc x3. When you get done with this round sl st to the beginning ch x3.
Round 7: Ch x3, dc in every stitch, then in the corners dc x2, ch x2, and dc x2. When you get done with the round, sl st to the beginning chains and fasten off the yarn. Weave in any ends you have.
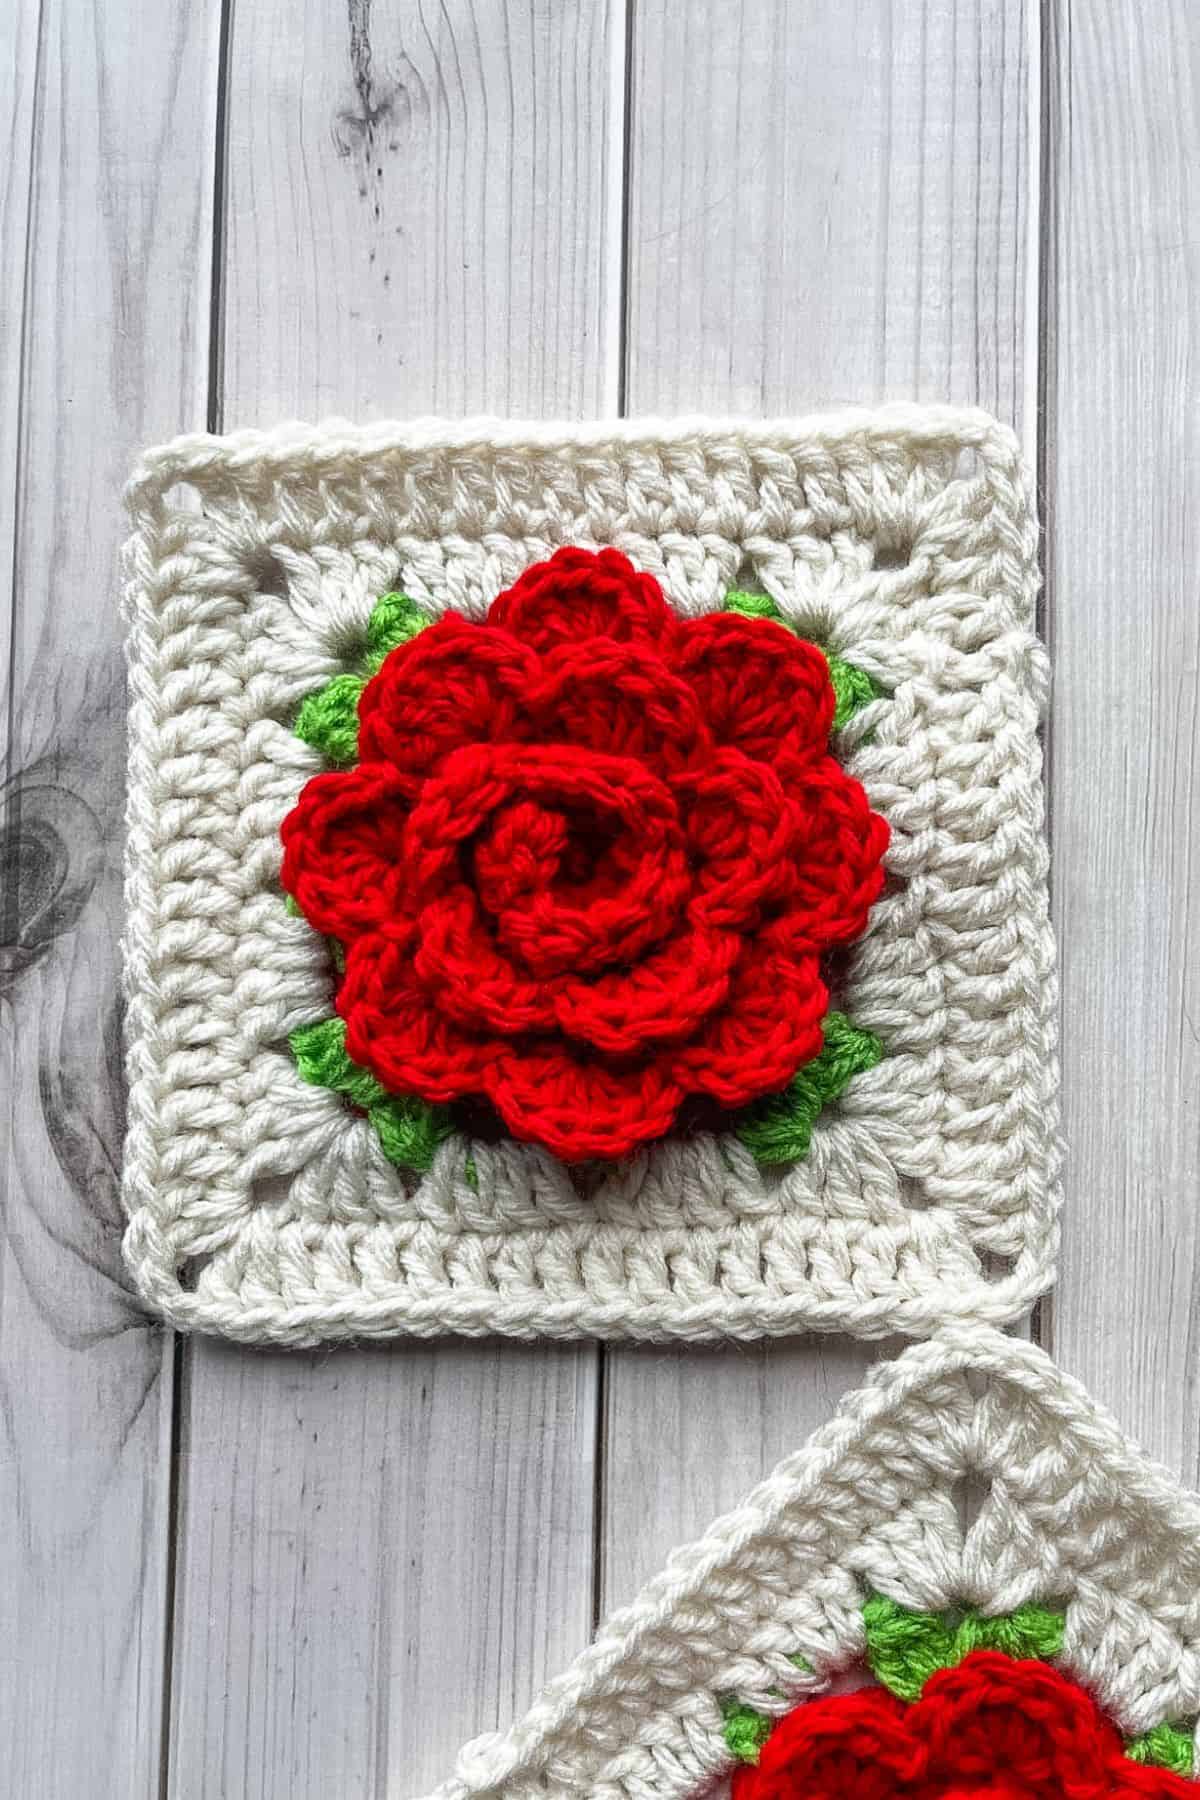
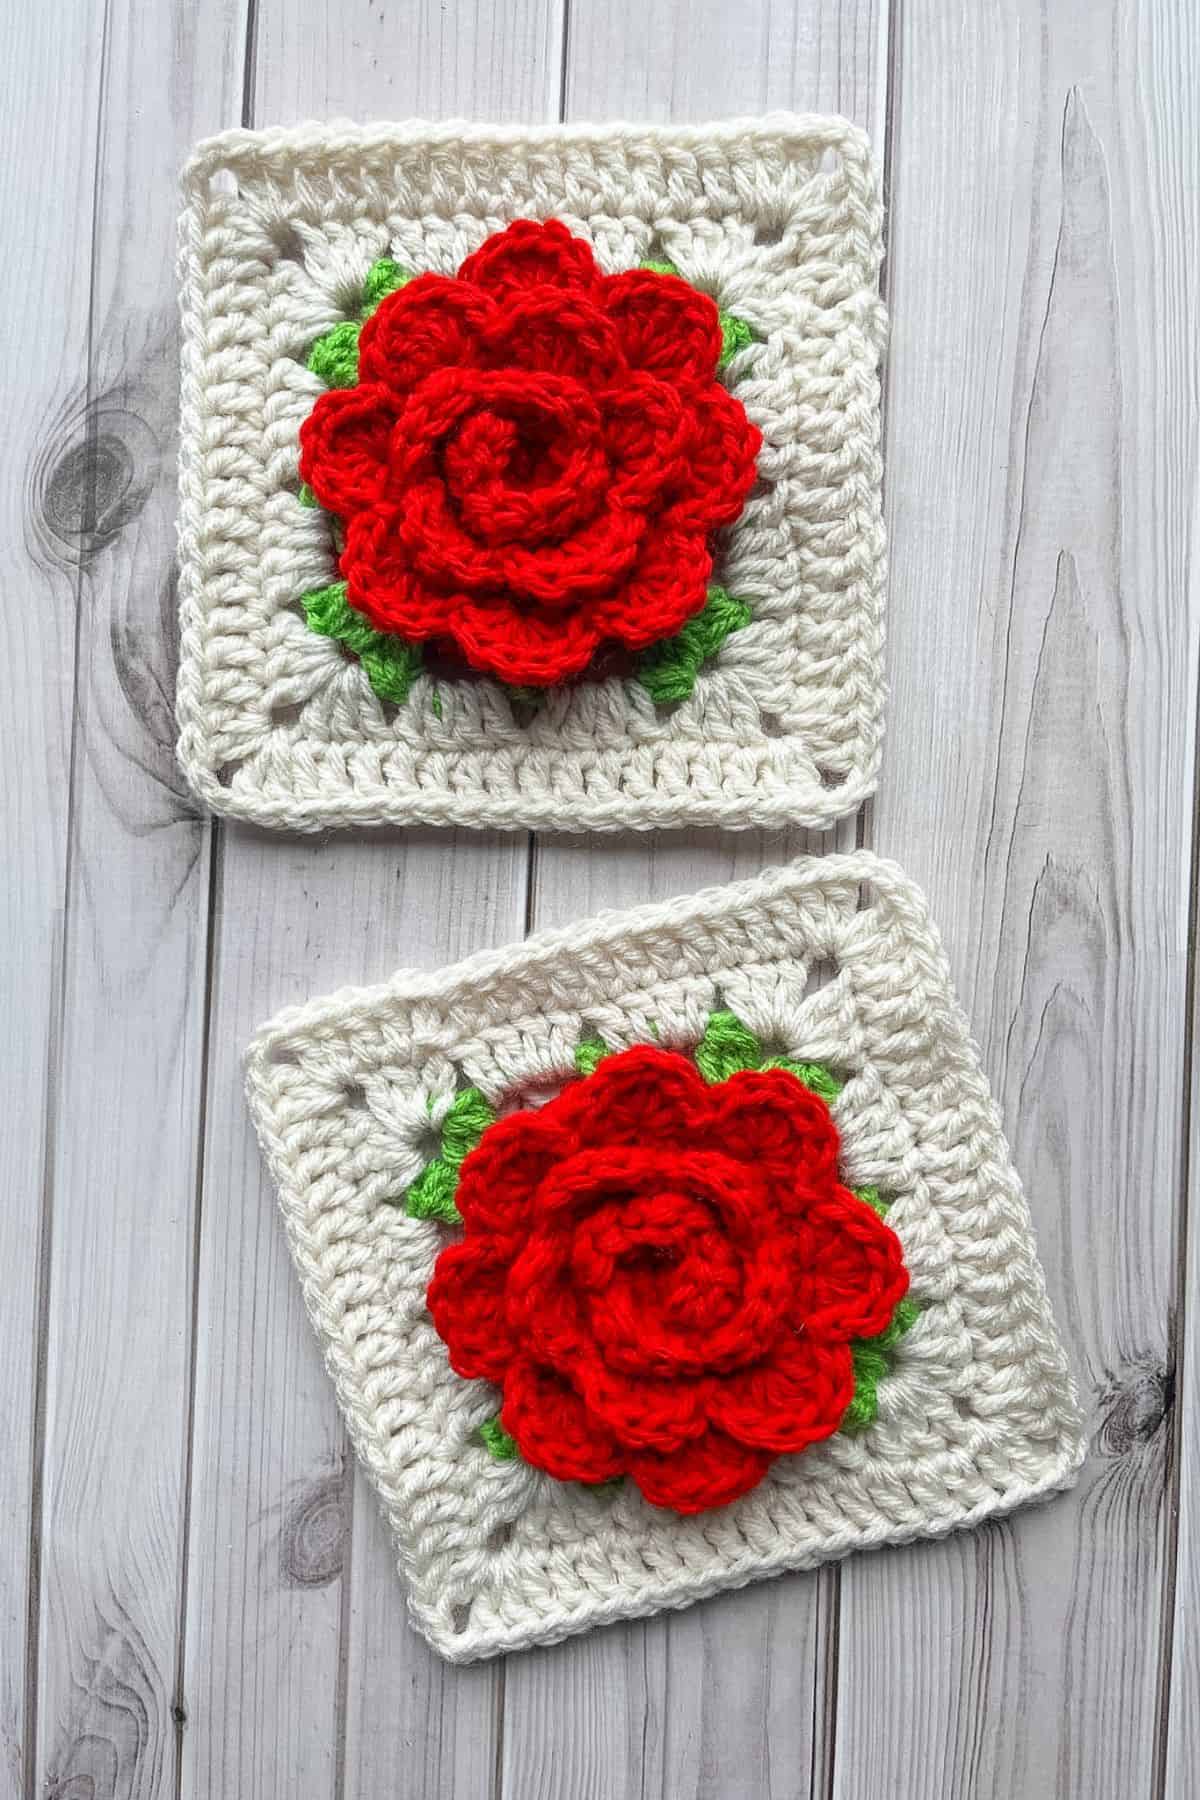
And now your rose granny square pattern is done! I always suggest blocking it before adding it to projects to give it a crisp look.
If you are looking for more crochet patterns for granny squares check out my crochet lemon granny square pattern for a summer fruity look, my crochet African flower granny square pattern for another floral square, or my moon granny square pattern for a celestial twist.
If you have leftover red yarn, check out my crochet ladybug pattern for a cute spring/summer amigurumi pattern.
Thanks for hooking along with me—there’s nothing better than seeing your creations bloom. Don’t forget to share your finished crochet rose granny square projects with me on social media or tag me in your posts.
🐌Expert Tips
- Block for Shape: After finishing your crochet rose granny square, lightly block it using a steam or wet blocking method to help it lay flat and hold its shape. This makes a big difference if you’re using it for something like a pillow or garment.
- Use a Tapestry Needle for Neat Finishing: Weave in your ends carefully with a blunt-tipped tapestry needle to keep the back tidy.
- Secure It Well: There are many ways to join granny squares so use what's best for you and your project. I personally like to use either the mattress stitch for sewing or single crocheting if I want a visible line separating the squares.
🧵Pattern FAQs
Yes! One of the best things about this granny square crochet rose pattern is that it works with any yarn weight. Just adjust your hook size accordingly. Bulky yarn makes a thick, cozy granny square perfect for blankets, while lighter yarns create a soft and breathable one best for scarves.
I would say that this pattern is perfect for advanced beginners to intermediate. The stitches are simple, but the construction can be a bit complex.
You can make blankets, cardigans, hats, pillowcases, purses and bags - you name it!
🧶More Crochet Flower Patterns
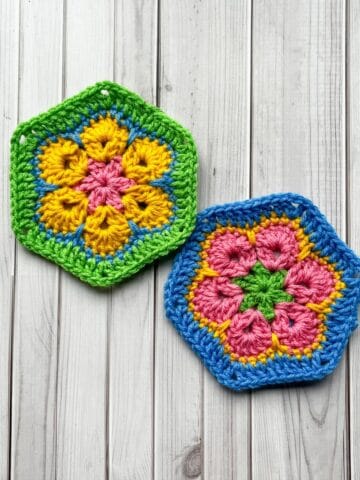
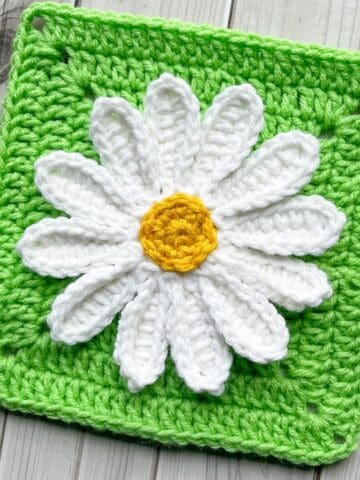
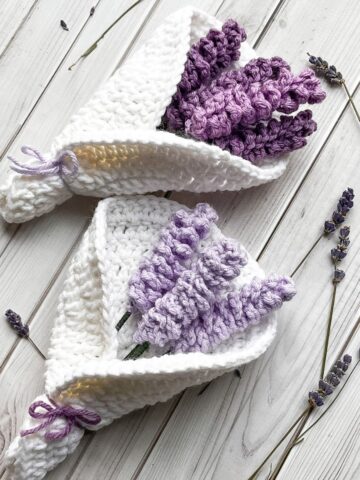

If you tried this Crochet Rose Granny Square Pattern (or any other pattern on my website), please let me know how it went in the 📝 comments below. I'd love to hear from you!
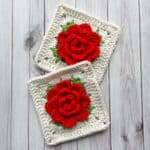
Crochet Rose Granny Square Pattern
Materials
Abbreviations (US terms)
- Magic ring - mr
- Chains - ch
- Half double crochet - hdc
- Double crochet - dc
- Increase - inc
- Slip stitch - sl st
- Double crochet 2 together (dc2tog)
- Double crochet 3 together (dc3tog)
Notes
- Finished Size: This crochet rose square measures approximately 6 inches wide, making it the perfect size to embellish just about anything. And it's big enough to stand out as a lovely floral accent for any project.
- Yarn & Hook: The free 3d flower granny square pattern works well with lightweight yarns like dk or sportweight, but you can always use chunky yarn too. Just remember, changes in yarn or hook size will affect the final dimensions of your crochet rose granny square.
- Skill Level: The crochet rose granny square pattern is easy, ideal for intermediate crocheters or anyone looking for a quick project. It uses only basic stitches and works up in under 20 minutes once you’ve got the hang of it.
Instructions
- For this rose granny square pattern, we will be working in rounds.
- Round 1: With the red yarn make a mr, then hdc x10 into the circle and pull tight (10).
- Round 2: Make a hdc inc into the 3RD LOOP of every stitch (20). The 3rd loop is the horizontal bar that can be found below the back loop of the stitch, this leaves both the top loops of the stitch visible.
- Round 3: In the 3rd loop, make a hdc inc, hdc. Then repeat for the rest of the round (30).
- Round 4: In the 3rd loop, make a hdc inc, hdc x2. Then repeat for the rest of the round (40). Make a sc into the next stitch and then a sl st. Fasten off the red yarn and weave in the tail.
- Now we will start crocheting the petals.
- Step 1: Rejoin the red yarn to the center of the circle by going through the top loops that we left untouched.
- Step 2: Dc x3 into the next stitch.
- Step 3: Sl st into the next stitch.
- Repeat steps 2 and 3 2 MORE TIMES.
- Step 4: Skip a stitch, dc x5 into the next stitch.
- Step 5: Skip a stitch and sl st into the next stitch.
- Repeat steps 4 and 5 5 MORE TIMES.
- Step 6: Skip a stitch, dc x6 into the next stitch.
- Step 7: Skip a stitch and sl st into the next stitch.
- Repeat steps 6 and 7 7 MORE TIMES. During the last few stitches if you are on the outer round, just use the front loop and leave the back loop alone for building your square.
- Now the petal part of the rose granny square is finished. Fasten off the yarn and weave in the ends.
- Round 5: Join the green yarn anywhere from round 4. Then in the same stitch: ch x2, dc2tog, ch x3, and dc3tog. *Then ch x4, skip 4 stitches, sc, ch x4, skip 4 stitches. In the next stitch: dc3tog, ch x3 and dc3tog. Repeat from *for the rest of the round, then after corner #4 ch x4, skip 4 stitches, sc, ch x4, skip 4 stitches. Finally sl st to the 1st cluster you made at the beginning of this round. Fasten off the green yarn and weave in the end.
- Round 6: Join the cream yarn into the ch-3 space in between the cluster stitches in the corner. Ch x3 (counts as a dc), dc x2, ch x2, and dc x3 into the ch-3 space. Dc x4 into every ch-4 space, skip every sc, and for the other 3 corners: dc x3, ch x2, dc x3. When you get done with this round sl st to the beginning ch x3.
- Round 7: Ch x3, dc in every stitch, then in the corners dc x2, ch x2, and dc x2. When you get done with the round, sl st to the beginning chains and fasten off the yarn. Weave in any ends you have.
- And now your rose granny square pattern is done! I always suggest blocking it before adding it to projects to give it a crisp look.

Leave a Reply