

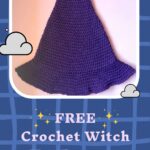
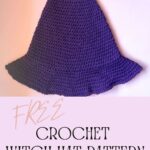
A simple Crochet Witch Hat Pattern that you can make in a few hours! Perfect for last-minute Halloween costumes!

Making a hat from my free crochet witch hat pattern is actually quite simple! Thanks to its straightforward design, it offers endless opportunities to customize and add your own flair.
For example, after making a solid dark purple crochet witch hat, my child asked for a striped orange and purple one, which inspired me to create a kid-sized version of the pattern.
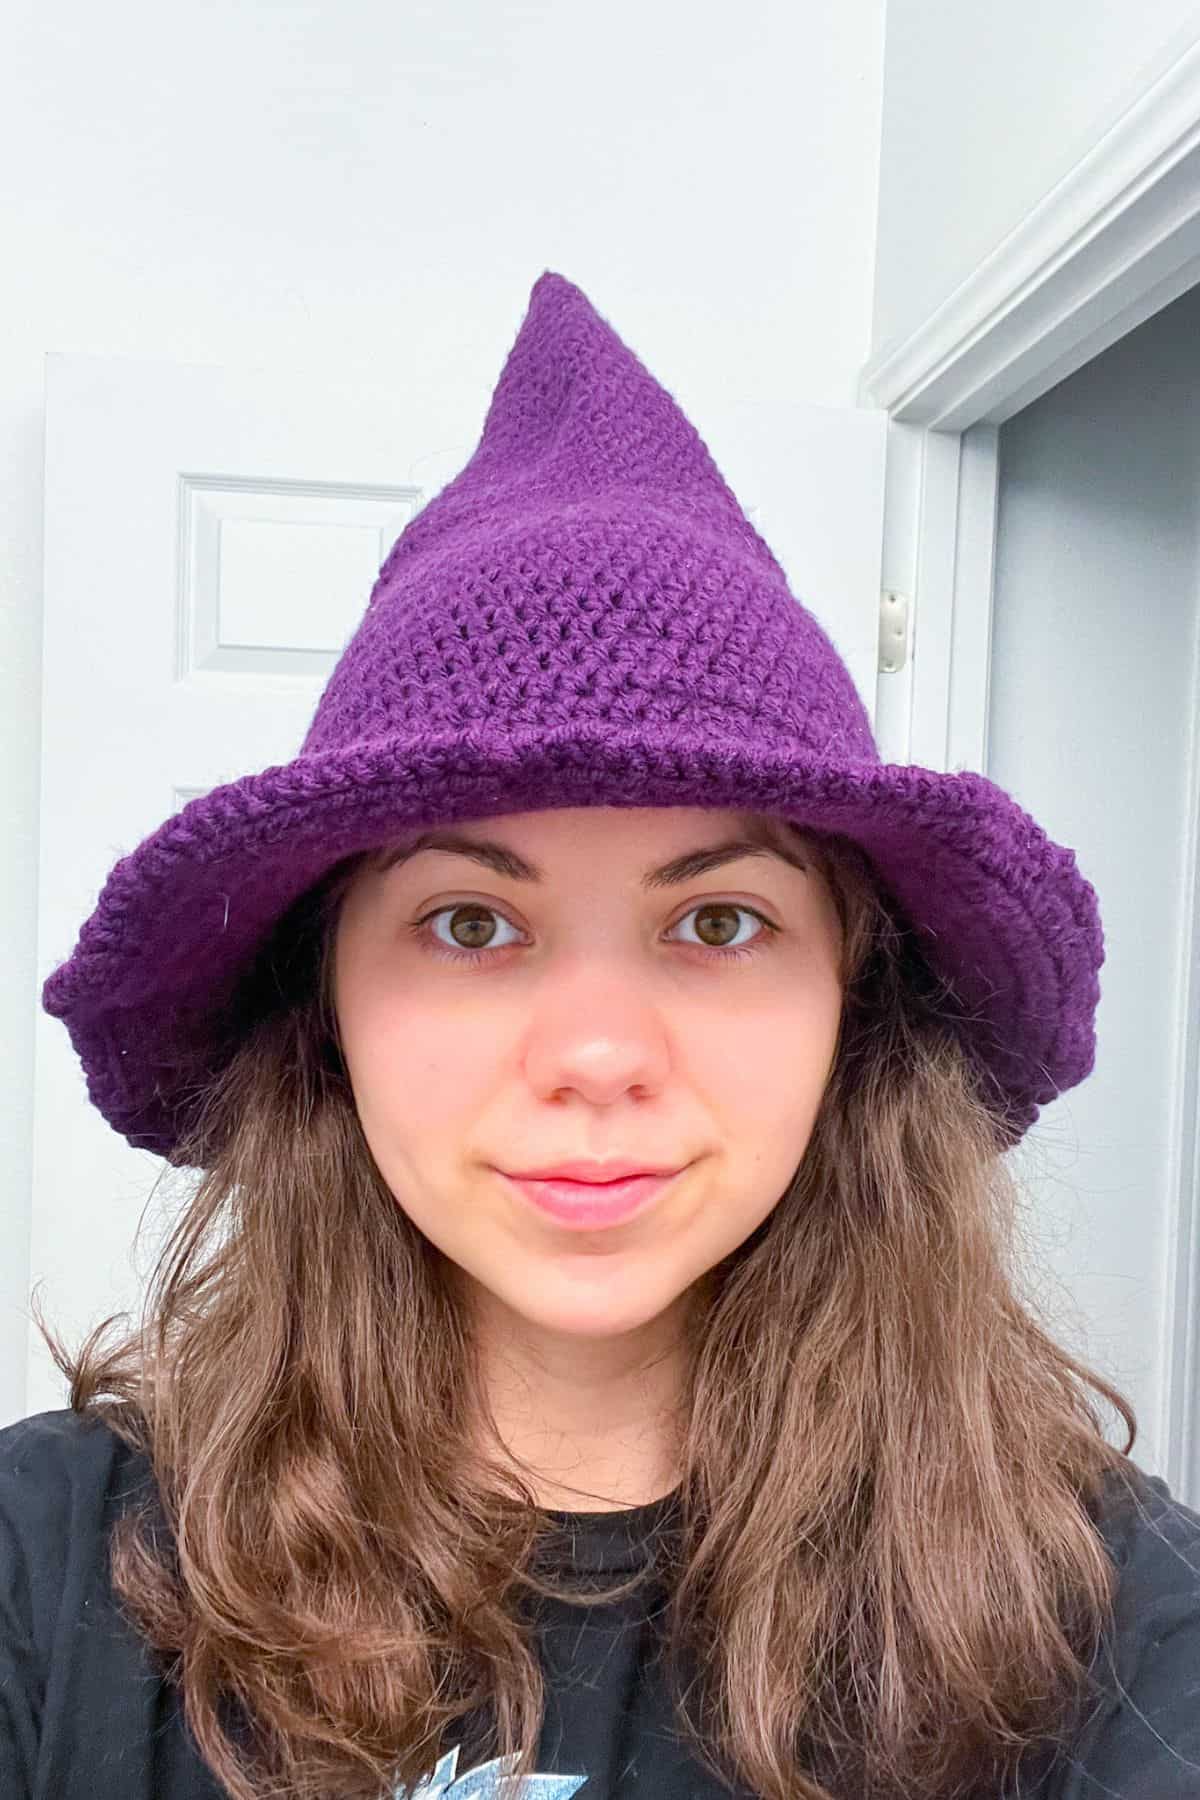
I love a good pointy crochet witch hat because you can make them stay pointy, or bend the top over to create a slouchy witch hat.
My pattern is different from other crochet witch hat patterns because it features a crab stitch along the brim's edge, which creates a thicker finished edge which allows the hat brim to stay rigid instead of floppy.
So, let's begin!
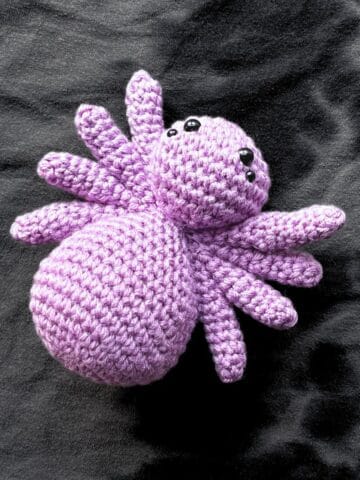
If you are looking for other spooky Halloween patterns, check out my crochet spider coasters - you can add them as an applique to your hat!
Jump to:
✏️ Things To Note:
- Yarn Choice: I used acrylic yarn for the crochet witch hat. Any yarn with the same thickness as regular worsted yarn should work. Keep in mind that using chunkier or thinner yarn can affect the sizing.
- Hook Size: By using a 5.5mm hook (I hook), the final size of the adult crochet witch hat pattern, when laid flat, is roughly 21 inches high and 14 inches across.
- Sizing Options: I have separate crochet hat patterns for both adult and kid-sized hats available here.
🪡 Materials Needed
💭 Abbreviations to Remember (US Terms)
- Magic ring - mr
- Half double crochet - hdc
- Increase - inc
- Front Loop Only - flo
- Crab stitch for the brims edge.
🧋 Variations
Color Changes & Stripes: Try adding stripes or alternating colors to make the hat uniquely yours!
🍵 Instructions for Crochet Witch Hat Pattern
ADULT SIZE:
For the crochet witch hat pattern we will be working in rounds:
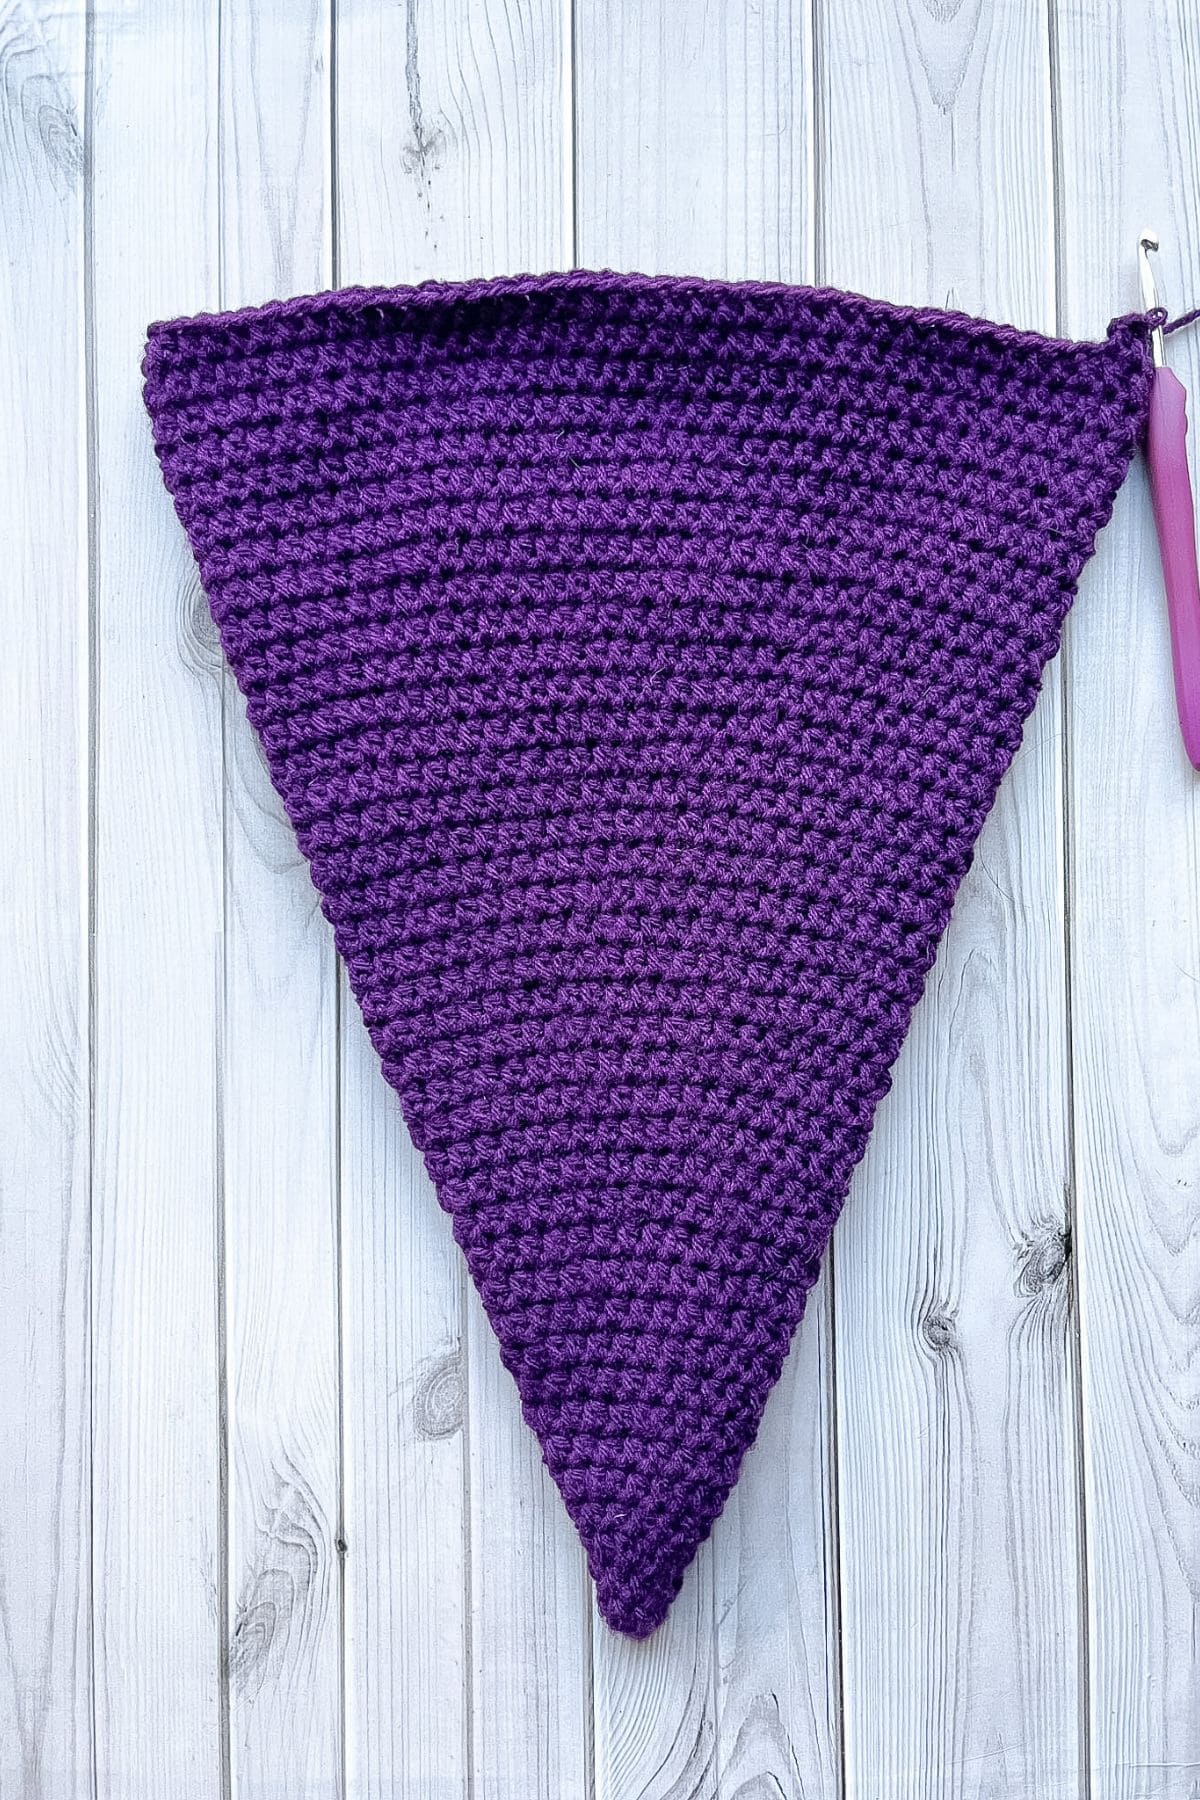
Round 1: Using the purple yarn, make a mr and hdc x4 into the circle. If you find it difficult making a magic ring you can chain 2 and then crochet hdc x4 in the second chain from the hook (4).
Round 2: Hdc inc in every stitch (8).
Round 3: Hdc in every stitch (8).
Round 4: Hdc inc, hdc. Then repeat for the rest of the round (12).
Round 5: Hdc in every stitch (12).
Round 6: Hdc inc, hdc x2. Then repeat for the rest of the round (16).
Round 7: Hdc in every stitch (16).
Round 8: Hdc inc, hdc x3. Then repeat for the rest of the round (20).
Round 9: Hdc in every stitch (20).
Round 10: Hdc inc, hdc x4. Then repeat for the rest of the round (24).
Round 11: Hdc in every stitch (24).
Round 12: Hdc inc, hdc x5. Then repeat for the rest of the round (28).
Round 13: Hdc in every stitch (28).
Round 14: Hdc inc, hdc x6. Then repeat for the rest of the round (32).
Round 15: Hdc in every stitch (32).
Round 16: Hdc inc, hdc x7. Then repeat for the rest of the round (36).
Round 17: Hdc in every stitch (36).
Round 18: Hdc inc, hdc x8. Then repeat for the rest of the round (40).
Round 19: Hdc in every stitch (40).
Round 20: Hdc inc, hdc x9. Then repeat for the rest of the round (44).
Round 21: Hdc in every stitch (44).
Round 22: Hdc inc, hdc x10. Then repeat for the rest of the round (48).
Round 23: Hdc in every stitch (48).
Round 24: Hdc inc, hdc x11. Then repeat for the rest of the round (52).
Round 25: Hdc in every stitch (52).
Round 26: Hdc inc, hdc x12. Then repeat for the rest of the round (56).
Round 27: Hdc in every stitch (56).
Round 28: Hdc inc, hdc x13. Then repeat for the rest of the round (60).
Round 29: Hdc in every stitch (60).
Round 30: Hdc inc, hdc x14. Then repeat for the rest of the round (64).
Round 31: Hdc in every stitch (64).
Round 32: Hdc inc, hdc x15. Then repeat for the rest of the round (68).
Round 33: Hdc in every stitch (68).
Round 34: Hdc inc, hdc x16. Then repeat for the rest of the round (72).
Round 35: Hdc in every stitch (72).
Round 36: Hdc inc, hdc x17. Then repeat for the rest of the round (76).
Round 37: Hdc in every stitch (76).
Round 38: Hdc inc, hdc x18. Then repeat for the rest of the round (80).
Round 39-41: Hdc in every stitch (80).
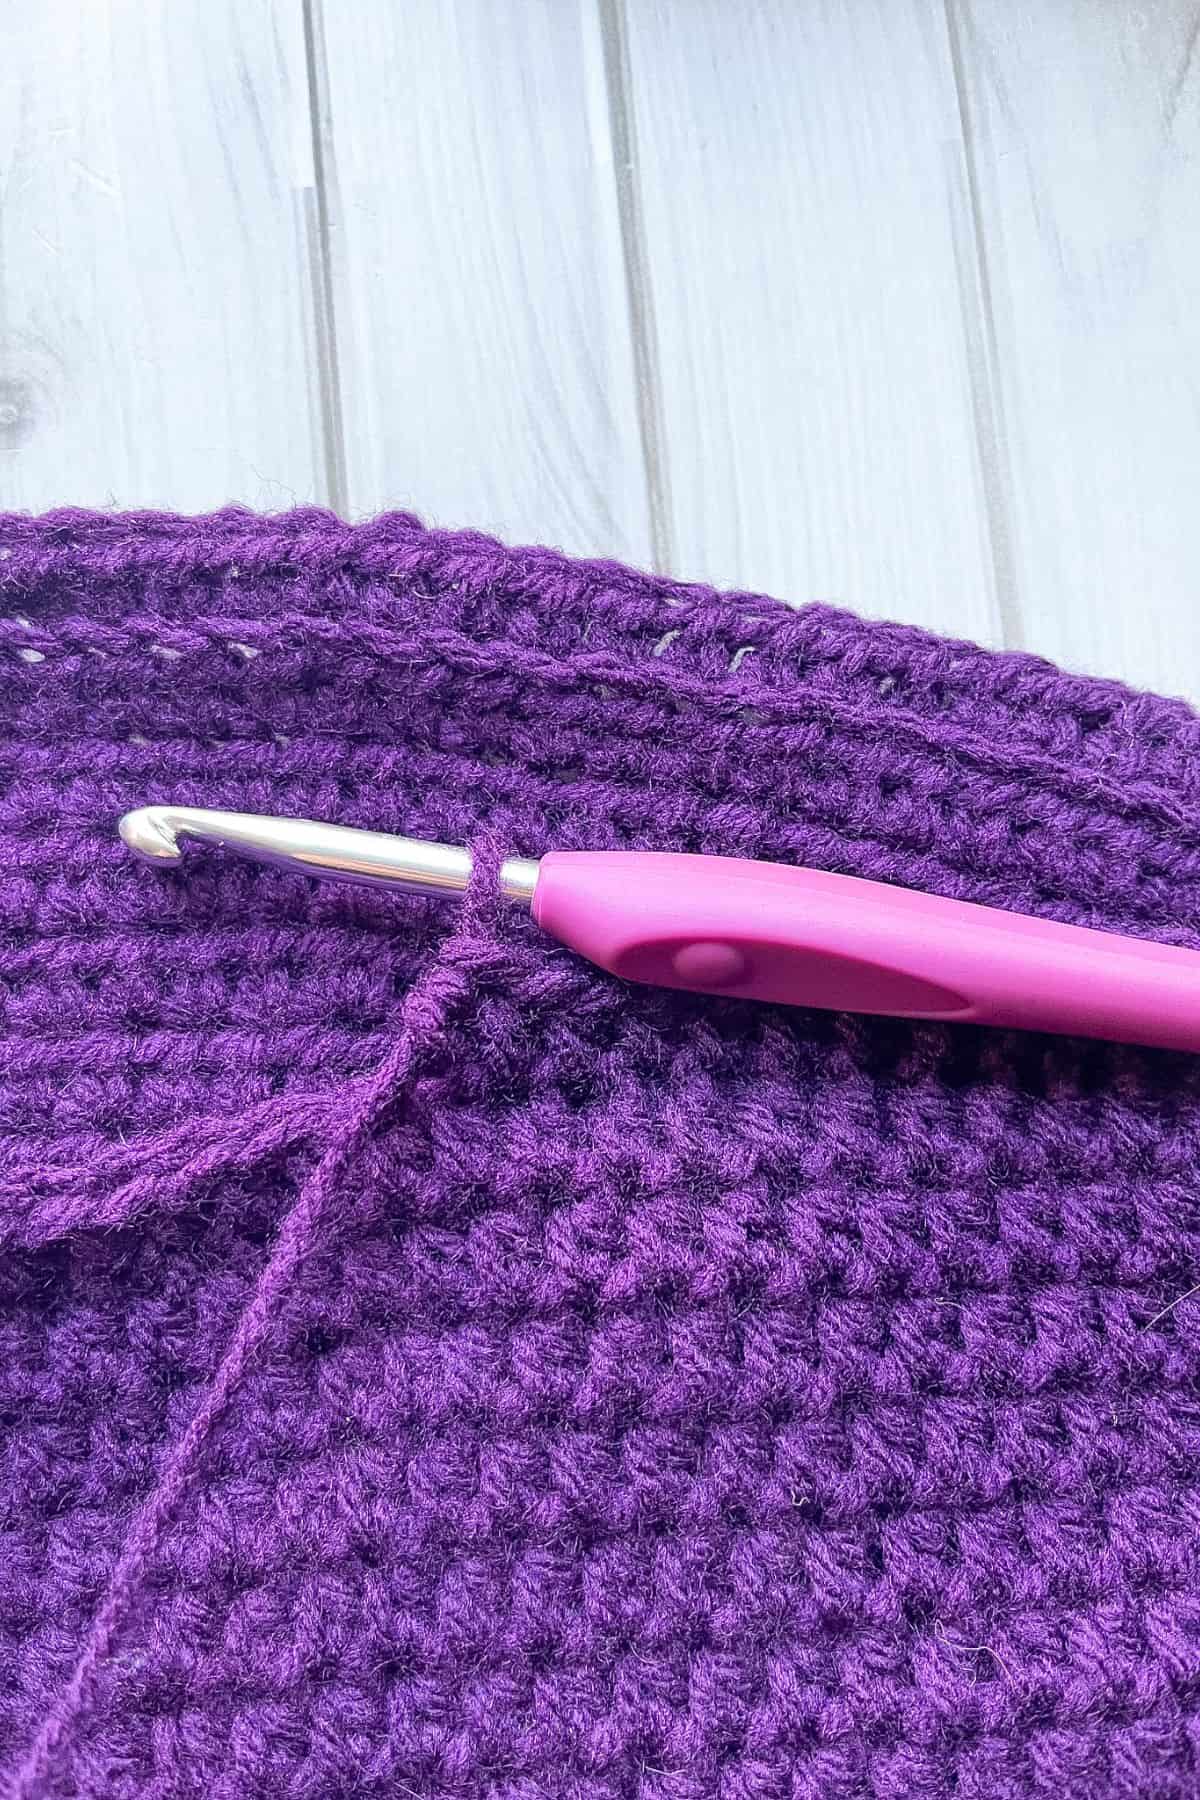
Round 42: In flo, hdc in every stitch (80).
Round 43: Hdc inc, hdc x7. Then repeat for the entire round (90).
BRIM OF HAT:
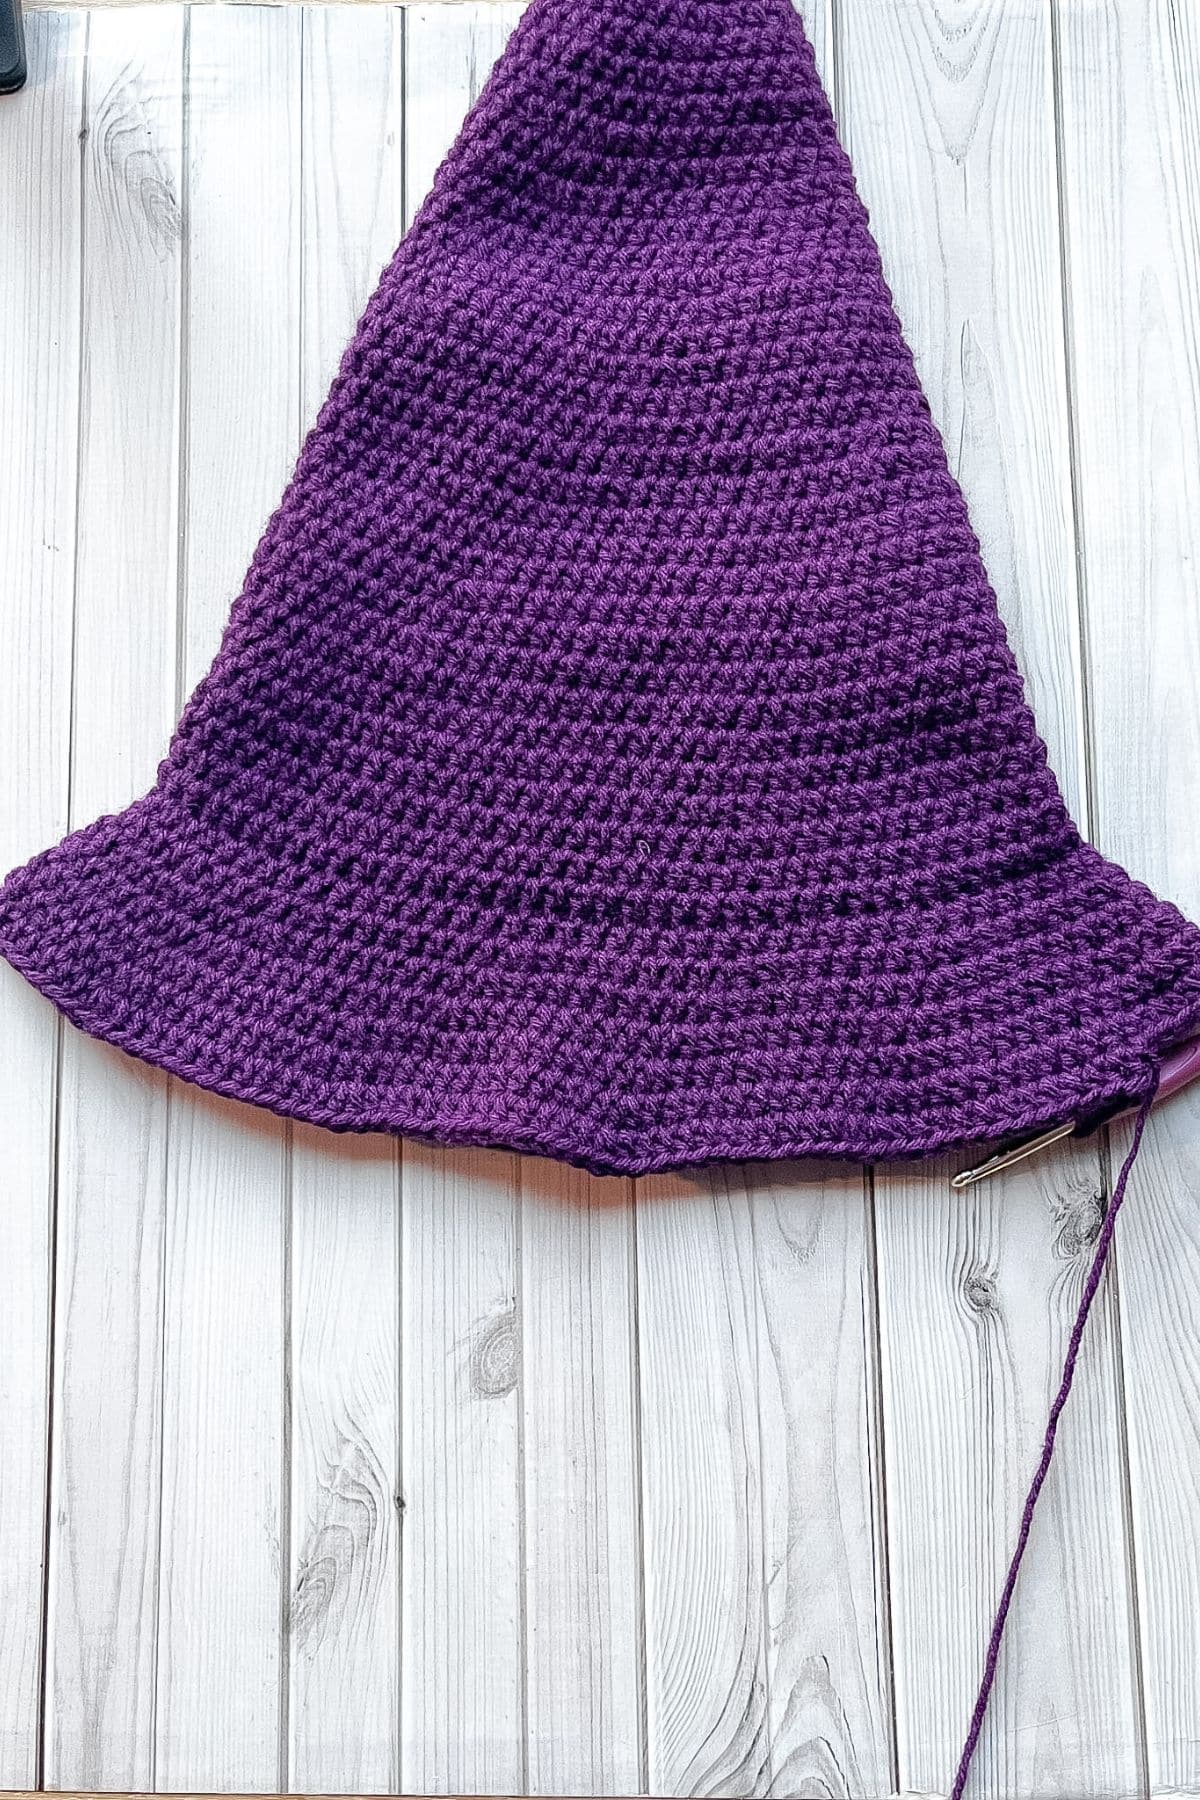
Round 44: Hdc inc, hdc x8. Then repeat for the entire round (100).
Round 45: Hdc inc, hdc x9. Then repeat for the entire round (110).
Round 46: Hdc inc, hdc x10. Then repeat for the rest of the round (120).
Round 47: Hdc inc, hdc x11. Then repeat for the rest of the round (130).
Round 48: Hdc inc, hdc x12. Then repeat for the rest of the round (140).
Round 49: Hdc inc, hdc x13. Then repeat for the rest of the round (150).
Round 50: Ch x1. Crab stitch the edge of the hat for structure (150).
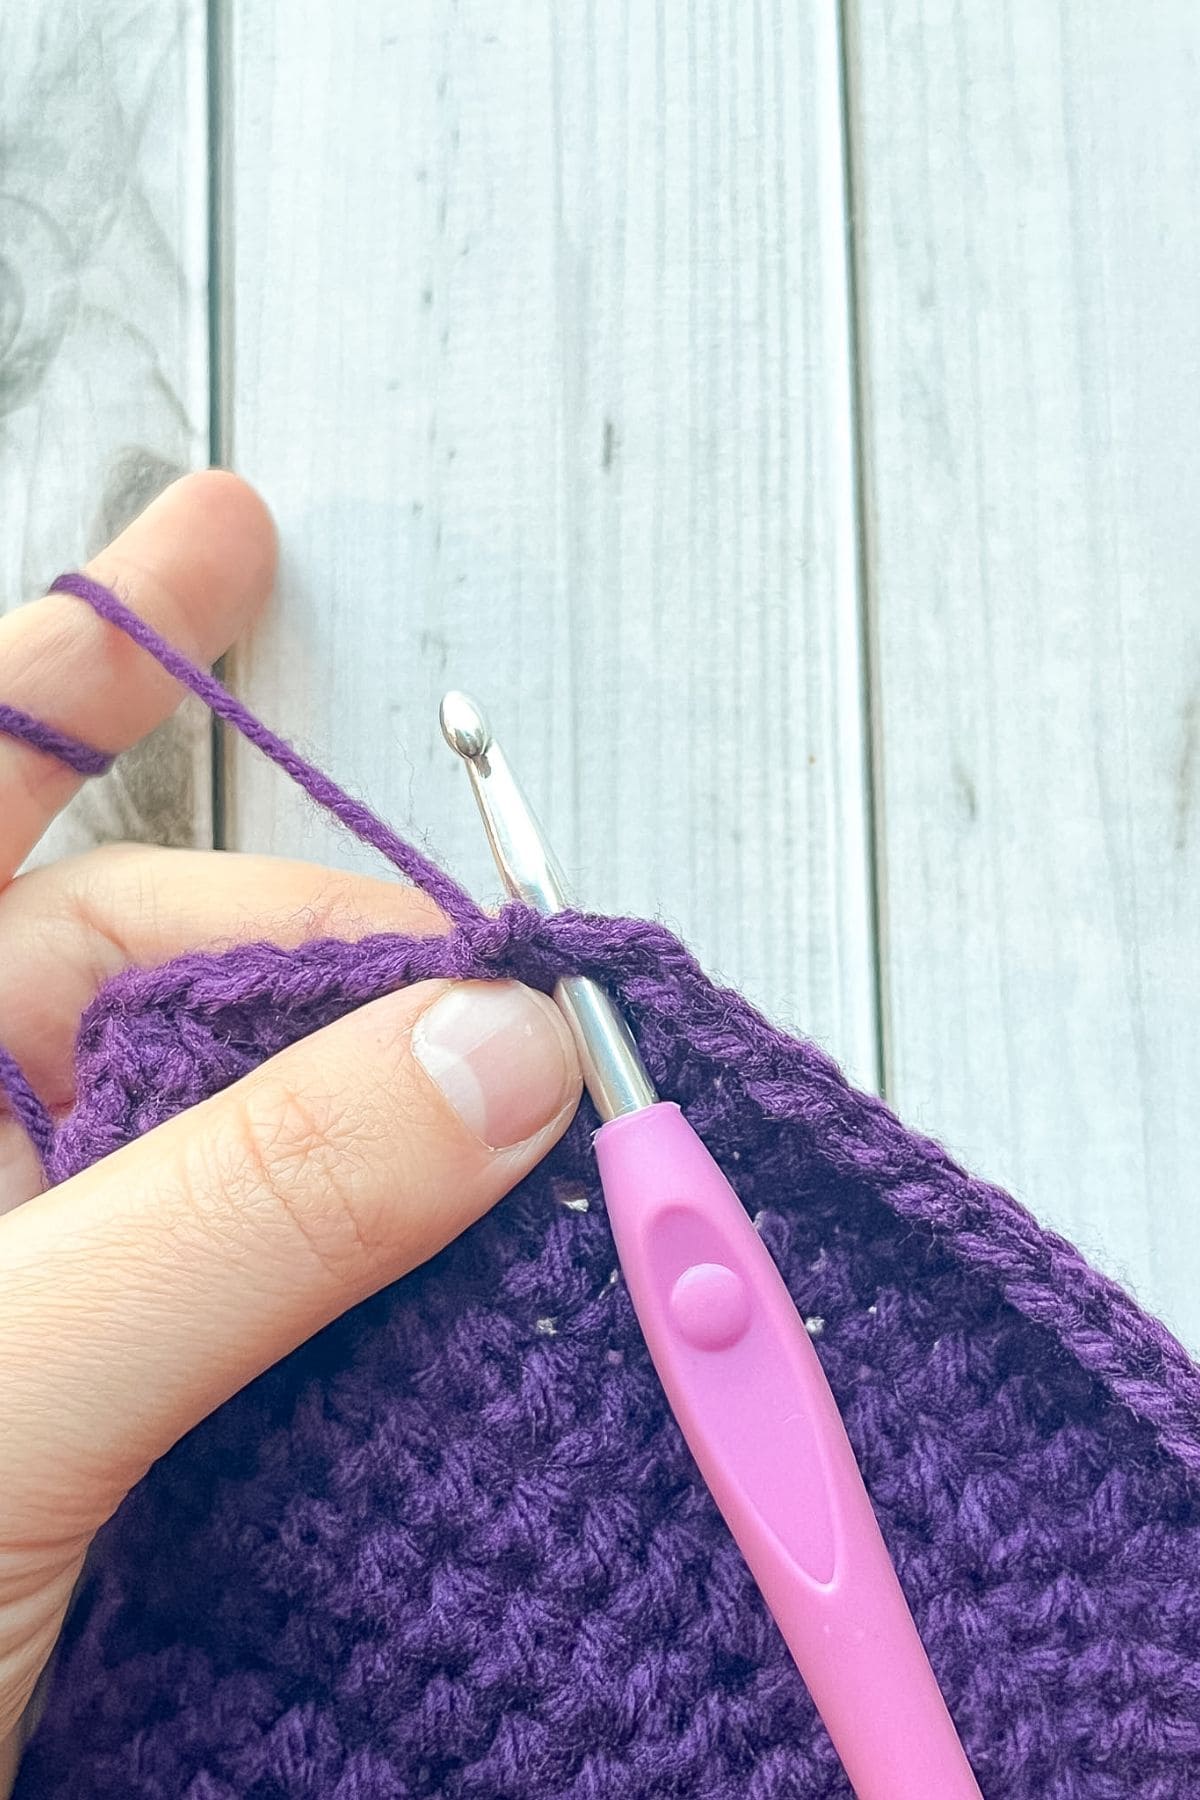
Crab Stitch: To do this insert hook into the last stitch worked, forwards to backwards, and then yarn over and go back through the stitch like you would a single crochet but in the opposite direction.
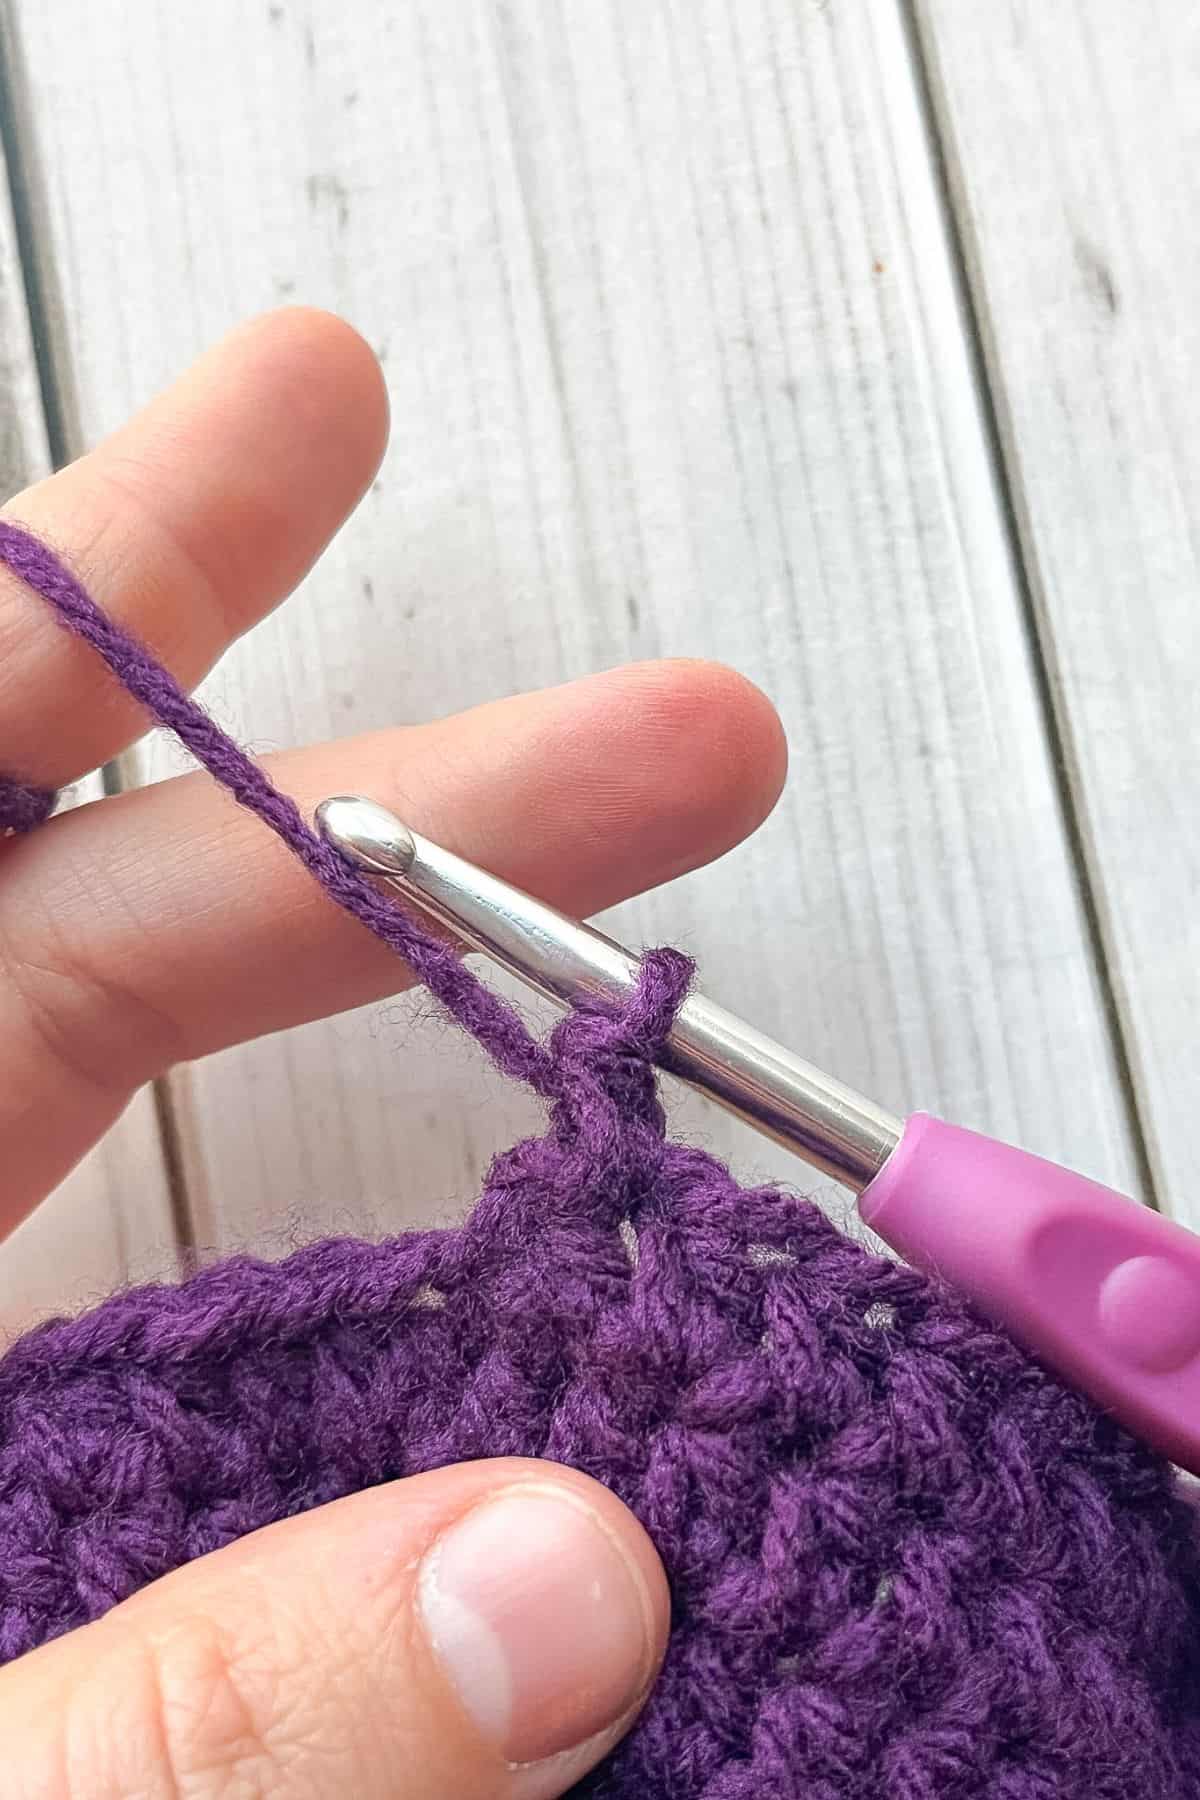
Yarn over and go through the 2 loops on the hook. This might feel strange at first but over time you will get used to it.
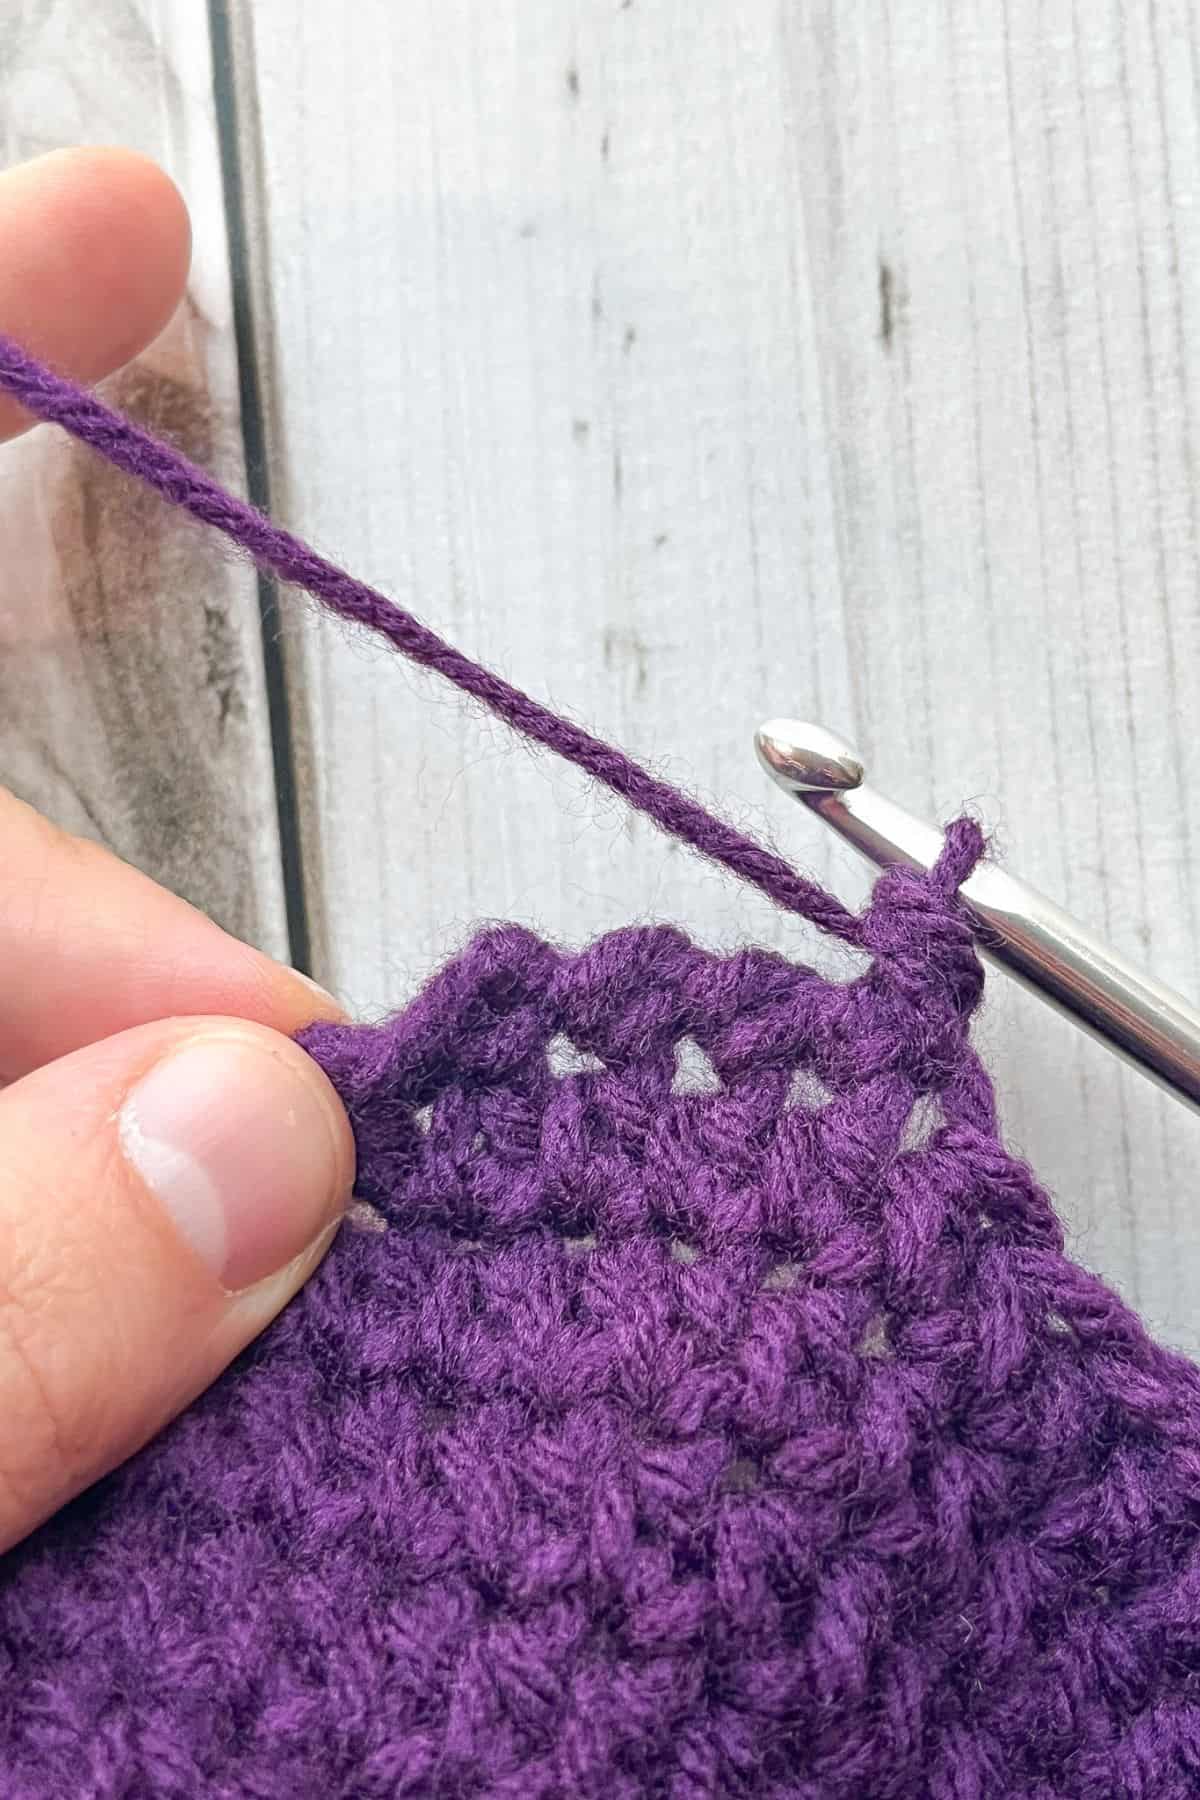
Finished crab stitch round.
Once the round of crab stitch is done, fasten off and weave in the ends.
How to crochet a witch hat KID SIZE:
Work the witch hat like normal above from rounds 1-34, but then follow these steps to finish it.
Round 35: In flo, hdc in every stitch (70).
Round 36: Hdc inc, hdc x6 and repeat for the entire round (80).
BRIM OF HAT:
Round 37: Hdc inc, hdc x7. Then repeat for the entire round (90).
Round 38: Hdc inc, hdc x8. Then repeat for the rest of the round (100).
Round 39: Hdc inc, hdc x9. Then repeat for the rest of the round (110).
Round 40: Hdc inc, hdc x10. Then repeat for the rest of the round (120).
Round 41: Hdc inc, hdc x11. Then repeat for the rest of the round (130).
Round 42: Hdc inc, hdc x12. Then repeat for the rest of the round (140).
Round 43: Chain 1. Crab stitch the edge of the hat for structure (140).
Once the row of crab stitch is done, fasten off and weave in the ends.
Now you have a really cool crochet Halloween hat made from the crochet witch hat pattern!
Looking for another cool Halloween hat for a kid? Check out my crochet monster hat pattern!
Or if you are looking for something for the next holiday, check out my crochet polar bear hat pattern perfect for young kids all winter long!
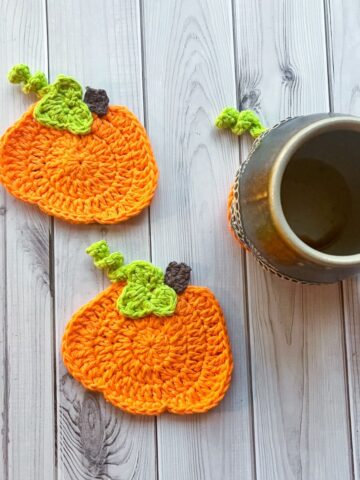
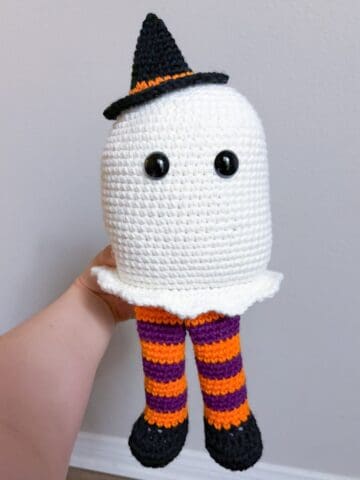
If you are looking for some other fun Halloween patterns, check out my crochet eyeball pattern for a gruesome accessory. Or if you are wanting to decorate your house check out my crochet pumpkin pattern or my crochet jack o lantern pattern!
🐌Expert Tips
- Add a Wire for Extra Structure: If you want a sturdier brim that keeps its shape, consider adding a flexible wire along the edge while working the last few rounds. This is especially helpful if you're using a softer yarn.
- Experiment with Yarn Texture: For a more whimsical or spooky effect, use a textured yarn (like boucle or faux fur) to add visual interest. Just make sure to adjust the hook size if needed.
- Custom Brim Shape: You can easily change the hat's silhouette by adjusting the number of increases on the brim. More increases will make a wider, floppier brim, while fewer will create a more structured look.
🧵 Pattern FAQs
No, you don't have to. I like to use it because it adds structure, making the brim hold its shape better. If it's too challenging, feel free to replace it with a simpler edging stitch.
Yes! Adjusting the hook size and yarn thickness will change the overall size. For a larger hat, try using a thicker yarn or a bigger hook; for a smaller hat, opt for a thinner yarn or smaller hook.
It depends on the yarn and how tightly you crochet. If you want a stiffer, pointy hat, use a sturdy yarn and consider adding some starch or wire for extra support. For a slouchy hat, use a softer yarn and avoid stiffening techniques.

🧶More Crochet Halloween Patterns
If you tried this Crochet Witch Hat Pattern (or any other pattern on my website), please let me know how it went in the 📝 comments below. I'd love to hear from you!
Crochet Witch Hat Pattern
Materials
Abbreviations (US terms)
- Magic ring - mr
- Half double crochet - hdc
- Increase - inc (seen as hdc inc)
- Front loop only (flo)
- Crab stitch for the brims edge.
Notes
- Yarn Choice: I used acrylic yarn for the crochet witch hat. Any yarn with the same thickness as regular worsted yarn should work. Keep in mind that using chunkier or thinner yarn can affect the sizing.
- Hook Size: By using a 5.5mm hook (I hook), the final size of the adult crochet witch hat pattern, when laid flat, is roughly 21 inches high and 14 inches across.
- Sizing Options: I have separate crochet hat patterns for both adult and kid-sized hats available here
Instructions
ADULT SIZE:
- For the crochet witch hat pattern we will be working in rounds:
- Round 1: Using the purple yarn, make a mr and hdc x4 into the circle. If you find it difficult making a magic ring you can chain 2 and then crochet hdc x4 in the second chain from the hook (4).
- Round 2: Hdc inc in every stitch (8).
- Round 3: Hdc in every stitch (8).
- Round 4: Hdc inc, hdc. Then repeat for the rest of the round (12).
- Round 5: Hdc in every stitch (12).
- Round 6: Hdc inc, hdc x2. Then repeat for the rest of the round (16).
- Round 7: Hdc in every stitch (16).
- Round 8: Hdc inc, hdc x3. Then repeat for the rest of the round (20).
- Round 9: Hdc in every stitch (20).
- Round 10: Hdc inc, hdc x4. Then repeat for the rest of the round (24).
- Round 11: Hdc in every stitch (24).
- Round 12: Hdc inc, hdc x5. Then repeat for the rest of the round (28).
- Round 13: Hdc in every stitch (28).
- Round 14: Hdc inc, hdc x6. Then repeat for the rest of the round (32).
- Round 15: Hdc in every stitch (32).
- Round 16: Hdc inc, hdc x7. Then repeat for the rest of the round (36).
- Round 17: Hdc in every stitch (36).
- Round 18: Hdc inc, hdc x8. Then repeat for the rest of the round (40).
- Round 19: Hdc in every stitch (40).
- Round 20: Hdc inc, hdc x9. Then repeat for the rest of the round (44).
- Round 21: Hdc in every stitch (44).
- Round 22: Hdc inc, hdc x10. Then repeat for the rest of the round (48).
- Round 23: Hdc in every stitch (48).
- Round 24: Hdc inc, hdc x11. Then repeat for the rest of the round (52).
- Round 25: Hdc in every stitch (52).
- Round 26: Hdc inc, hdc x12. Then repeat for the rest of the round (56).
- Round 27: Hdc in every stitch (56).
- Round 28: Hdc inc, hdc x13. Then repeat for the rest of the round (60).
- Round 29: Hdc in every stitch (60).
- Round 30: Hdc inc, hdc x14. Then repeat for the rest of the round (64).
- Round 31: Hdc in every stitch (64).
- Round 32: Hdc inc, hdc x15. Then repeat for the rest of the round (68).
- Round 33: Hdc in every stitch (68).
- Round 34: Hdc inc, hdc x16. Then repeat for the rest of the round (72).
- Round 35: Hdc in every stitch (72).
- Round 36: Hdc inc, hdc x17. Then repeat for the rest of the round (76).
- Round 37: Hdc in every stitch (76).
- Round 38: Hdc inc, hdc x18. Then repeat for the rest of the round (80).
- Round 39-41: Hdc in every stitch (80).
- Round 42: In flo, hdc in every stitch (80).
- Round 43: Hdc inc, hdc x7. Then repeat for the entire round (90).
BRIM OF HAT:
- Round 44: Hdc inc, hdc x8. Then repeat for the rest of the round (100).
- Round 45: Hdc inc, hdc x9. Then repeat for the rest of the round (110).
- Round 46: Hdc inc, hdc x10. Then repeat for the rest of the round (120).
- Round 47: Hdc inc, hdc x11. Then repeat for the rest of the round (130).
- Round 48: Hdc inc, hdc x12. Then repeat for the rest of the round (140).
- Round 49: Hdc inc, hdc x13. Then repeat for the rest of the round (150).
- Round 50: Ch x1. Crab stitch the edge of the hat for structure (150).
- Crab Stitch: To do this insert hook into the last stitch worked, forwards to backwards, and then yarn over and go back through the stitch like you would a single crochet but in the opposite direction.
- Yarn over and go through the 2 loops on the hook. This might feel strange at first but over time you will get used to it.
- Finished crab stitch round.
- Once the round of crab stitch is done, fasten off and weave in the ends.
How to crochet a witch hat KID SIZE:
- Work the witch hat like normal above from rounds 1-34, but then follow these steps to finish it.
- Round 35: In flo, hdc in every stitch (70).
- Round 36: Hdc inc, hdc x6 and repeat for the entire round (80).
BRIM OF HAT:
- Round 37: Hdc inc, hdc x7. Then repeat for the entire round (90).
- Round 38: Hdc inc, hdc x8. Then repeat for the rest of the round (100).
- Round 39: Hdc inc, hdc x9. Then repeat for the rest of the round (110).
- Round 40: Hdc inc, hdc x10. Then repeat for the rest of the round (120).
- Round 41: Hdc inc, hdc x11. Then repeat for the rest of the round (130).
- Round 42: Hdc inc, hdc x12. Then repeat for the rest of the round (140).
- Round 43: Chain 1. Crab stitch the edge of the hat for structure (140).
- Once the row of crab stitch is done, fasten off and weave in the ends.
- Now you have a really cool crochet Halloween hat made from the crochet witch hat pattern!
Danielle says
Did you wash it to tighten up the brim at all?
Kimberly Arenas says
I did not wash it, the brim still sticks straight out for me - if your brim is a bit floppy, you can use wire to hold its shape.
Diane Jones says
Hi. I just finished the witches hat. I used red heart yarn. For some reason maybe because I crochet loosely the adult size was not going to work for me so I ripped the stitches back to the child size pattern and continued on. I finished it last night . It was the first time I ever did a crab stitch. I wonder if I should have used a smaller hook. It did turn out fine though.
Kimberly Arenas says
I tend to crochet a little tighter, but I am glad it all worked out for you! I love this pattern because it can be adjusted easily for different sized heads and tension 🙂
LAURIE WALTERS says
I love this hat. I just had a quick question... do you work in a continuous round or do you slip stich after each round?
Kimberly Arenas says
Continuous rounds 🙂
Ellen de Casmaker says
What weight of yarn for witch hat?
Kimberly Arenas says
worsted weight is what I used 🙂
Mikey says
I just finished mine! This is the first wearable I have made and it turned out so good. The pattern was super easy to follow and very easy to adjust for different sizes.