
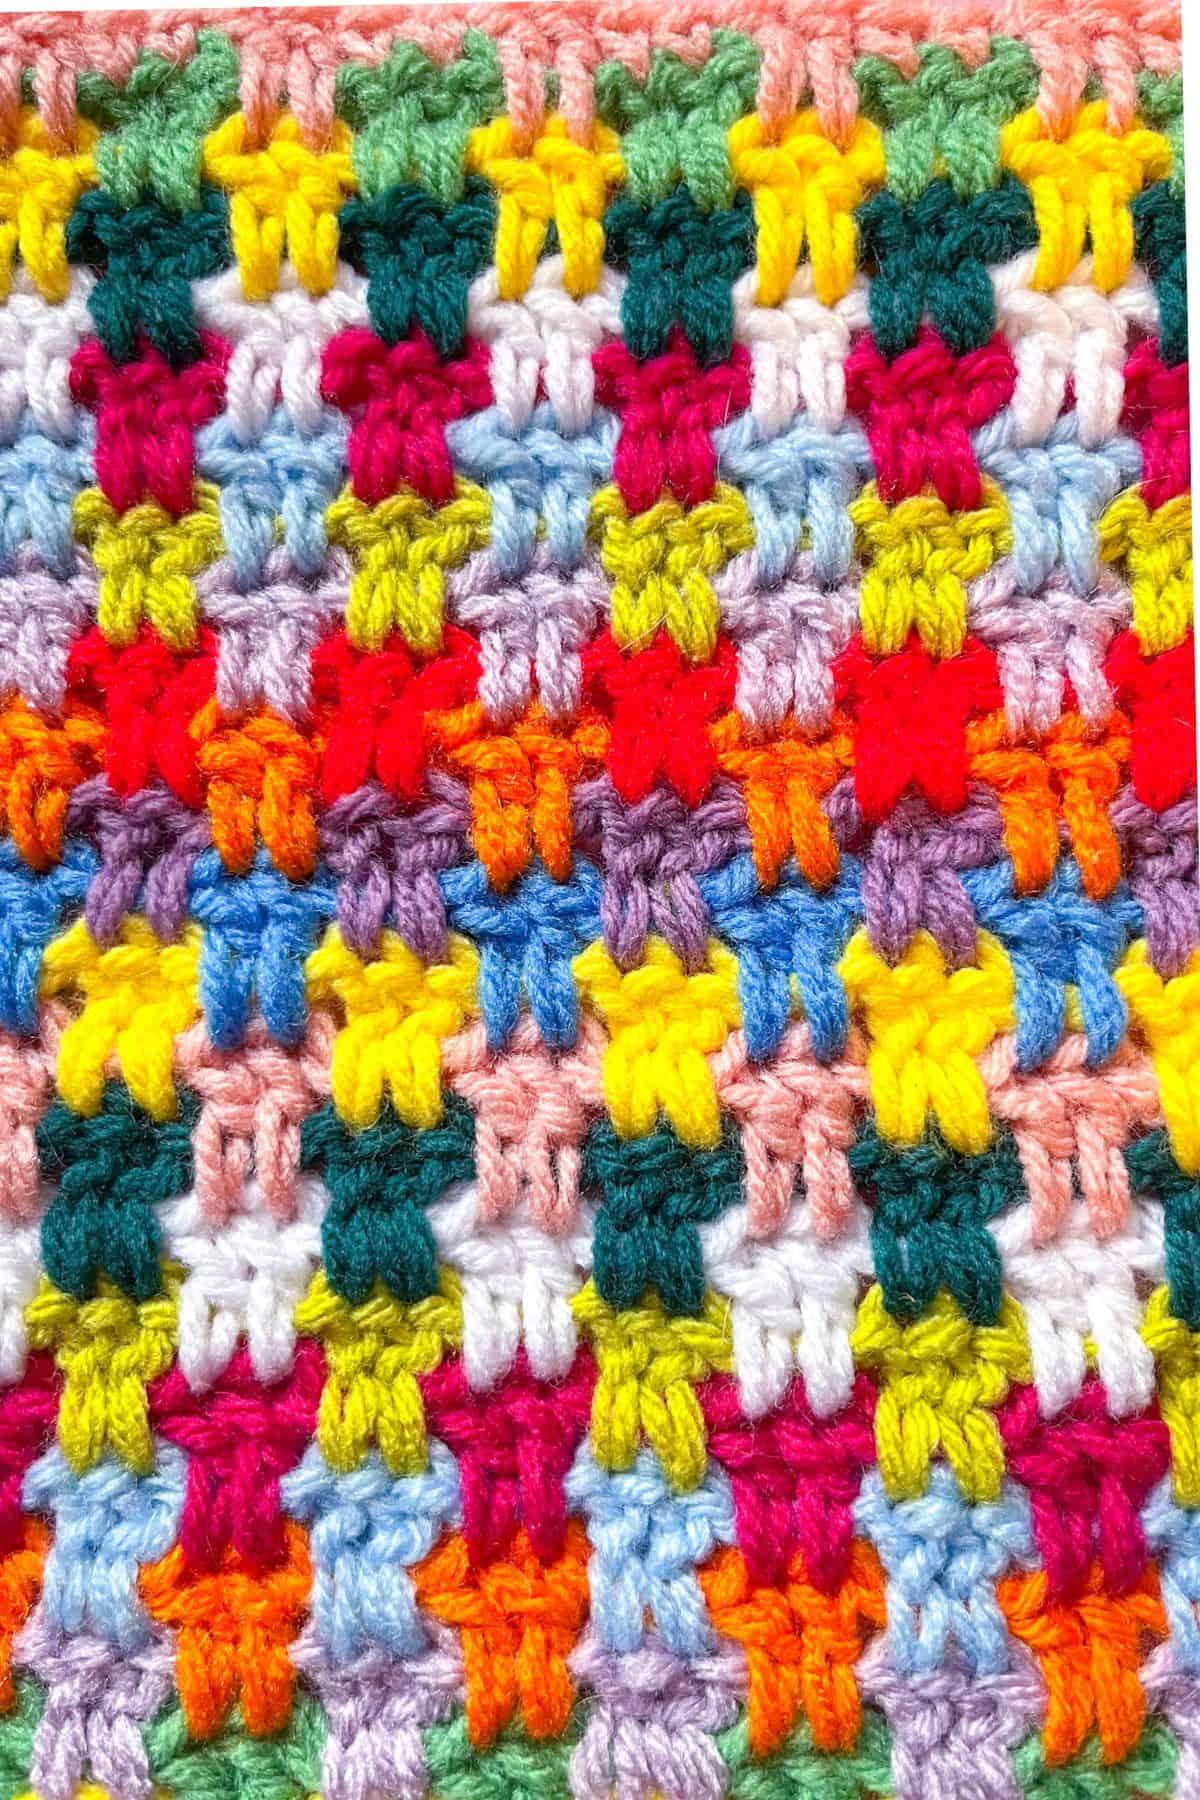
The Crochet Snuggle Stitch is the perfect stitch for using up yarn scraps! As the name suggests, it's great for making scrap blankets that are warm enough to snuggle under.
When it comes to crocheting blankets, some stitches can leave a lot of small holes, making them less warm than you intended. While those stitches may look pretty, functionality is just as important as appearance.
Personally, I avoid using granny square blankets for winter but will happily use them in summer. For winter blankets, I prefer stitches that are tight and have fewer holes to keep me warmer like the crochet granny spike stitch, crochet larksfoot stitch, or the crochet seed stitch pattern.
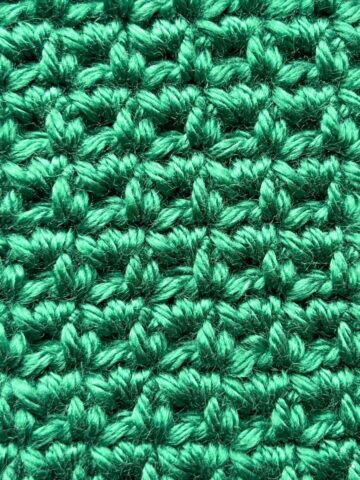
The crochet snuggle stitch is ideal for creating a denser, less "holey" blanket that keeps you nice and toasty—perfect for, well, snuggling. This stitch is also referred to as the interlocking block stitch or plaid stitch, but instead of using three double crochets in each color block, this pattern uses two.
Because of this, the stitch not only creates a beautiful, textured look but also prevents chilly drafts from slipping through, making it a cozy choice for colder months. Its snug, interlocking design is perfect for projects that need extra warmth without sacrificing style.
Jump to:
✏️ Things To Note:
- Use of Yarn Scraps or Color Schemes. I make the crochet snuggle stitch using scrap yarn, but you can also create it with a specific color scheme or even one solid color. I suggest using multiple colors since a solid color might not be as eye-catching. I use scrap yarn to make my eye-catching crochet boho pillow too!
- Type of Yarn. I used acrylic worsted yarn, but you could use any type of yarn for this stitch. Feel free to experiment with different textures and weights for a unique look.
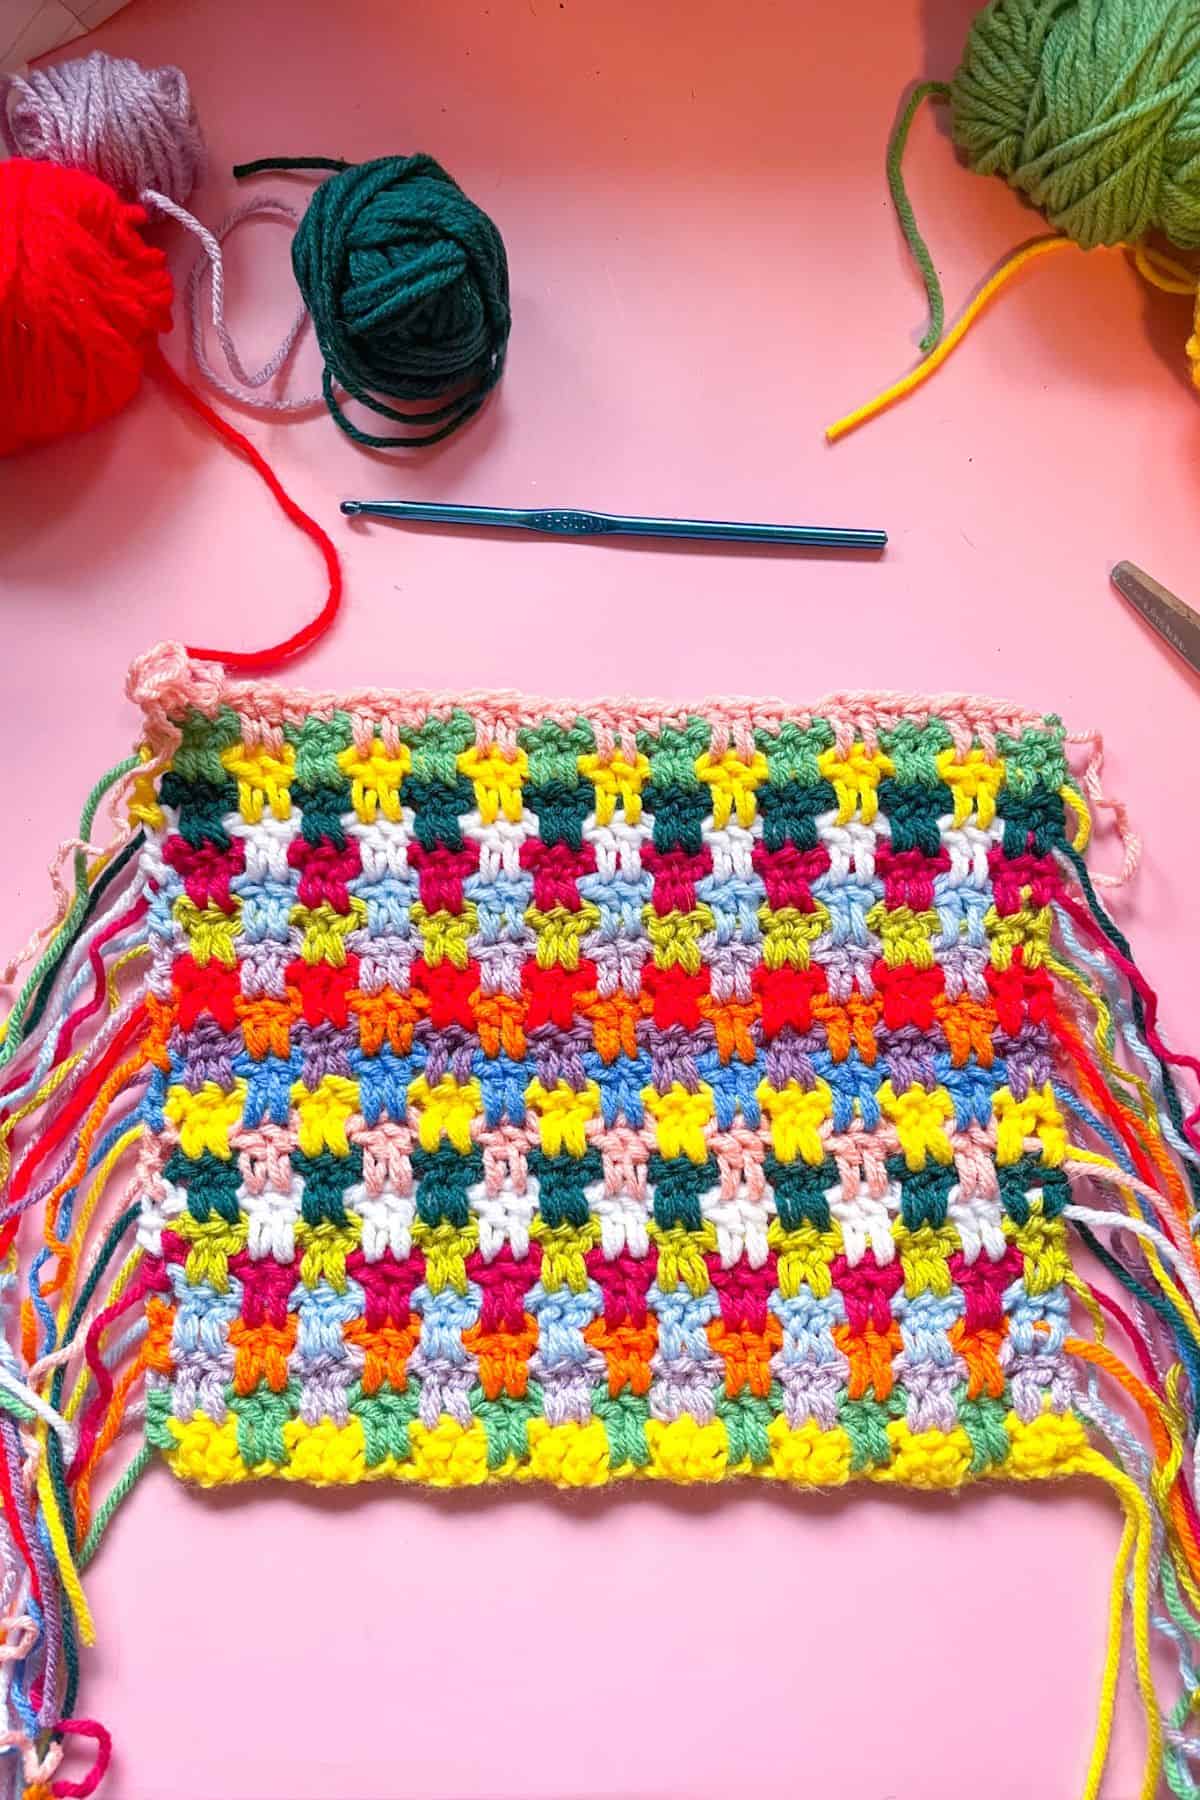
- Managing Color Changes. If you don’t want to add a crochet envelope border, I recommend weaving in the ends as you go, especially if you're making a lot of color changes. To do this, carry the tail of the yarn while making your next row of stitches, which will save you time and effort at the end.

🪡 Materials Needed
- Scrap yarn
- Tapestry needle
- H hook (5mm)
💭Abbreviations to Remember (US terms)
- Chain - ch
- Double Crochet - dc
- Single crochet - sc
🧋Variations
If you like the look of the snuggle stitch, you can try modifying it by using single, half-double, or even triple crochet stitches instead of double crochets. This variation allows you to customize the texture and appearance to suit different projects.
🍵Instructions for Crochet Snuggle Stitch
The crochet snuggle stitch pattern is made in rows.

Ch x32 (or however long you want to make the length of your project, just make sure the chain length is divisible by 4). (32).
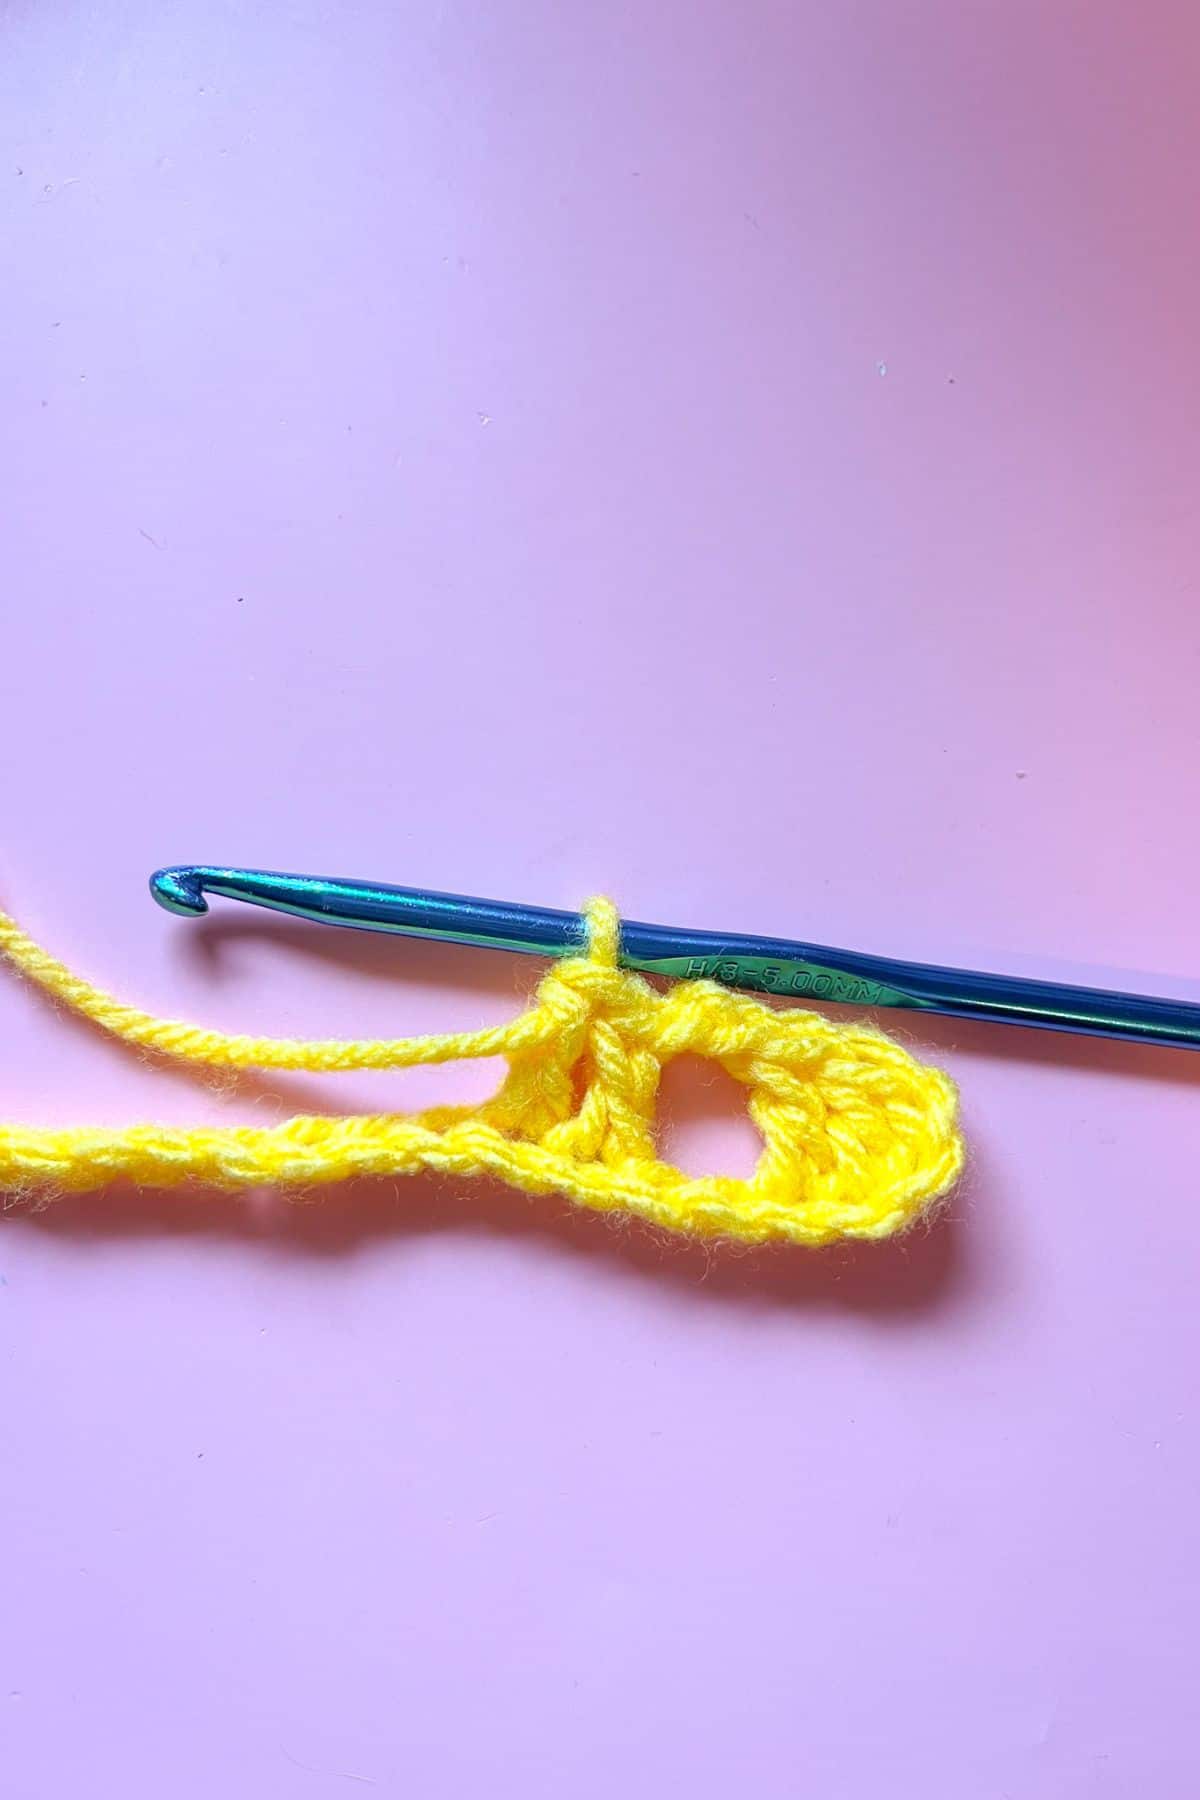
Row 1: In the 3rd ch from the hook make a dc. Dc in the next chain. Then immediately following the 2 dc, ch x2 + skip 2 foundation chs.


Repeat dc x2, ch x2 + skip 2 foundation stitches for the rest of the row. You should end with 2 dcs at the end of the foundation chain.
If you are changing colors every row, to make a color change seamlessly follow these instructions:
For the last dc in the row, make a dc like normal, but when you need to go through the last 2 loops on your hook, yarn over with the new color, not the color you were previously using. Then pull through. Ch x2 with the new color.
Row 2: *Skip the 2 dc stitches and dc once INTO the foundation chain stitch below. Dc into the next foundation ch stitch.

Ch x2 to skip over the next pair of dc stitches. Repeat from * for the rest of the row.
Dc in the last stitch, and change colors like how I mentioned before. Ch x2 in the new color.

Row 3: *Dc into the TOPS of the dc stitches 2 rows below (You are making dcs OVER the last rows chains). Ch x2 +skip the next 2 stitches. Repeat from * for the rest of the row.
You are now working 2 rows below for every new row.

Row 4 and onward: Repeat row 2 and 3 for the rest of the size of your project.

Last row: Ch x1 instead of 2, then sc where the dc’s were in the last row (only going as far as the last row made). You will make sc instead of chs in this row. Dc in the tops of the dc stitches 2 rows below. Repeat until the end of the row.
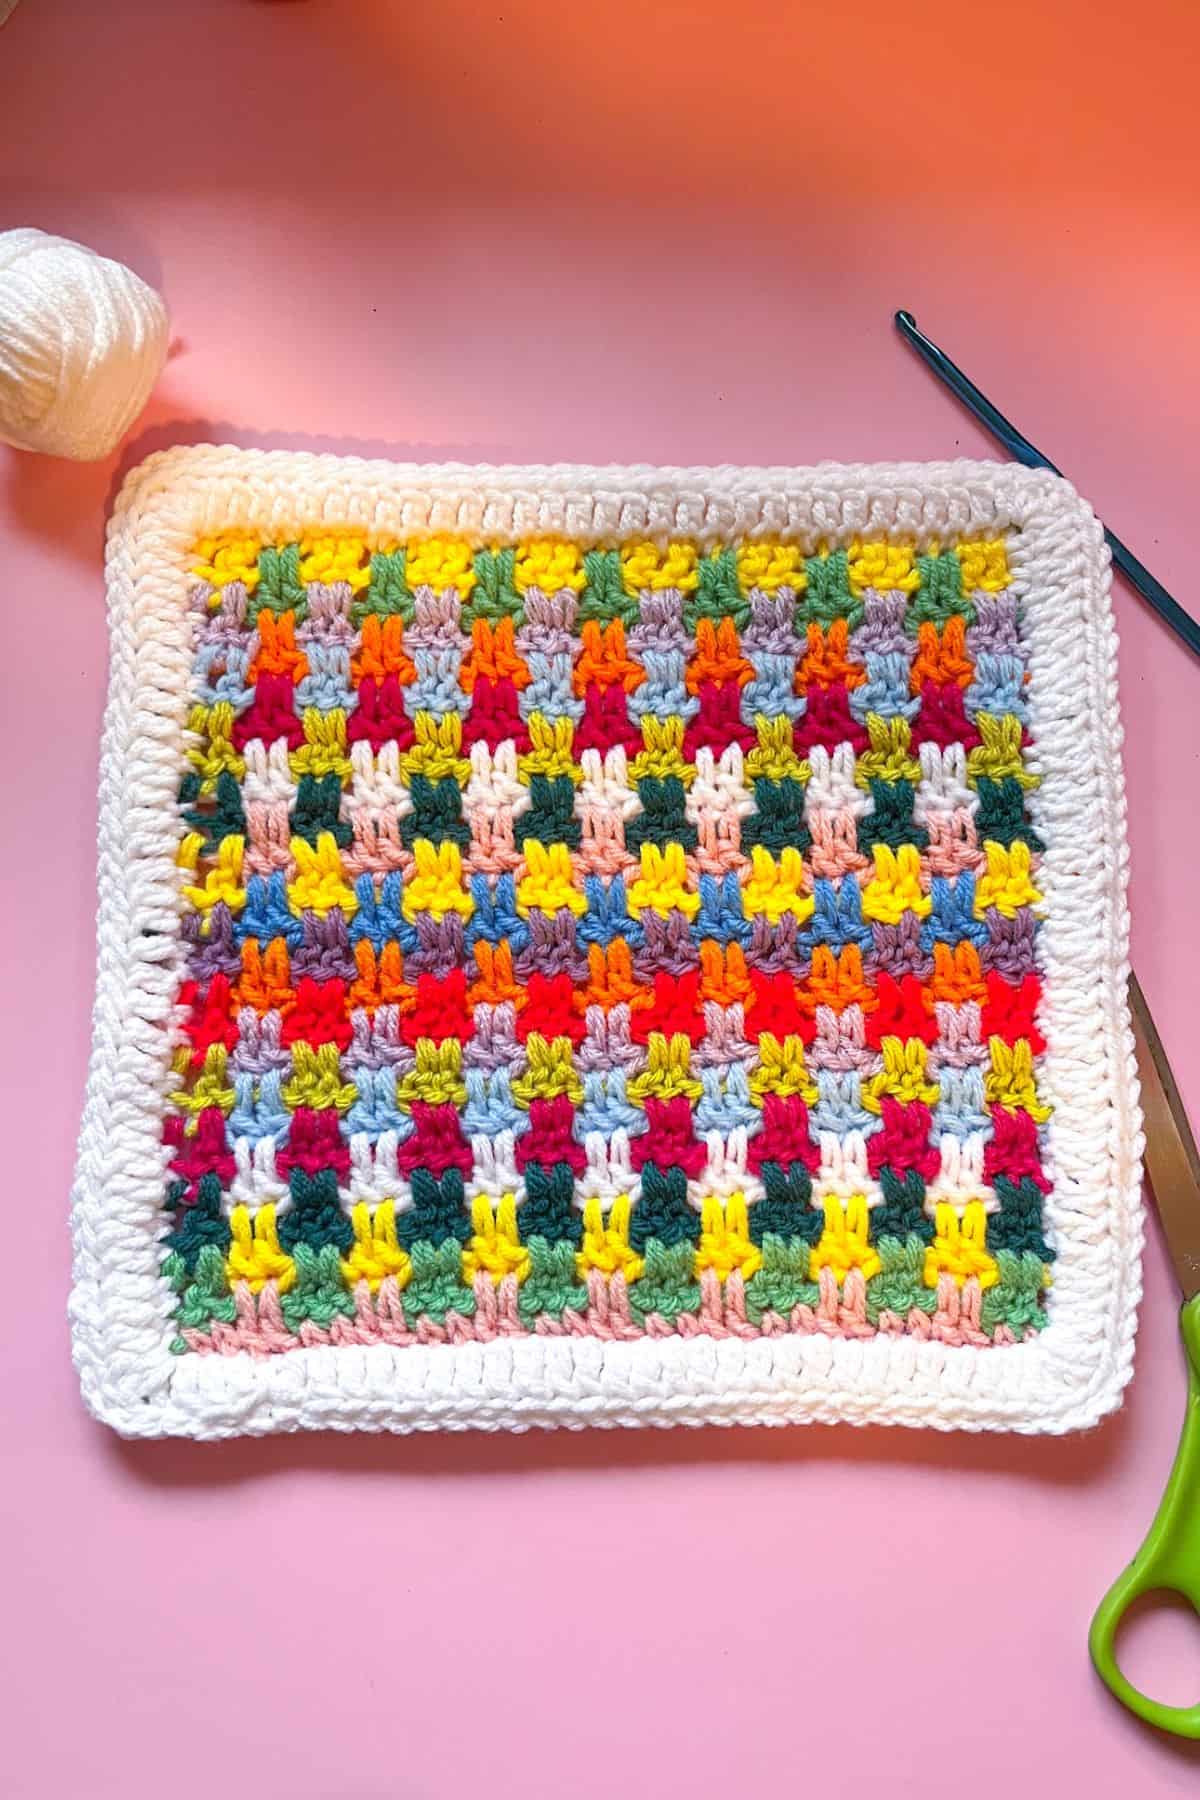
Fasten off and weave in the ends if you haven't already. If weaving in the ends is daunting, I suggest making an envelope border to hide them all.
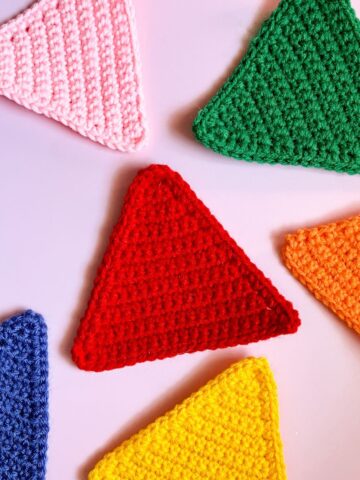
If you are looking for a few more crochet stitches to try out check out my crochet houndstooth pattern and crochet wattle stitch pattern.
You have now learned the crochet snuggle stitch!
🐌Expert Tips
- Avoid Tight Slip Stitches: If your slip stitches are tight, try using a hook that is one size larger for this row. When you switch to the next row, return to your regular hook size. This adjustment can make it easier to work with.
- Seamless Color Transitions: To create seamless color changes, always switch colors in the last step of the previous row's final stitch. This method gives a smooth, polished look without abrupt color breaks.
- Block Your Work for a Smoother Finish: After completing your project, consider blocking it. Blocking helps smooth out the edges and enhances the stitch definition, giving your blanket or project a more refined finish.
- Manage Color Transitions Efficiently: If you're using only 2 colors, avoid cutting the yarn each time you switch. Instead, carry the unused colors along the side of the project. This technique saves time and effort.
🧵Pattern FAQs
I love using it for blankets, but you can also create cardigans, sweaters, and pillows!
Yes, any type of yarn weight will work. However, avoid using overly fuzzy yarns, as they can obscure the neatness of the stitch.
Absolutely! You can customize the stitch by using single, half-double, or triple crochet. Each variation will give a unique texture to your project.
🧶More Crochet How To Patterns
If you tried the Crochet Snuggle Stitch (or any other pattern on my website), please let me know how it went in the 📝 comments below. I'd love to hear from you!

Crochet Snuggle Stitch
Materials
- Scrap yarn
- Tapestry needle
- H hook 5mm
Abbreviations (US terms)
- Chain - ch
- Double crochet - dc
- Single crochet - sc
Notes
- Use of Yarn Scraps or Color Schemes. I make the crochet snuggle stitch using scrap yarn, but you can also create it with a specific color scheme or even one solid color. I suggest using multiple colors since a solid color might not be as eye-catching. I use scrap yarn to make my eye-catching crochet boho pillow too!
- Type of Yarn. I used acrylic worsted yarn, but you could use any type of yarn for this stitch. Feel free to experiment with different textures and weights for a unique look.
- Managing Color Changes. If you don’t want to add a crochet envelope border, I recommend weaving in the ends as you go, especially if you're making a lot of color changes. To do this, carry the tail of the yarn while making your next row of stitches, which will save you time and effort at the end.
Instructions
- The crochet snuggle stitch pattern is made in rows.
- Ch x32 (or however long you want to make the length of your project, just make sure the chain length is divisible by 4). (32).
- Row 1: In the 3rd ch from the hook make a dc. Dc in the next chain. Then immediately following the 2 dc, ch x2 + skip 2 foundation chs.
- Repeat dc x2, ch x2 + skip 2 foundation stitches for the rest of the row. You should end with 2 dcs at the end of the foundation chain.
- If you are changing colors every row, to make a color change seamlessly follow these instructions:
- For the last dc in the row, make a dc like normal, but when you need to go through the last 2 loops on your hook, yarn over with the new color, not the color you were previously using. Then pull through. Ch x2 with the new color.
- Row 2: *Skip the 2 dc stitches and dc once INTO the foundation chain stitch below. Dc into the next foundation ch stitch.
- Ch x2 to skip over the next pair of dc stitches. Repeat from * for the rest of the row.
- Dc in the last stitch, and change colors like how I mentioned before. Ch x2 in the new color.
- Row 3: *Dc into the TOPS of the dc stitches 2 rows below (You are making dcs OVER the last rows chains). Ch x2 +skip the next 2 stitches. Repeat from * for the rest of the row.
- You are now working 2 rows below for every new row.
- Row 4 and onward: Repeat row 2 and 3 for the rest of the size of your project.
- Last row: Ch x1 instead of 2, then sc where the dc’s were in the last row (only going as far as the last row made). You will make sc instead of chs in this row. Dc in the tops of the dc stitches 2 rows below. Repeat until the end of the row.
- Fasten off and weave in the ends if you haven't already. If weaving in the ends is daunting, I suggest making an envelope border to hide them all.
- You have now learned the crochet snuggle stitch!


Leave a Reply