

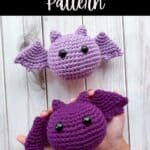
My Free Amigurumi Bat Pattern is easy to make and super cute! Perfect to make for Halloween!
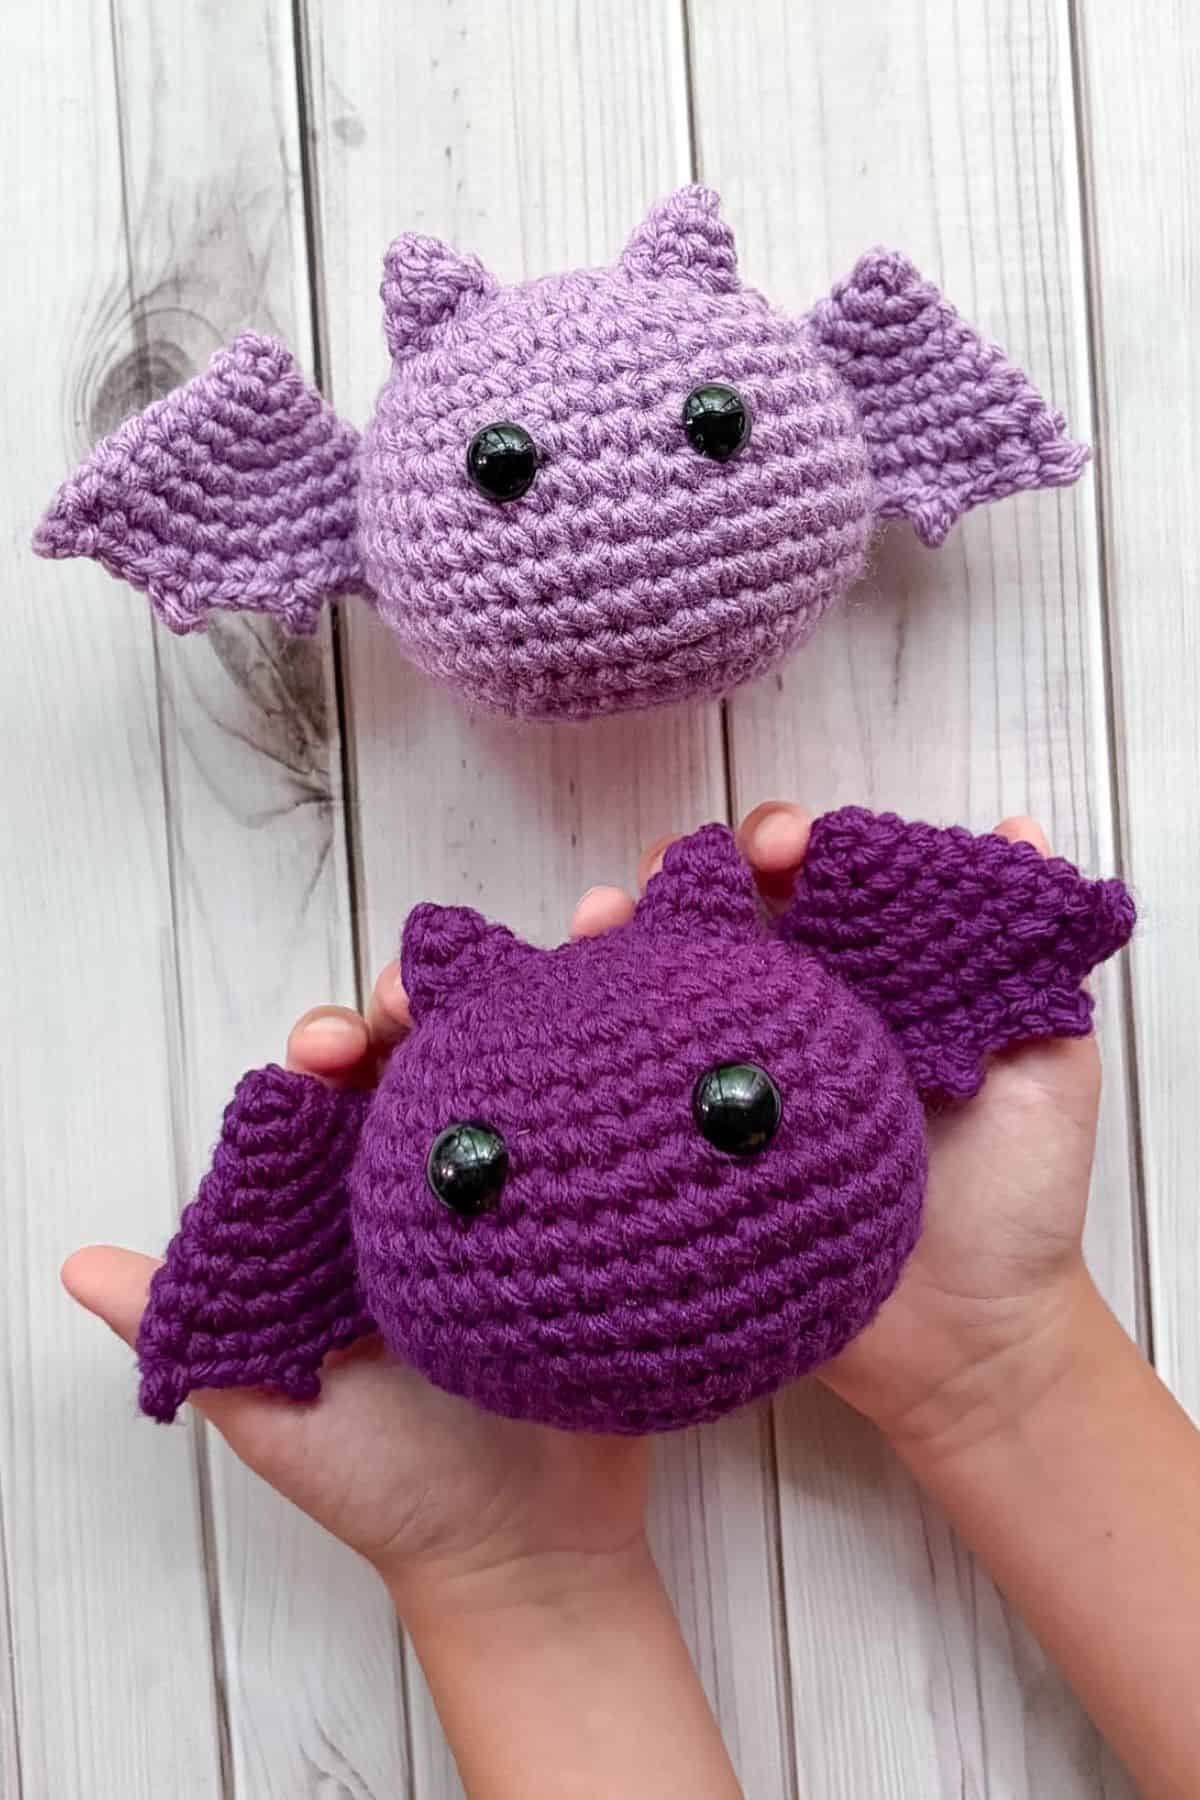
Personally, I love bats. I think they are fascinating creatures that adapt to their surroundings. Their use of sonar is unique, and the concept of echolocation for an animal is an incredible ability!
I love bats and have made a few patterns with them, like my bat granny square pattern and crochet bat bag pattern and I am hoping to make more bat inspired patterns soon!
But if you are looking for other creepy crawly type of patterns you can use for Halloween, you can't go wrong with my crochet spider pattern.
Enough chit-chat, let's get started making this free amigurumi bat pattern!
Jump to:
✏️ Things to Note:
- Yarn Choices: I used acrylic yarn for the free amigurumi bat pattern, but you can also use cotton or chunky yarn if you want to make a larger crochet bat. Avoid wool unless you're okay with it shrinking after washing.
- Stitch Tightness: My stitches are tight when I single crochet. If you have trouble keeping your stitches tight, try yarning under during a single crochet instead of yarning over. This method naturally creates a tighter stitch. It might take a little practice, but many amigurumi makers recommend yarning under.
- Size: The crochet bat pattern is roughly 7-8inches wide and 3.5 inches tall.
🪡 Materials Needed
- Red Heart Yarn - Orchid
- 12mm Safety eyes
- 4mm hook
- Tapestry needle for weaving in the ends.
- Polyfill
💭 Abbreviations to Remember (US Terms)
- Magic ring (mr)
- Single crochet (sc)
- Increase (inc) - 2 stitches in the same stitch
- Chains (ch)
- Decrease (dec) - 1 stitch combining 2 stitches
- Slip stitch (sl st)
🧋 Variations
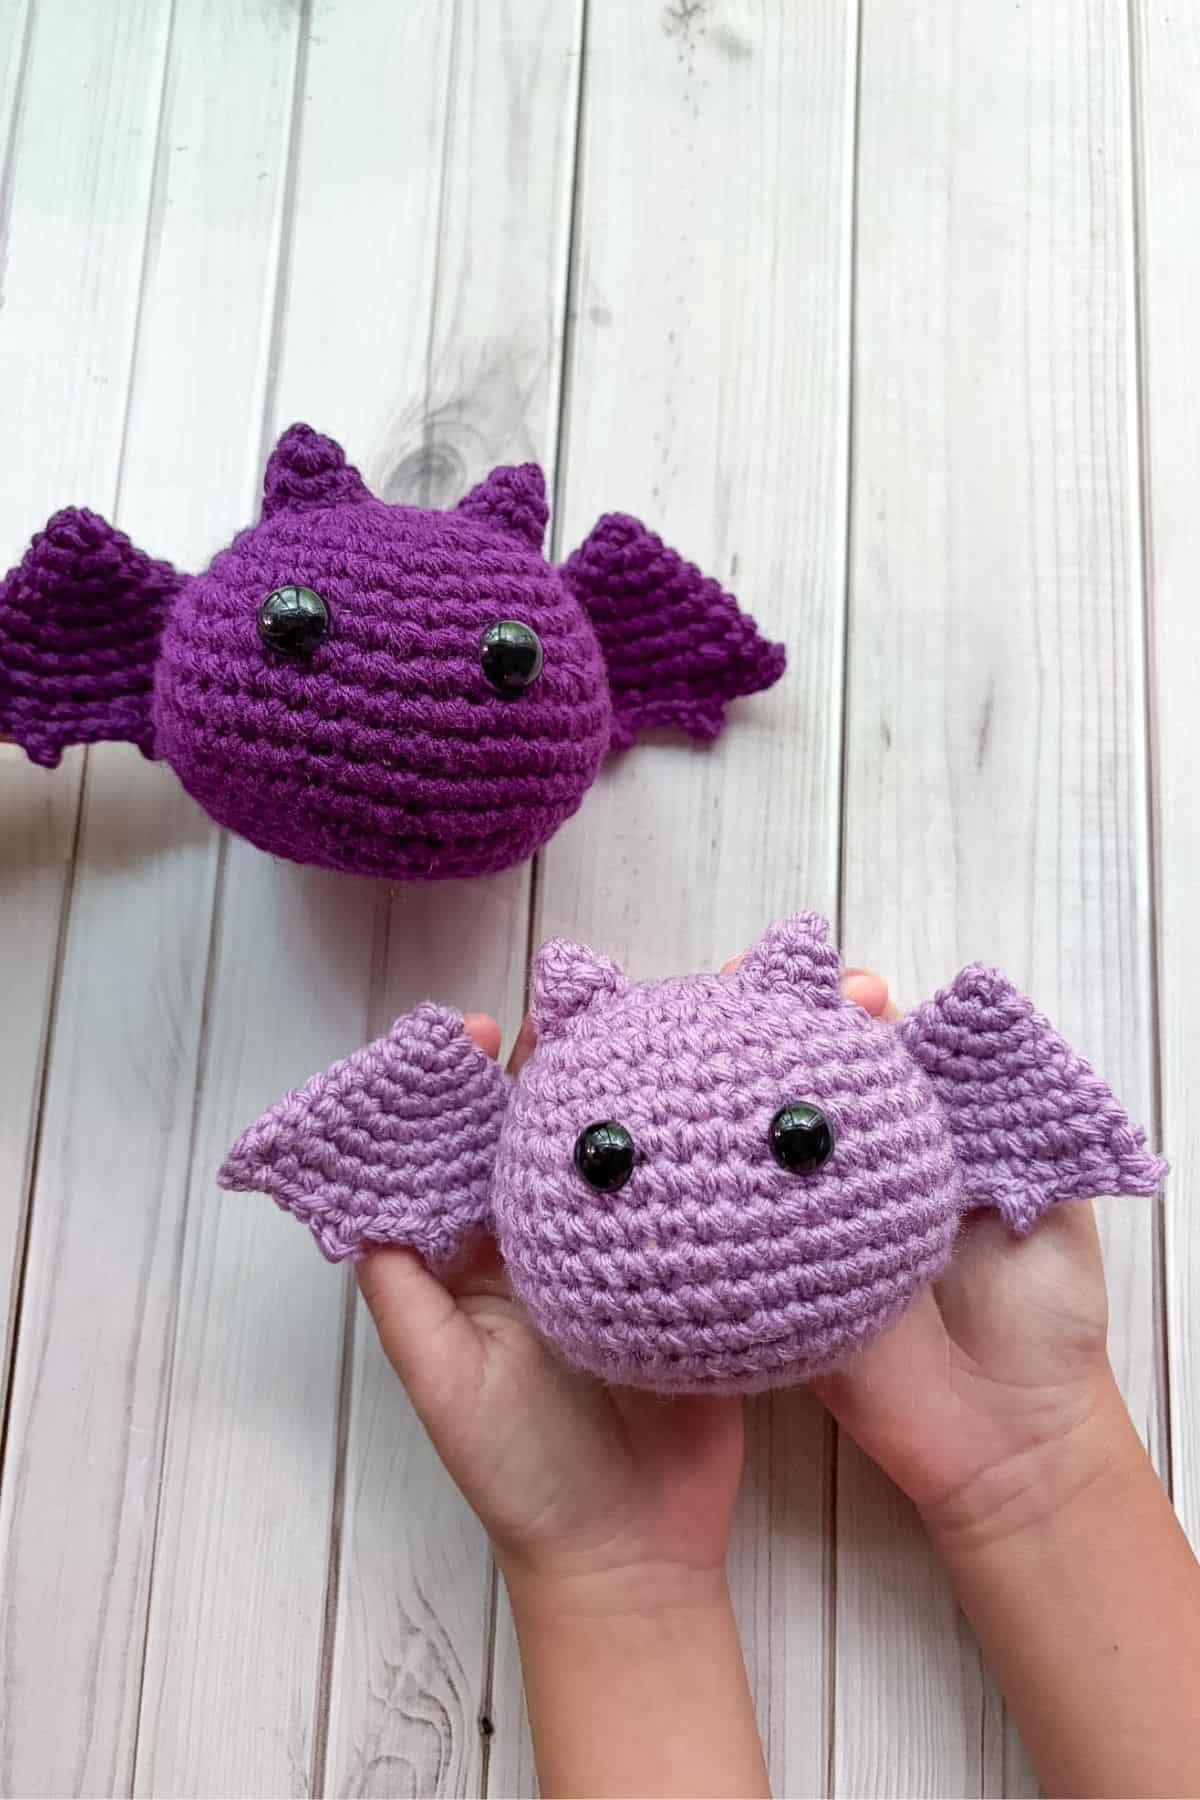
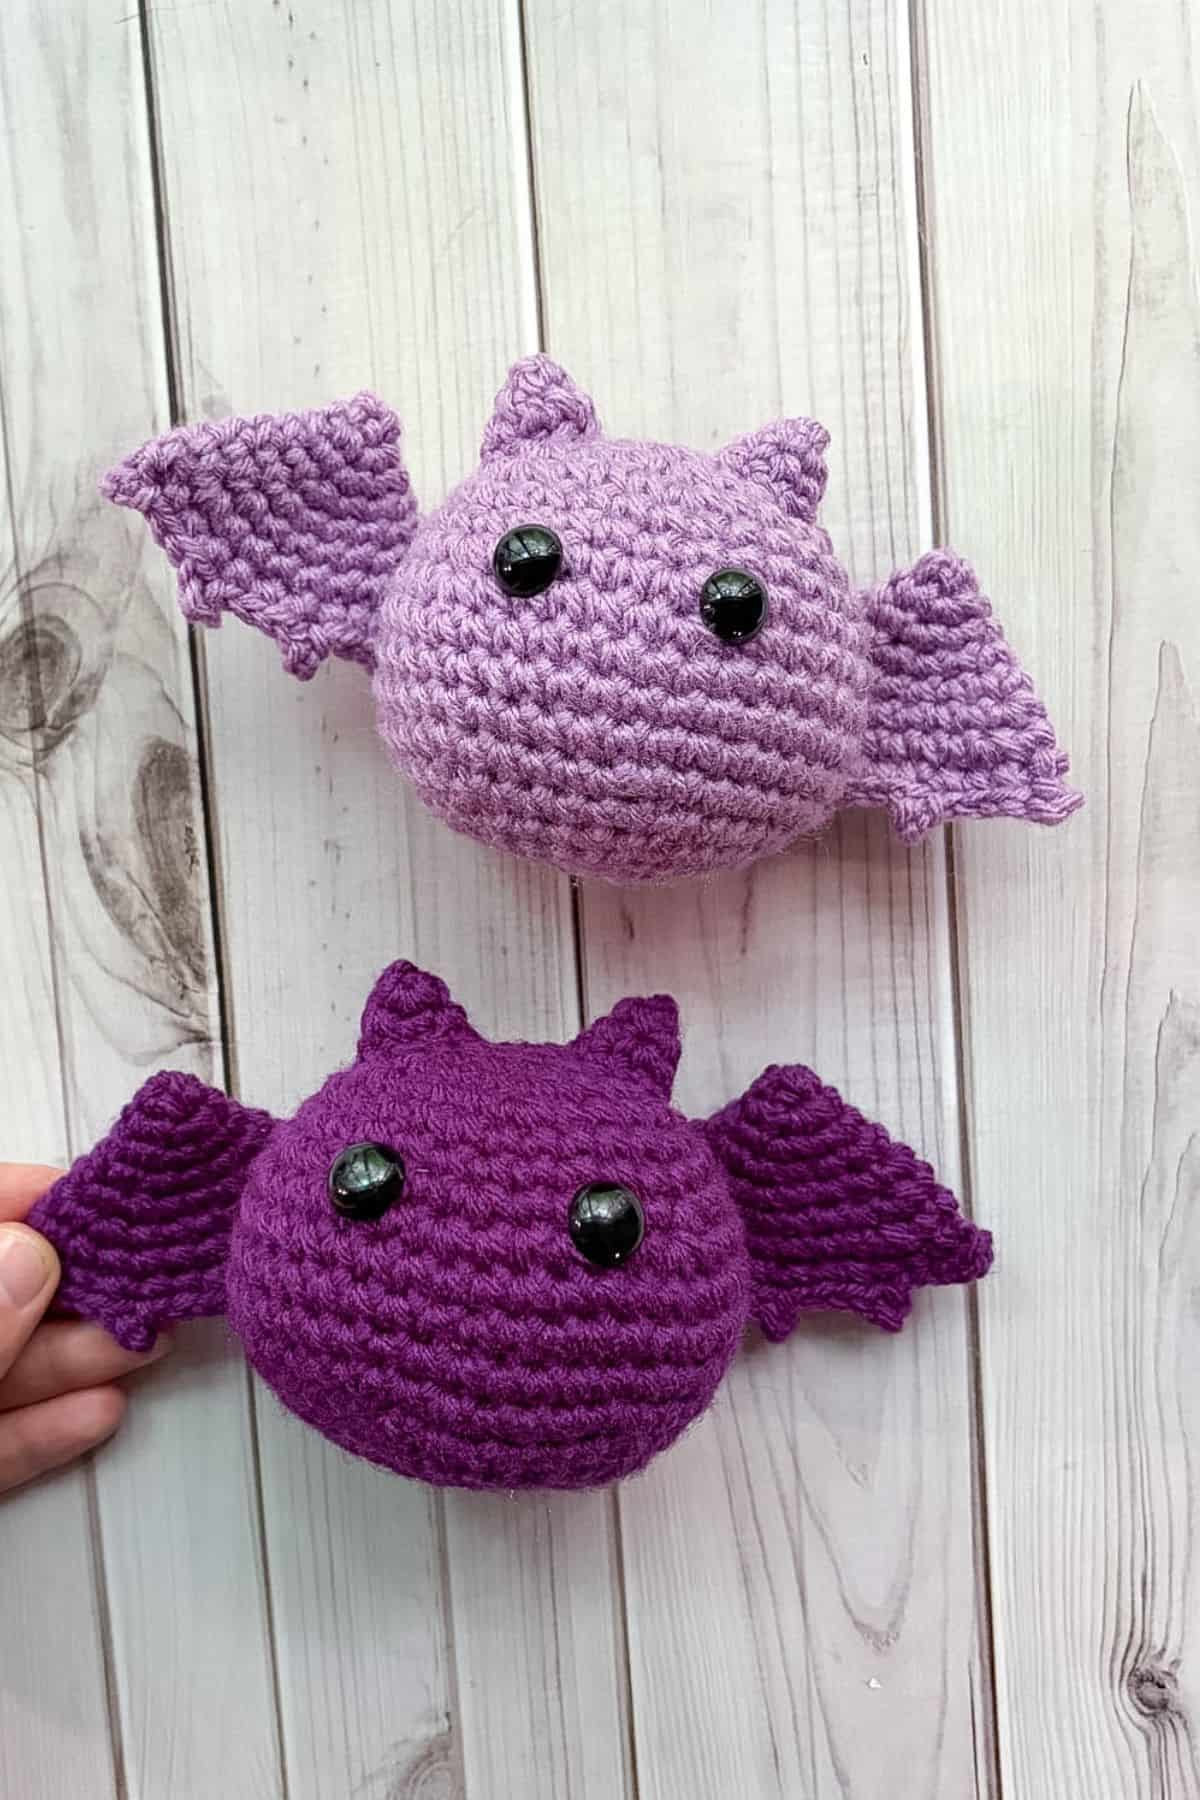
I made my bat purple, but feel free to use any color! You can also adapt the free amigurumi bat pattern to create a Moth Man by making the ears taller and rounded at the top for antennae, and by omitting the little spiky bumps in the last row of the bat wings.
🍵 Instructions for Free Amigurumi Bat Pattern
The free amigurumi bat pattern is made in rounds.
Crochet Bat Body:
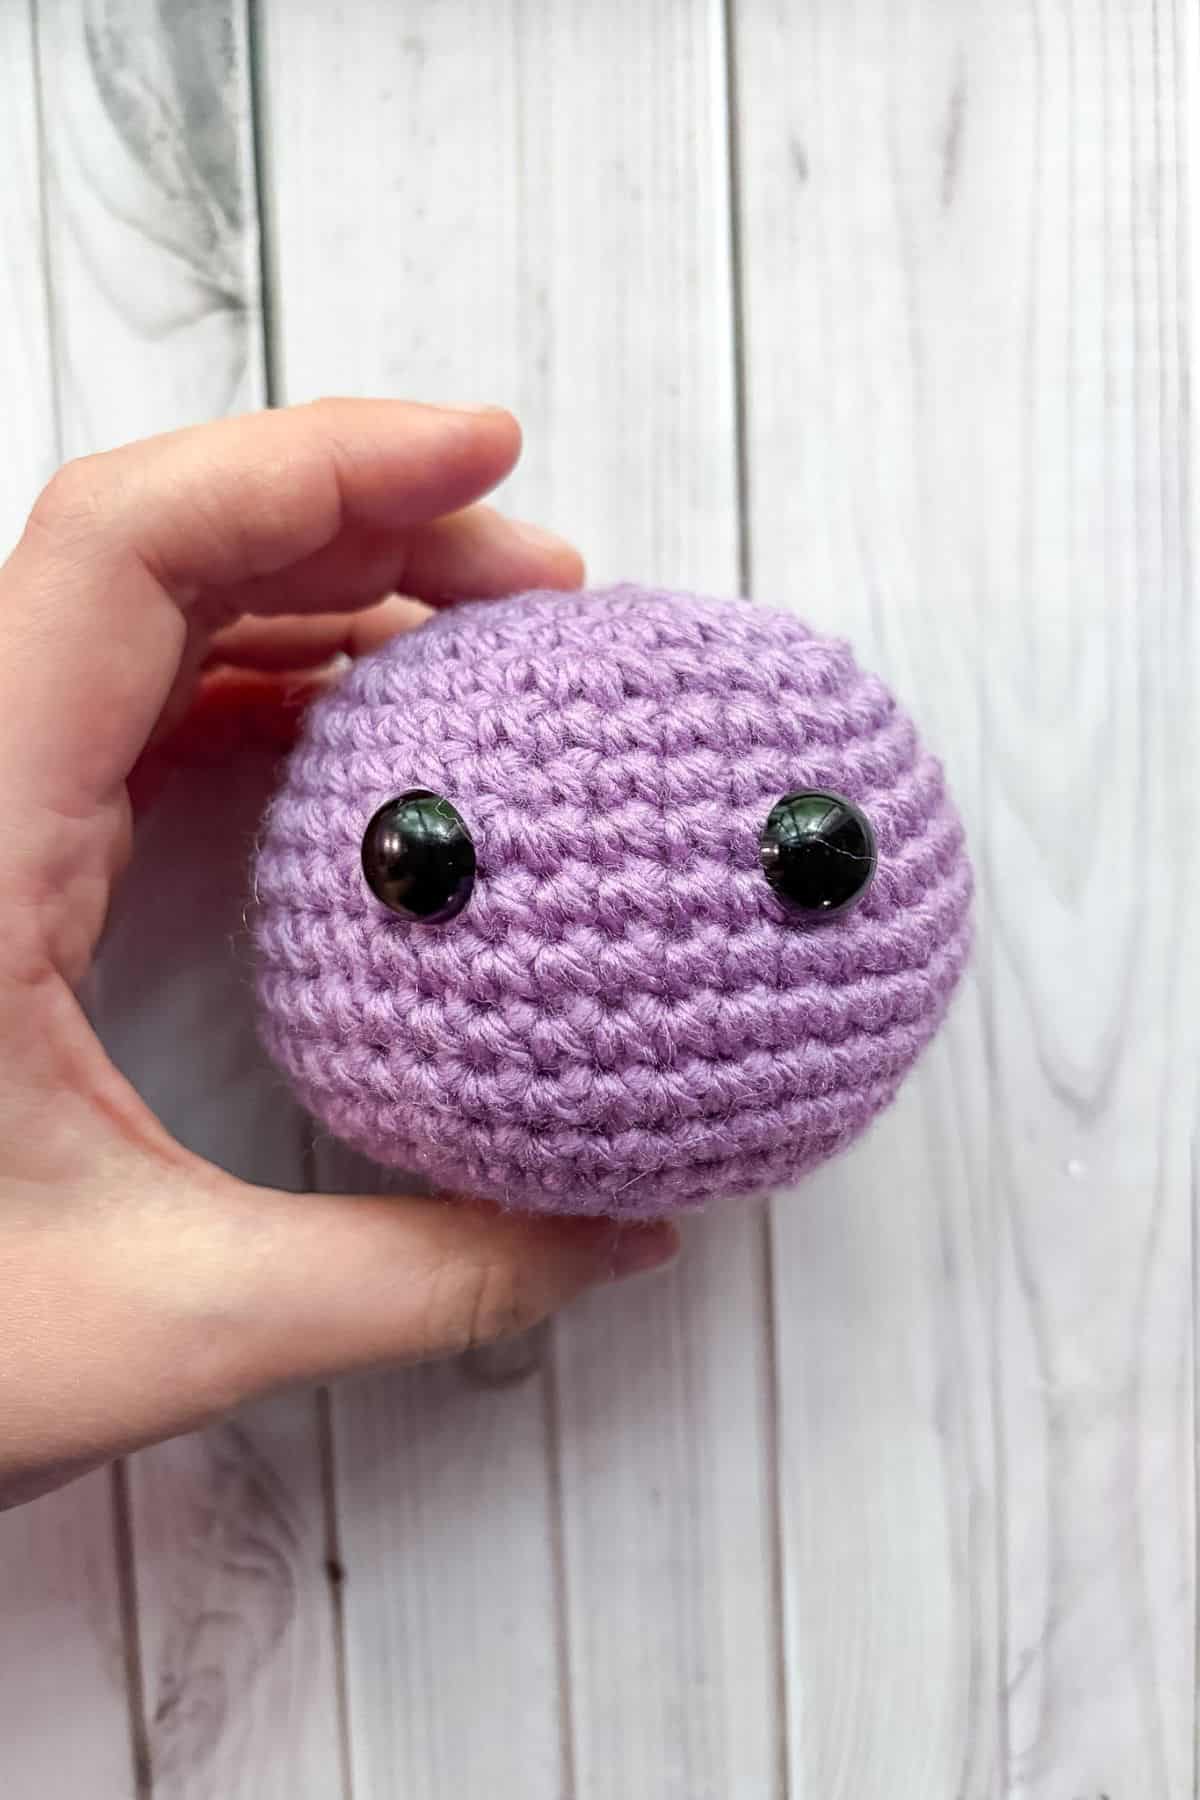
Round 1: Ch x6 and turn. Starting in the second ch from the hook, sc x4. In the last ch you will sc x3 and turn over to the unworked side of the chain. Sc x3 and then make a sc inc. Sl st to the first sc you made (this is the only time we will sl st at the end of the round) (12).
Round 2: Inc, sc. Then repeat for the rest of the round (18).
Round 3: Inc, sc x2. Then repeat for the rest of the round (24).
Round 4: Inc, sc x3. Then repeat for the rest of the round (30).
Round 5-6: Sc in every stitch (30).
Round 7: Inc, sc x4. Then repeat for the rest of the round (36).
Round 8: Inc, sc x5. Then repeat for the rest of the round (42).
Round 9-12: Sc in every stitch (42).
Round 13: Dec, sc x5. Then repeat for the rest of the round (36).
Round 14: Dec, sc x4. Then repeat for the rest of the round (30). Add the safety eyes between rounds 7-8 roughly 4-5 stitches apart.
Round 15: Dec, sc x3. Then repeat for the rest of the round (24). Start to stuff the bat.
Round 16: Dec, then sc. Then repeat for the rest of the round (16). You are reducing by 8 this round and next round.
Round 17: Dec. Then repeat for the rest of the round (8). Fasten off the yarn and sew the head closed.
Crochet Ears x2:
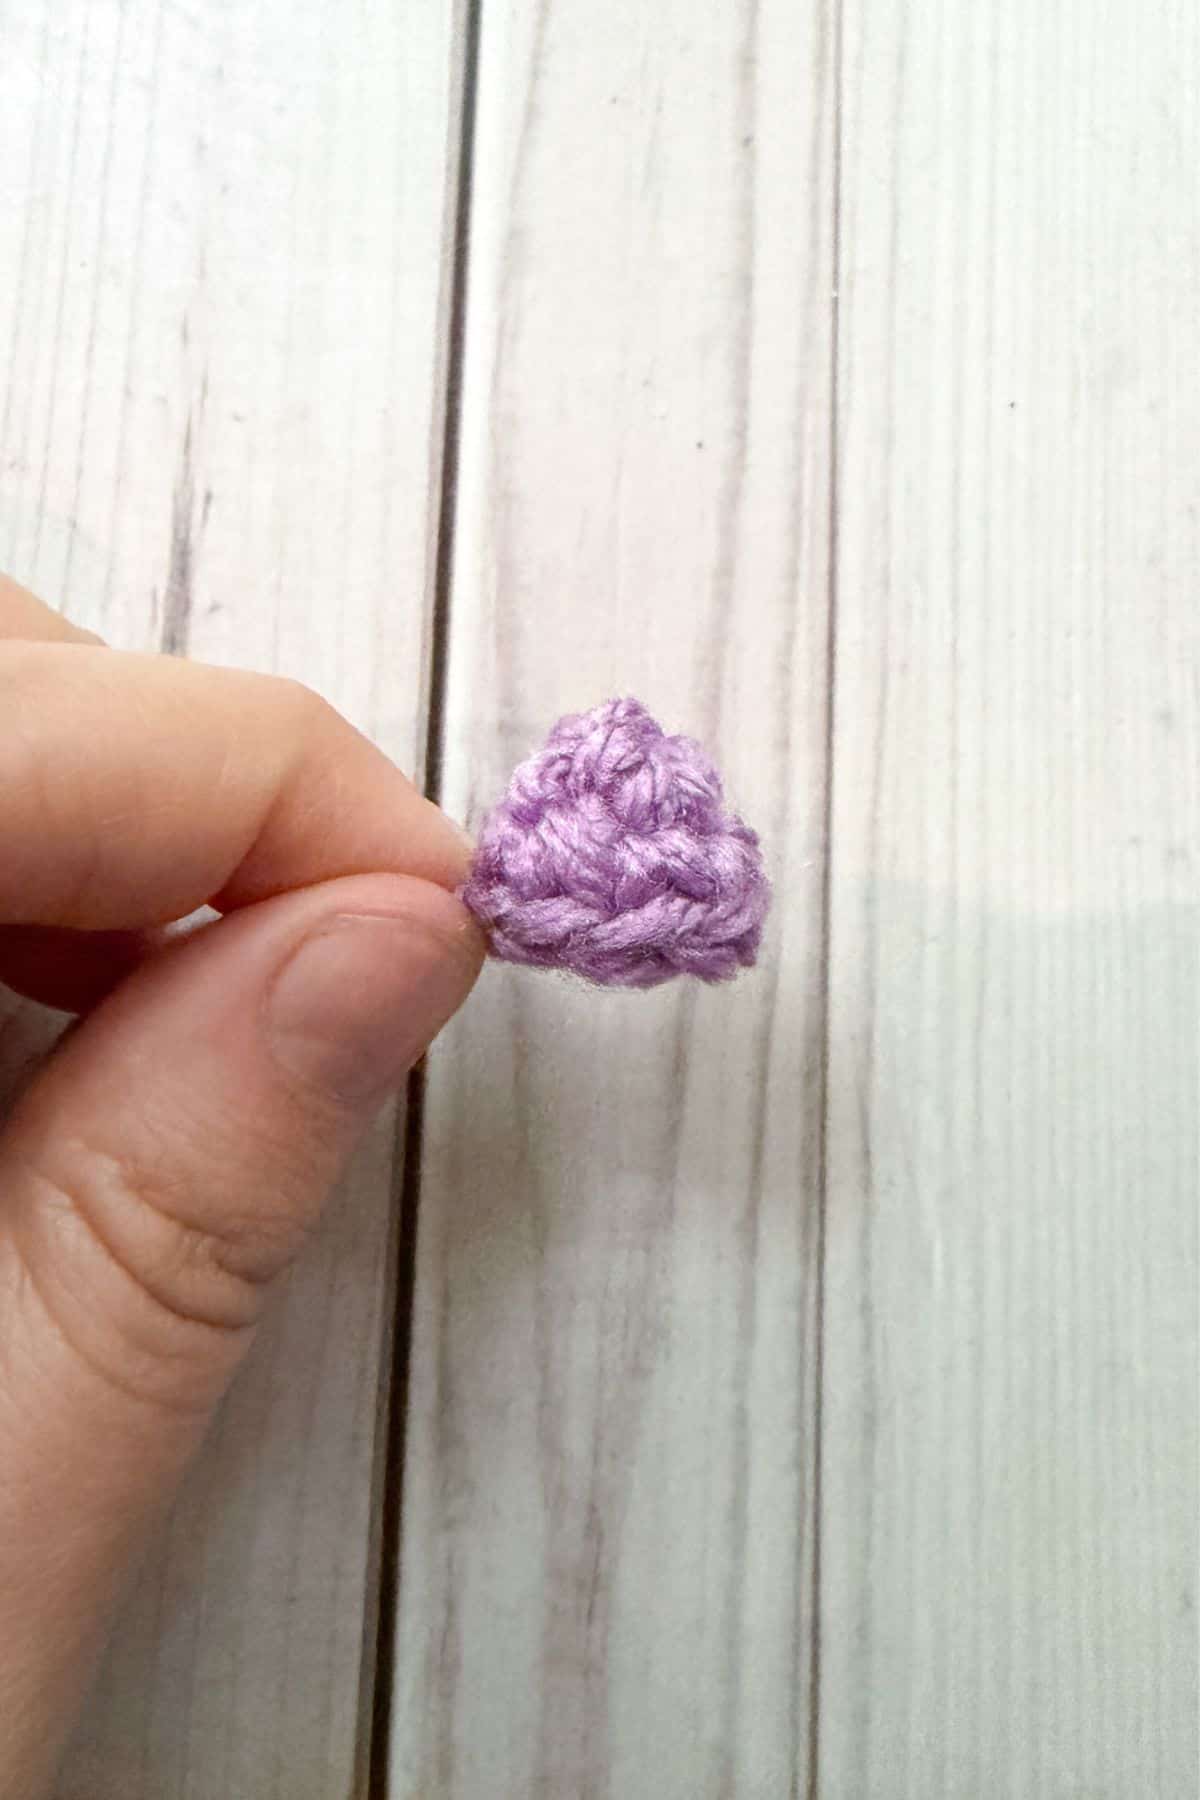
Round 1: Make a mr, and sc x3 into the circle (3).
Round 2: Inc. Then repeat for the rest of the round (6).
Round 3: Inc, sc. Then repeat for the rest of the round (9).
Fasten off the yarn and leave a tail for sewing.
Wings x2:
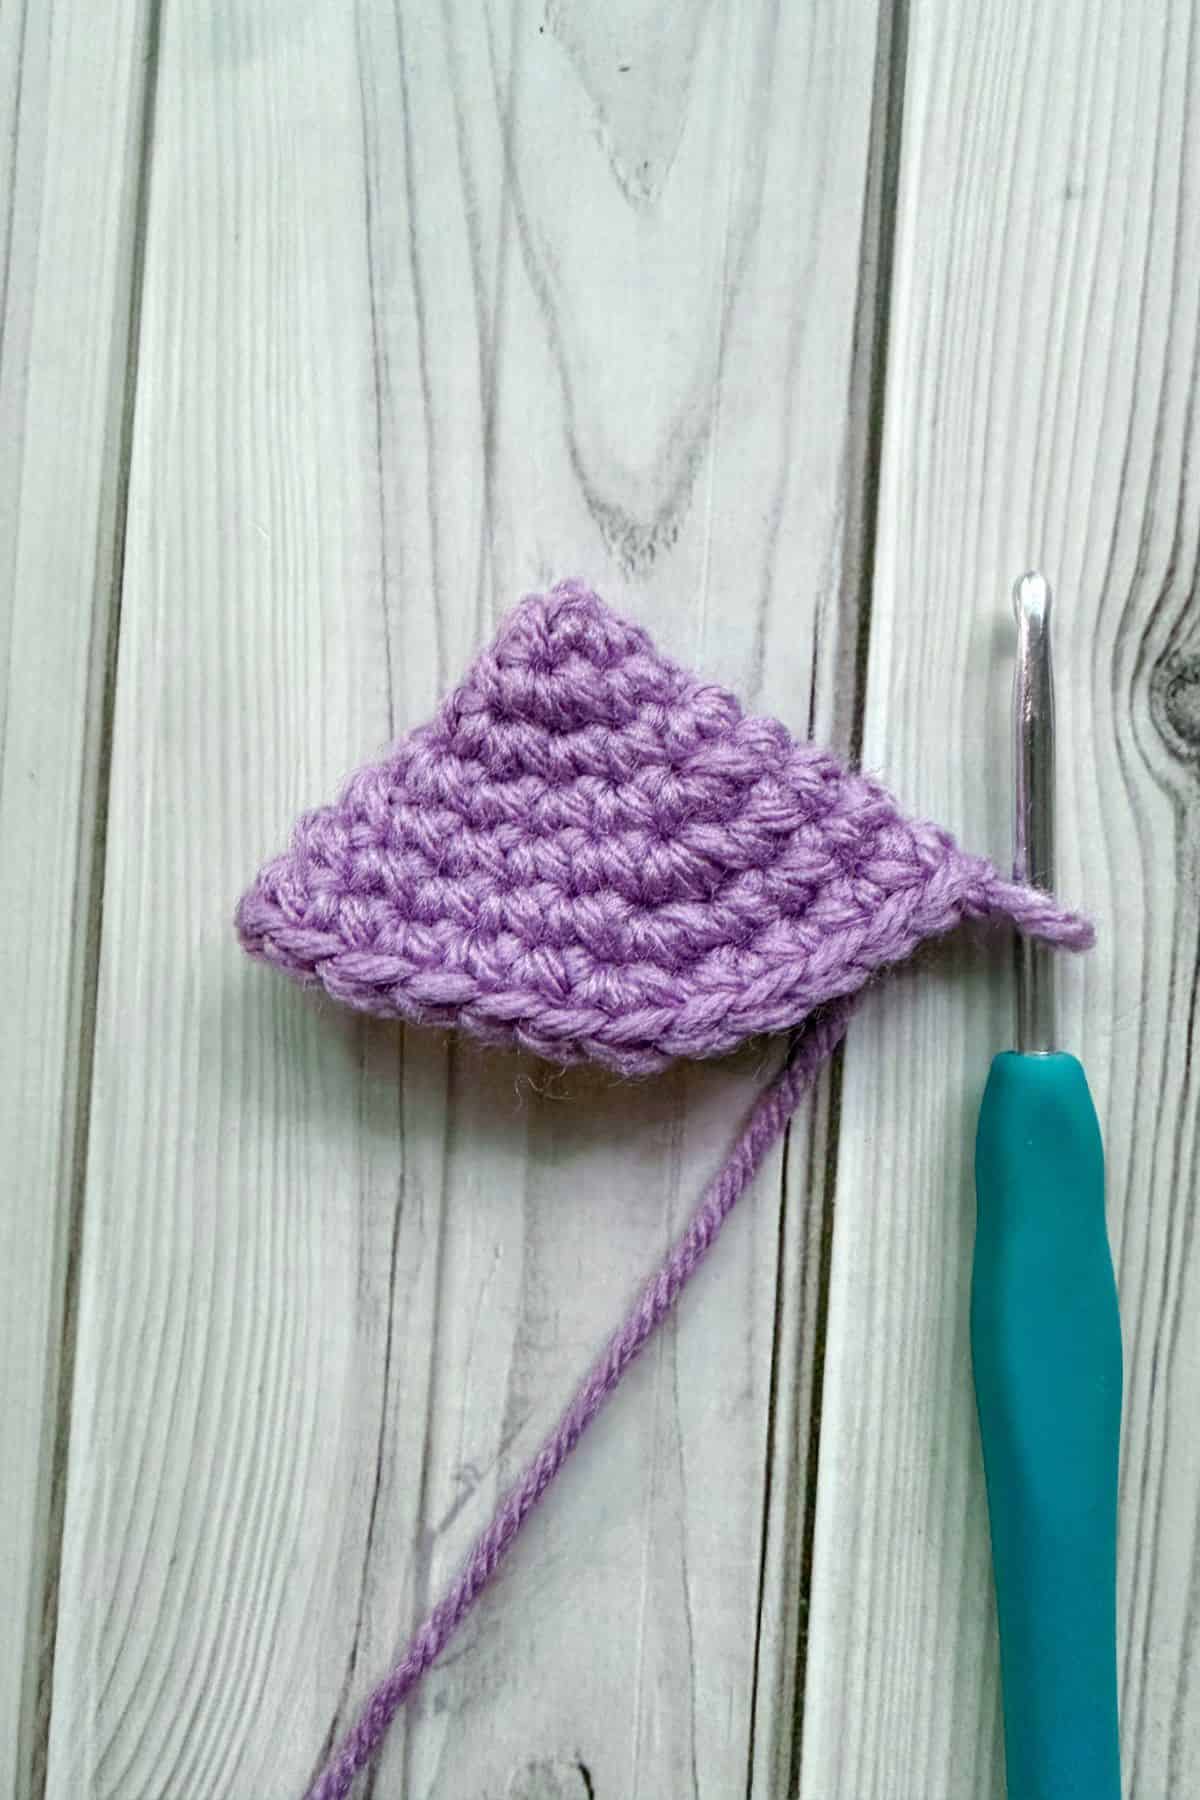
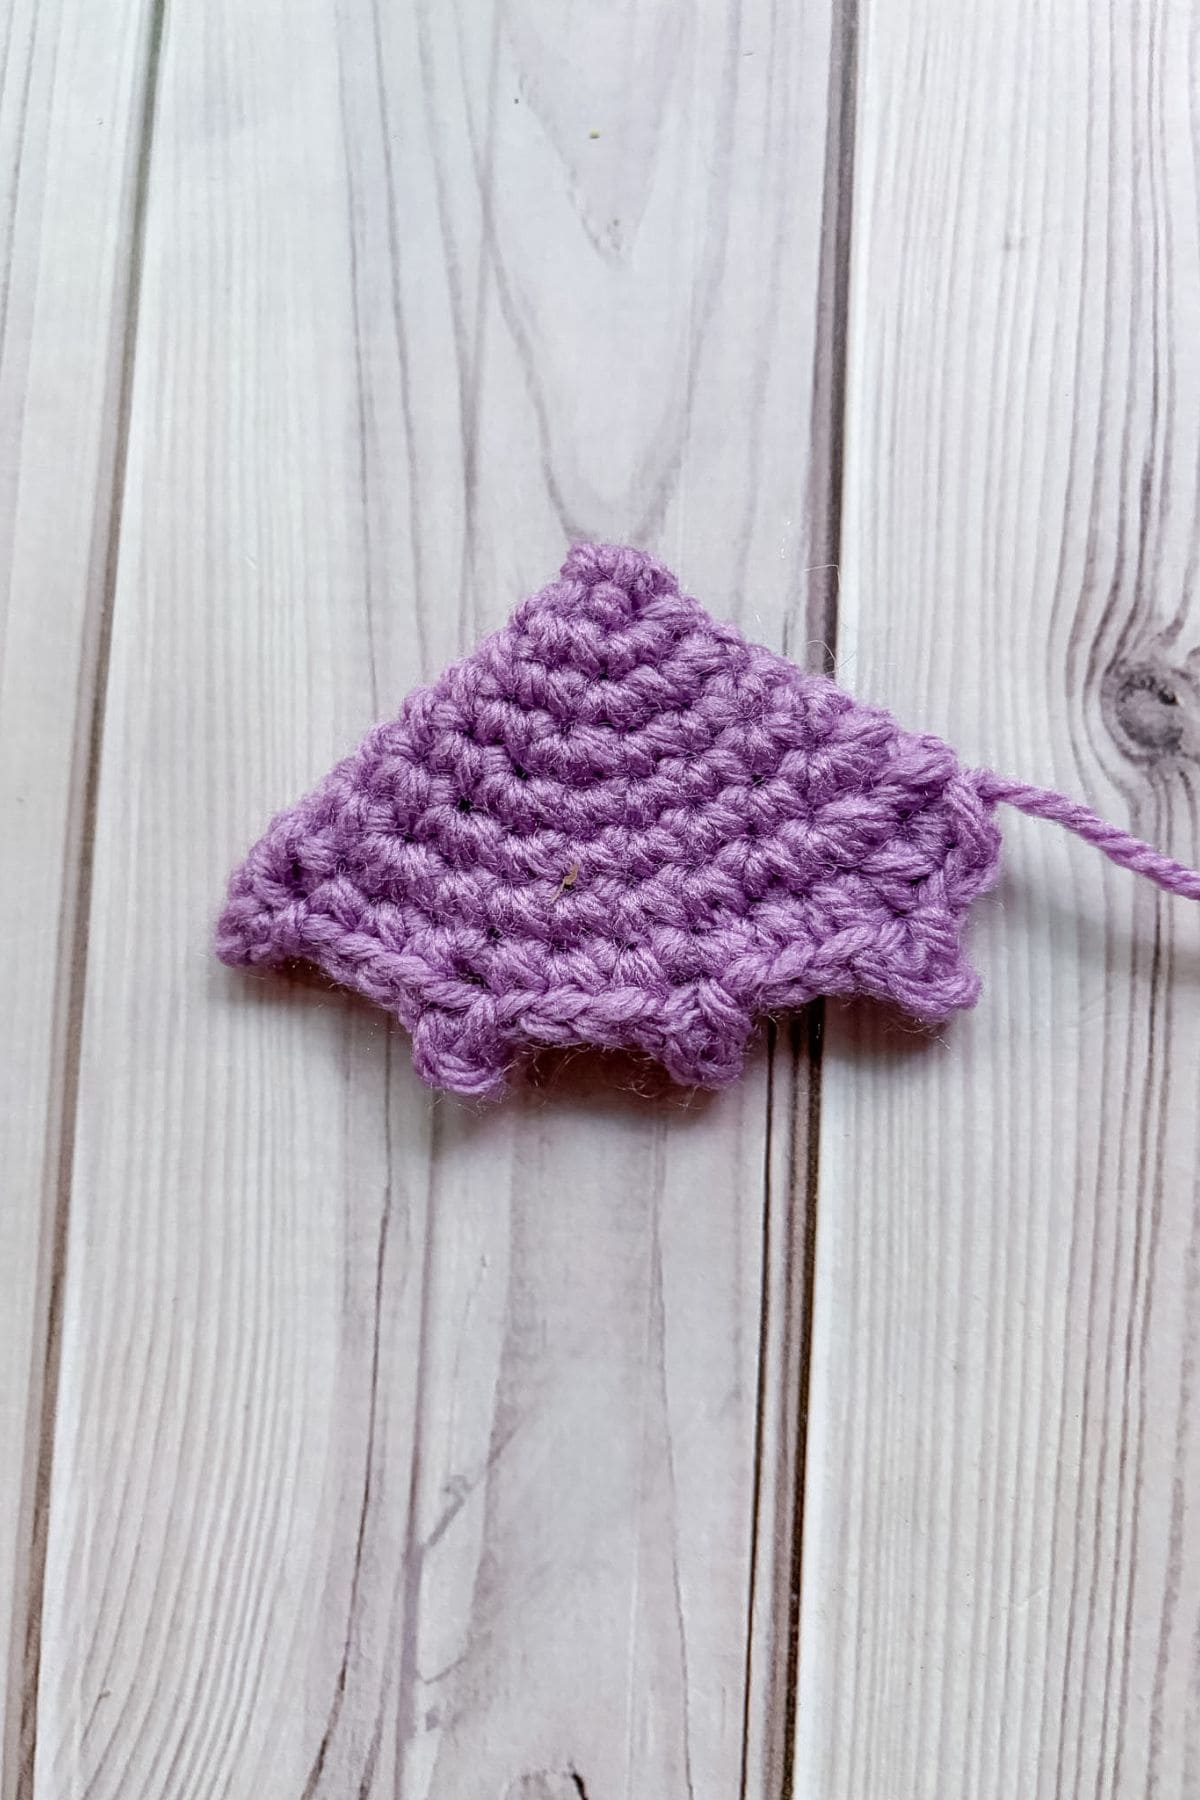
Round 1: Make a mr, and sc x3 into the circle (3).
Round 2: Inc. Then repeat for the rest of the round (6).
Round 3: Inc, sc. Then repeat for the rest of the round (9).
Round 4: Inc, sc x2. Then repeat for the rest of the round (12).
Round 5: Inc, sc x3. Then repeat for the rest of the round (15).
Round 6: Inc, sc x4. Then repeat for the rest of the round (18).
Round 7: Inc, sc x5. Then repeat for the rest of the round (21).
Round 8: Inc, sc x6. Then repeat for the rest of the round (24).
At this point fold the wing in half and have the stitch you are currently working in on the edge.
*Ch x3 and sl st into the 3rd ch from the hook. Sc into the next 3 stitches. Repeat from * 3 more times. After doing the LAST ch x3, sl st combo, you will only sc in the last 2 stitches available.
Fasten off the yarn and leave a tail for sewing.
Sewing:
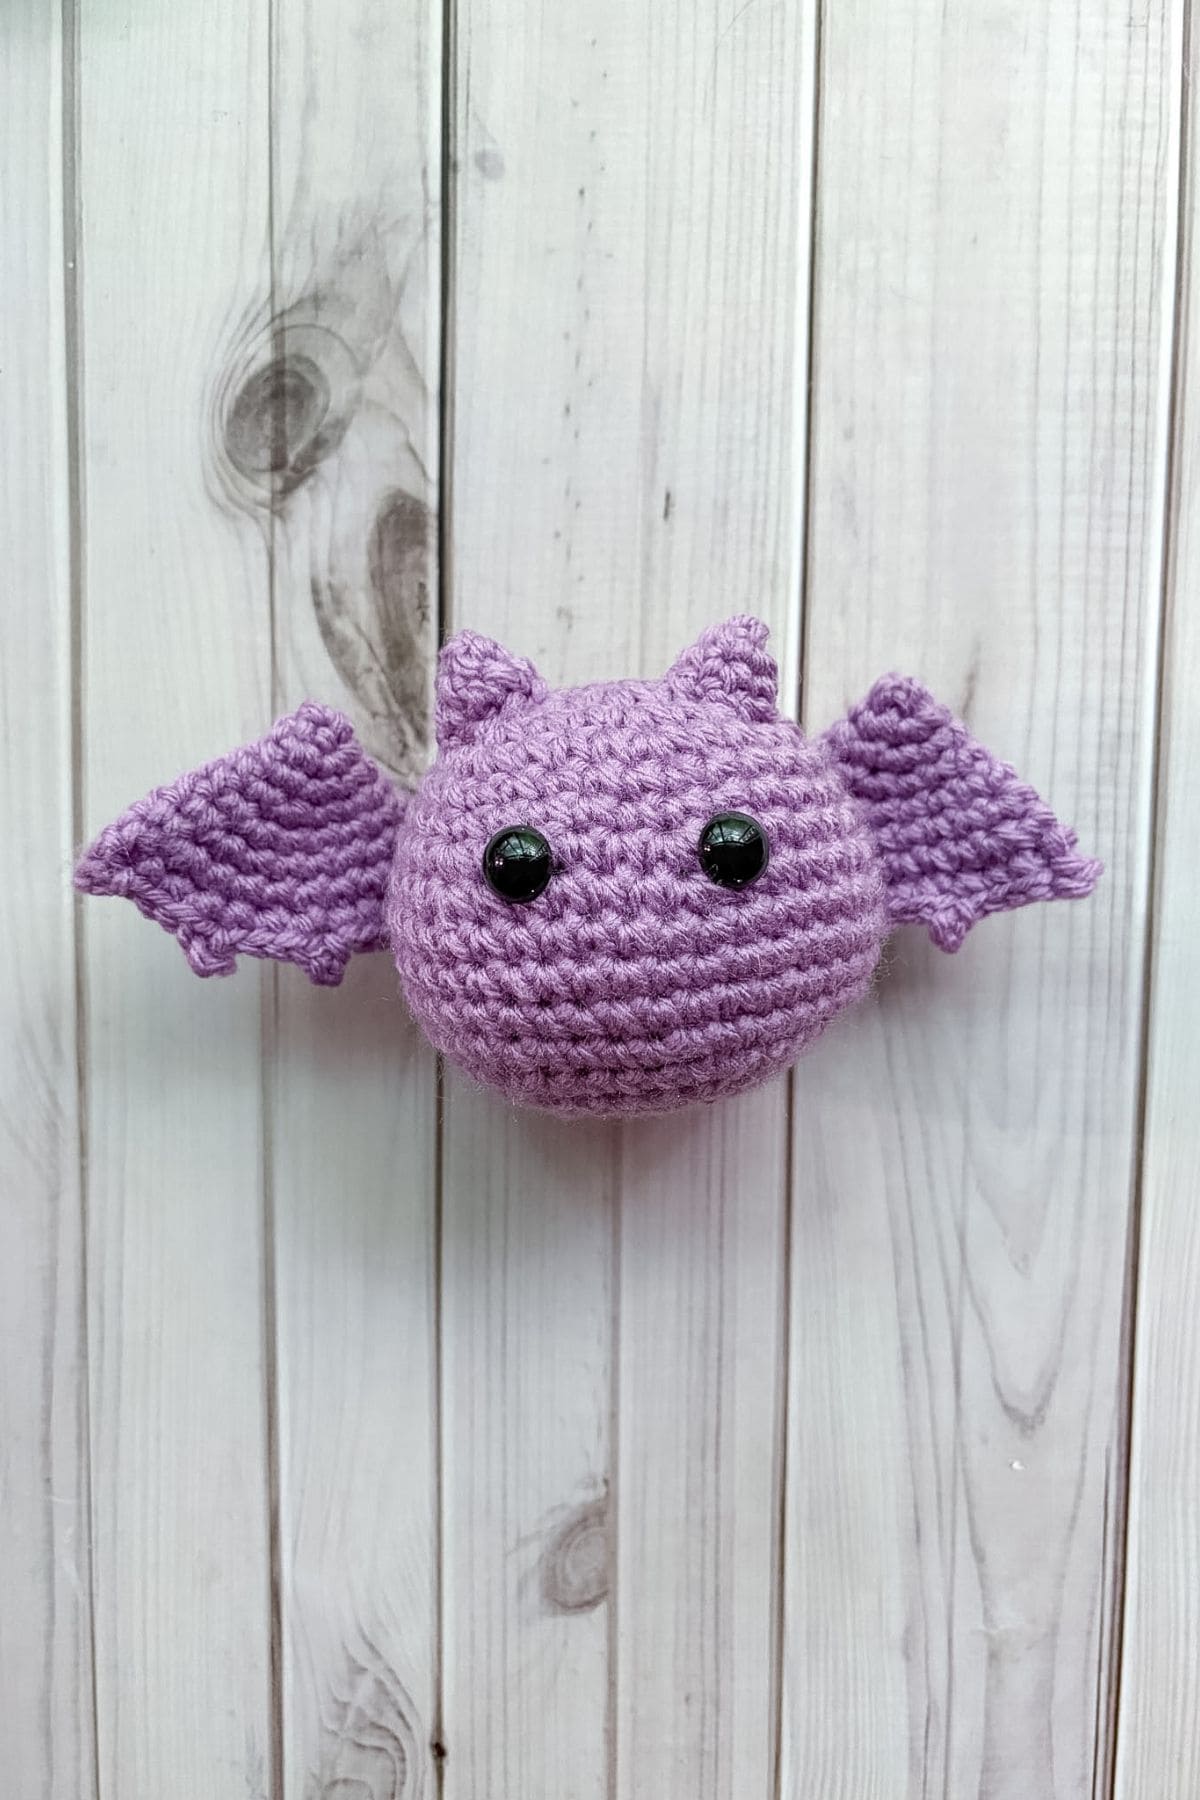
- Sew each ear onto the top of the head. I added the ears to the opposite sides of the chain that I used to start the crochet bat body.
- Sew the wings to the body. They are sewn to the back of the body roughly across from where you placed the eyes in the front (there should be a 2 inch gap between the wings on the back).
And now you have a beautiful handmade crochet bat plush made from my free amigurumi bat pattern! You can make more and have an army of crochet bat plushies at your disposal. I hope you enjoyed making this easy crochet bat with me!
If you have extra purple yarn, you can make my crochet potion bottle pattern for extra spooky decorations!
Or if you are looking for more Halloween patterns my crochet moon pillow pattern is cute and easy to make.
Or you can add the bat to my crochet pumpkin patterns like the crochet jack o lantern pattern and the crochet patchwork pumpkin pattern as a little sewn on friend.
🐌Expert Tips
- Choosing the Right Hook Size: If your stitches are too loose for the bat crochet pattern, consider switching to a smaller hook size to maintain the integrity of the plush.
- Yarn Alternatives: If you want a sturdier bat, try using a cotton blend for a firmer finish, especially if you plan on displaying it.
- Personalization: Add details like felt fangs or wings using fabric scraps to give your bat a unique look.
🧵 Pattern FAQs
I suggest using amigurumi sticks that are like little rods that hold it together. Otherwise sewing pins or skewers can work.
Yup! You can follow the increase sequence and just add more rounds.
Once I am almost done making the head, I stuff the head slightly and then take my safety eyes and place them where I think they would look best. I then leave the eyes in, take the stuffing out, and secure the eyes with the safety backs. I then restuff the head and finish it off.
🧶More Crochet Halloween Patterns


If you tried this Free Amigurumi Bat Pattern (or any other pattern on my website), please let me know how it went in the 📝 comments below. I'd love to hear from you!
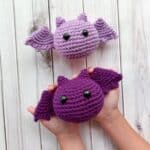
Free Amigurumi Bat Pattern
Materials
Abbreviations (US terms)
- Magic ring - mr
- Single crochet - sc
- Increase (inc) - 2 stitches in the same stitch
- Chains - ch
- Decrease (dec) - 1 stitch combining 2 stitches
- Slip stitch - sl st
Notes
- Yarn Choices: I used acrylic yarn for the free amigurumi bat pattern, but you can also use cotton or chunky yarn if you want to make a larger crochet bat. Avoid wool unless you're okay with it shrinking after washing.
- Stitch Tightness: My stitches are tight when I single crochet. If you have trouble keeping your stitches tight, try yarning under during a single crochet instead of yarning over. This method naturally creates a tighter stitch. It might take a little practice, but many amigurumi makers recommend yarning under.
- Size: The crochet bat pattern is roughly 7-8inches wide and 3.5 inches tall.
Instructions
- The free amigurumi bat pattern is made in rounds.
Crochet Bat Body:
- Round 1: Ch x6 and turn. Starting in the second ch from the hook, sc x4. In the last ch you will sc x3 and turn over to the unworked side of the chain. Sc x3 and then make a sc inc. Sl st to the first sc you made (this is the only time we will sl st at the end of the round) (12).
- Round 2: Inc, sc. Then repeat for the rest of the round (18).
- Round 3: Inc, sc x2. Then repeat for the rest of the round (24).
- Round 4: Inc, sc x3. Then repeat for the rest of the round (30).
- Round 5-6: Sc in every stitch (30).
- Round 7: Inc, sc x4. Then repeat for the rest of the round (36).
- Round 8: Inc, sc x5. Then repeat for the rest of the round (42).
- Round 9-12: Sc in every stitch (42).
- Round 13: Dec, sc x5. Then repeat for the rest of the round (36).
- Round 14: Dec, sc x4. Then repeat for the rest of the round (30). Add the safety eyes between rounds 7-8 roughly 4-5 stitches apart.
- Round 15: Dec, sc x3. Then repeat for the rest of the round (24). Start to stuff the bat.
- Round 16: Dec, then sc. Then repeat for the rest of the round (16). You are reducing by 8 this round and next round.
- Round 17: Dec. Then repeat for the rest of the round (8). Fasten off the yarn and sew the head closed.
Crochet Ears x2:
- Round 1: Make a mr, and sc x3 into the circle (3).
- Round 2: Inc. Then repeat for the rest of the round (6).
- Round 3: Inc, sc. Then repeat for the rest of the round (9).
- Fasten off the yarn and leave a tail for sewing.
Wings x2:
- Round 1: Make a mr, and sc x3 into the circle (3).
- Round 2: Inc. Then repeat for the rest of the round (6).
- Round 3: Inc, sc. Then repeat for the rest of the round (9).
- Round 4: Inc, sc x2. Then repeat for the rest of the round (12).
- Round 5: Inc, sc x3. Then repeat for the rest of the round (15).
- Round 6: Inc, sc x4. Then repeat for the rest of the round (18).
- Round 7: Inc, sc x5. Then repeat for the rest of the round (21).
- Round 8: Inc, sc x6. Then repeat for the rest of the round (24).
- At this point fold the wing in half and have the stitch you are currently working in on the edge.
- *Ch x3 and sl st into the 3rd ch from the hook. Sc into the next 3 stitches. Repeat from * 3 more times. After doing the LAST ch x3, sl st combo, you will only sc in the last 2 stitches available.
- Fasten off the yarn and leave a tail for sewing.
Sewing:
- Sew each ear onto the top of the head. I added the ears to the opposite sides of the chain that I used to start the crochet bat body.
- Sew the wings to the body. They are sewn to the back of the body roughly across from where you placed the eyes in the front (there should be a 2 inch gap between the wings on the back).
- And now you have a beautiful handmade crochet bat plush made from my free amigurumi bat pattern! You can make more and have an army of crochet bat plushies at your disposal. I hope you enjoyed making this easy crochet bat with me!


Aly says
Hi, for the body round 1... is that supposed to be a magic ring with 6 sc, then a ch
Or is it supposed to be ch 7?
Kimberly Arenas says
The head and body are made in one piece and starts with the head, which doesn't start with a magic ring. Instead, you want to ch x6 +1 which will be used as the turning chain so 7 chains total.
Aly says
thanks!
Bri says
hi. im trying to make the ears and i dont know why but i just cant seem to figure them out
Kimberly Arenas says
Hi! The wording was a bit weird, so I edited it for clarity, essentially you want to make a magic ring or magic circle (it's the same thing), then single crochet 4 into it instead of what would normally be 6. Then in the second round make 2 single crochets in 1 stitch (single crochet increase) and 1 single crochet in the next stitch, repeat 1 more time to complete the round. You should have 6 stitches. Then you are going to repeat making a single crochet increase and then a single crochet like the last round, but 3 times this round so you have 9 stitches. Then in the 4th round, single crochet increase, and then in the next 2 stitches just make a single crochet in each. Then repeat 2 more times so you have 12 total stitches.
Briana says
Whenever I do that though, I just end up with a girl. i know it has to be a me error i just cant seem to figure it out
Kimberly Arenas says
Another alternative you can do are tiny flat triangles where you chain 4, then sc x3 starting in the second chain (3), ch x1 and then sc and then a decrease (2), ch x1 and then decrease for the top row for the ear.
Jana Lee says
The instructions for the wings do not indicate that it is not worked in the round. There needs to be something added to the end that states you turn and go back around in rows.
KimberlyArenas says
Hi! The bat wing is supposed to be worked in a continuous spiral round and then folded over to create the bat wing effect. I have updated that part of the instructions so it reads clearer, Thank you for bringing it to my attention!