

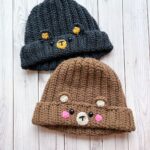
This easy Crochet Bear Hat Pattern will keep you warm during fall and winter while being super cute! Come make the crochet bear hat with me; it can be adjusted to fit any size head!

The crochet bear hat pattern is a fantastic choice for beginners looking to build their skills while creating something adorable and functional.
This pattern uses only one type of stitch for the base of the hat, making it simple and straightforward to follow. The flat rectangle method means you won’t have to worry about joining rounds, increasing, or decreasing stitches. This allows you to focus on mastering the basic crochet techniques.
Whether you're new to crocheting or simply looking for a quick project, this bear hat is a fun way to get started!
If you enjoy this hat pattern and want to explore similar designs, be sure to check out my crochet frog hat pattern for another delightful project that’s just as easy to make!
The crochet bear beanie is also very subtle in design. Unless you’re up close to the wearer, it appears to be a perfectly normal brown crochet beanie.
This makes it a versatile accessory that can be worn casually while still offering a charming touch of whimsy for both kids and adults alike.
Perfect for chilly days, this hat combines warmth and style, making it a delightful addition to anyone’s wardrobe.
Jump to:
✏️ Things To Note:
- Yarn Choices: I used acrylic yarn for this free crochet bear hat pattern, but any type of yarn—like cotton or wool—would work well. Just adjust the stitch count and rows as needed.
- Sizing Information: By using a 5.5mm hook, my crochet rectangle for the beanie pattern measures roughly 14 inches by 22 inches. I would say my head is about medium-sized, so it should fit an adult medium/large. If you need to adjust the height or length to fit someone’s head, please do so!
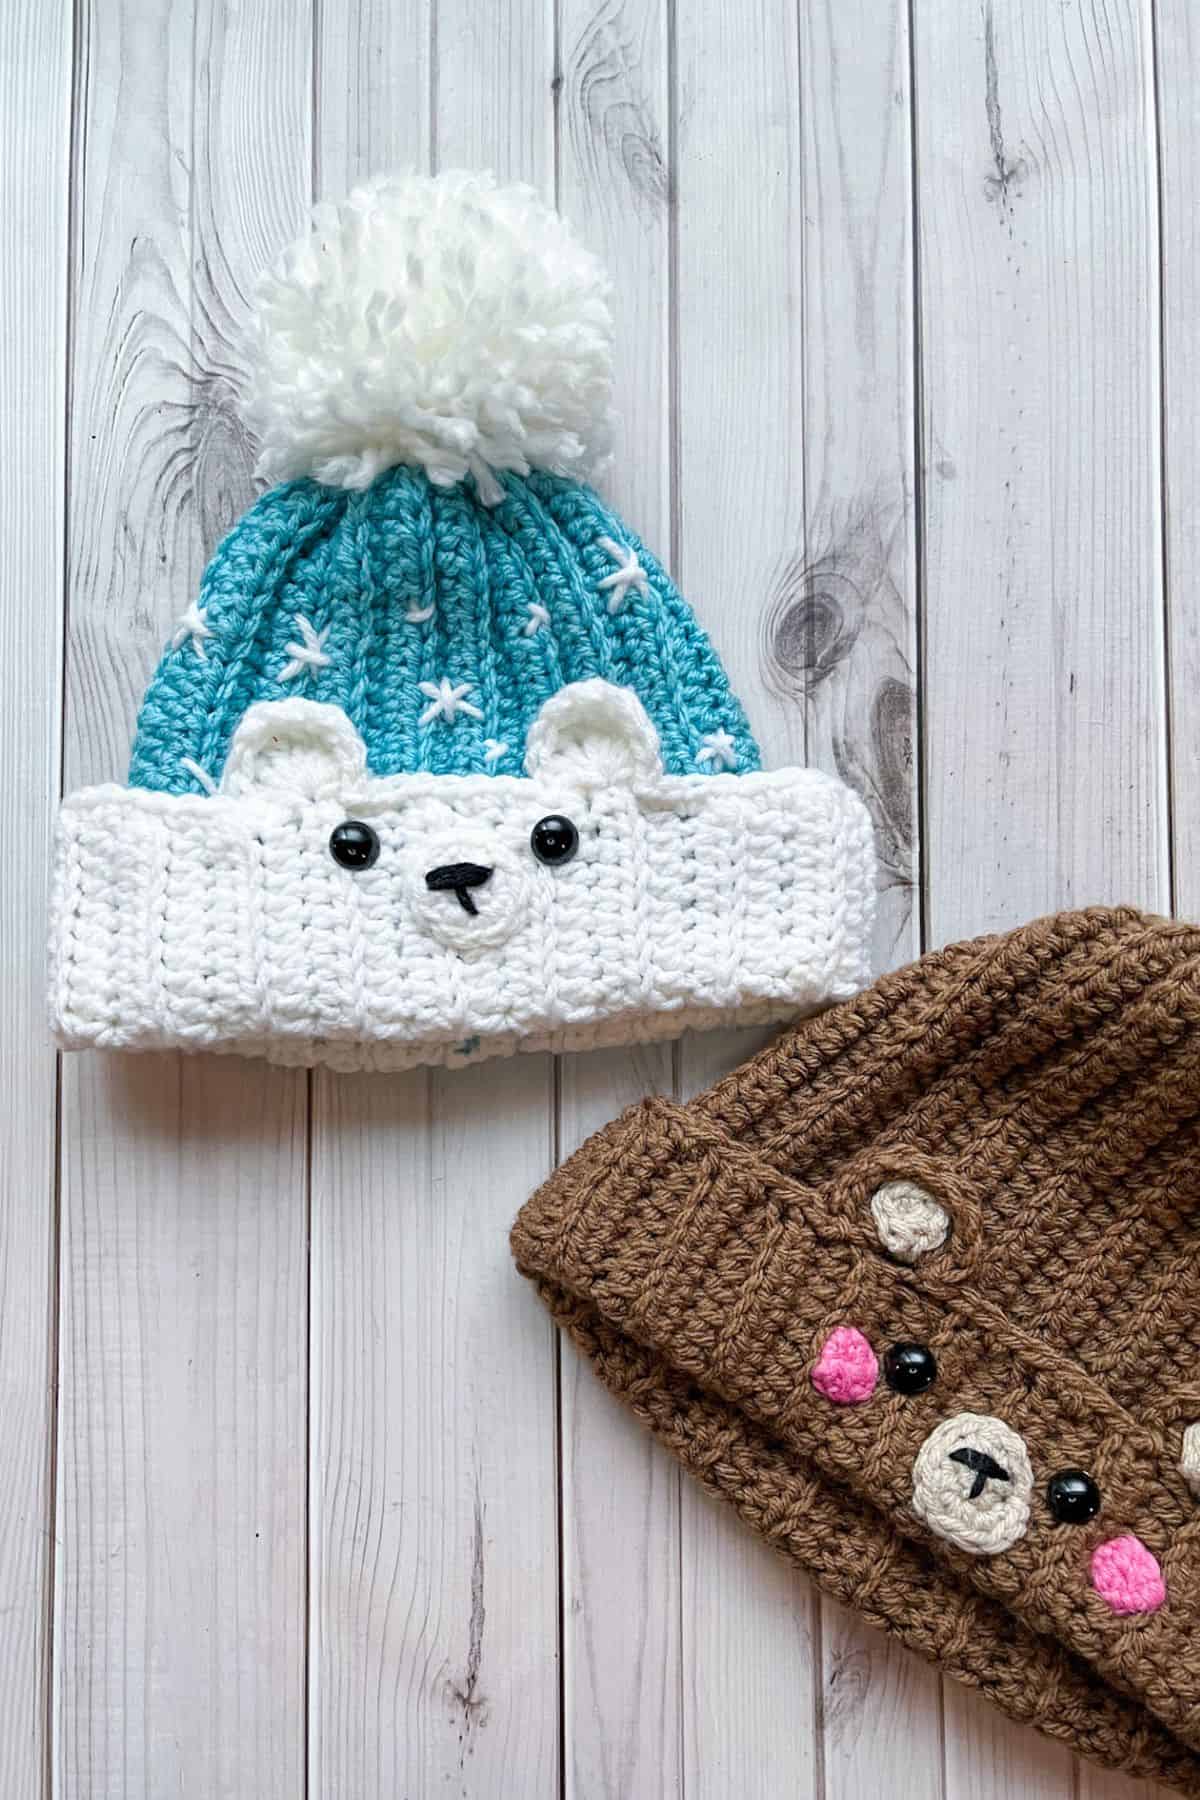
- Child Size Adjustments: If you’re making this crochet bear hat pattern for a child, I recommend chaining 25-30 and then following the pattern as normal, but only doing 30-35 rows. Adjust as needed, as it all depends on the child's age. I have never made this hat for a child, so please keep size in mind; these suggestions may need to change. You can check out my crochet polar bear hat - which is sized to fit a toddler for reference.
🪡 Materials Needed
- 1 skein of Red Heart Cafe Latte yarn
- 1 small ball of Red Heart Light Raspberry yarn
- 1 small ball of Red Heart Buff yarn
- And a small amount of black yarn
- Safety eyes (12mm)
- 5.5mm hook
- Tapestry needle for weaving in the ends and sewing pieces together
💭 Abbreviations to Remember (US Terms)
- Magic ring (mr)
- Single crochet (sc)
- Chains (ch)
- Half double crochet (hdc)
- Back loop only (blo)
- Slip stitch (sl st)
- Double crochet (dc)
- Triple crochet (tr)
- Long triple crochet (long tr)
- Increase (inc)
🧋 Variations
Try switching up the color of the hat for different bear types, or change the ears for different animals like my cat hat crochet pattern.
🍵 Instructions for Crochet Bear Hat Pattern
For this pattern, we will mostly be working in rows.
Crochet Bear Beanie:
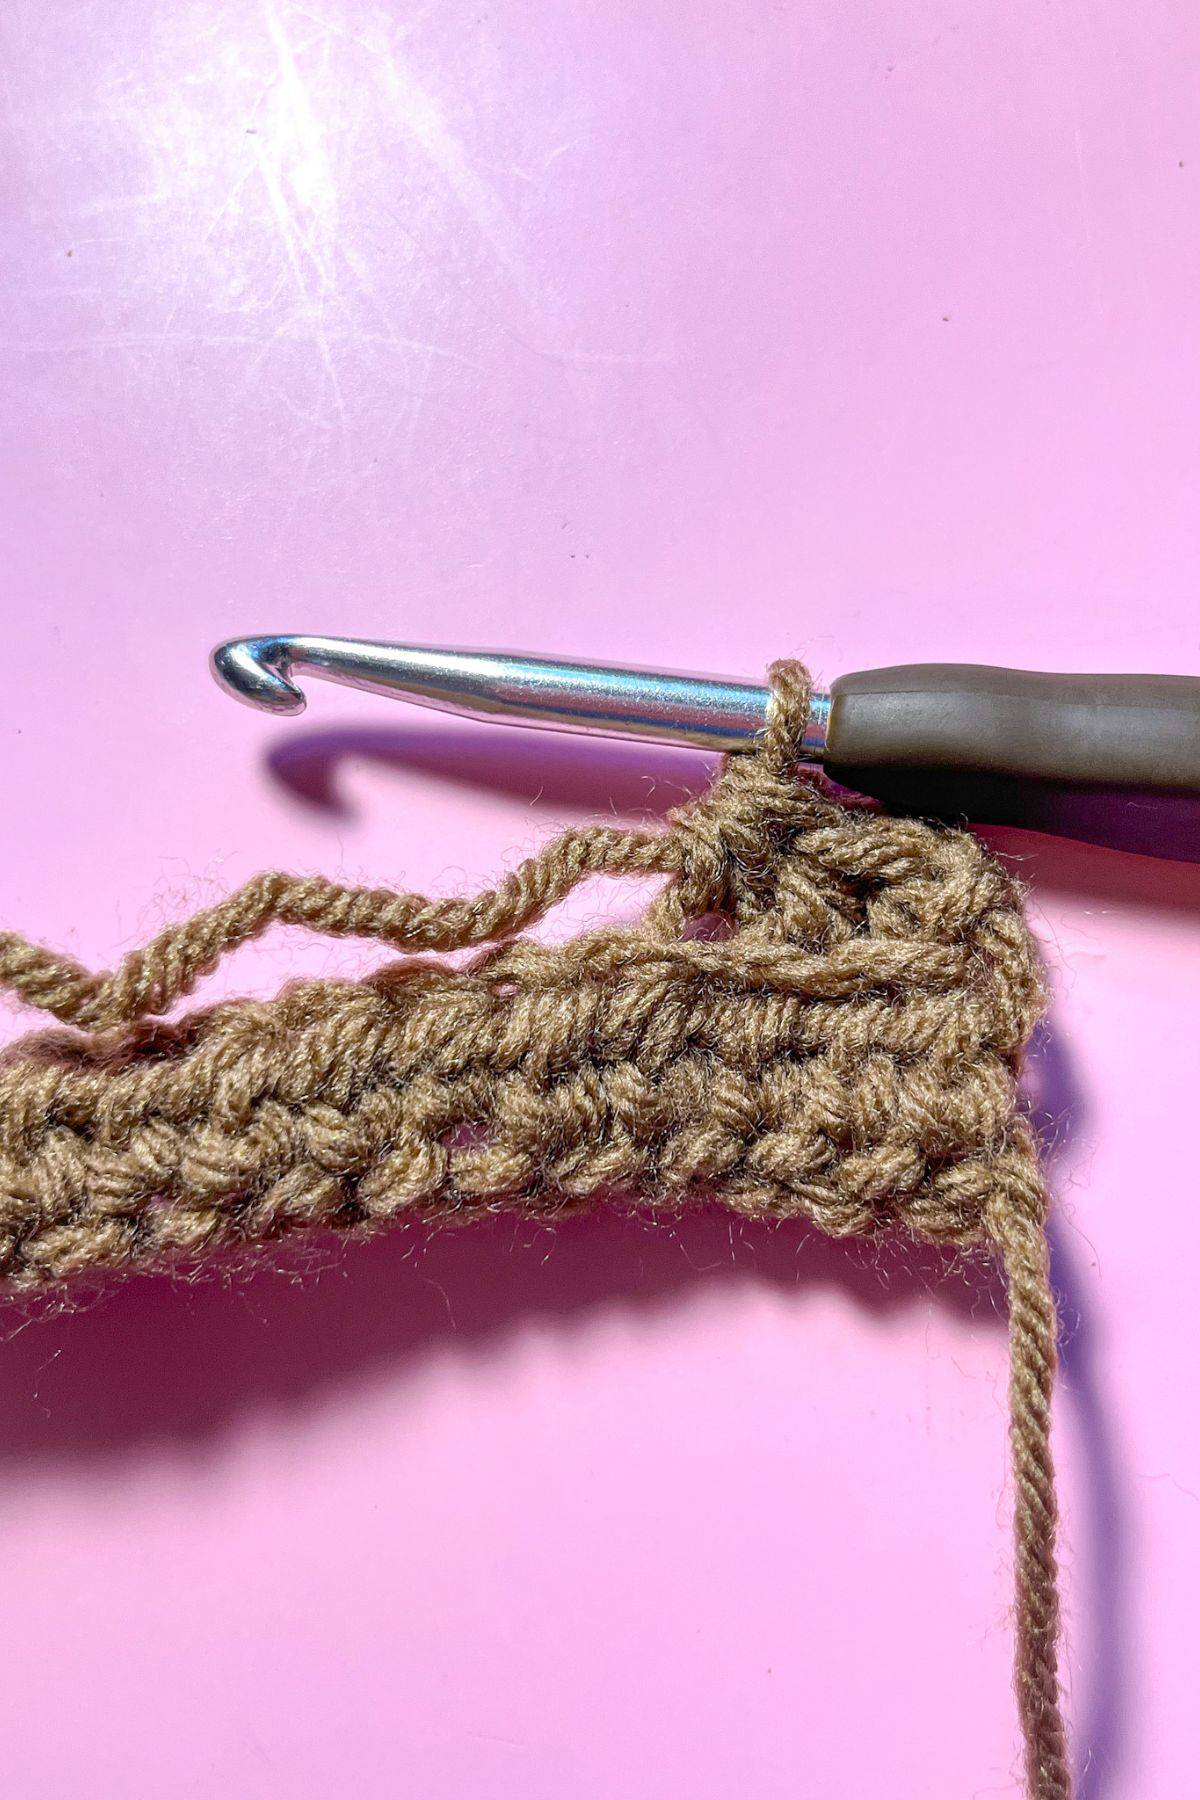
Ch x41, turn.
Row 1: In the second chain from the hook, make a hdc. Then continue to make hdc for the rest of the row (40). At the end of the row, ch x1 and turn.
Row 2: In blo, hdc for the entire row (40). Then ch x1 and turn.
Row 3-44: Repeat row 3. (40). Ch x1 and turn.
Use more or less rows depending on the size of the hat you are trying to achieve.

Before fastening off the yarn you want to fold the rectangle in half and then sew it or crochet it to form a tube.
After the side of the hat has been sewn together, take the yarn and cinch the top of the hat shut. Fasten off and weave in the end.
Once that is done, flip the hat inside out so now the sewn edges are on the inside of the hat.
Crochet Hat Brim:
The seam should be the back center of the hat. Join the brown yarn at the seam and then sc a quarter of the way around the hat (if the hat is laid flat with seam at the center, you should be at the side of the hat).
Sc x10.
Now for the bear ear:

Make a slip stitch in the next stitch. You are going to make the following stitches in the next stitch. Sl st, dc x2, tr, long tr x3, tr, dc x2, and sl st.
A long tr is just like a normal tr but you yarn over 3 times instead of 2 at the beginning and then go through 2 loops like normal as you are getting the loops off your hook (should have to do this 4 times to complete the stitch).
Sl st in the following stitch, then sc x7, then make the second ear just like the one above. Once that is done finish sc the rest of the brim. Fasten off and weave in the ends.
Crochet Inner Ear and Muzzle:
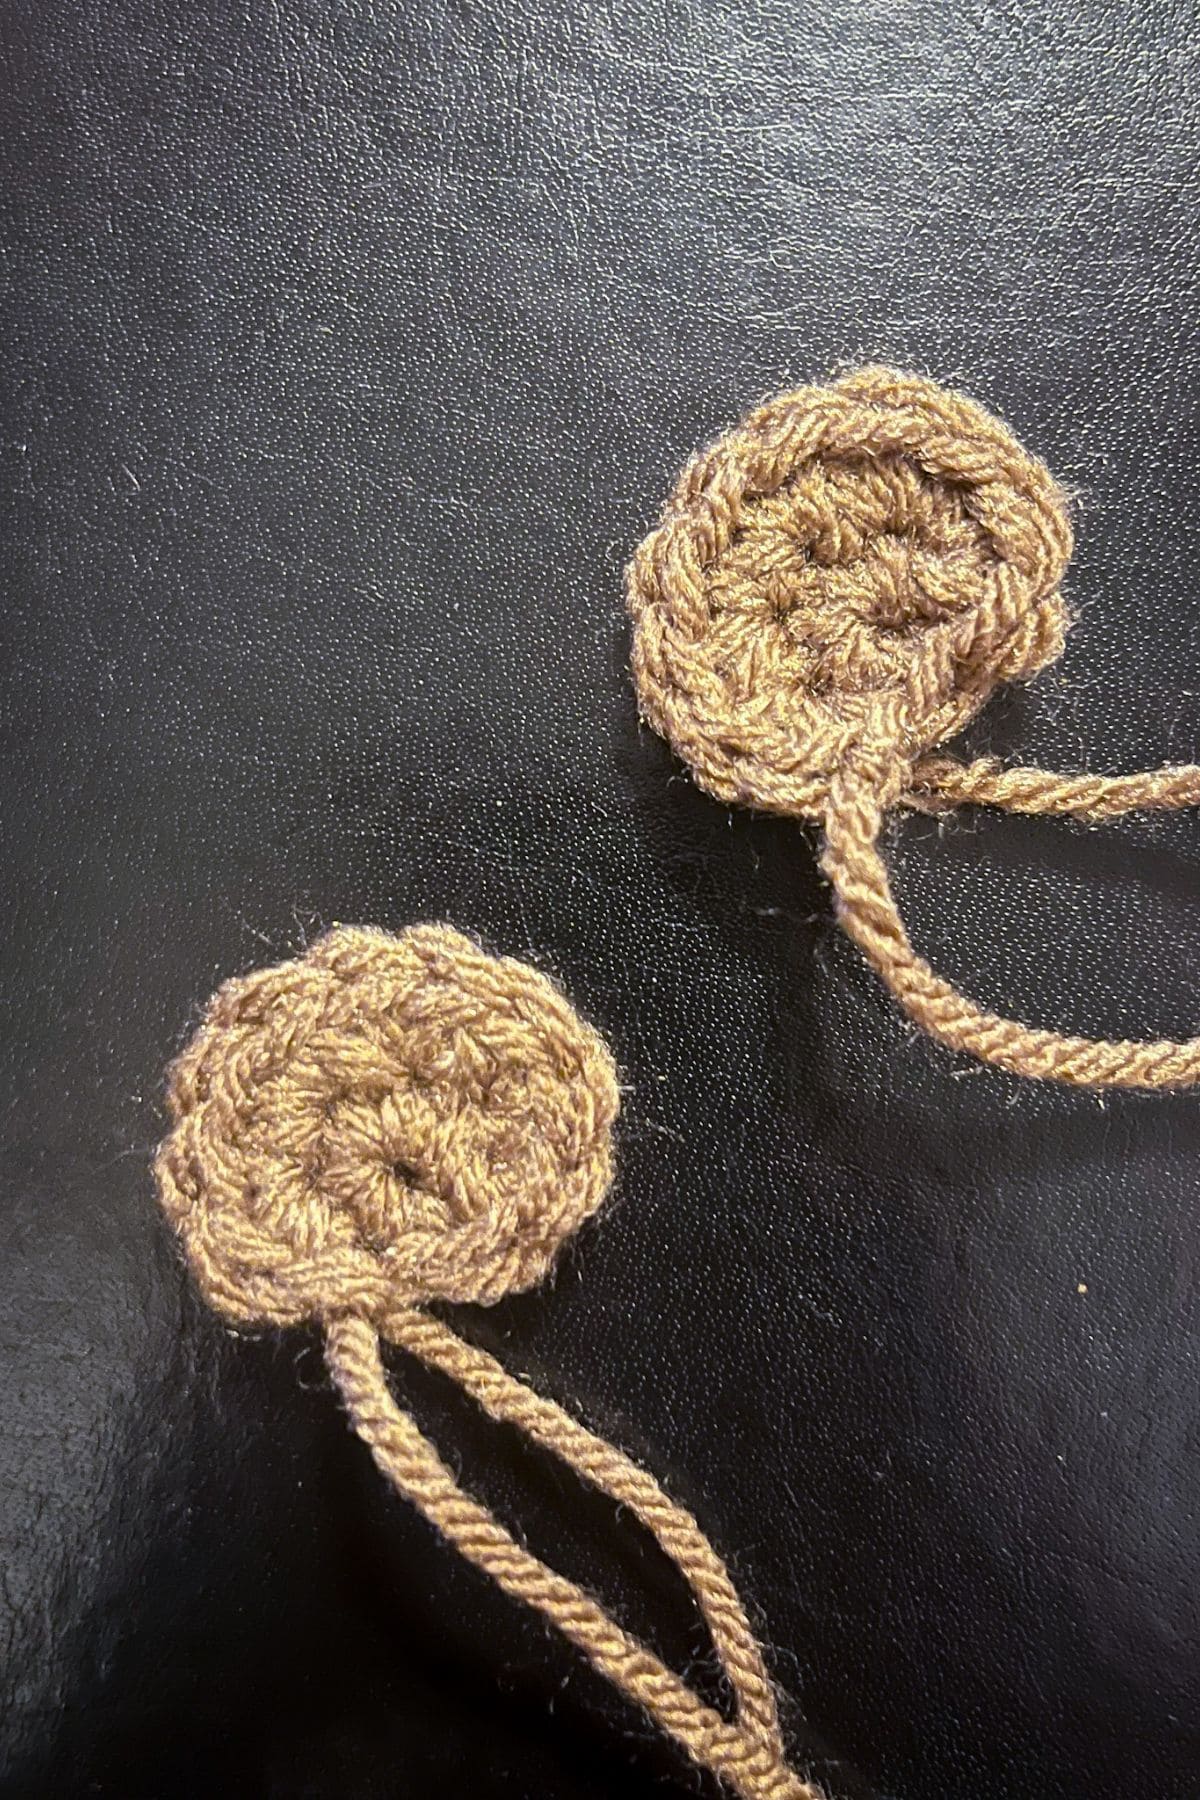
Ear circles:
Round 1: With the buff shade of yarn yarn, make a MR and make sc x6 in the circle. If you find it difficult making a magic ring you can chain 2 and then crochet sc x6 in the second chain from the hook. (6) Slip stitch to the first sc and fasten off the yarn but leave a tail for sewing.

Muzzle:
Round 1: With the buff shade of yarn, make a MR and make sc x6 in the circle. (6)
Round 2: Make an inc in every stitch. (12). Slip stitch to the first sc and fasten off the yarn but leave a tail for sewing.
Crochet Cheeks:
Round 1: With pink yarn, make a MR and make sc x6 in the circle (6). Slip stitch to the first sc and fasten off, leave a tail for sewing.
Make x2.
Finishing:
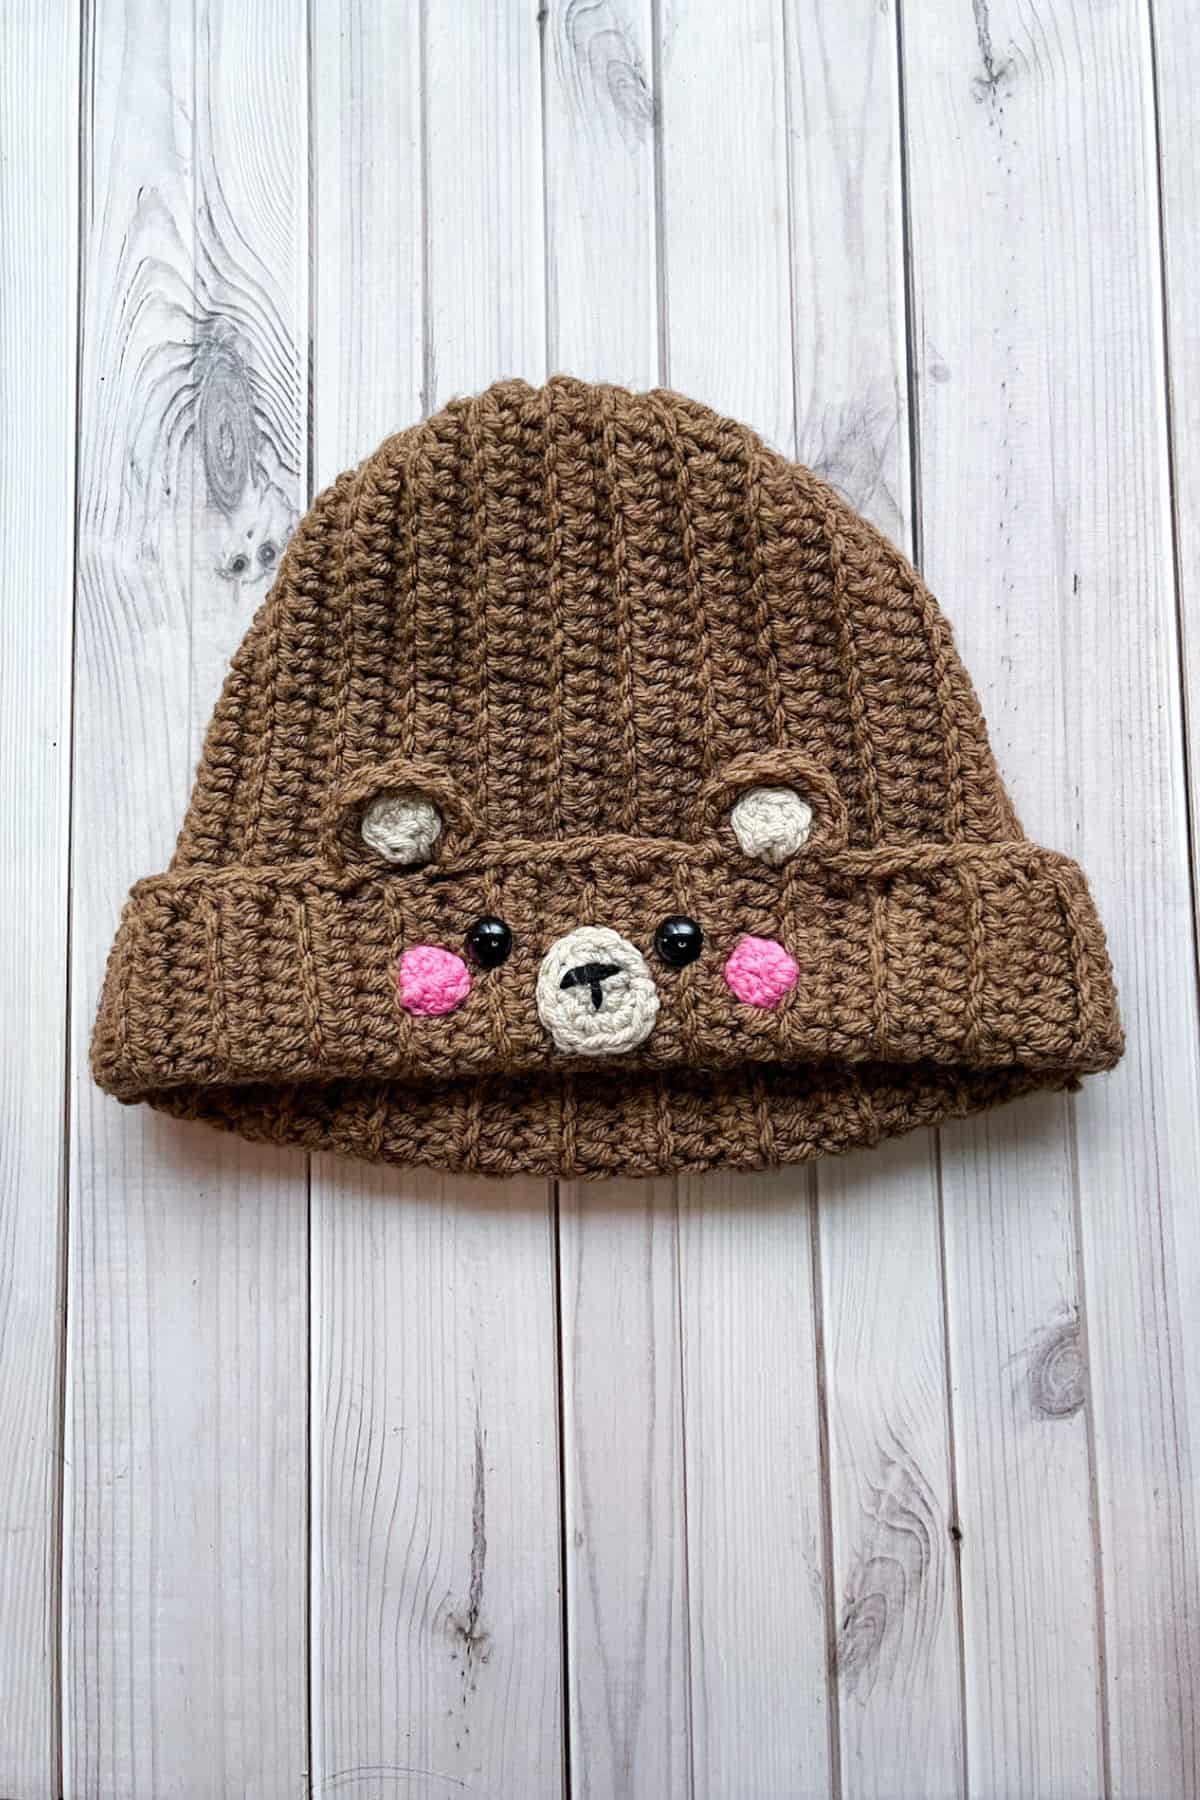
Insert safety eyes below the ears.
With black yarn embroider the mouth by making a T on the muzzle and then sew muzzle onto the hat brim. Make sure to only sew it through the brim and not both the brim and hat. I shaped the circle a bit when sewing it on so it had a slight ovoid appearance.
Sew the light brown ear middles to the inner part of the ears.
Then sew on the cheeks below and slightly left/right of the eyes.
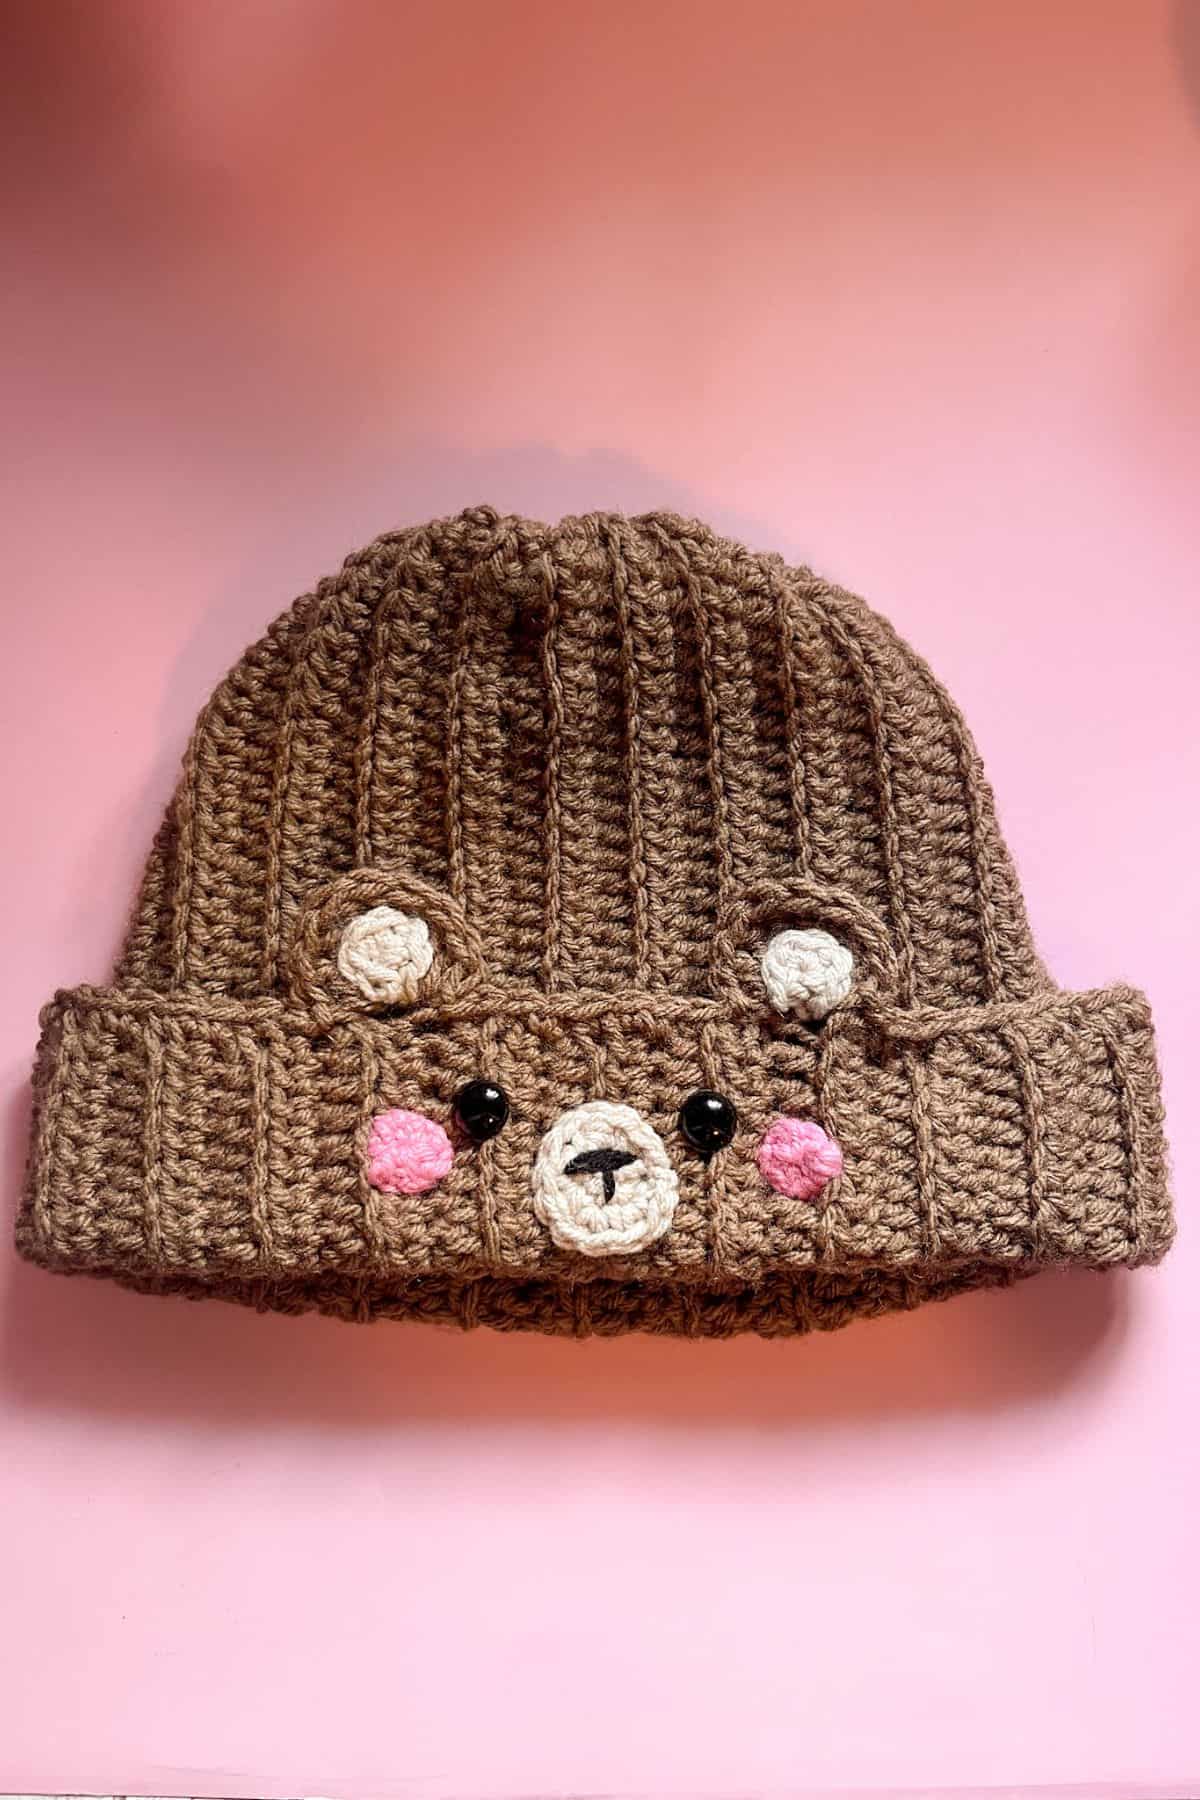
And once all of that is done, the ends are weaved in, your crochet bear hat made from my crochet bear hat pattern is completed!
I hope you enjoy your crochet bear beanie as much as I had fun designing the pattern for it!
If you are looking for patterns that are also sized for kids, check out my crochet duck bucket hat pattern and my crochet snowman hat pattern.
If you are looking for some other crochet beanies for the family to wear this winter check out my crochet checkered hat pattern, and my crochet bead stitch hat pattern.
🐌Expert Tips
- Yarn Choice: Choose soft, baby-friendly yarns like cotton or acrylic for comfort. Avoid scratchy fibers that might irritate sensitive skin.
- Hook Size: Experiment with different hook sizes to adjust the drape and fit of the hat. A larger hook can create a looser, softer fabric.
- Color Combinations:
Use a variety of colors to create themed hats—try festive colors for holidays or bright, playful shades for everyday wear. - Sizing Adjustments: Measure the head circumference of the intended wearer and adjust your foundation chain accordingly to ensure a snug fit.
- Adding Personal Touches: Consider adding embellishments like buttons or embroidery for a personal touch. Just make sure they are securely attached to avoid safety hazards for children.
🧵 Pattern FAQs
Absolutely! You can also use cotton.
Feel free to use other materials for the eyes, like crochet circles, embroidered circles, or felt, which are great alternatives.
I have never made it in the round, but you can try if you like! You should achieve a similar look as long as you follow the brim instructions.
🧶More Crochet Winter Patterns
If you tried this Crochet Bear Hat Pattern (or any other pattern on my website), please let me know how it went in the 📝 comments below. I'd love to hear from you!
Crochet Bear Hat Pattern
Materials
- 1 Red Heart Cafe Latte yarn
- 1 Red Heart Light Raspberry yarn
- 1 Red Heart Buff yarn
- And a small amount of black yarn
- Safety eyes 12mm
- 5.5 mm hook
- Tapestry needle
Abbreviations (US terms)
- Magic ring - mr
- Single crochet - sc
- Chains - ch
- Half double crochet - hdc
- Back loop only - blo
- Slip stitch - sl st
- Double crochet - dc
- Triple crochet - tr
- Long triple crochet (long tr)
- Increase - inc
Notes
- Yarn Choices: I used acrylic yarn for this free crochet bear beanie pattern, but any type of yarn—like cotton or wool—would work well. Just adjust the stitch count and rows as needed.
- Sizing Information: By using a 5.5mm hook, my crochet rectangle for the beanie pattern measures roughly 14 inches by 22 inches. I would say my head is about medium-sized, so it should fit an adult medium/large. If you need to adjust the height or length to fit someone’s head, please do so!
- Child Size Adjustments: If you’re making this crochet bear beanie pattern for a child, I recommend chaining 25-30 and then following the pattern as normal, but only doing 30-35 rows. Adjust as needed, as it all depends on the child's age. I have never made this hat for a child, so please keep size in mind; these suggestions may need to change. You can check out my crochet polar bear hat - which is sized to fit a toddler for reference.
Instructions
- For this pattern, we will mostly be working in rows.
Crochet Bear Beanie:
- Ch x41, turn.
- Row 1: In the second chain from the hook, make a hdc. Then continue to make hdc for the rest of the row (40). At the end of the row, ch x1 and turn.
- Row 2: In blo, hdc for the entire row (40). Then ch x1 and turn.
- Row 3-44: Repeat row 3. (40). Ch x1 and turn.
- Use more or less rows depending on the size of the hat you are trying to achieve.
- Before fastening off the yarn you want to fold the rectangle in half and then sew it or crochet it to form a tube.
- After the side of the hat has been sewn together, take the yarn and cinch the top of the hat shut. Fasten off and weave in the end.
- Once that is done, flip the hat inside out so now the sewn edges are on the inside of the hat.
Crochet Hat Brim:
- The seam should be the back center of the hat. Join the brown yarn at the seam and then sc a quarter of the way around the hat (if the hat is laid flat with seam at the center, you should be at the side of the hat).
- Sc x10.
- Now for the bear ear:
- Make a slip stitch in the next stitch. You are going to make the following stitches in the next stitch. Sl st, dc x2, tr, long tr x3, tr, dc x2, and sl st.
- A long tr is just like a normal tr but you yarn over 3 times instead of 2 at the beginning and then go through 2 loops like normal as you are getting the loops off your hook (should have to do this 4 times to complete the stitch).
- Sl st in the following stitch, then sc x7, then make the second ear just like the one above. Once that is done finish sc the rest of the brim. Fasten off and weave in the ends.
Crochet Inner Ear and Muzzle:
Ear circles:
- Round 1: With the buff shade of yarn yarn, make a MR and make sc x6 in the circle. If you find it difficult making a magic ring you can chain 2 and then crochet sc x6 in the second chain from the hook. (6) Slip stitch to the first sc and fasten off the yarn but leave a tail for sewing.
Muzzle:
- Round 1: With the buff shade of yarn, make a MR and make sc x6 in the circle. (6)
- Round 2: Make an inc in every stitch. (12). Slip stitch to the first sc and fasten off the yarn but leave a tail for sewing.
Crochet Cheeks:
- Round 1: With pink yarn, make a MR and make sc x6 in the circle (6). Slip stitch to the first sc and fasten off, leave a tail for sewing.
- Make x2.
Finishing:
- Insert safety eyes below the ears.
- With black yarn embroider the mouth by making a T on the muzzle and then sew muzzle onto the hat brim. Make sure to only sew it through the brim and not both the brim and hat. I shaped the circle a bit when sewing it on so it had a slight ovoid appearance.
- Sew the light brown ear middles to the inner part of the ears.
- Then sew on the cheeks below and slightly left/right of the eyes.
- And once all of that is done, the ends are weaved in, your crochet bear hat made from my crochet bear hat pattern is completed!
- I hope you enjoy your crochet bear beanie as much as I had fun designing the pattern for it!
Karen Daniel says
I love this simple pattern except the safety eyes will leave sharp points which won’t be good for children.
Kimberly Arenas says
I use shorter safety eyes so they won't be a problem, but you can always use alternatives to the safety eyes like felt or crocheting 6 single crochets into a magic ring.
Sophie says
Super cute! Just finished to make a children version and stitched the eyes instead of using safety eyes.
Helen Turner says
Love the hat