
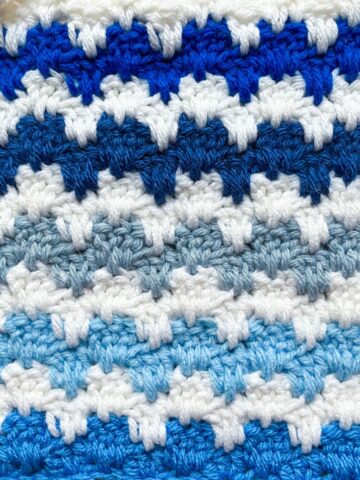
The Crochet Bead Stitch looks intimidating but is an easy stitch to master and is perfect for any additional texture for your many projects! Learn how to make this unique crochet stitch with my tutorial below!

I don't know why I stayed away from this stitch for so long. I always felt intimidated by any type of puff stitch and now they have quickly become my favorite! Something about getting so many loops on the hook and going through them all at once is just so satisfying.
Now I use variations of puffy stitch in everything - like my crochet rainbow keychain and crochet sheep pattern. I mostly use bobble stitches, but any type of puff stitch can work interchangeably.
Once I mastered the bead stitch I IMMEDIATELY had to make a crochet bead stitch hat pattern with it, that's how much I loved the stitch. I’m sure that once you are done learning the stitch too, you will want to start putting it on everything.
Jump to:
✏️ Things To Note:
- Yarn Consumption: The crochet bead stitch is a yarn eater, so make sure you have more than you initially thought you would need. Puffy type stitches are notorious yarn eaters, the best way to counteract that if you do not have enough yarn is space them out, like how I do with my crochet Halloween blanket pattern's border.
- Yarn Weight Flexibility: The bead stitch is highly versatile and can be used with any yarn weight. As long as you're comfortable managing 7 loops on your hook, you can adapt the stitch to suit different yarn types for various projects.
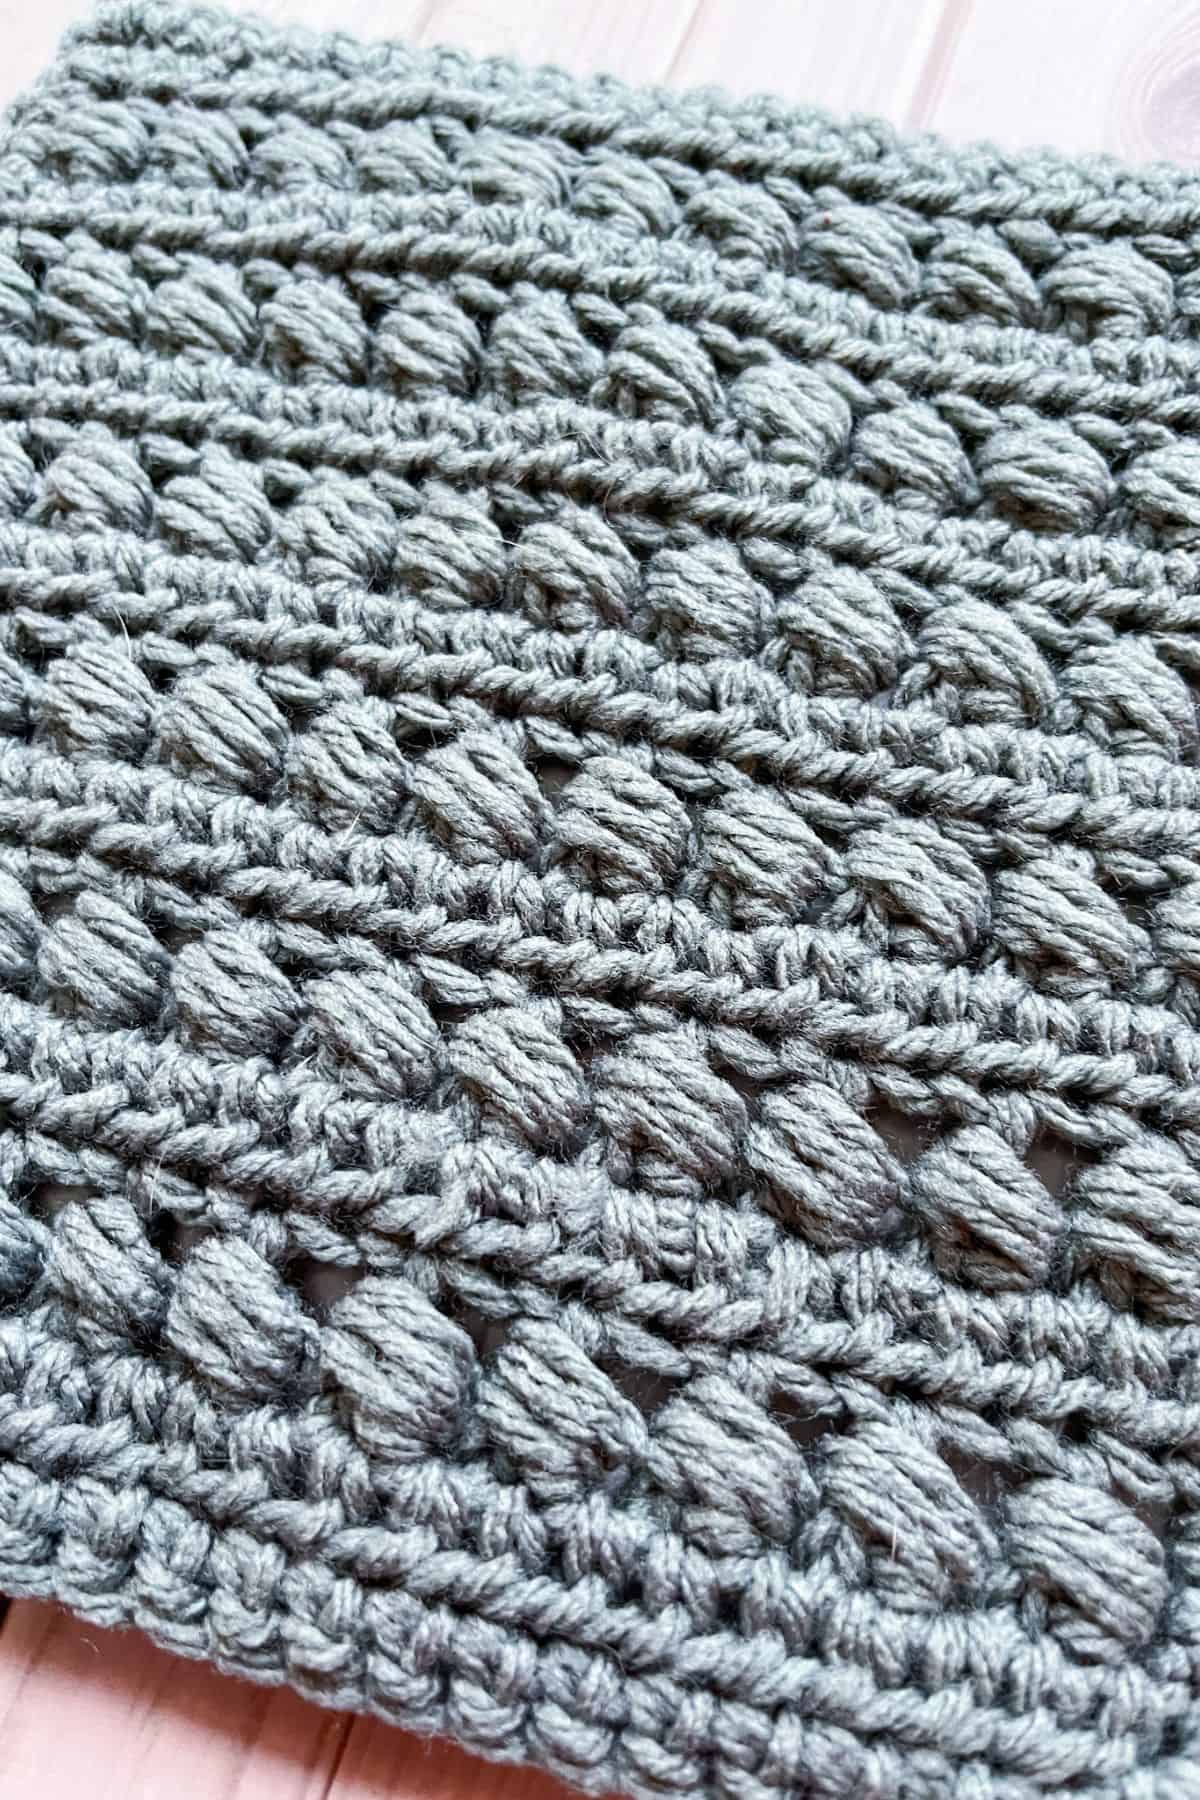
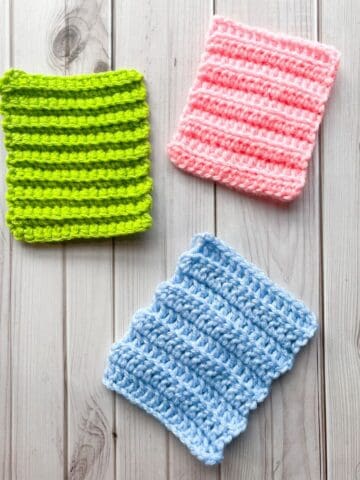
- Swatch Usage: This bead stitch swatch serves as a sample to showcase the texture, but it can easily be turned into a functional project. Using cotton yarn, you could create a beautifully textured washcloth or dishcloth. The stitch adds a touch of elegance while remaining practical for everyday use.
🪡 Materials Needed
- Any worsted yarn, I used Charcoal gray from Red Heart
- 5mm H hook
- Tapestry needle for weaving in the ends
💭Abbreviations to Remember (US terms)
- Chain - ch
- Half Double Crochet- hdc
- Double crochet - dc
- Bead stitch - no abbreviation
- Yarn over- yo
🍵Instructions for Crochet Bead Stitch
The crochet bead stitch pattern is made in rows, but the bead stitch can also be made in the round.

Ch x25 (you want it to be an odd number if you are wanting to adjust the size of your starting ch.)

Row 1: Work a hdc in the 2nd ch from the hook. Make a hdc in each ch until you reach the end of the row (24). Then ch x2 and turn.
Row 2: Dc in the first available stitch (not the turning chs), and then make a bead stitch over the dc stitch. (see steps below)
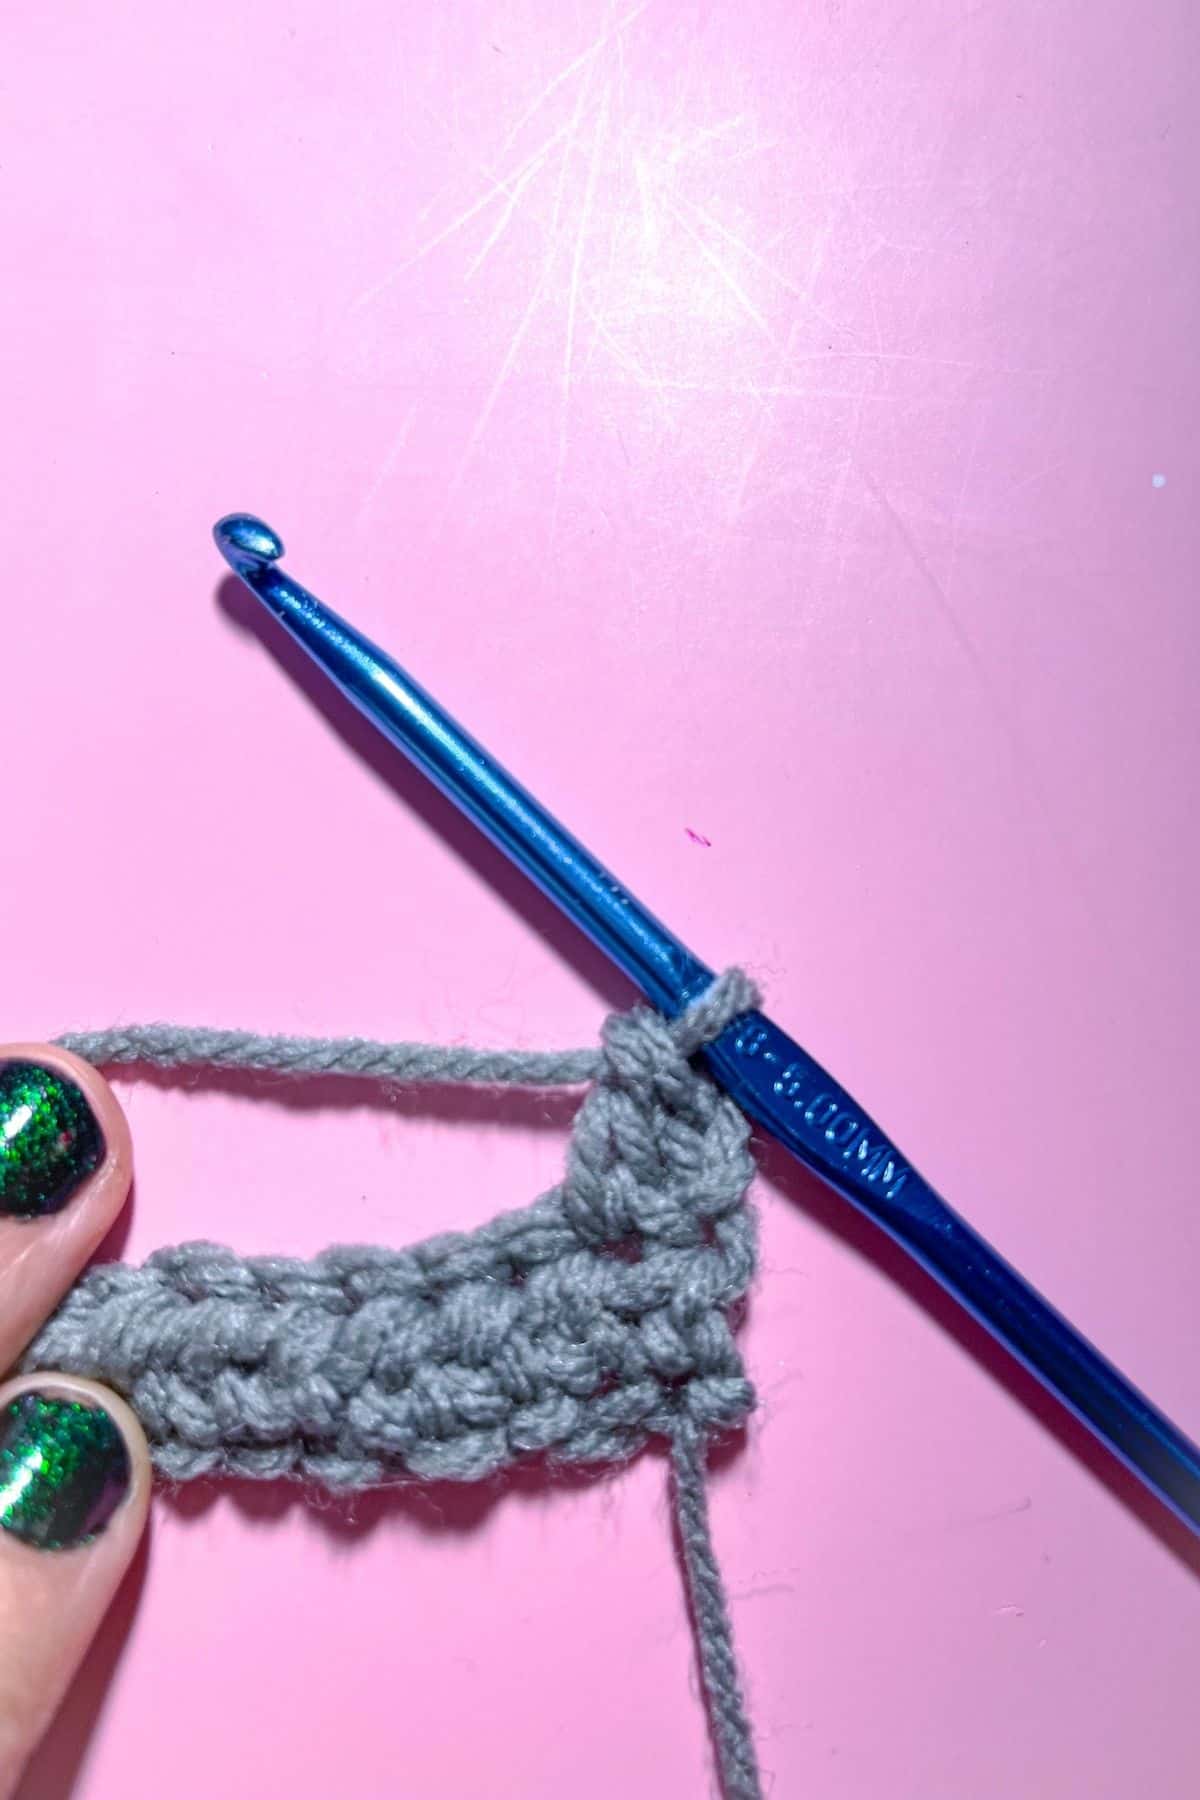
How to crochet the bead stitch: The first step is to make sure a dc was made previously. Then yo, insert hook around the dc POST then pull a loop up
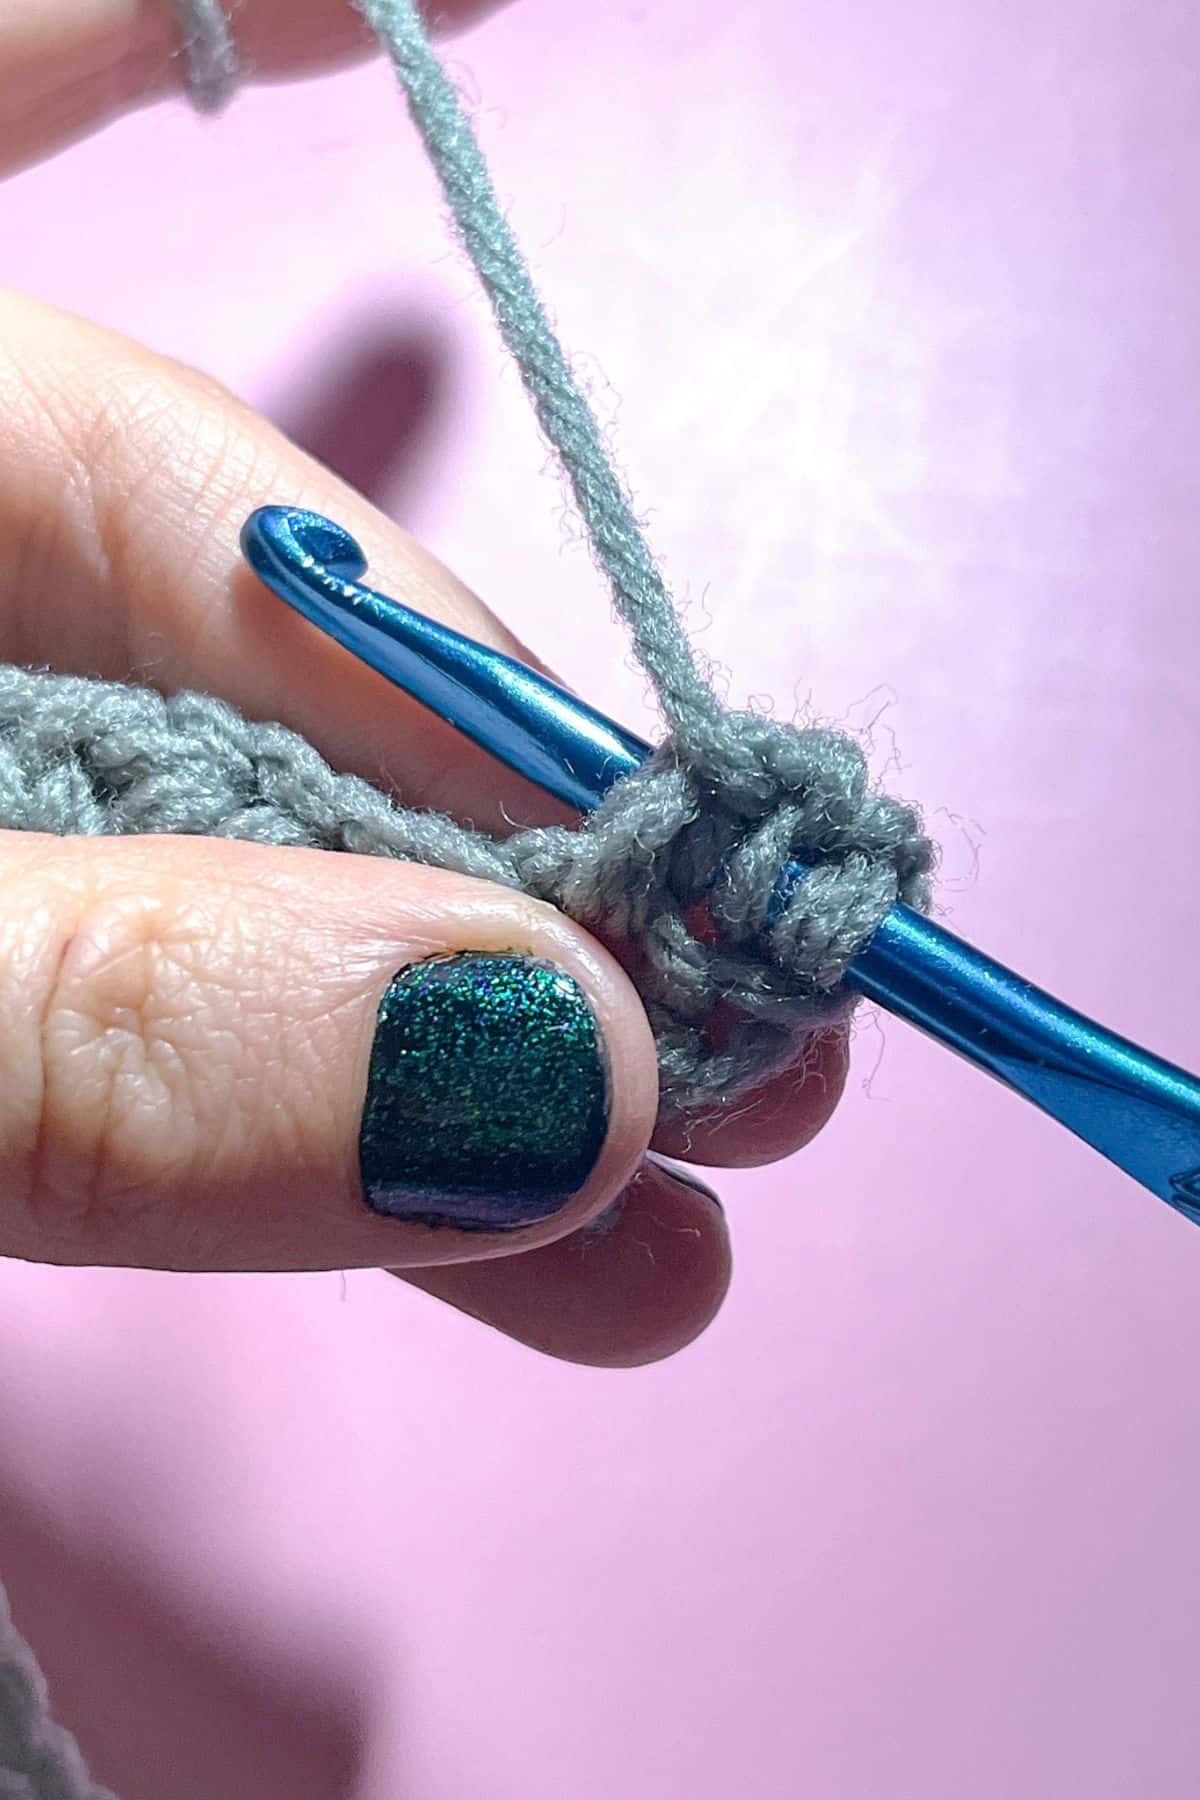
yo, pull up loop like before, yo and pull up another loop. There should be 7 loops on your hook.
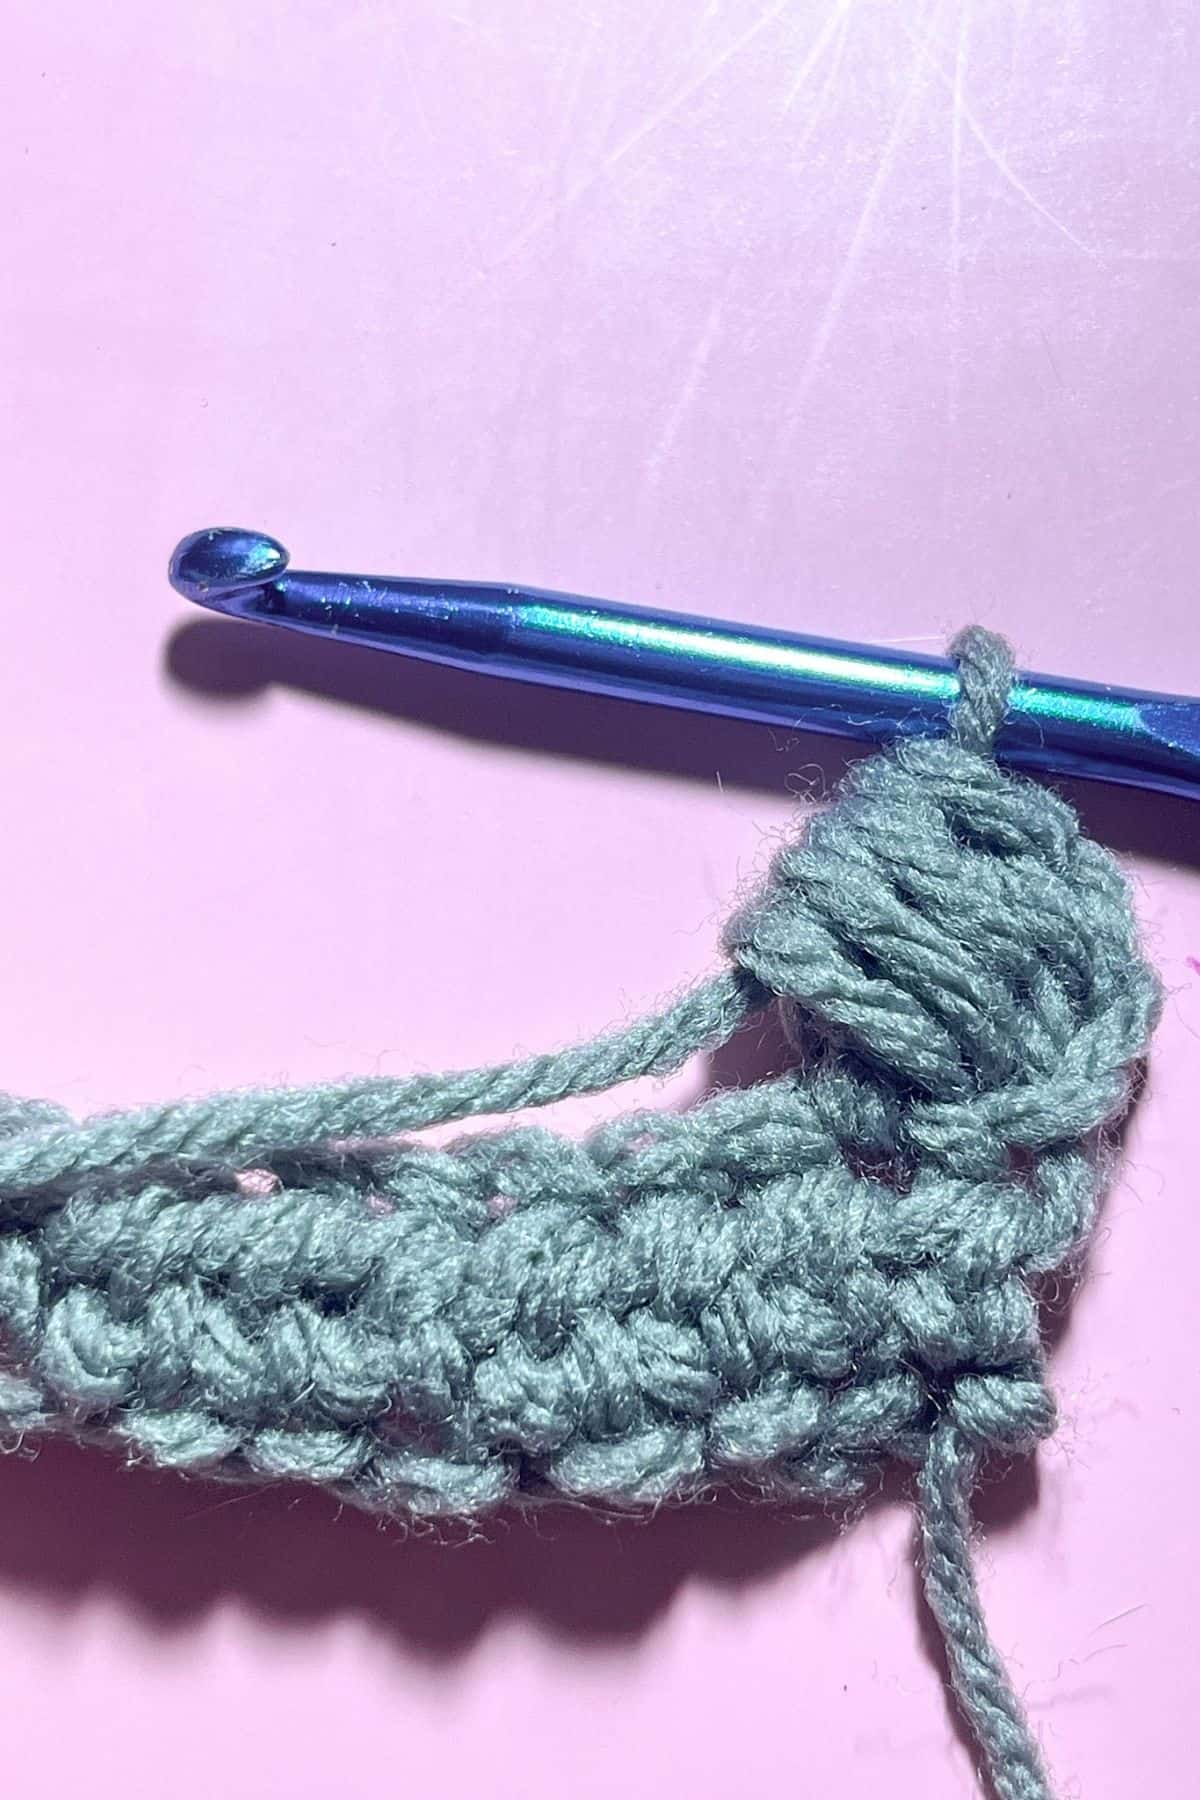
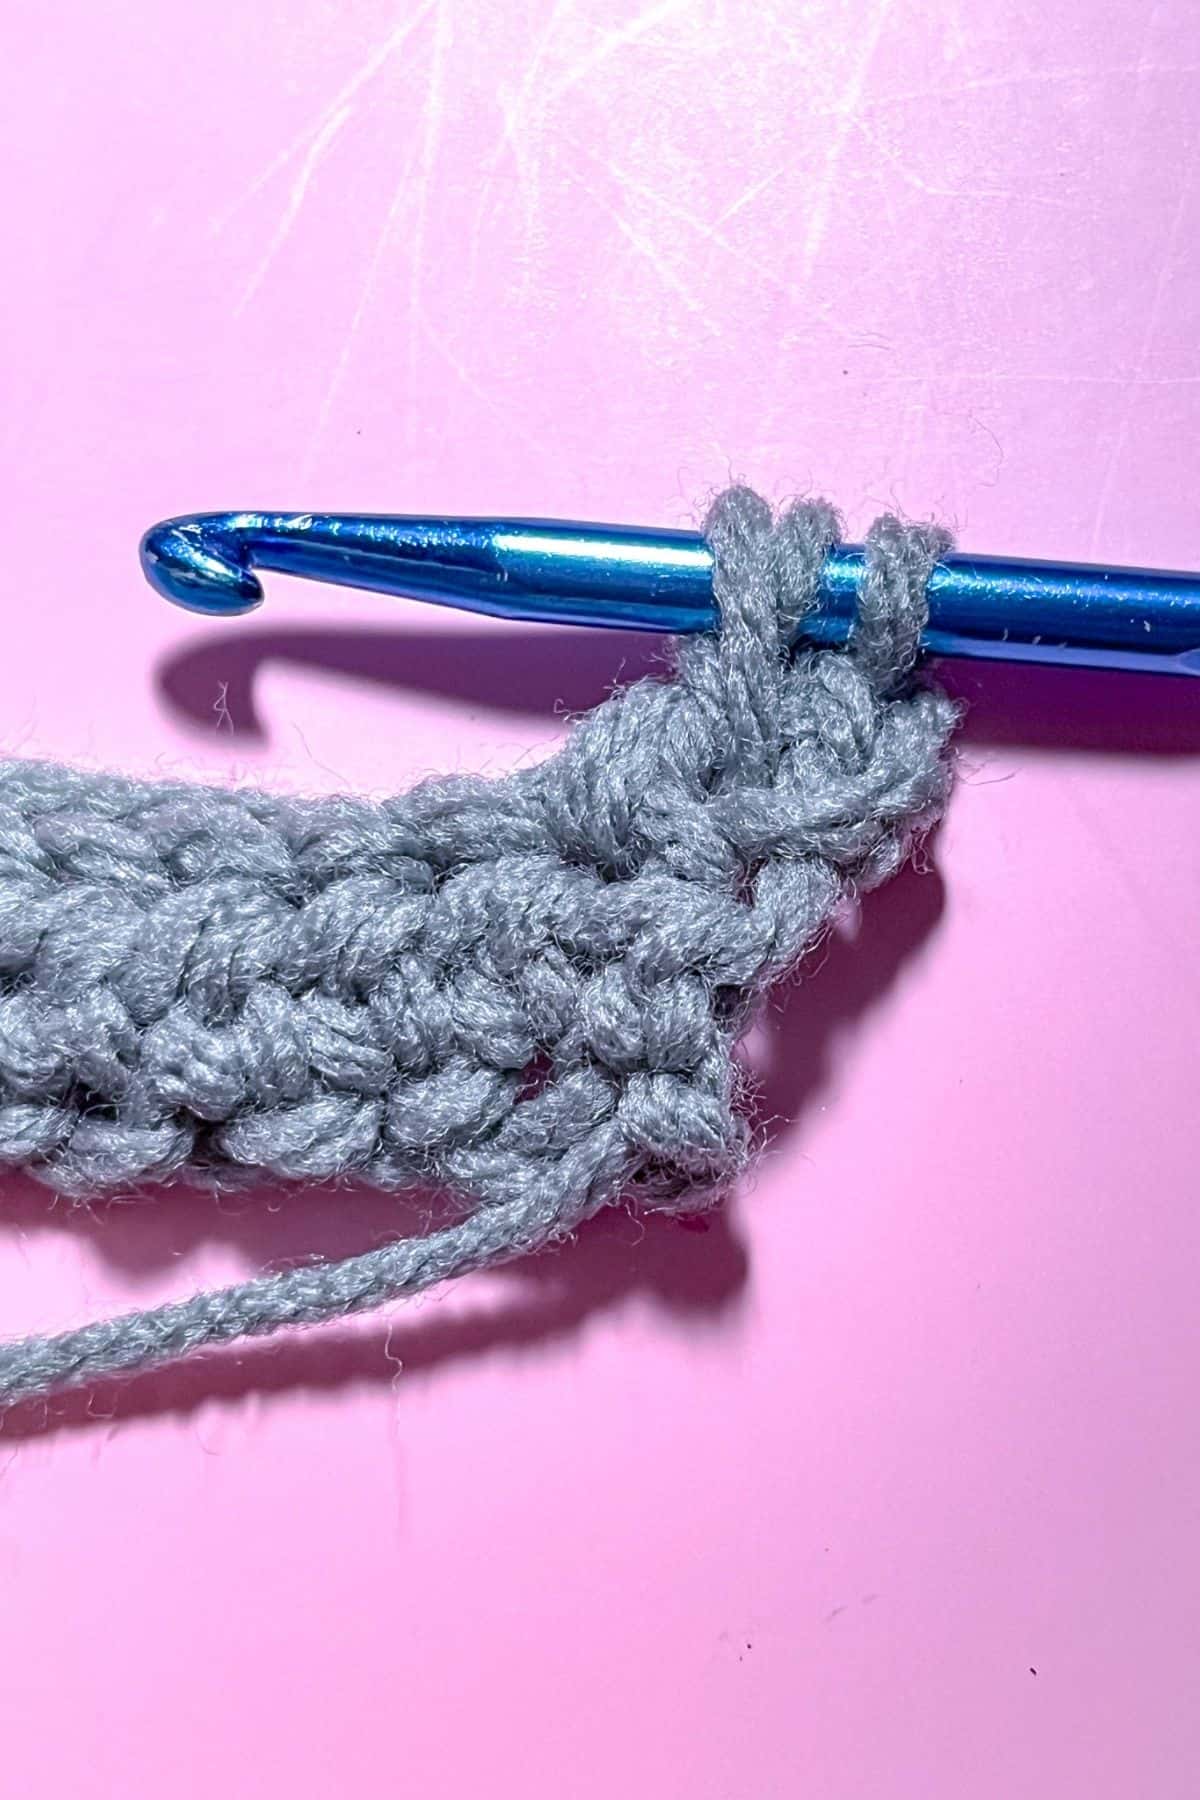
Yo and pull through all 7 loops on your hook.
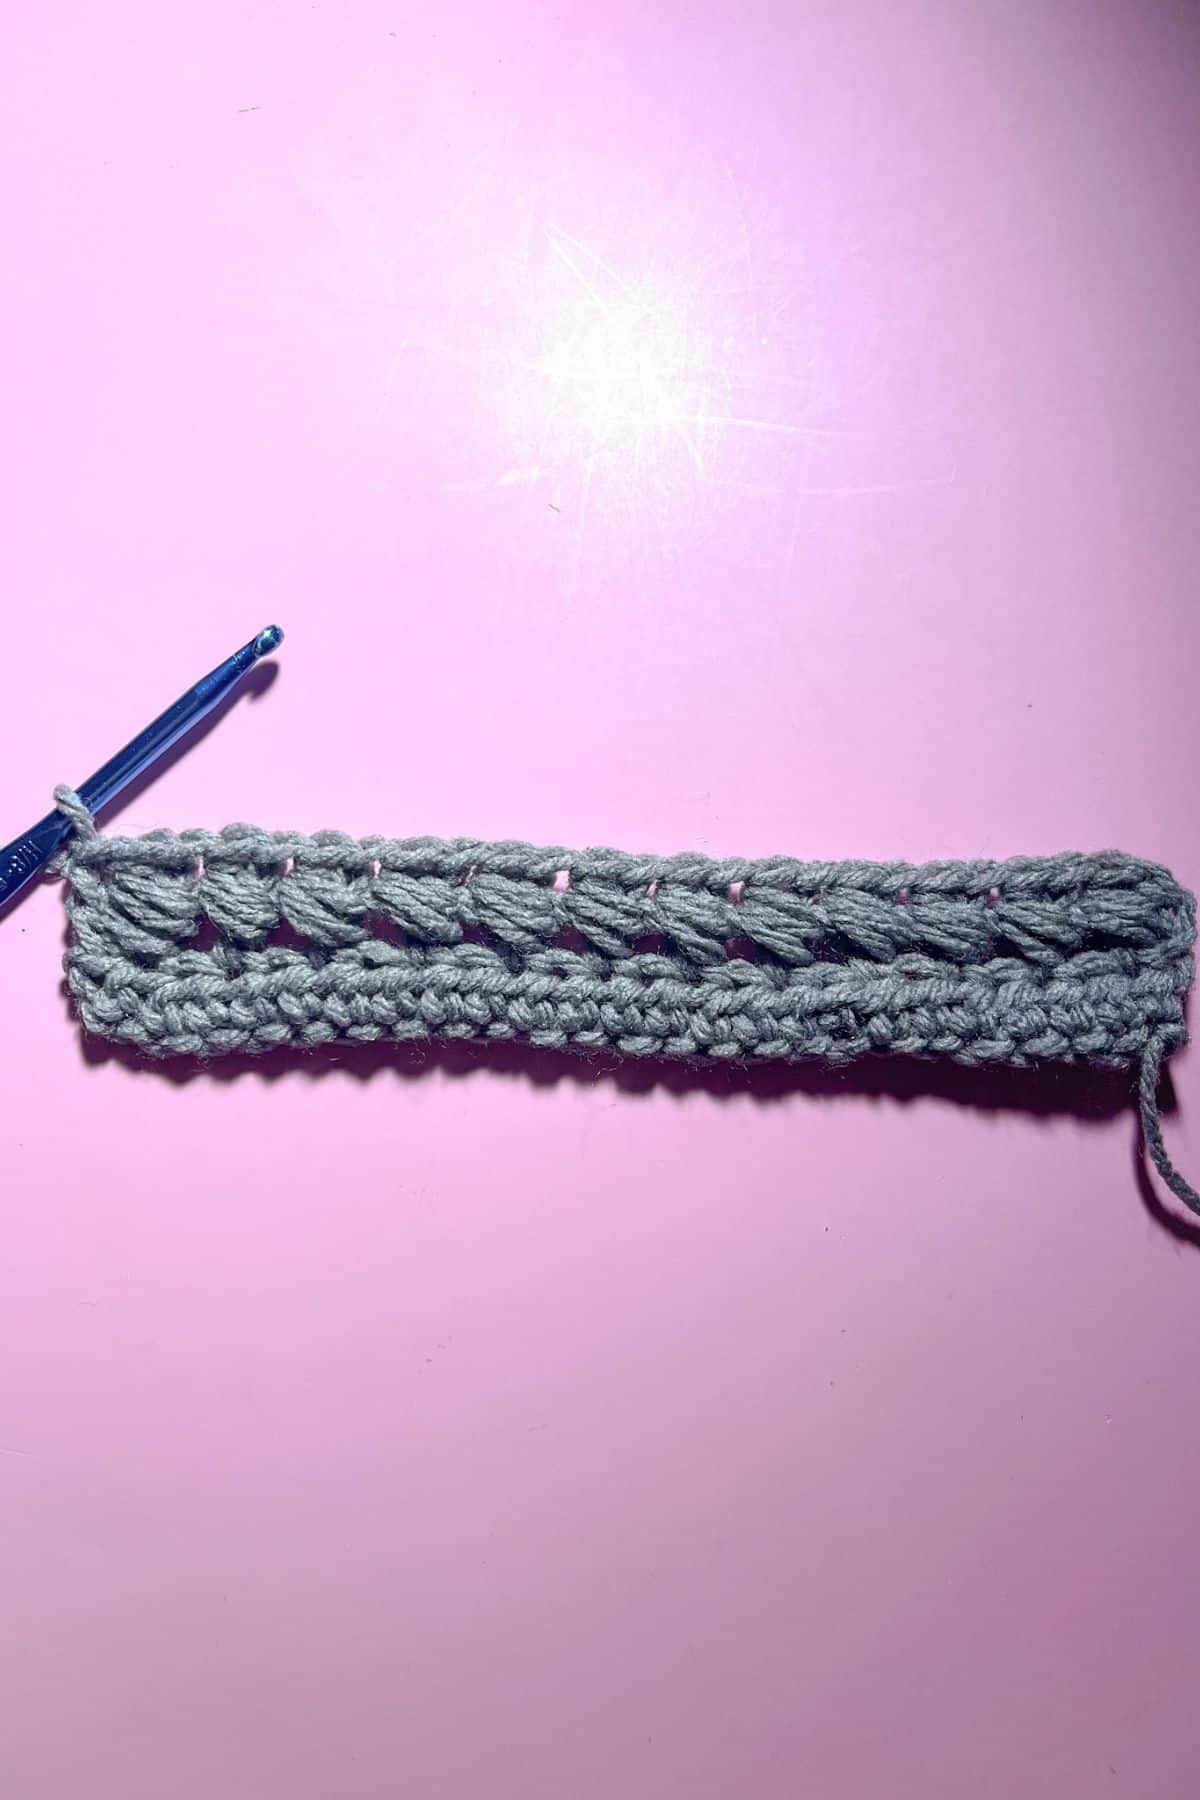
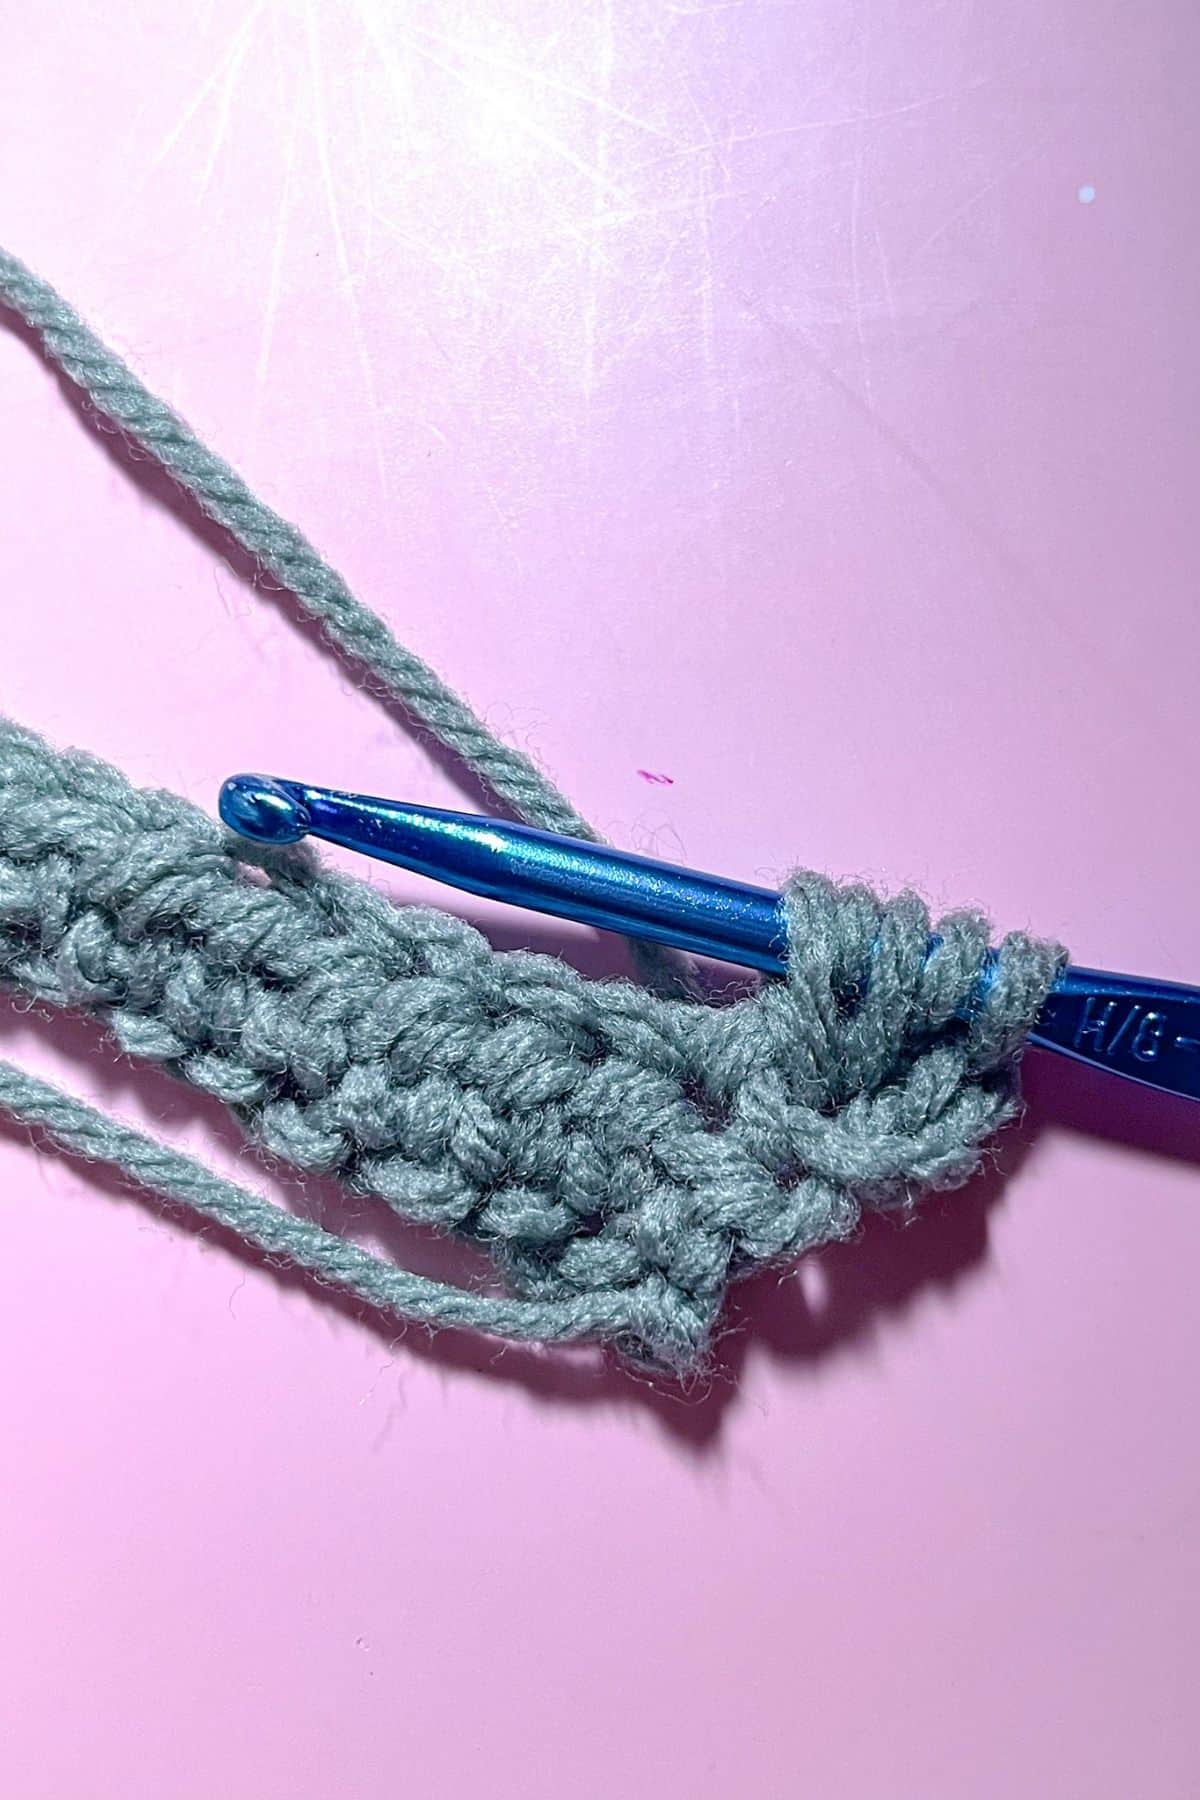
Skip the following stitch and then dc and follow the steps to make another bead stitch. Then repeat until the row is done, you should have 12 bead stitches. The last stitch will just be a dc stitch. Then ch x2 and turn.
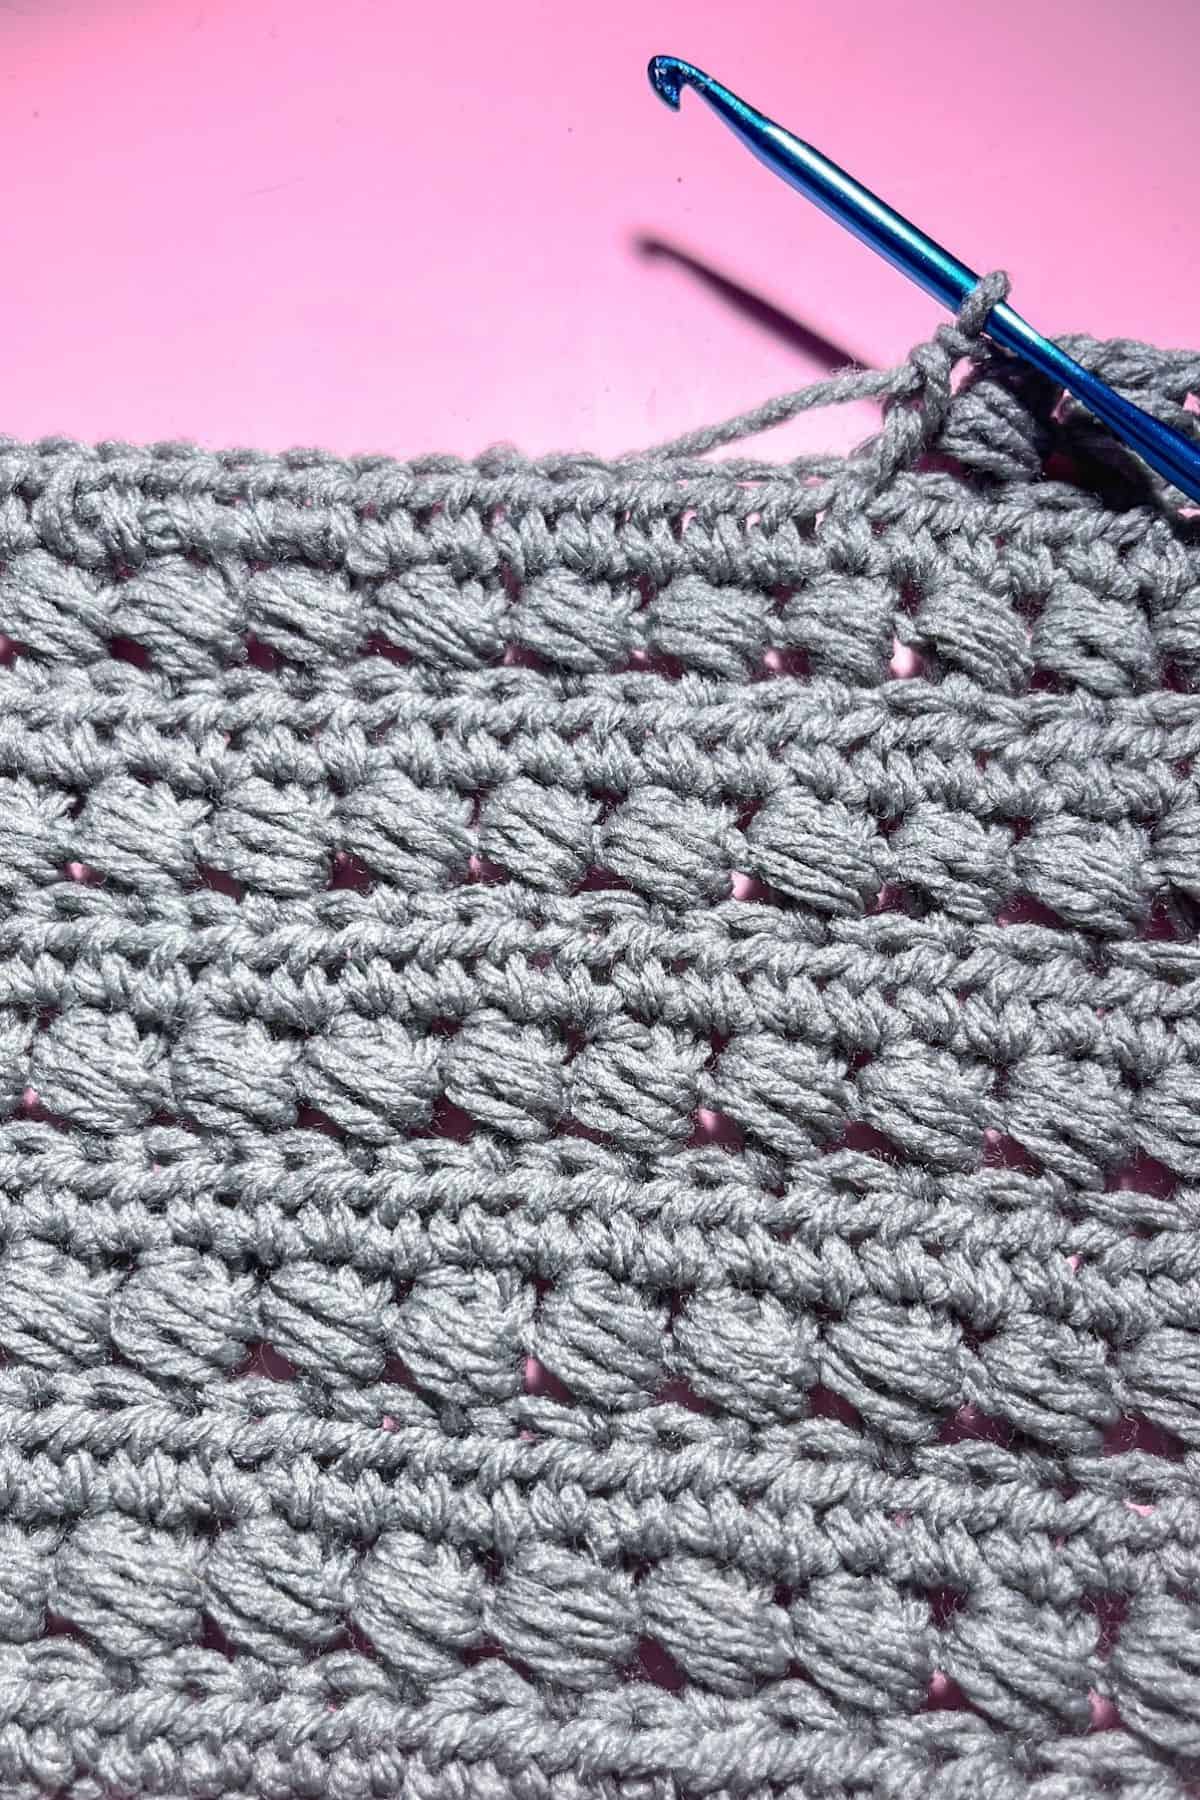
Row 3: Hdc the entire row (24). Then ch x2 and turn.
For the following rows: Repeat rows 2 and 3 until the length of your project is achieved.
If doing a ton of rows of bead stitch, it might slant, so make sure you block your project afterwords to fix the slanting.
Now you know how to make the crochet bead stitch!
The bead stitch is a fantastic addition to any crochet project, adding texture and dimension to your designs. It involves creating a little "bead" effect by inserting your hook into a stitch and pulling up a loop, then completing the stitch in a way that creates a raised, textured look. This stitch is perfect for scarves, like my candy cane crochet scarf pattern, hats, and blankets, as it adds a touch of elegance and visual interest without being too complicated.
If you are wanting to learn other crochet stitches, check out the crochet garter stitch and the larks foot crochet stitch!

🐌Expert Tips
- Angle Your Work: If it feels awkward to stitch around double crochet posts, try angling your work. This can make it easier to go under the posts.
- Choose Your Yarn Wisely: Opt for a yarn that has a good drape and elasticity to help the bead stitch stand out.
- Practice Makes Perfect: If you're new to this stitch, practice on a small swatch first. It will help you get comfortable before starting a larger project.
🧵Pattern FAQs
You can, but it will eat up a lot of yarn so make sure you grab enough!
Absolutely! In other projects I use double crochet in between the bead rows.
While it is not the puff stitch, it is a type of puff stitch if that makes sense. Because of the many loops you have on your hook and the final “full” looking stitch it creates it is in the same family as other puff style stitches.
🧶More Crochet Stitch Patterns


If you tried this Crochet Bead Stitch (or any other pattern on my website), please let me know how it went in the 📝 comments below. I'd love to hear from you!

Crochet Bead Stitch
Materials
- Any worsted yarn
- 5 mm H hook
- Tapestry needle
Abbreviations (US terms)
- Chain - ch
- Half double crochet - hdc
- Double crochet - dc
- Bead stitch - no abbreviation
- Yarn over (yo)
Notes
- Yarn Consumption: This stitch is a yarn eater, so make sure you have more than you initially thought you would need. Puffy type stitches are notorious yarn eaters, the best way to counteract that if you do not have enough yarn is space them out, like how I do with my crochet Halloween blanket pattern's border.
- Yarn Weight Flexibility: The bead stitch is highly versatile and can be used with any yarn weight. As long as you're comfortable managing 7 loops on your hook, you can adapt the stitch to suit different yarn types for various projects.
- Swatch Usage: This bead stitch swatch serves as a sample to showcase the texture, but it can easily be turned into a functional project. Using cotton yarn, you could create a beautifully textured washcloth or dishcloth. The stitch adds a touch of elegance while remaining practical for everyday use.
Instructions
- The crochet bead stitch pattern is made in rows, but the bead stitch can also be made in the round.
- Ch x25 (you want it to be an odd number if you are wanting to adjust the size of your starting ch.)
- Row 1: Work a hdc in the 2nd ch from the hook. Make a hdc in each ch until you reach the end of the row (24). Then ch x2 and turn.
- Row 2: Dc in the first available stitch (not the turning chs), and then make a bead stitch over the dc stitch. (see steps below)
- How to crochet the bead stitch: The first step is to make sure a dc was made previously. Then yo, insert hook around the dc POST then pull a loop up
- yo, pull up loop like before, yo and pull up another loop. There should be 7 loops on your hook.
- Yo and pull through all 7 loops on your hook.
- Skip the following stitch and then dc and follow the steps to make another bead stitch. Then repeat until the row is done, you should have 12 bead stitches. The last stitch will just be a dc stitch. Then ch x2 and turn.
- Row 3: Hdc the entire row (24). Then ch x2 and turn.
- For the following rows: Repeat rows 2 and 3 until the length of your project is achieved.
- If doing a ton of rows of bead stitch, it might slant, so make sure you block your project afterwords to fix the slanting.
- Now you know how to make the crochet bead stitch!


Leave a Reply