

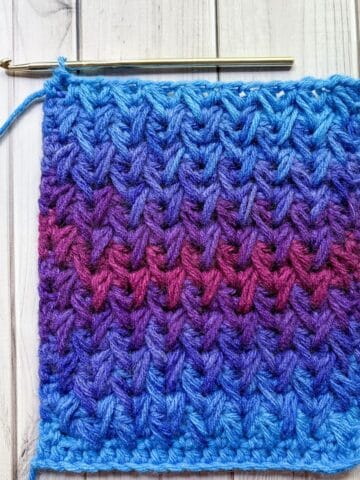
The Larksfoot Crochet Stitch is a unique and easy crochet stitch that’s perfect for various projects like blankets, scarves, cardigans, and sweaters!
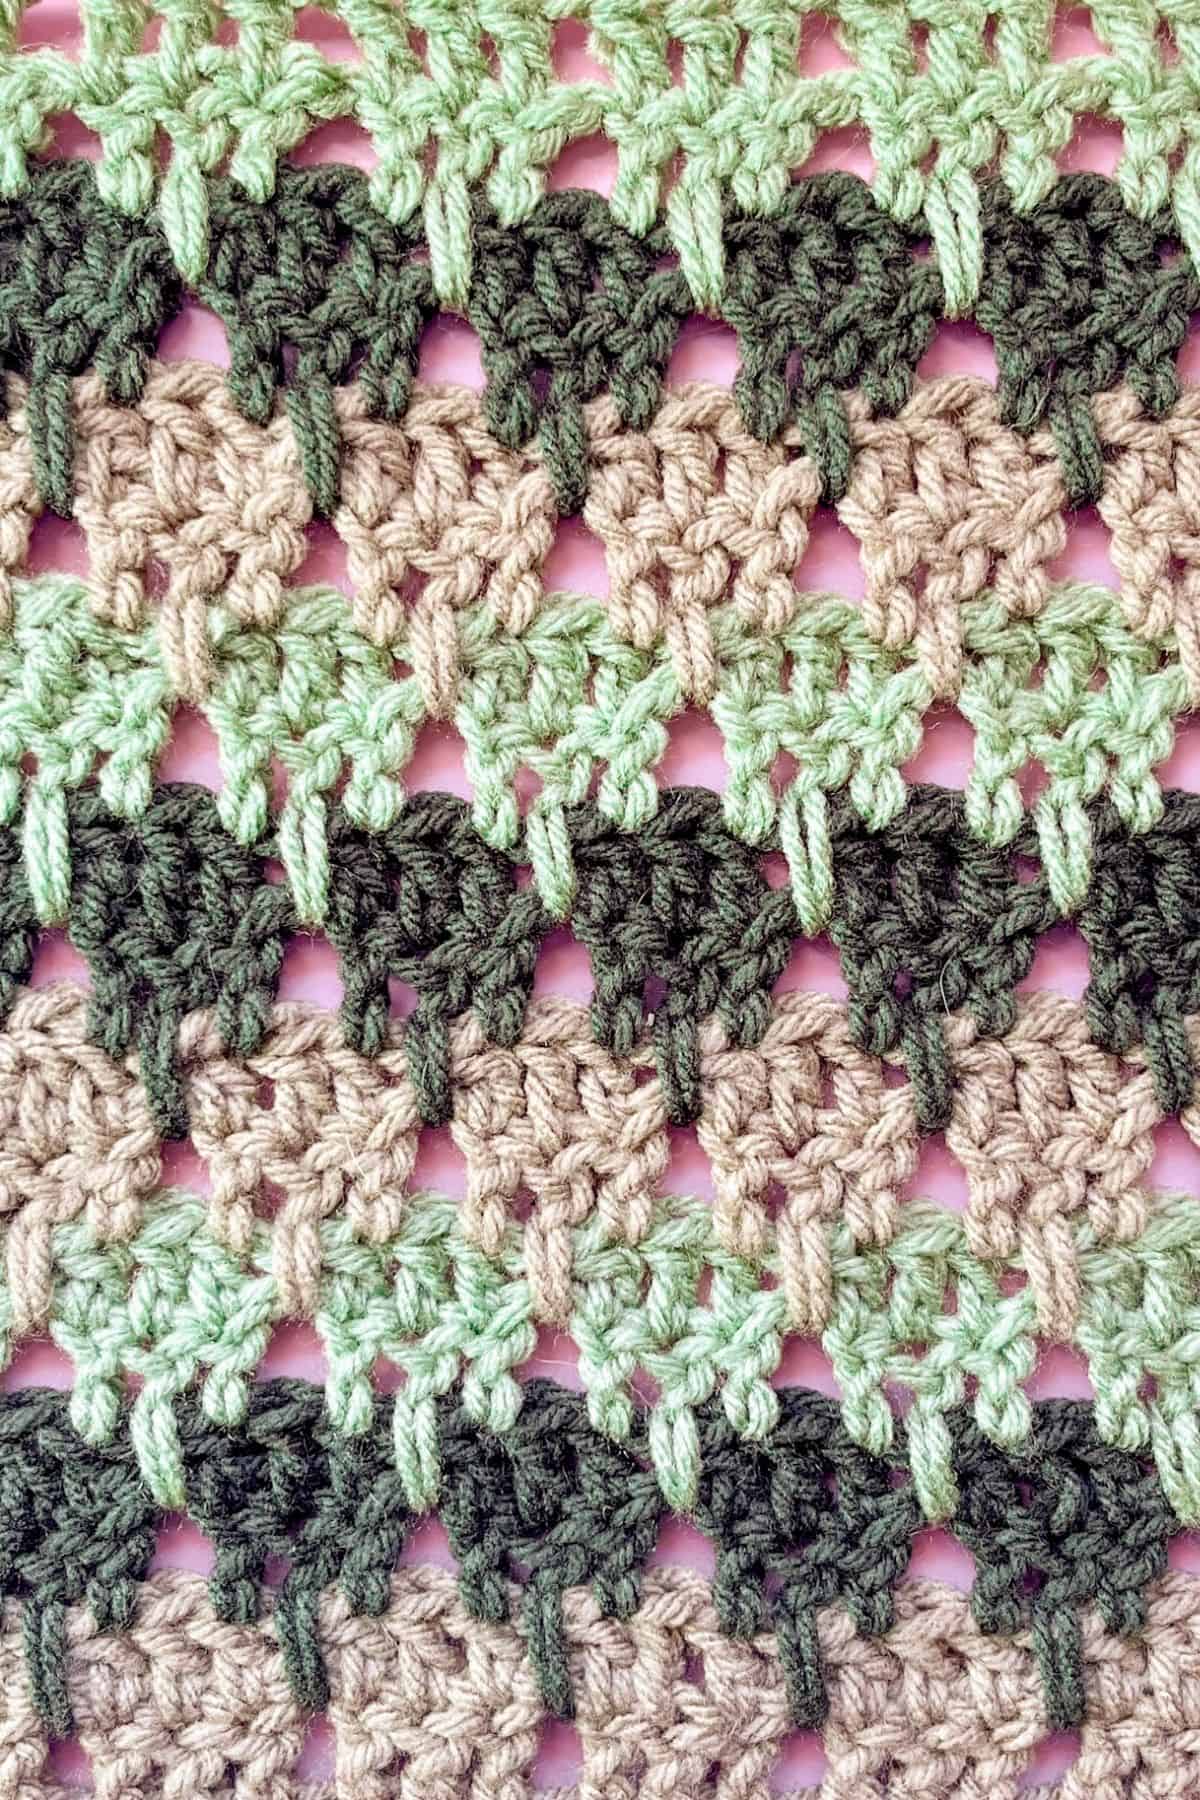
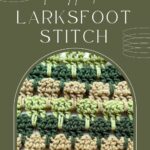
The larksfoot crochet stitch combines double crochet stitches, chains, and long double crochet stitches, creating an eye-catching texture.
I had never heard of or seen the crochet larksfoot stitch until a few months ago, and I instantly fell in love. It’s such a fun pattern!
I adore how the spikes elegantly point downward, giving it a dynamic appearance. The holes created by the stitch aren’t too big, making it toasty yet airy, which makes it ideal for both fall and spring crochet projects.
One of the exciting features of the larksfoot crochet stitch is that you can have the stitch facing right side up or upside down. If you use the stitch upside down, which you'll see why the larksfoot stitch is also known as the middle finger crochet stitch (heeheehee).
This makes the larksfoot stitch a cheeky addition to gifts for friends, adding a playful touch to your creations. Whether you’re making a cozy scarf or a warm blanket, this stitch is sure to delight! I think it would look great for my crochet Christmas scarf pattern! Just swap out the granny spike stitch for larksfoot!
Jump to:
✏️ Things To Note:
- Pattern Complexity: Although the larksfoot crochet stitch pattern just uses double crochet and chains, this isn’t a mindless stitch. There are several steps involved, but with practice, any stitch can become mindless and easy! If you are looking for a unique stitch that also only uses dc and ch stitches, check out my crochet iris stitch tutorial!
- Color Changes: The larksfoot stitch looks best with fast color changes, which means changing the color every other row (since it is a two-row stitch). The detail of the spike gets lost if you use just one color, so try to use at least two colors when attempting this stitch, another stitch that's best with at least 2 colors is my crochet houndstooth pattern.
- Yarn Choice: I used worsted acrylic yarn for this stitch, but you can use any type of yarn!
🪡 Materials Needed
- Yarn of choice
- 5mm hook
- Tapestry needles
💭Abbreviations to Remember (US terms)
- Chain - ch
- Chain space - ch sp
- Double crochet - dc
- Long double crochet - long dc
🍵Instructions for Larksfoot Crochet Stitch
The larksfoot crochet stitch pattern is worked in rows.

Ch x33, this is just a small test swatch for learning the stitch, if you want to make it a different size use multiples of 4 +1 for the turning chain)

Row 1: Dc in the 4th ch from the hook (the 1st 3 chains acts as a dc stitch), dc in the following stitch and then *ch x1 + skip the next stitch, then dc x3. Repeat from * for the rest of the row. Then ch x3 and turn.

Row 2: Skip the 1st stitch and dc in the next 2 stitches. *Ch x1 + skip the next stitch, then dc x3.
Repeat from * for the rest of the row. At the end of the row switch colors. Ch x4 (counts as a dc with turning ch) and then turn your work.

Row 3: Skip the 1st 2 stitches. *Dc in the next stitch (the stitch before the chain space). Work a long dc in the ch space 2 ROWS BELOW. (see next paragraph)

To make a long dc: Yarn over and insert your hook in the ch-space 2 ROWS BELOW. Yarn over and draw up a loop, drawing it up to the height of your dc stitches. Then yarn over and draw through 2 loops on your hook twice. Like you would a normal dc.
Dc in the next stitch following the long dc. Ch x1 and skip the next stitch. Repeat from * for the rest of the row. In the last stitch make a dc. Then ch x4 and turn.

Row 4: Skip the 1st stitch and ch-space then dc in the next 3 stitches. *Ch x1 + skip the next stitch, then dc x3. Repeat from * for the rest of the row. At the end of the row, ch x1 and then a single dc stitch in the final stitch (the ch x4 at the beginning of last row).
At the end of the row, switch colors. Then ch x3 and turn your work.

Row 5: Skip the 1st stitch, then make a long dc in the next ch-space 2 ROWS BELOW. Then make a dc in the next stitch.
*Ch x1, skip the next stitch. Dc in the following stitch. Work a long dc in the ch-space, and then a dc in the next stitch. Repeat from * for the rest of the row.
Then ch x3 and turn.
Row 6: Repeat row 2.
To make your project longer, keep repeating rows 3-6. Remember to switch colors every 2 rows as needed. Fasten off and weave in your ends.
And that is it! Now you know how to make the larksfoot crochet stitch.
If you want to try some more fun crochet stitches check out the crochet wattle stitch, which has a cool texture, crochet dragonfly stitch which is a cool design made with filet crochet, and the crochet berry stitch which has a soft bobble texture.

🐌Expert Tips
- Weave in Ends: Because you switch colors often, I suggest weaving in the yarn ends as you go! It makes it less daunting than doing all of them when the project is finished.
- Experiment with Colors: Don’t be afraid to experiment with different color combinations! A gradient effect can add depth to your project.
- Adjusting for Texture: For a more textured look, try using a yarn with a slightly thicker weight. This will help the spikes stand out even more.
🧵Pattern FAQs
If you have a lot of ends and don't want to weave them in, you can use a crochet envelope border to hide the ends. Otherwise, I would keep it simple since it's already a pretty busy and striking stitch.
I like to use it for blankets, but it can work for any project—clothing, accessories, blankets, and more!
I would stay away from any yarn that is fuzzy, as the design can get lost more easily. However, anything with a smooth and even finish should be fine.

🧶More Crochet Stitch Patterns
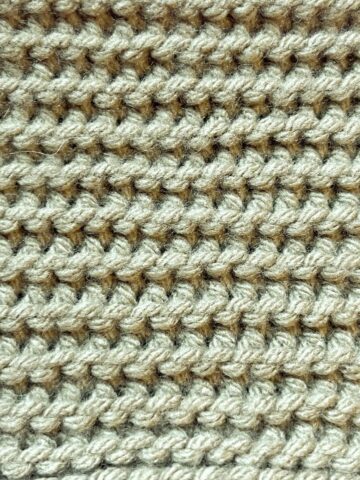
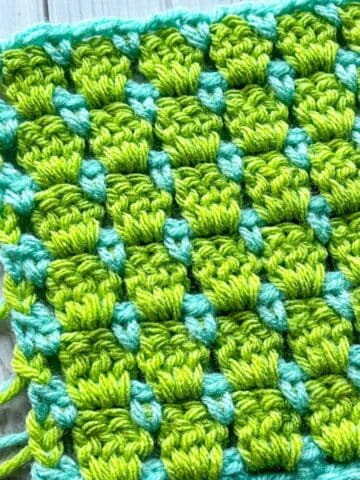
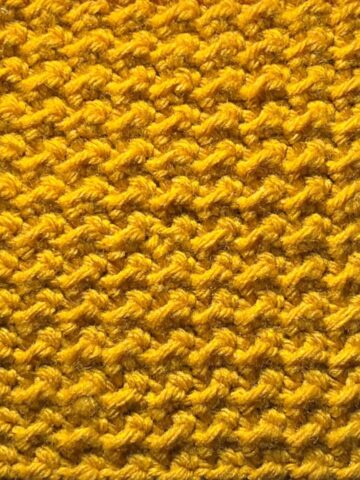
If you tried this Larksfoot Crochet Stitch (or any other pattern on my website), please let me know how it went in the 📝 comments below. I'd love to hear from you!

Larksfoot Crochet Stitch
Materials
- Yarn of choice
- 5 mm hook
- Tapestry needles
Abbreviations (US terms)
- Chain - ch
- Chain space - ch sp
- Double crochet - dc
- Long double crochet - long dc
Notes
- Pattern Complexity: Although the pattern just uses double crochet and chains, this isn’t a mindless stitch. There are several steps involved, but with practice, any stitch can become mindless and easy!
- Color Changes: The larksfoot stitch looks best with fast color changes, which means changing the color every other row (since it is a two-row stitch). The detail of the spike gets lost if you use just one color, so try to use at least two colors when attempting this stitch.
- Yarn Choice: I used worsted acrylic yarn for this stitch, but you can use any type of yarn!
Instructions
- The larksfoot crochet stitch pattern is worked in rows.
- Ch x33, this is just a small test swatch for learning the stitch, if you want to make it a different size use multiples of 4 +1 for the turning chain)
- Row 1: Dc in the 4th ch from the hook (the 1st 3 chains acts as a dc stitch), dc in the following stitch and then *ch x1 + skip the next stitch,
- then dc x3.
- Repeat from * for the rest of the row. Then ch x3 and turn.
- Row 2: Skip the 1st stitch and dc in the next 2 stitches. *Ch x1 + skip the next stitch, then dc x3.
- Repeat from * for the rest of the row. At the end of the row switch colors. Ch x4 (counts as a dc with turning ch) and then turn your work.
- Row 3: Skip the 1st 2 stitches. *Dc in the next stitch (the stitch before the chain space). Work a long dc in the ch space 2 ROWS BELOW.
- To make a long dc: Yarn over and insert your hook in the ch-space 2 ROWS BELOW. Yarn over and draw up a loop, drawing it up to the height of your dc stitches. Then yarn over and draw through 2 loops on your hook twice. Like you would a normal dc.
- Dc in the next stitch following the long dc. Ch x1 and skip the next stitch. Repeat from * for the rest of the row. In the last stitch make a dc. Then ch x4 and turn.
- Row 4: Skip the 1st stitch and ch-space then dc in the next 3 stitches. *Ch x1 + skip the next stitch, then dc x3. Repeat from * for the rest of the row. At the end of the row, ch x1 and then a single dc stitch in the final stitch (the ch x4 at the beginning of last row).
- At the end of the row, switch colors. Then ch x3 and turn your work.
- Row 5: Skip the 1st stitch, then make a long dc in the next ch-space 2 ROWS BELOW. Then make a dc in the next stitch.
- *Ch x1, skip the next stitch. Dc in the following stitch. Work a long dc in the ch-space, and then a dc in the next stitch. Repeat from * for the rest of the row.
- Then ch x3 and turn.
- Row 6: Repeat row 2.
- To make your project longer, keep repeating rows 3-6. Remember to switch colors every 2 rows as needed. Fasten off and weave in your ends.
- And that is it! Now you know how to make the larksfoot crochet stitch.

Leave a Reply