

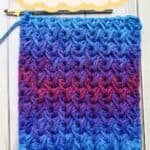
The Crochet Feather Stitch is a thick and beautiful textured crochet stitch that is perfect for cowls, scarves, blankets and more! This stitch is best for intermediate to advanced crocheters.
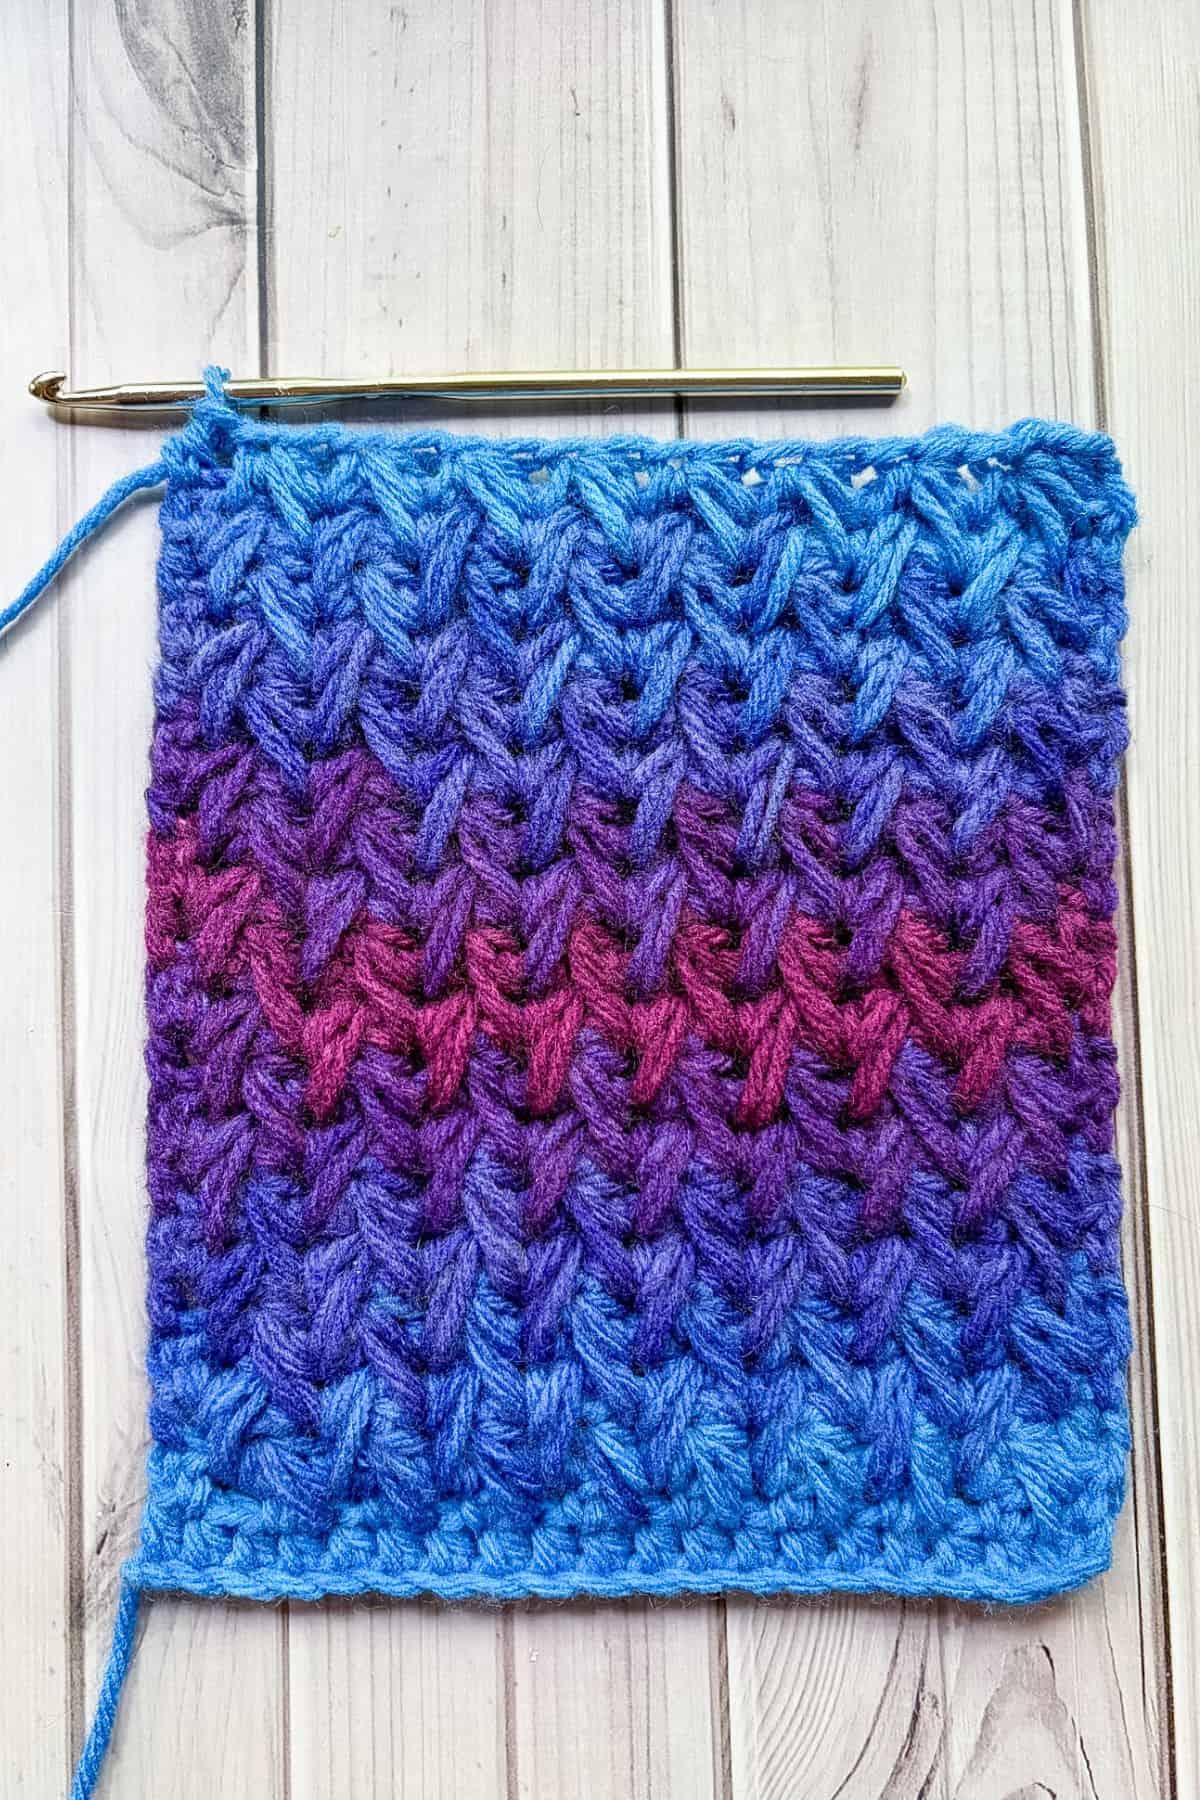
The crochet feather stitch is a beautiful crochet stitch that uses a combination of half double crochets, chains, and a multi-step stitch that produces a "feather-like" texture.
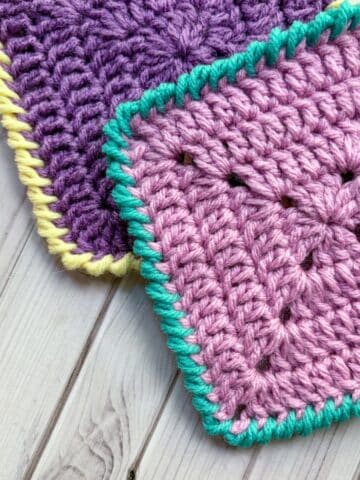
If you are new to crocheting, this feather stitch crochet tutorial is probably not something you want to try right away. You may want to try your hand at other stitches that are unique but a bit simpler than the feather stitch. Some of my favorite stitches that I tried when I was gauging myself to see if I was still at beginner or now intermediate level were the Herringbone Half Double Crochet Stitch and the Daisy Stitch Crochet Tutorial.
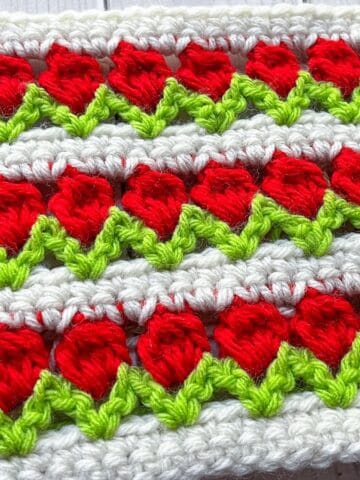
Another one of my all-time favorite stitches is the Crochet Tulip Stitch Pattern for cute springtime motifs! I like to use this for blankets, pillows and headbands! I feel like this pattern is really good for beginner to intermediate crocheters as long as you know the basic crochet stitches!
Jump to:
✏️ Things To Note:
- Yarn: For the crochet feather stitch I suggest using worsted weight yarn. You want to be able to see the feather texture so I would avoid using anything that's fuzzy.
- Swatch: This is just a stitch swatch, if you want to crochet a full project you can adjust the width of the starting chain by crocheting an even number of chains.
- Tension: You want to keep the tension fairly consistent and draw up each loop to the same height in order to get the stitches to look even.
🪡 Materials Needed
- Worsted weight yarn
- 5mm hook
- Tapestry needle
💭Abbreviations to Remember (US terms)
- Chains - ch
- Half Double Crochet - hdc
- Yarn over - yo
🧋Variations
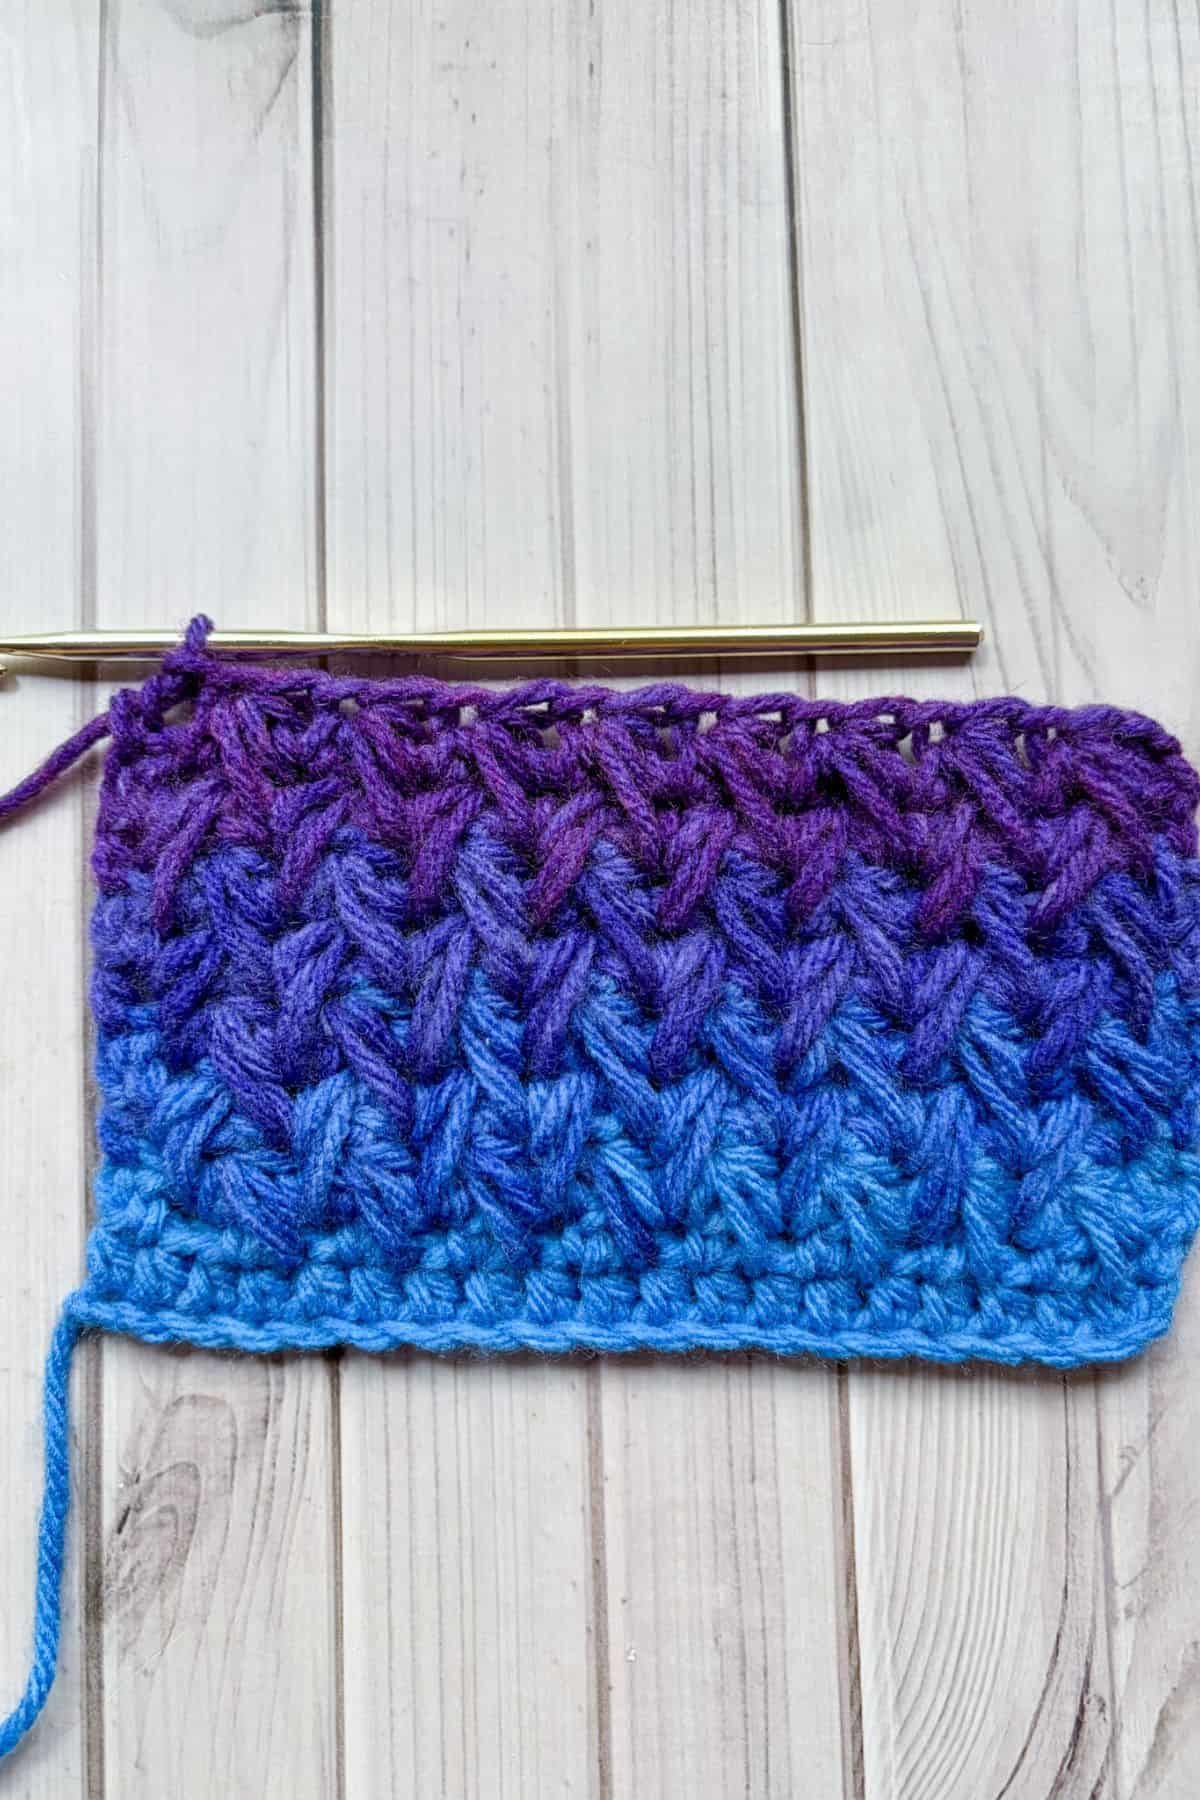
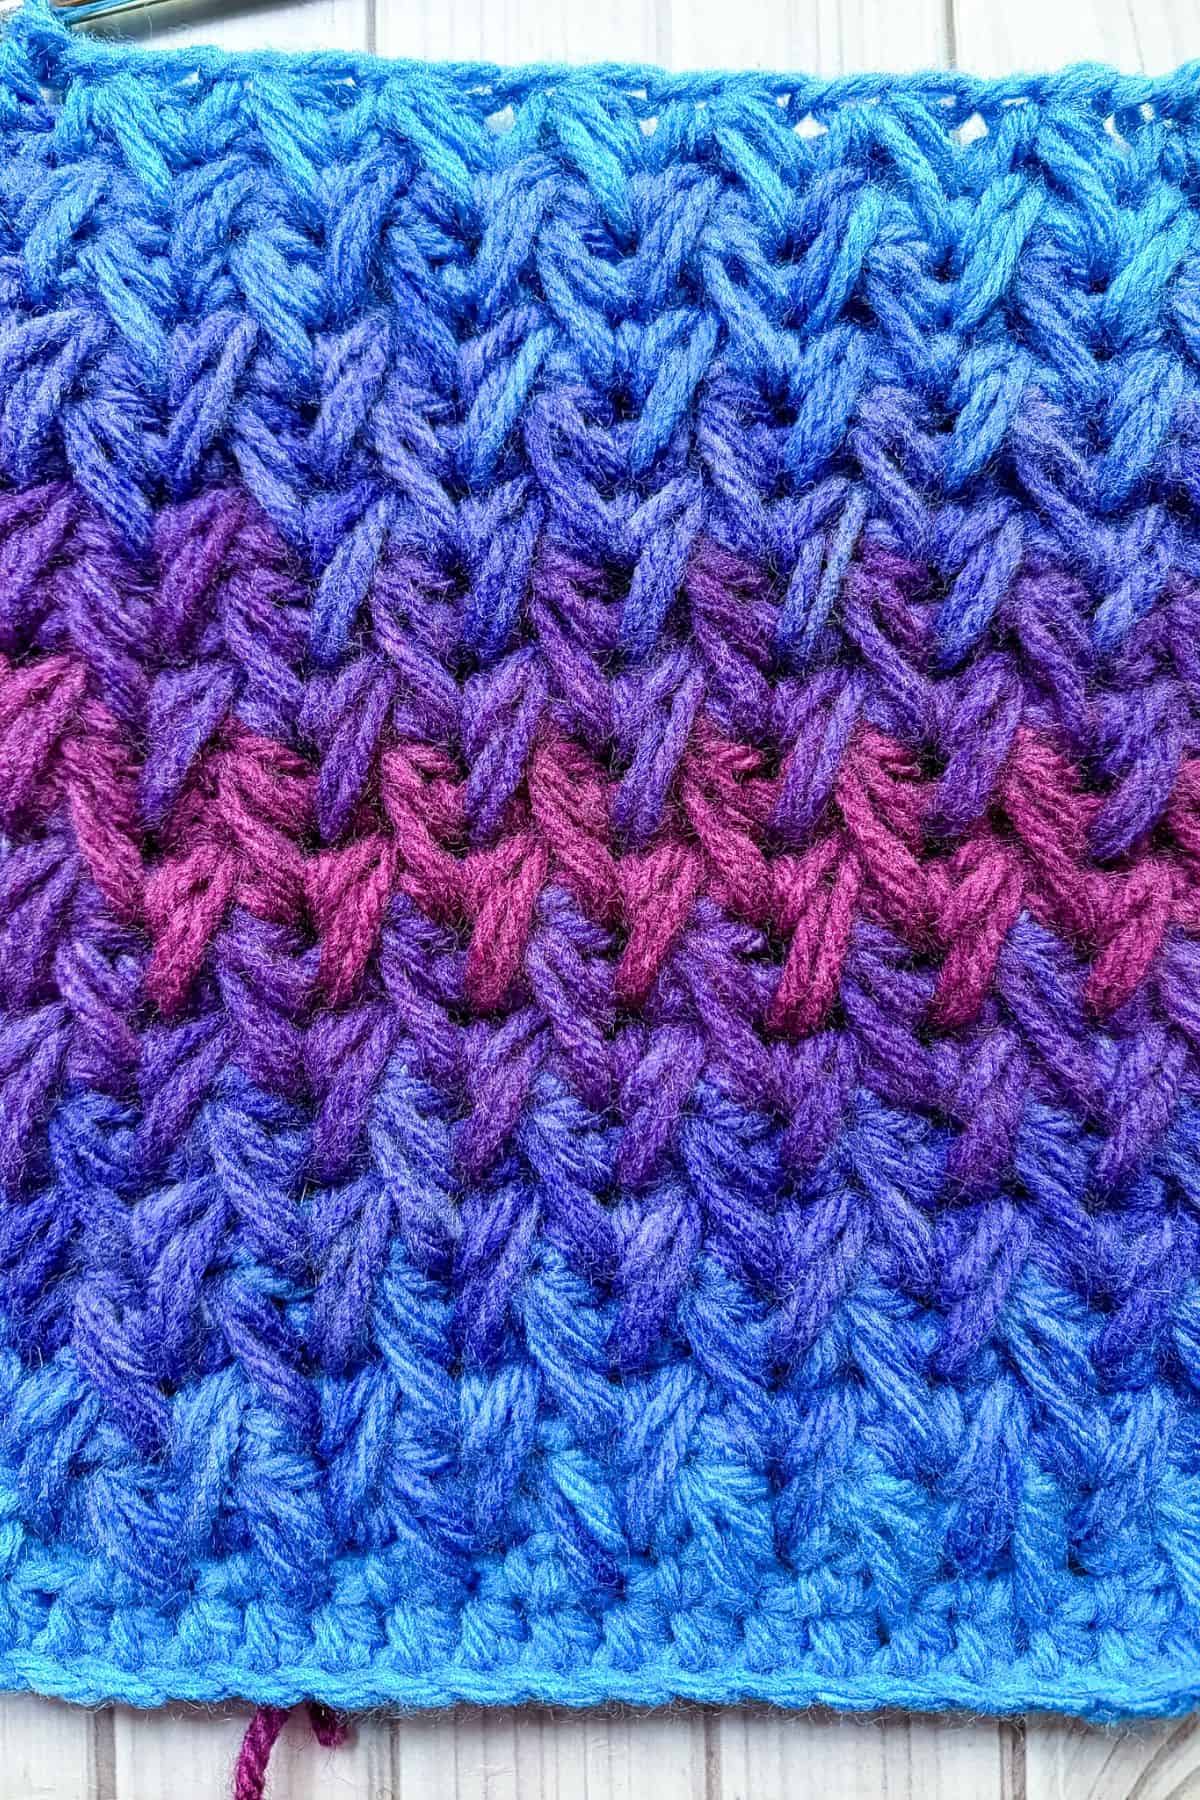
While the stitch itself doesn't have a lot of variances, you can vary the color! You can do the crochet feather stitch in a solid color, ombre, and some people even switch out the color every row.
🍵Instructions for Crochet Feather Stitch Tutorial
Here I will show you how to crochet the feather stitch in rows.
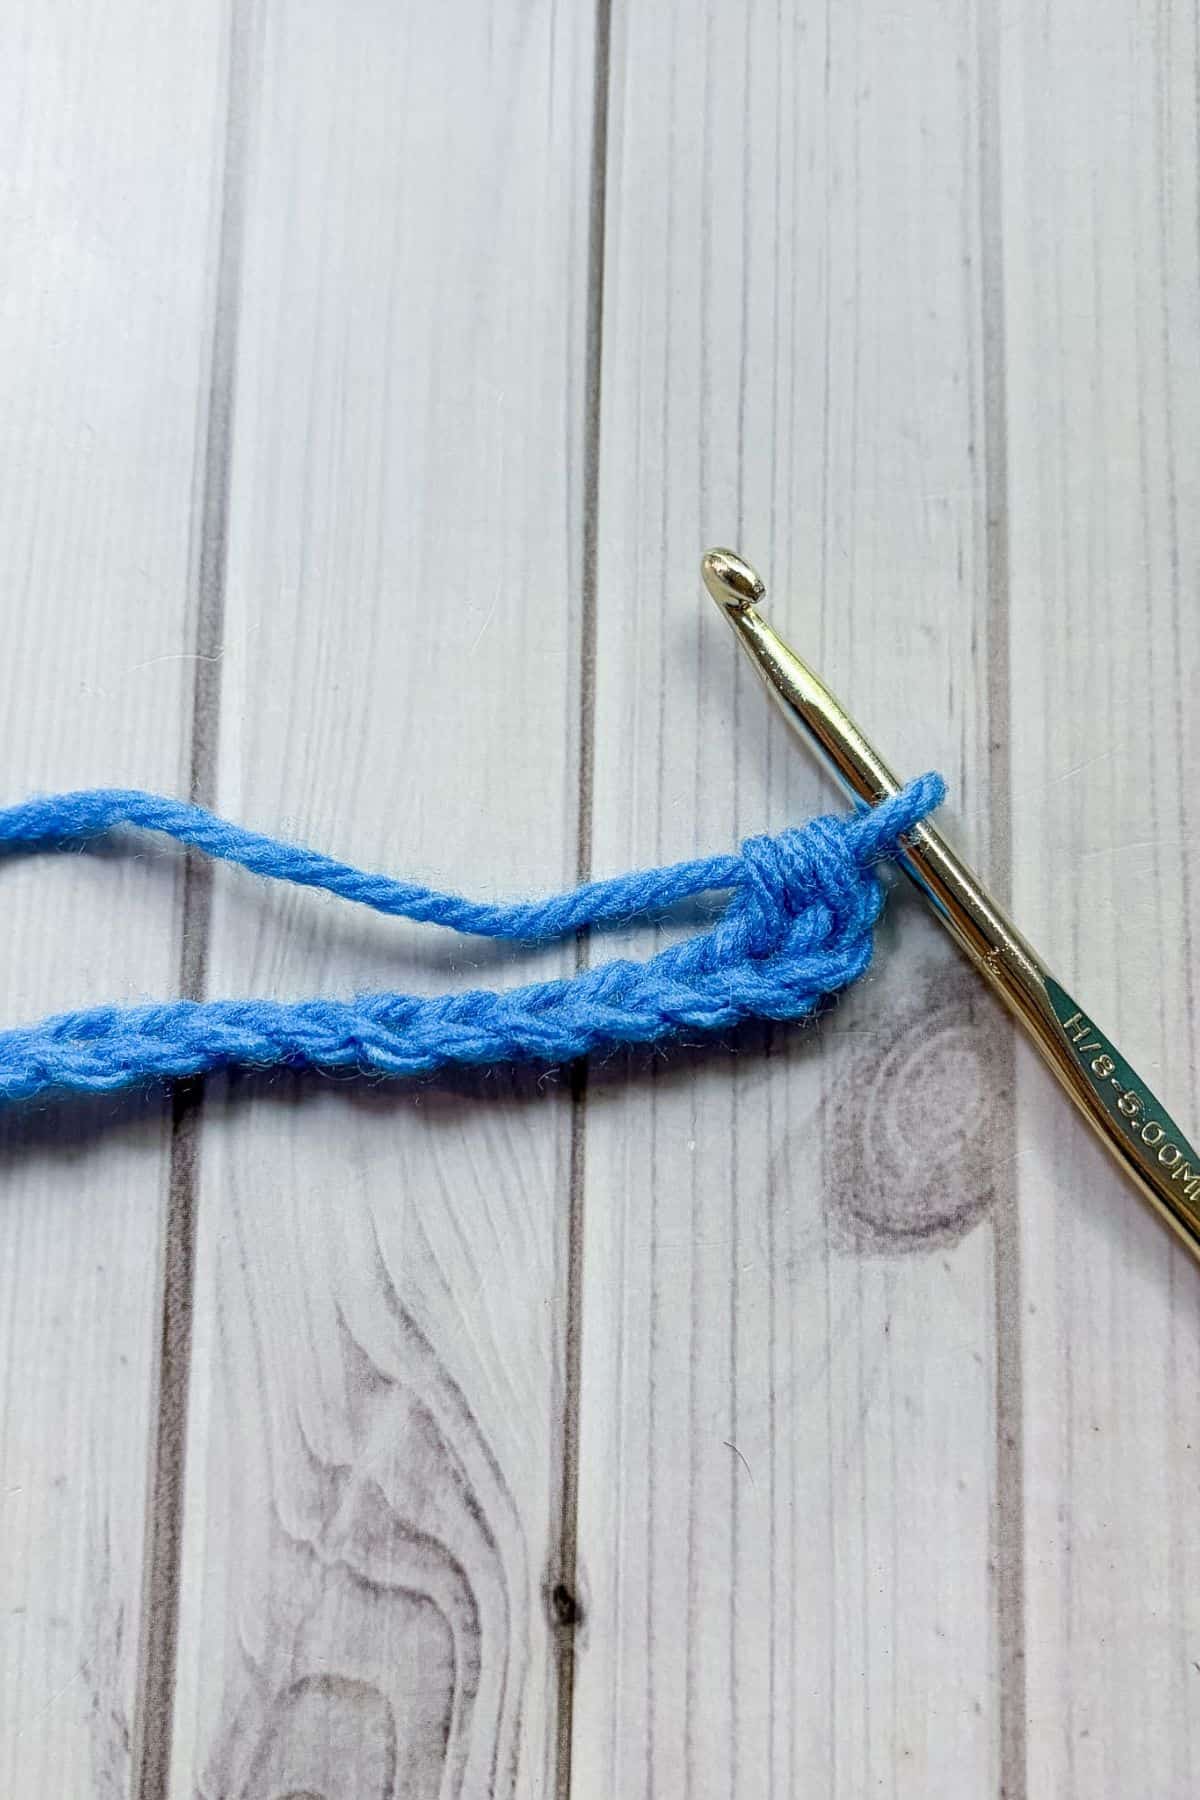
Start by chaining an even number (I chained 20).
Row 1: Hdc in the second ch from the hook.
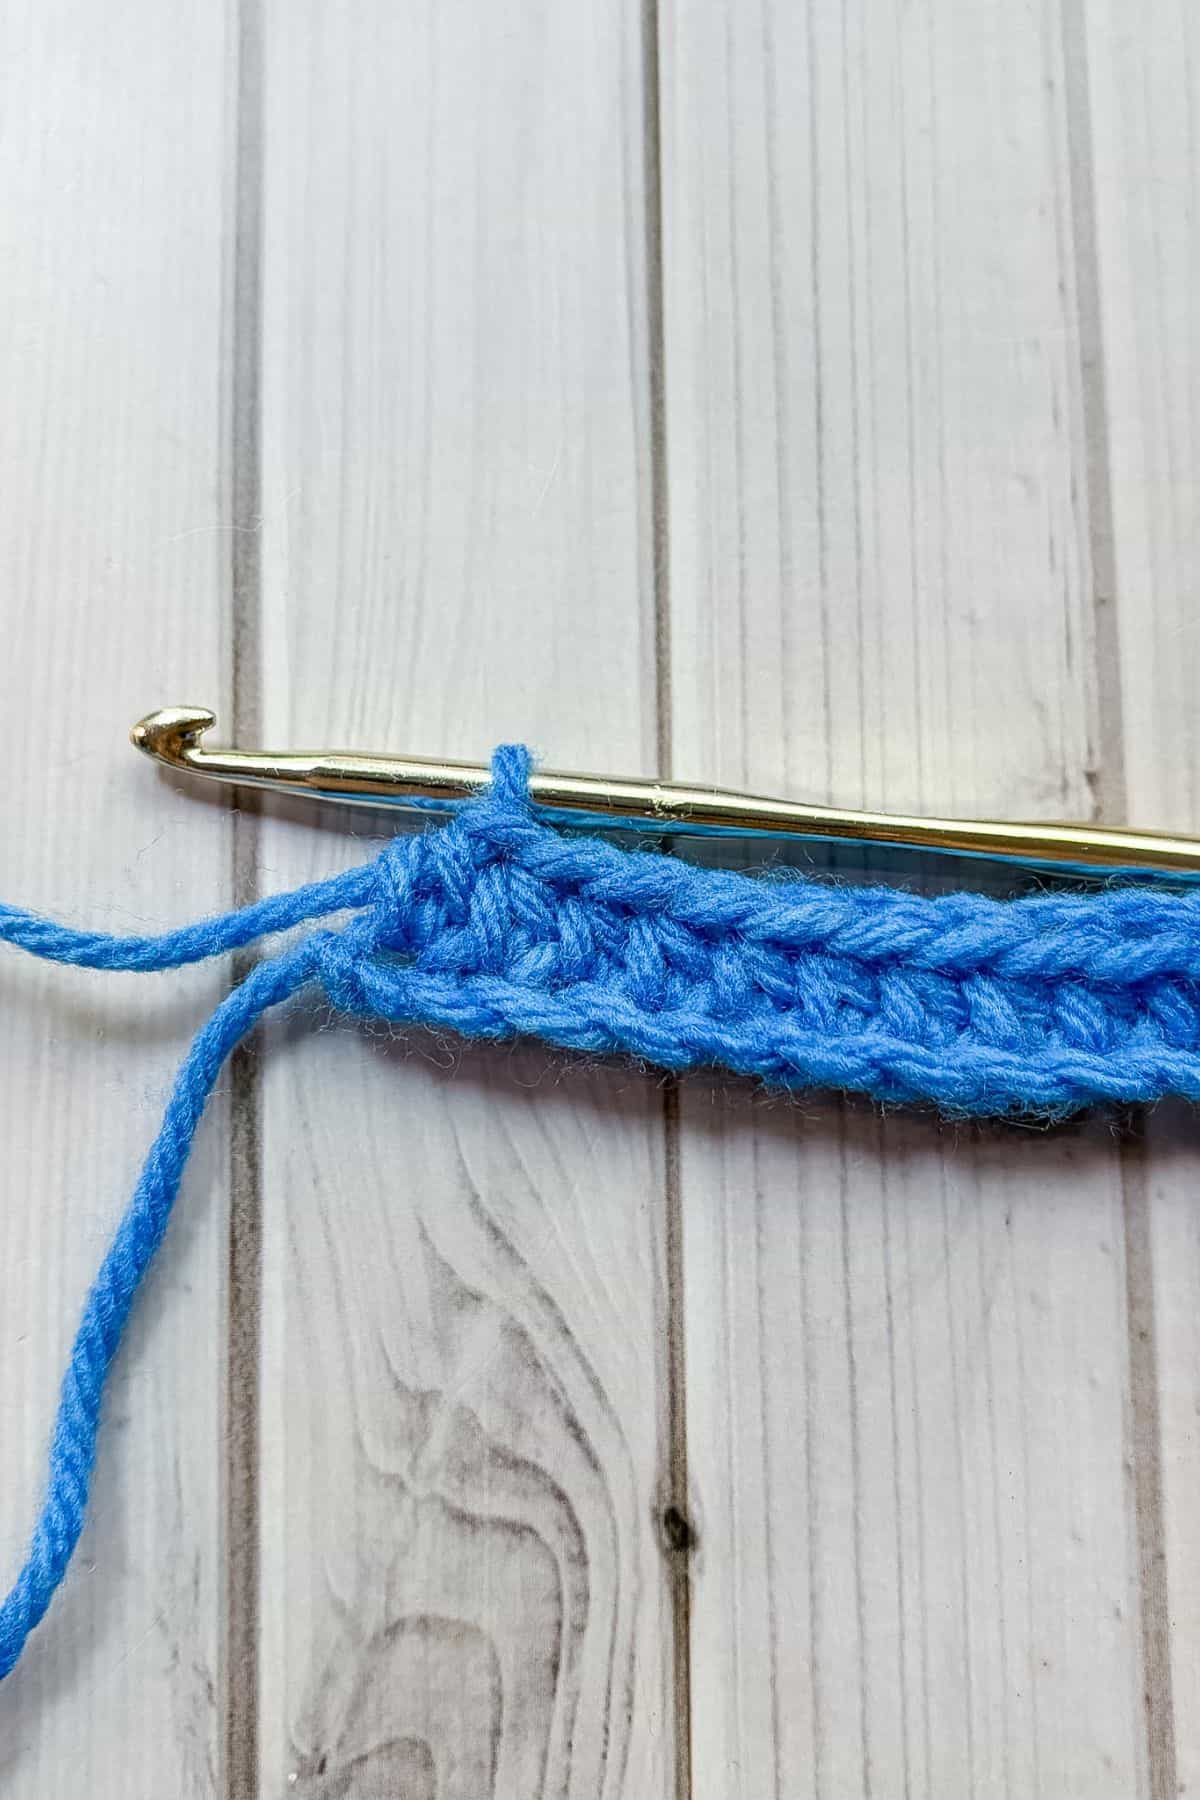
Continue to make hdc for the rest of the row (19). Then ch x1 and turn.
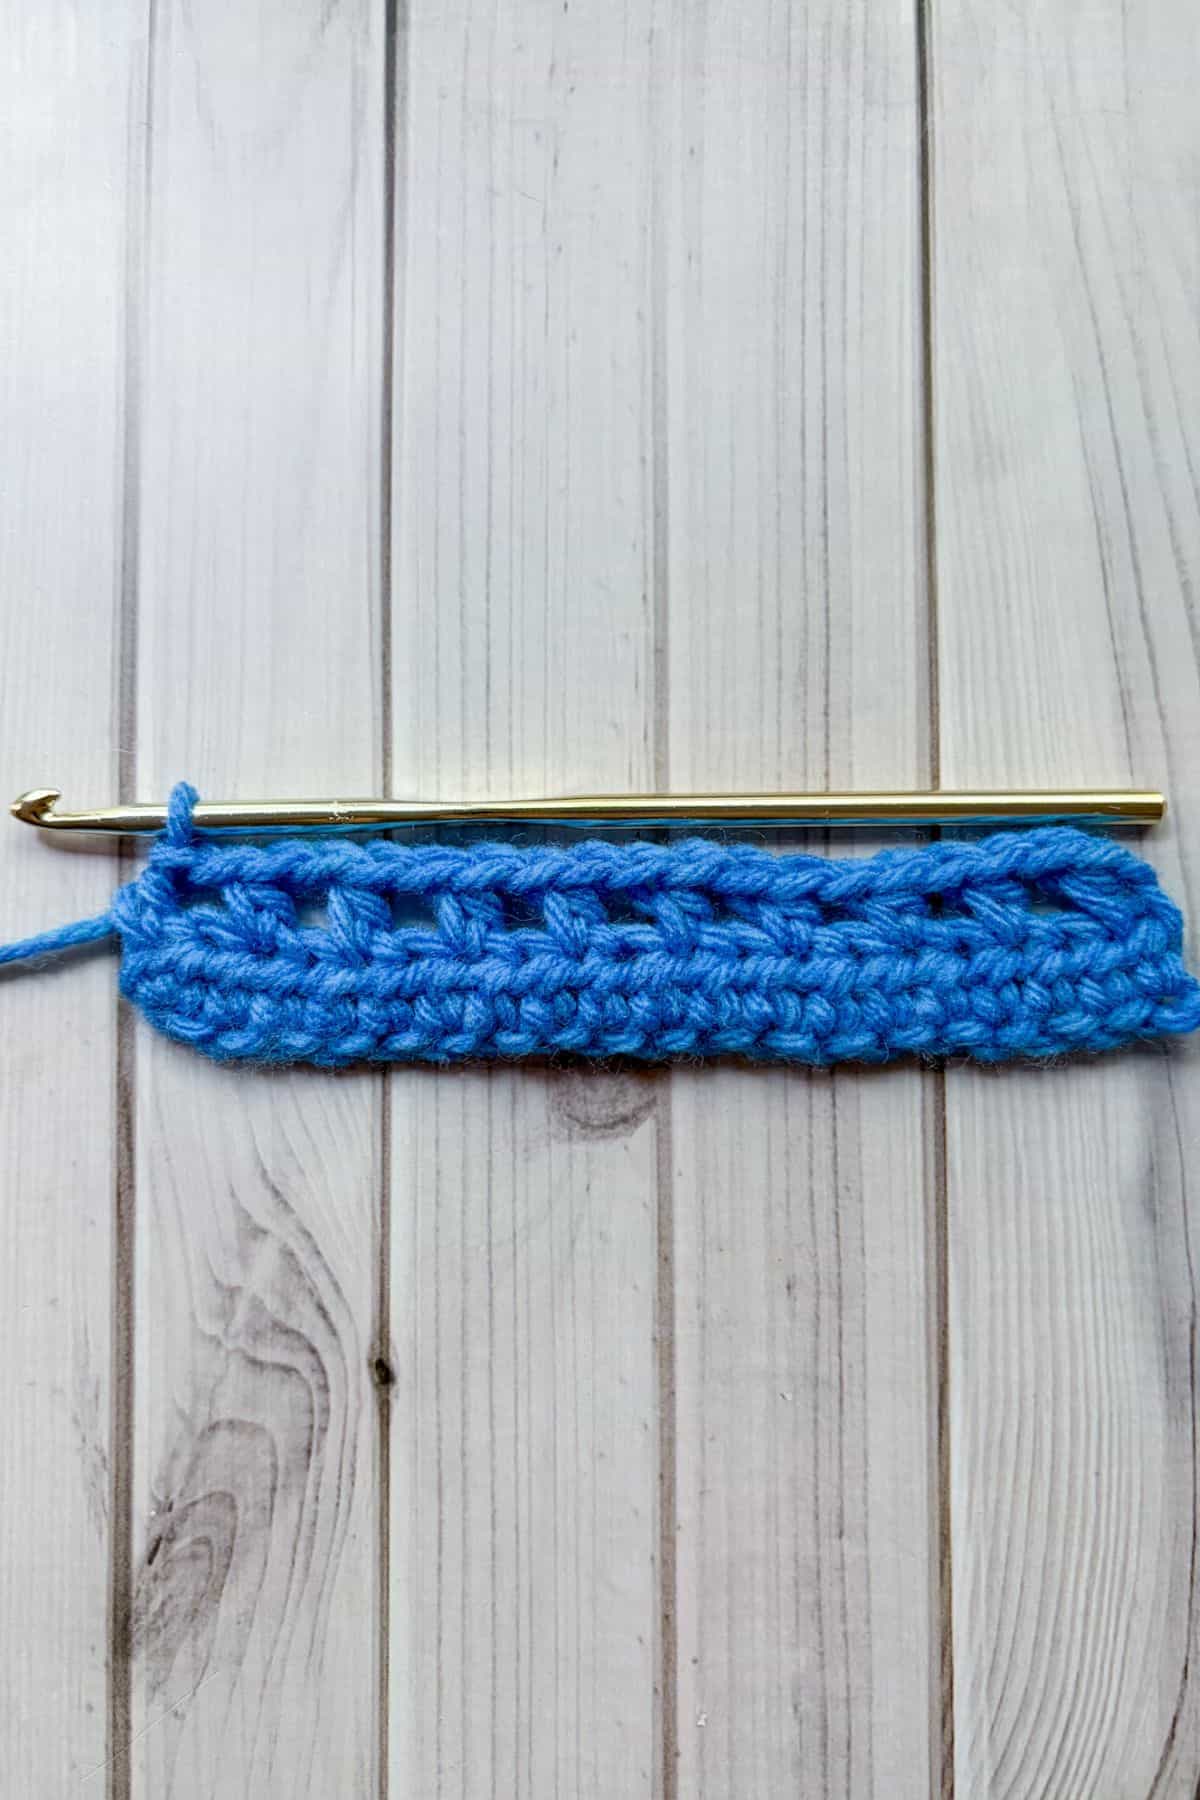
Row 2: Hdc in the first stitch. *Ch x1 + skip 1 stitch. Hdc in the next stitch.*
Repeat from * for the rest of the row. Then chx1 and turn.
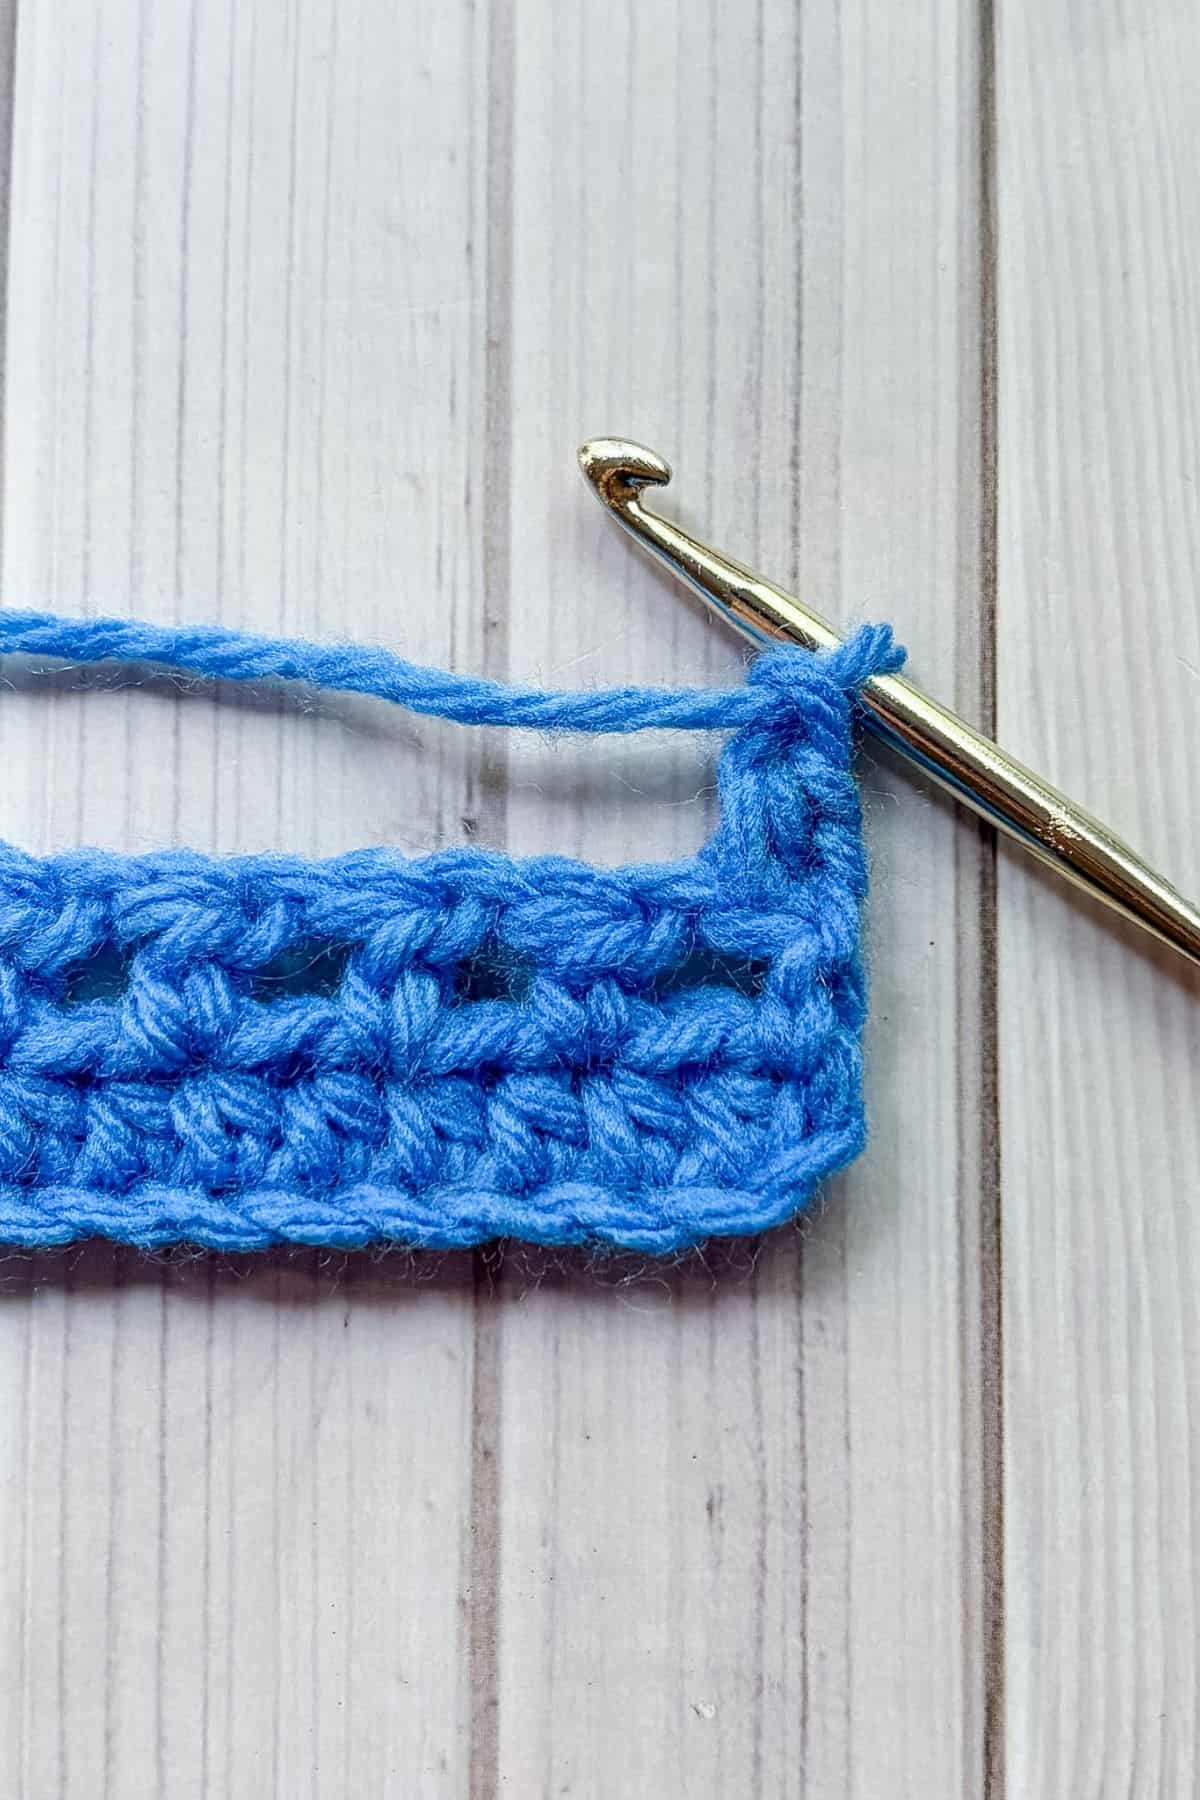
Row 3: Hdc in first stitch, then ch x1. Next make the feather stitch (below).
You will make a feather stitch working in the ch-space, the hdc under it and the next ch-space.
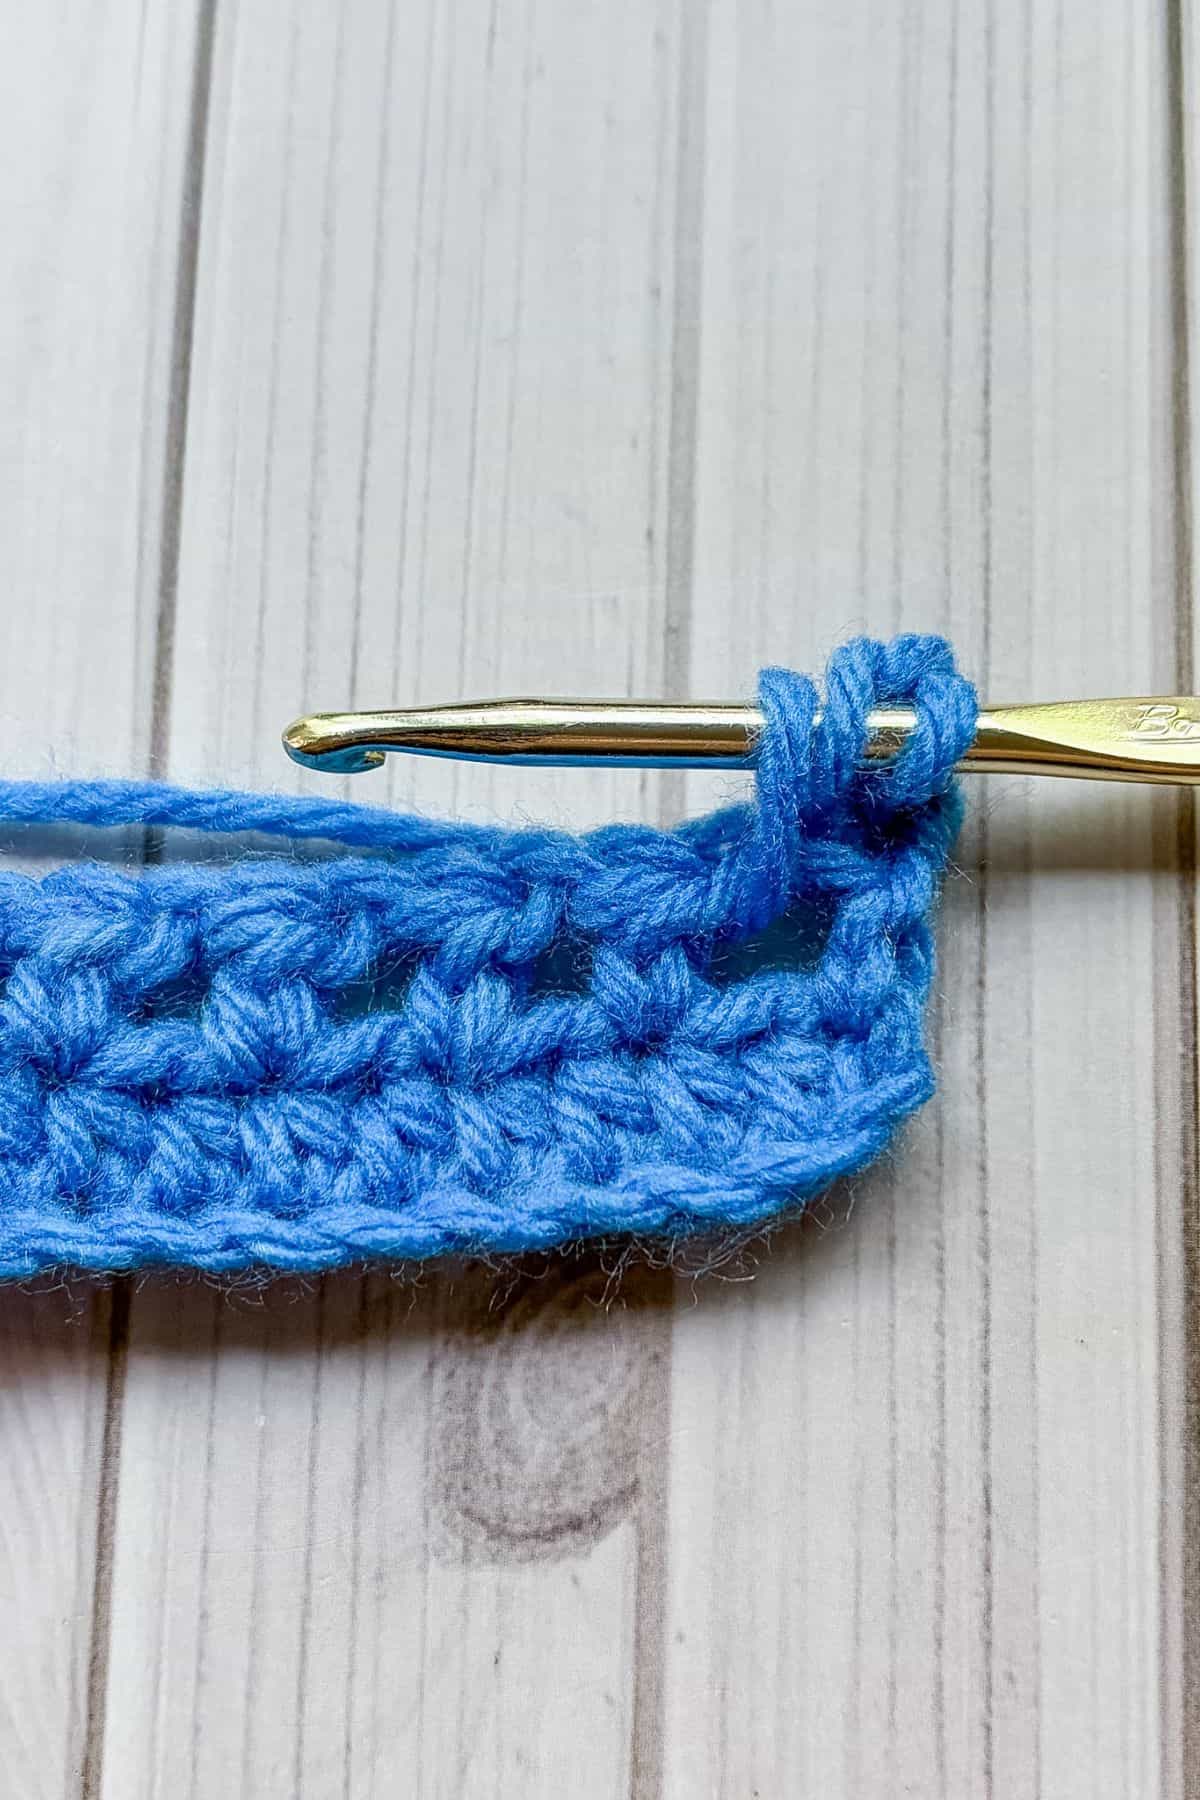
YO, insert hook into the next ch-space, yo, and pull up a loop (3 loops on hook).
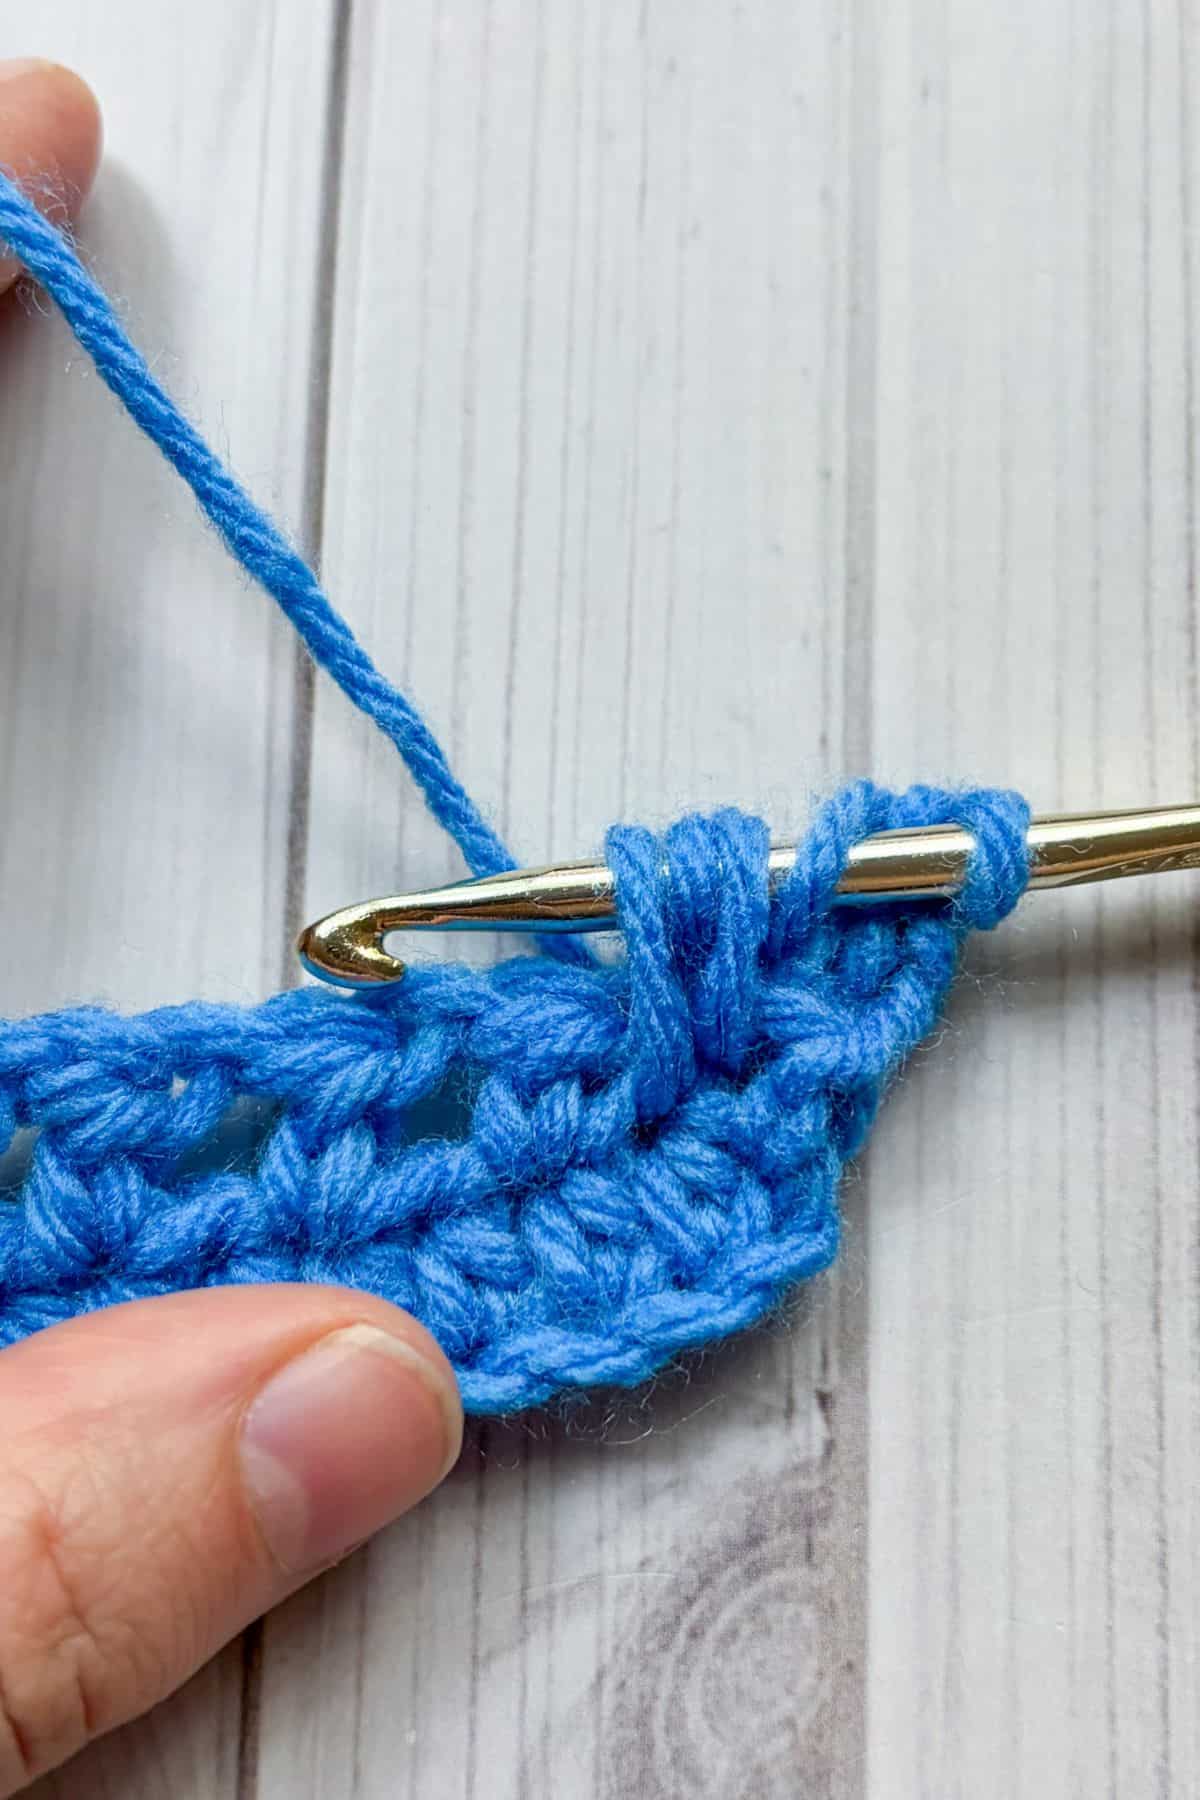
YO, insert hook in the hdc that is under the ch-space, yo, and pull up a loop (5 loops on hook).
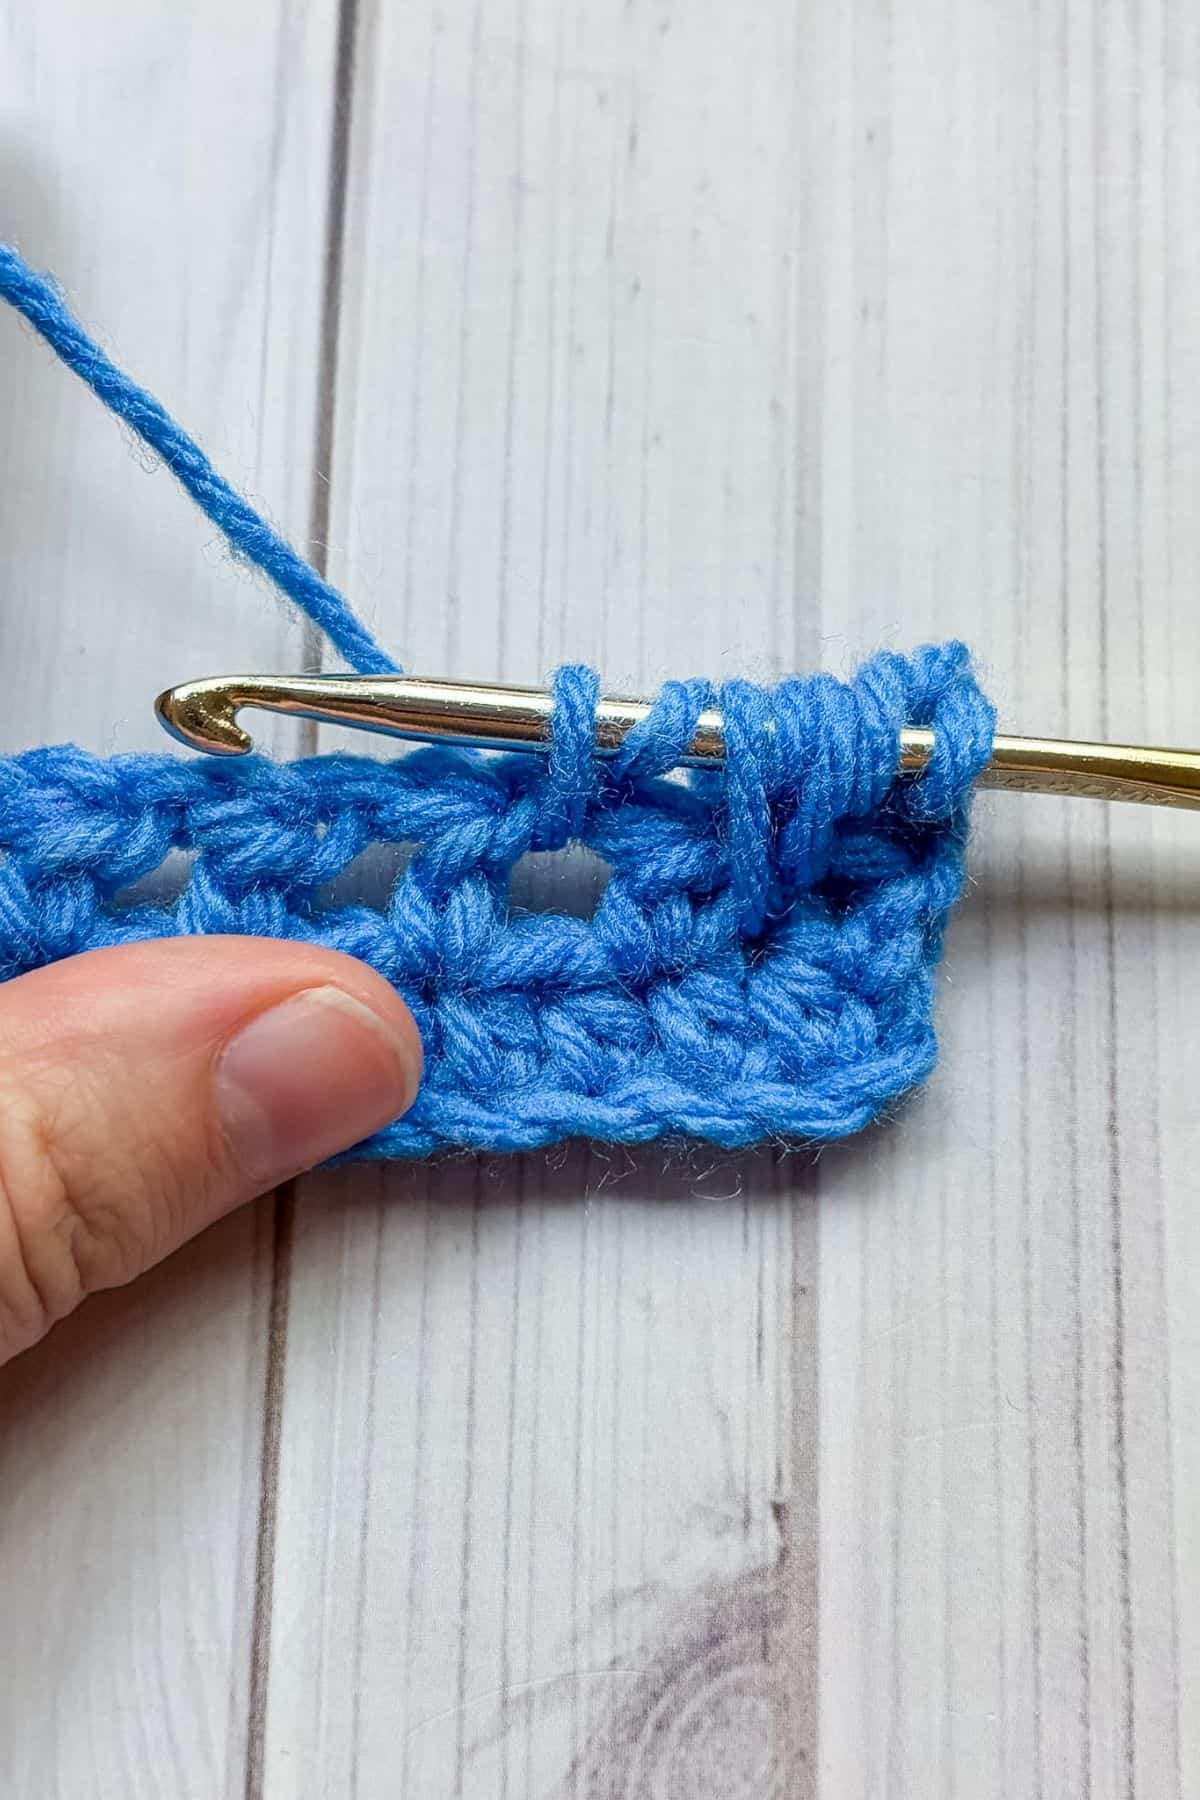
YO, insert hook into the next ch-space, yo, and pull up a loop (7 loops on hook)
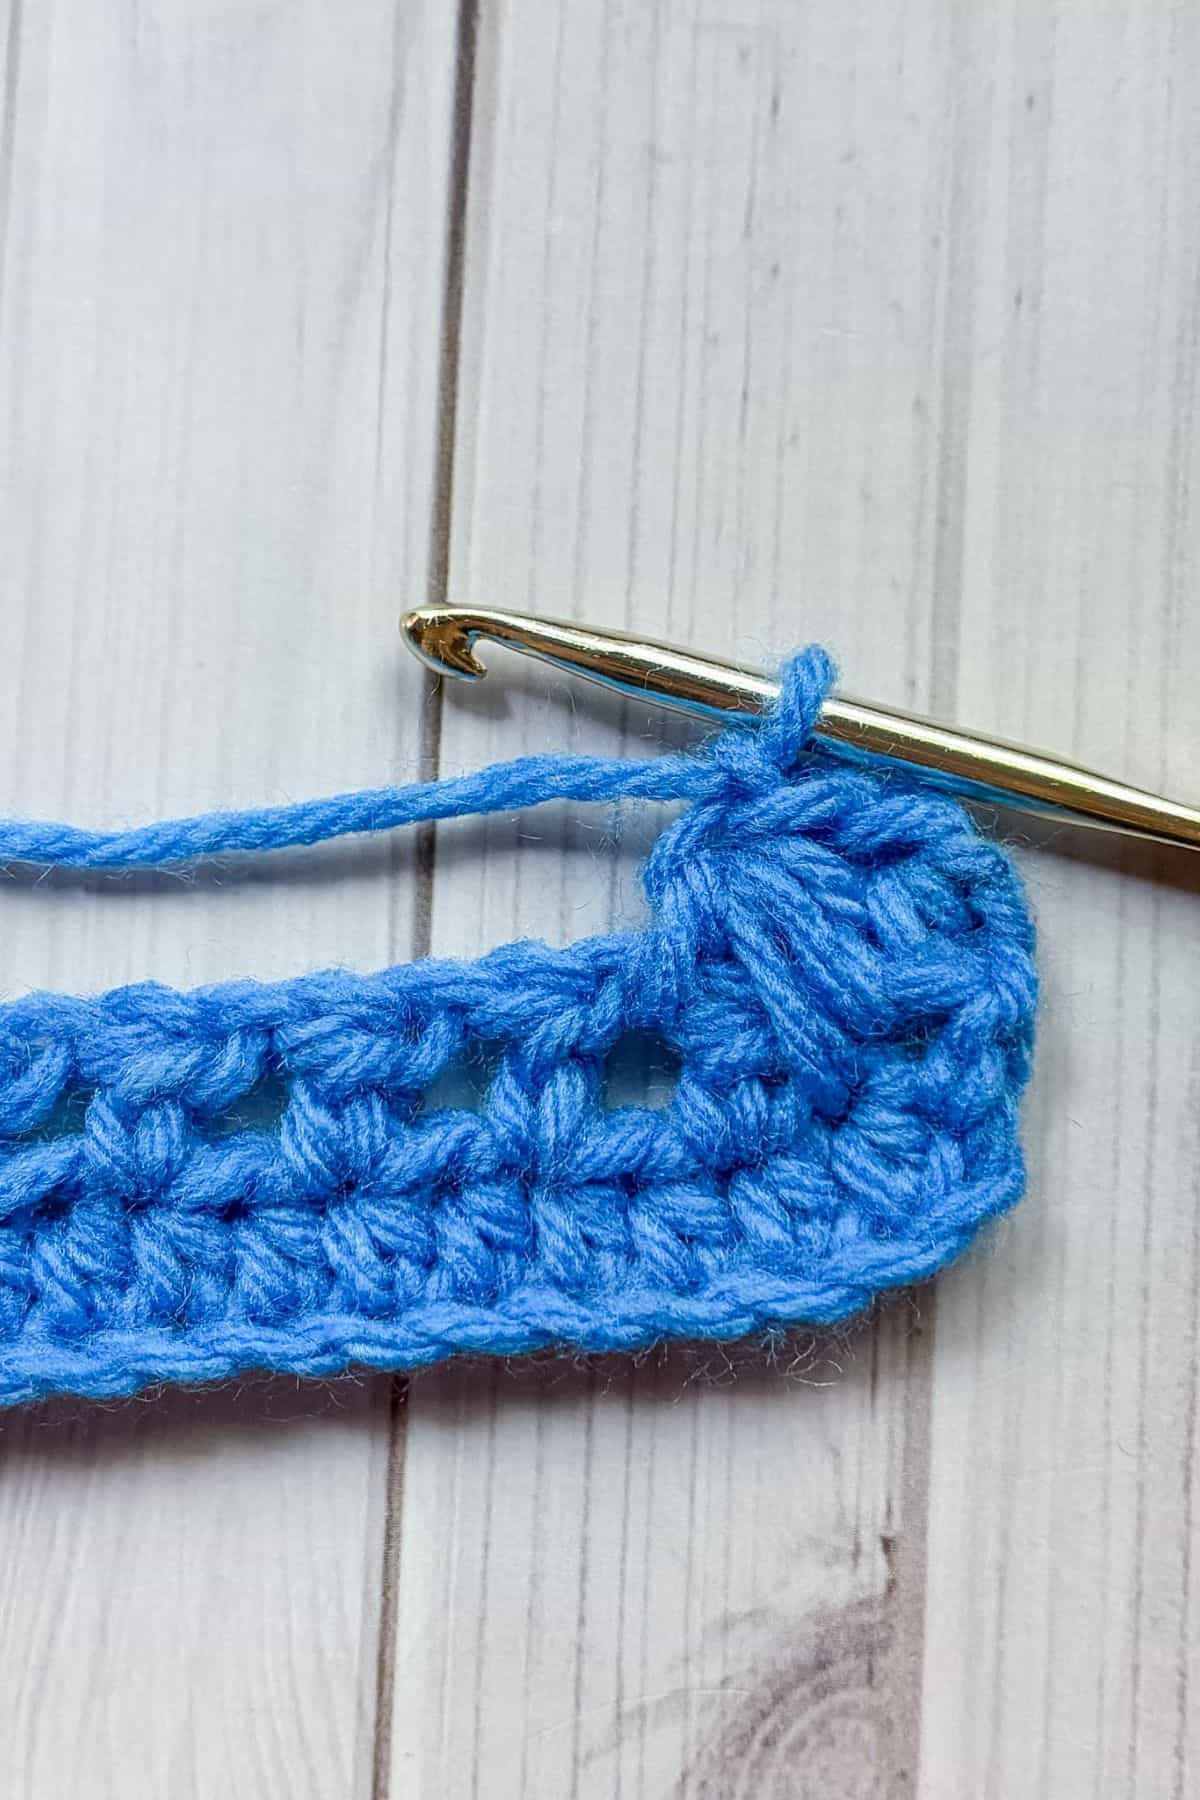
YO, pull the yarn through all 7 loops on the hook.
Ch x1.
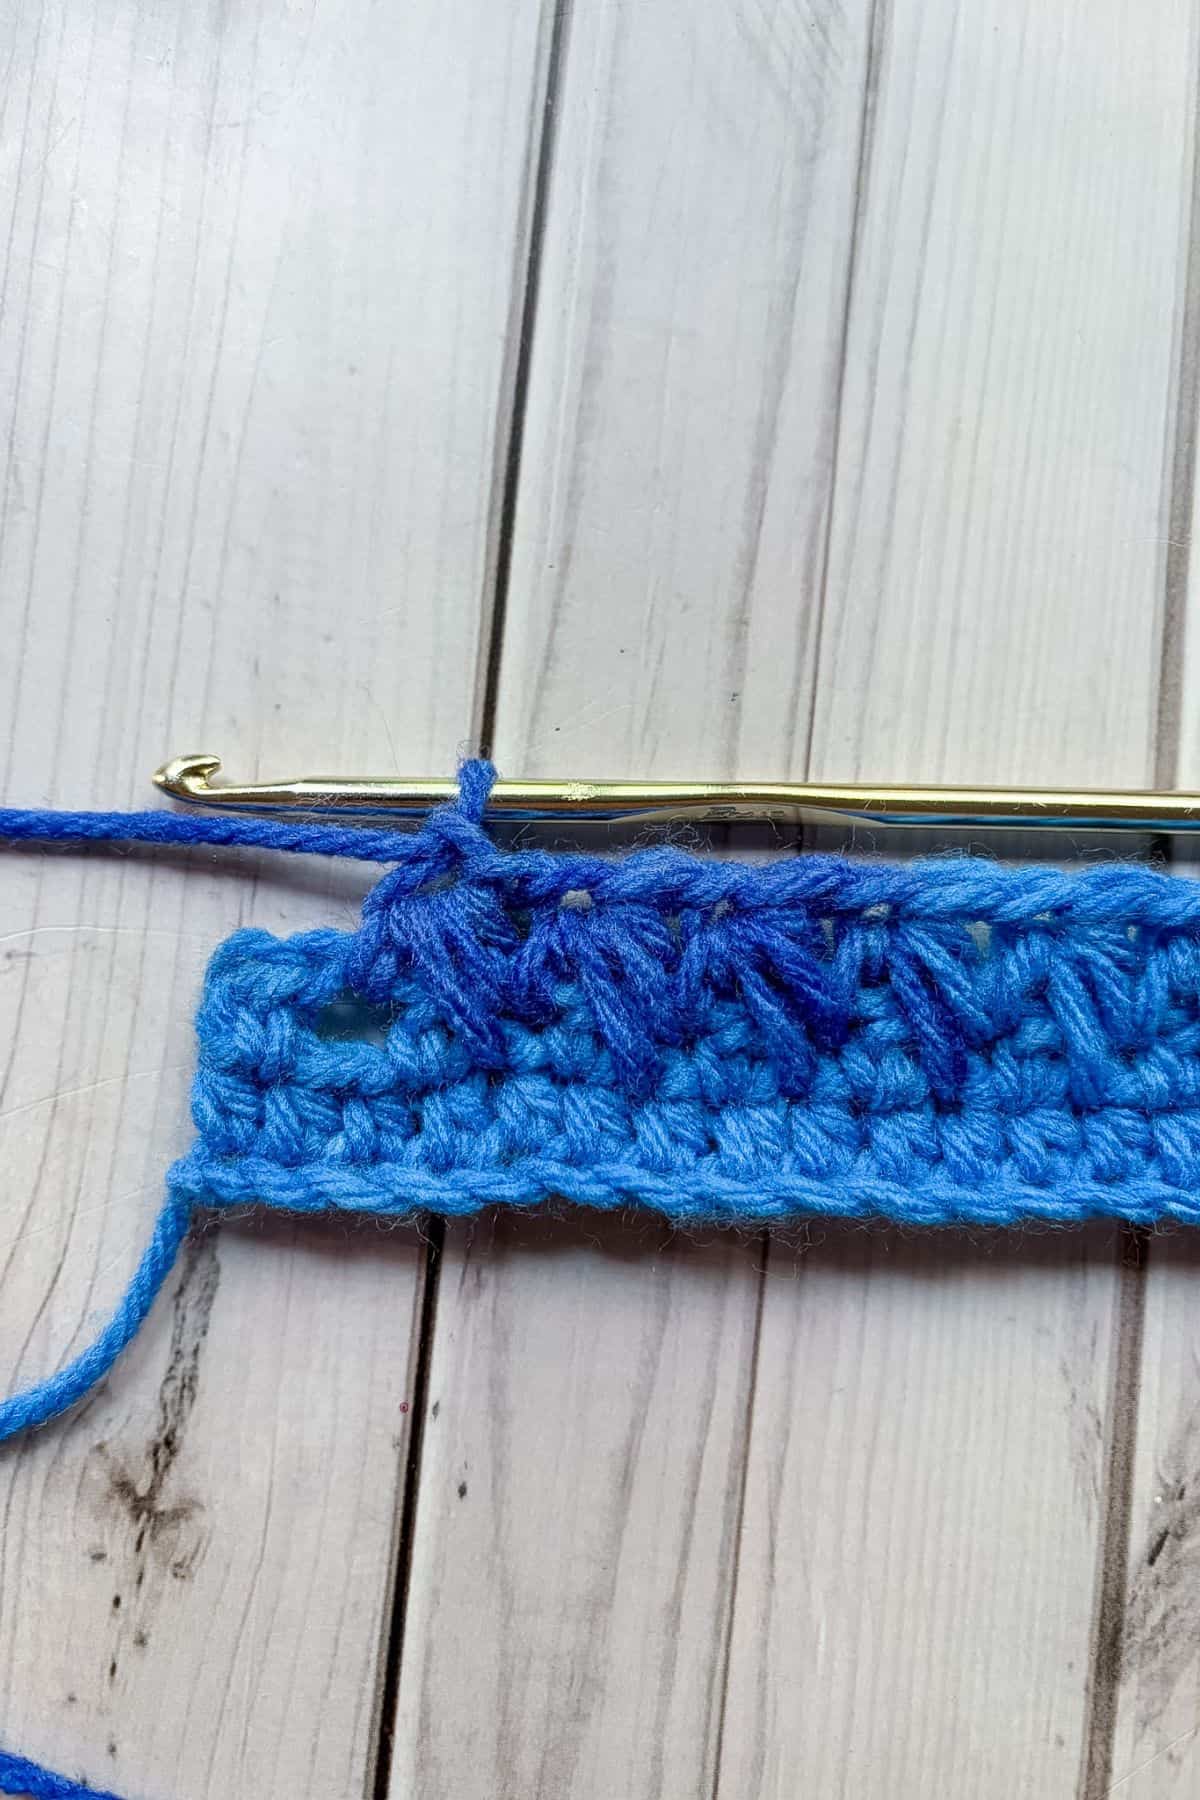
You will make the next feather stitch starting in the ch-space you last worked in, the hdc underneath it and the next ch-space.
Continue making feather stitches until the ned of the row.
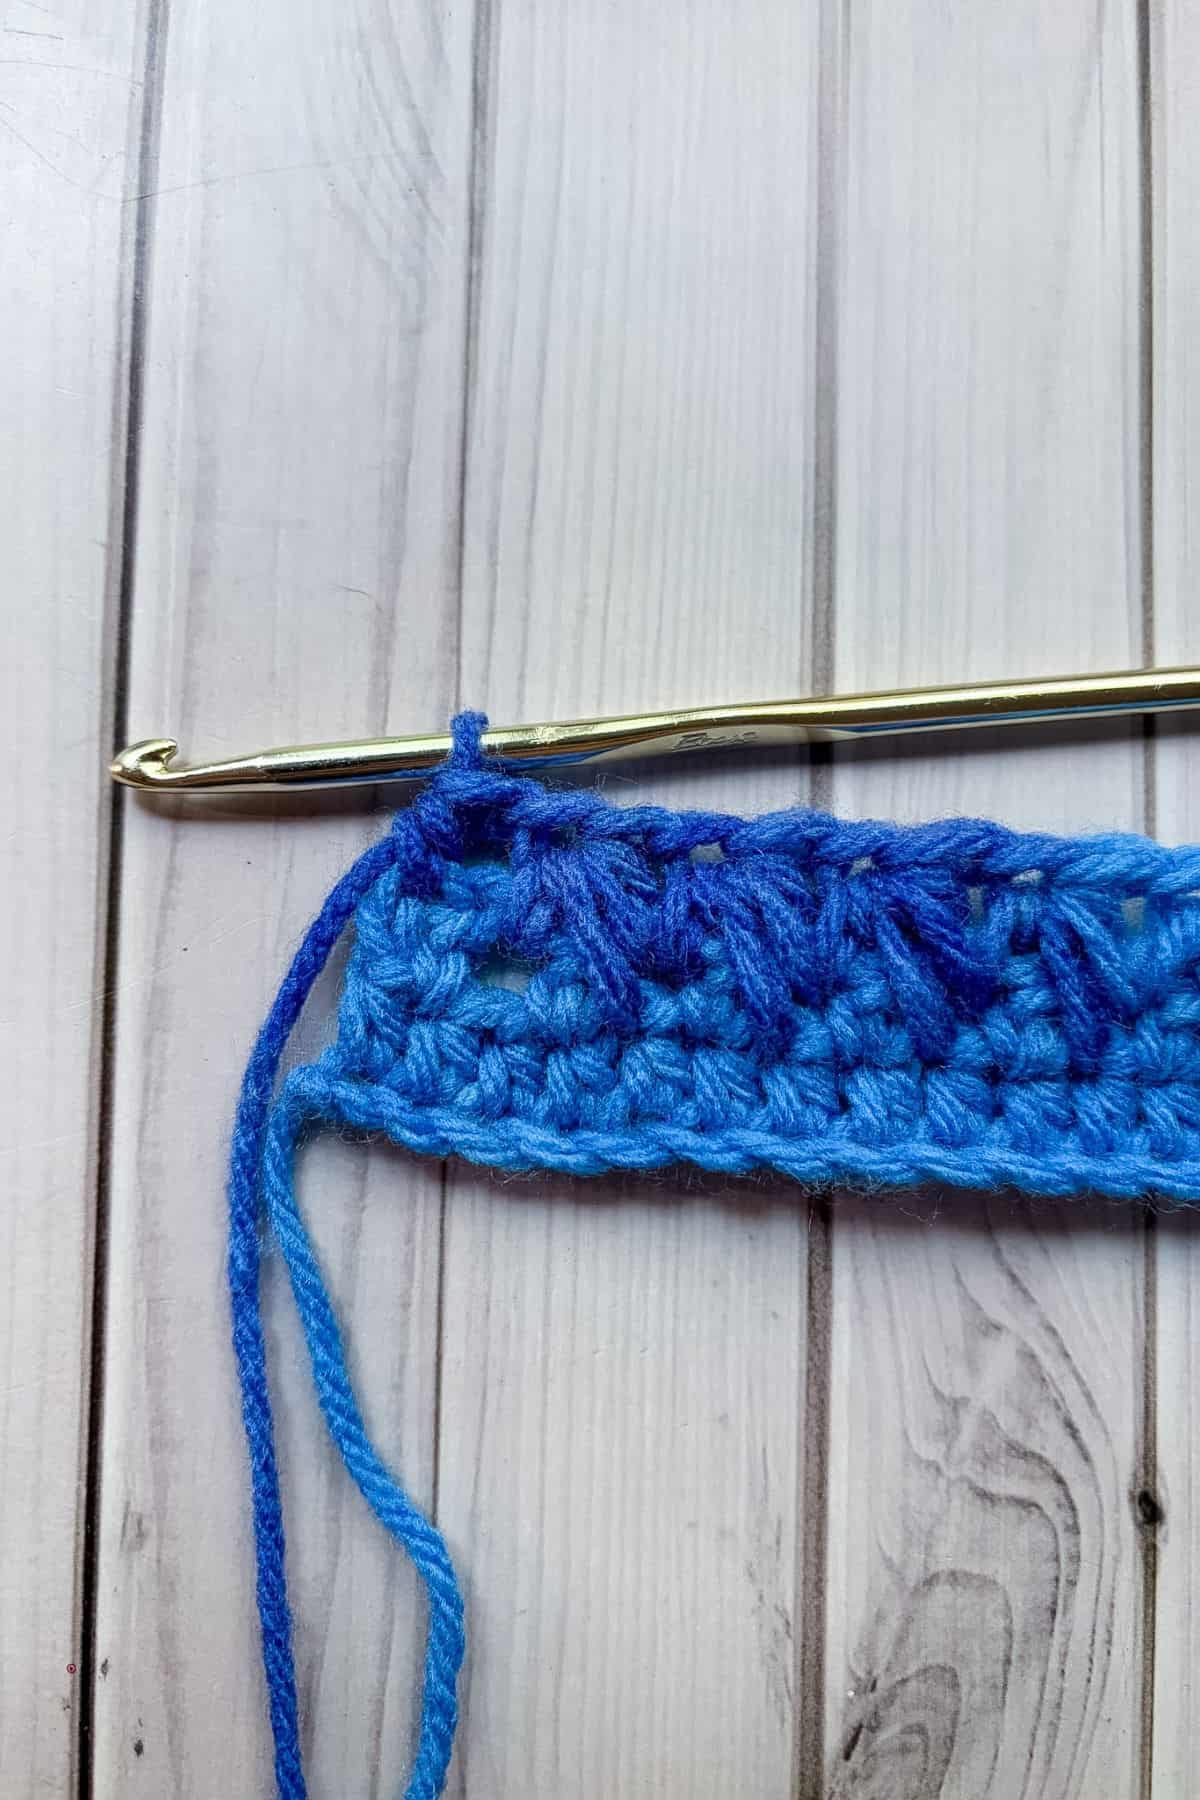
Finish the last feather stitch with a ch. Then hdc in the last stitch. Then ch x1 and turn.
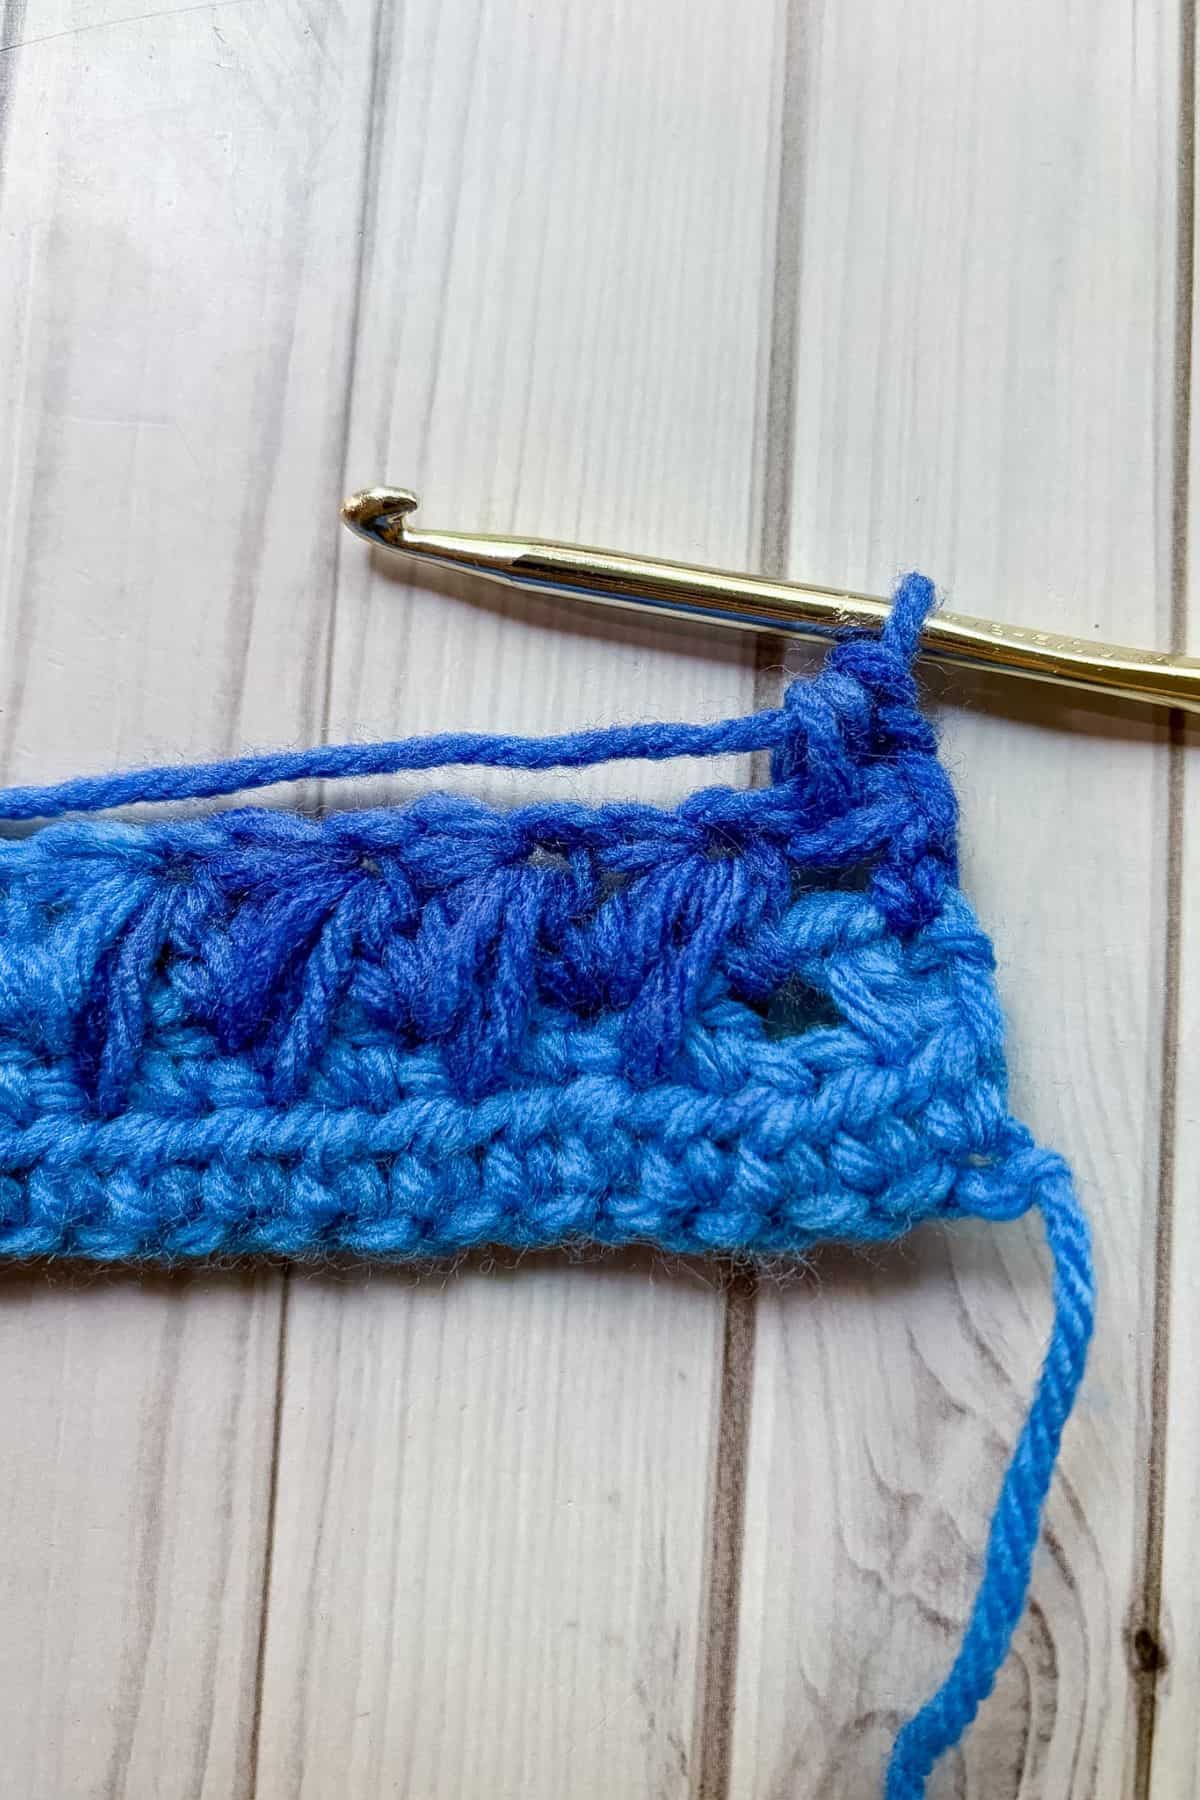
Row 4: Hdc in the first stitch. Ch x1.
Now you will make a feather stitch working in the ch-space, the ch-space under it, and the next ch-space. Ch x1.
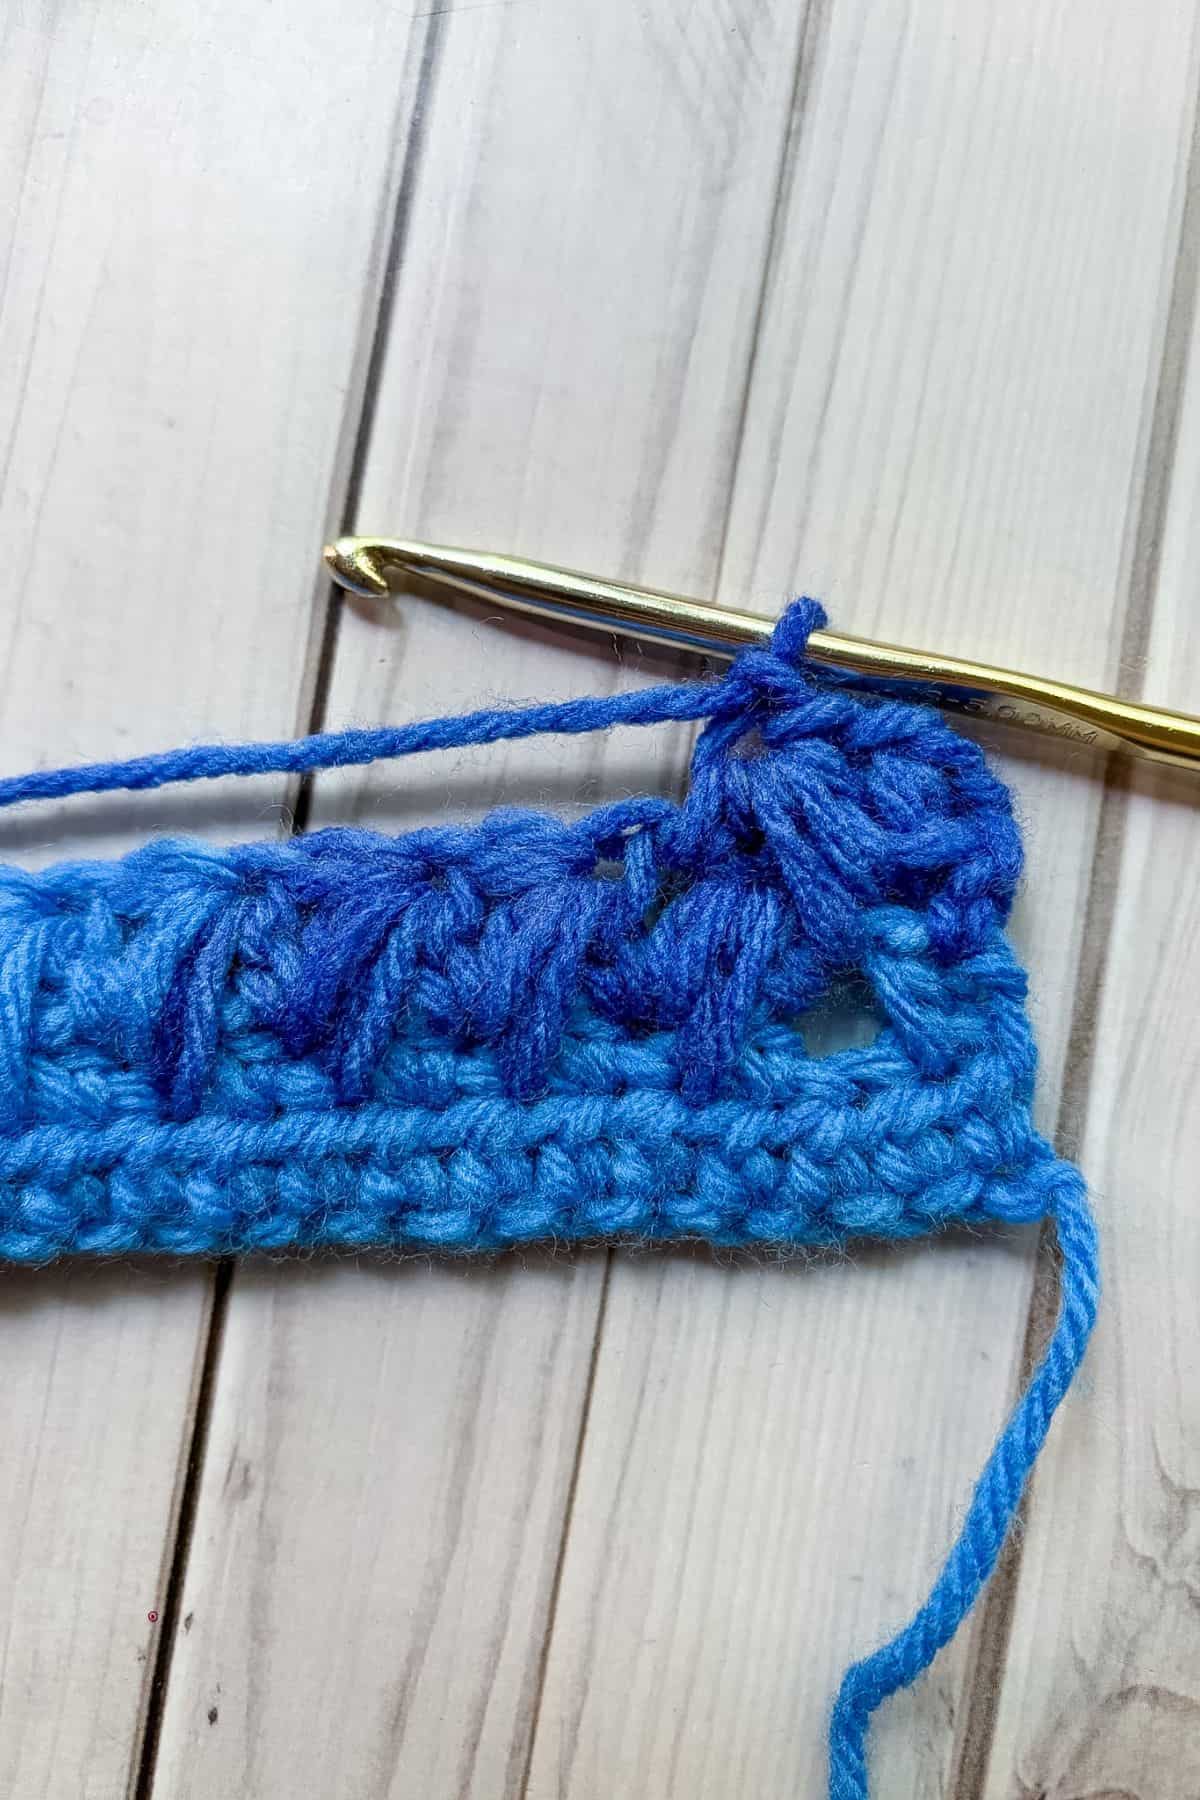
*To make the next feather stitch work in the ch-space you last worked in, the ch-space under it, and the next ch-space. Ch x1.*
Repeat from * for the rest of the row. Ch x1 after the last feather stitch and make a hdc in the last stitch. Then ch x1 and turn.
Row 5 and onwards: Repeat row 4.
And now you know how to crochet the feather stitch! I hope you enjoyed my crochet feather stitch tutorial, and I can't wait to see what else you come up with it!
If you want to try some other textured stitches, the Crochet Wattle Stitch Pattern and Crochet Berry Stitch are great options!
If you are looking for some more lacey crochet stitches that aren't yarn eaters, the Sieve Stitch Crochet Tutorial and Crochet Iris Stitch are both great options!
🐌Expert Tips
- Tension: Maintain an even tension so your loops don't become too loose or too tight - this takes practice so you may want to start on a small project.
- Hook size: The feather crochet stitch creates a dense fabric, use a larger hook for a more drapier fabric.
- Count your loops: It is easy to get lost in the feather stitch, make sure you have exactly 7 loops on your hook before going through all the loops.
🧵Pattern FAQs
Absolutely - it uses multiple loops for one stitch and creates a dense fabric at the end.
Blankets, scarves, pillows etc!
After the first 4 rows, it is a one-row repeat stitch that is worked into 2 rows.
🧶More Crochet Stitch Patterns


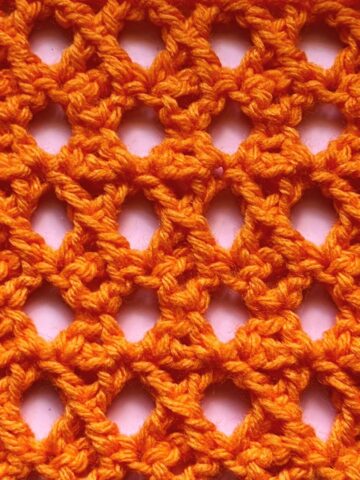
If you tried this Crochet Feather Stitch Tutorial (or any other pattern on my website), please let me know how it went in the 📝 comments below. I'd love to hear from you!
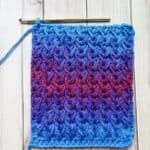
Crochet Feather Stitch Tutorial
Materials
- Worsted weight yarn
- 5 mm hook
- Tapestry needle
Abbreviations (US terms)
- Chains - ch
- Half double crochet - hdc
- Yarn over (yo)
Notes
- Yarn: For the crochet feather stitch I suggest using worsted weight yarn. You want to be able to see the feather texture so I would avoid using anything that's fuzzy.
- Swatch: This is just a stitch swatch, if you want to crochet a full project you can adjust the width of the starting chain by crocheting an even number of chains.
- Tension: You want to keep the tension fairly consistent and draw up each loop to the same height in order to get the stitches to look even.
Instructions
Here I will show you how to crochet the feather stitch in rows.
- Start by chaining an even number (I chained 20).
- Row 1: Hdc in the second ch from the hook.
- Continue to make hdc for the rest of the row (19). Then ch x1 and turn.
- Row 2: Hdc in the first stitch. *Ch x1 + skip 1 stitch. Hdc in the next stitch.*
- Repeat from * for the rest of the row. Then chx1 and turn.
- Row 3: Hdc in first stitch, then ch x1. Next make the feather stitch (below).
- You will make a feather stitch working in the ch-space, the hdc under it and the next ch-space.
- YO, insert hook into the next ch-space, yo, and pull up a loop (3 loops on hook).
- YO, insert hook in the hdc that is under the ch-space, yo, and pull up a loop (5 loops on hook).
- YO, insert hook into the next ch-space, yo, and pull up a loop (7 loops on hook)
- YO, pull the yarn through all 7 loops on the hook.
- Ch x1.
- You will make the next feather stitch starting in the ch-space you last worked in, the hdc underneath it and the next ch-space.
- Continue making feather stitches until the ned of the row.
- Finish the last feather stitch with a ch. Then hdc in the last stitch. Then ch x1 and turn.
- Row 4: Hdc in the first stitch. Ch x1.
- Now you will make a feather stitch working in the ch-space, the ch-space under it, and the next ch-space. Ch x1.
- *To make the next feather stitch work in the ch-space you last worked in, the ch-space under it, and the next ch-space. Ch x1.*
- Repeat from * for the rest of the row. Ch x1 after the last feather stitch and make a hdc in the last stitch. Then ch x1 and turn.
- Row 5 and onwards: Repeat row 4.
- And now you know how to crochet the feather stitch! I hope you enjoyed my crochet feather stitch tutorial, and I can't wait to see what else you come up with it!


Leave a Reply