

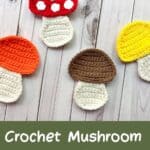
Mushrooms are a cute way to accessorize for fall and this Crochet Mushroom Applique Pattern can be completed in less than 30 minutes! Add the crochet mushroom applique to hats, blankets, and bags!
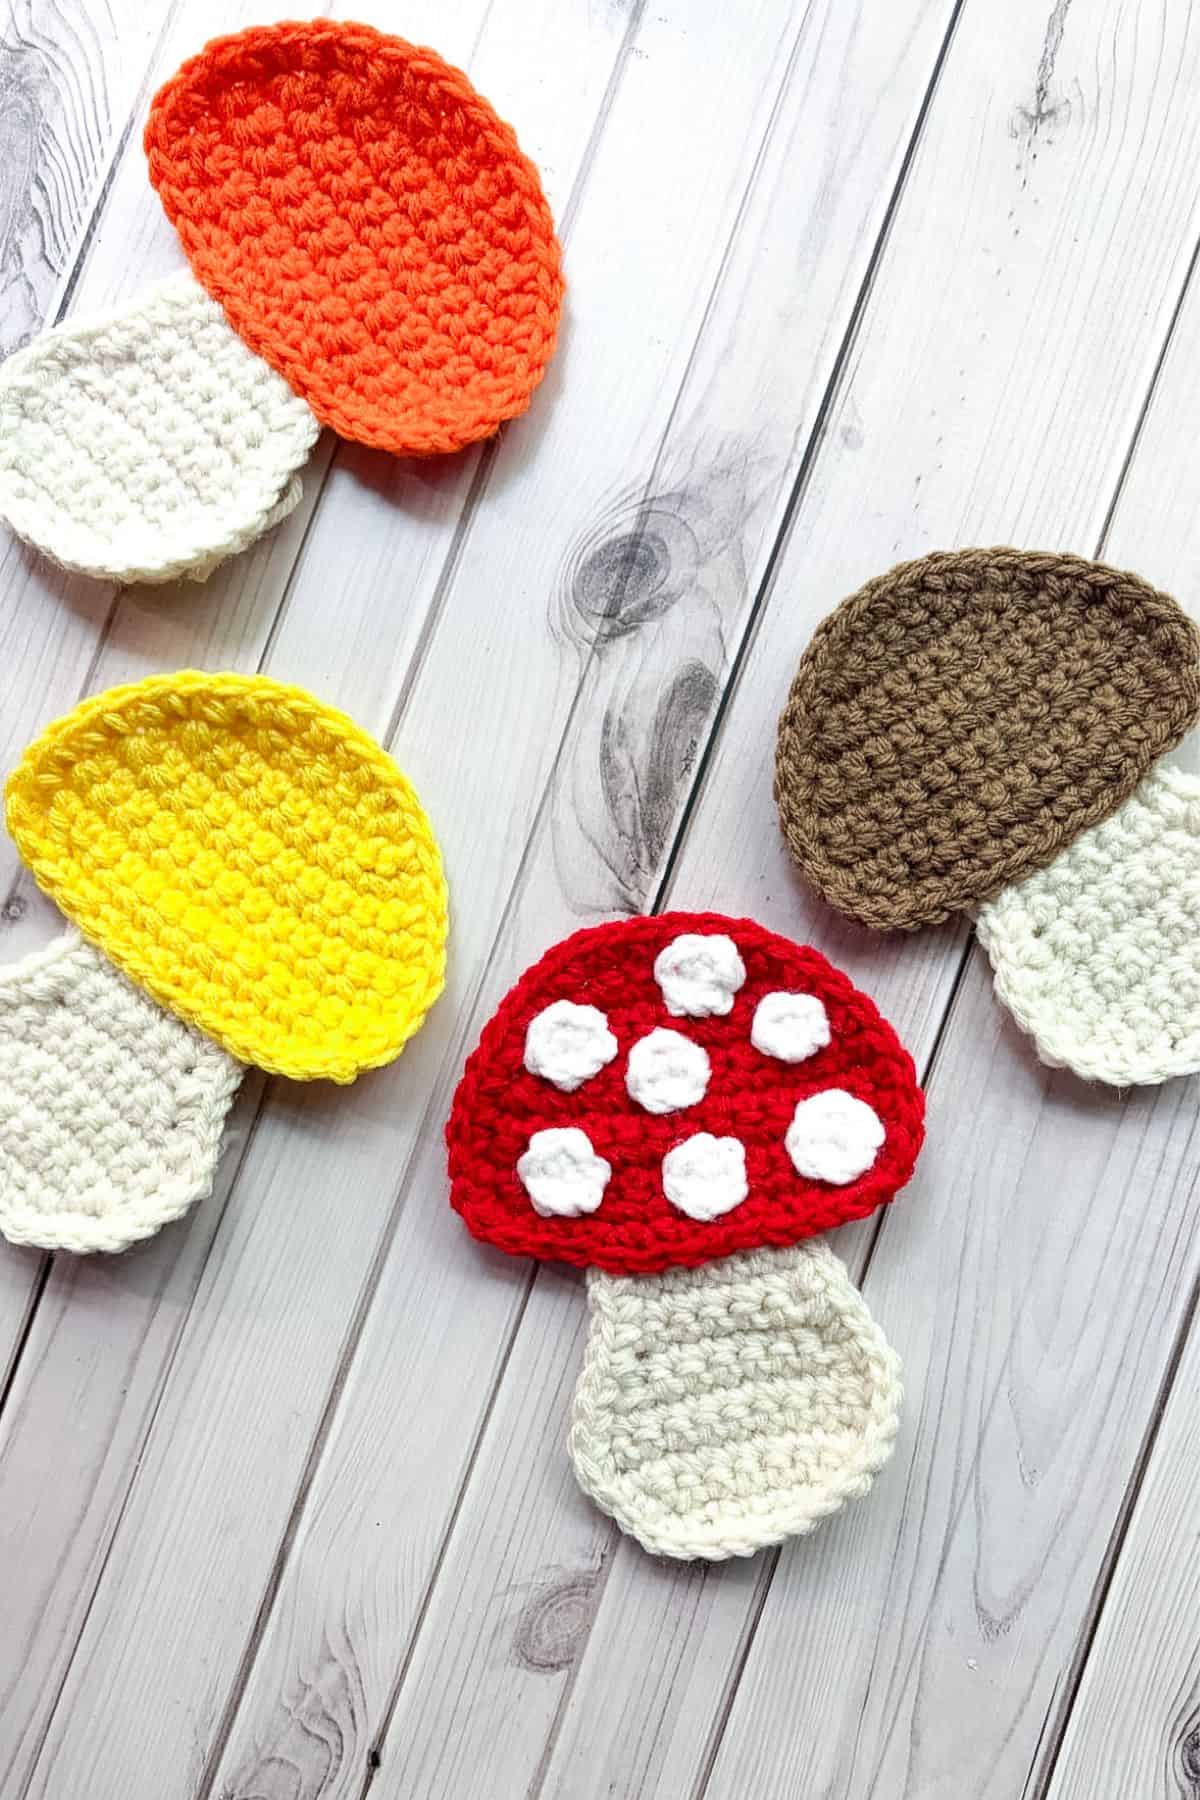
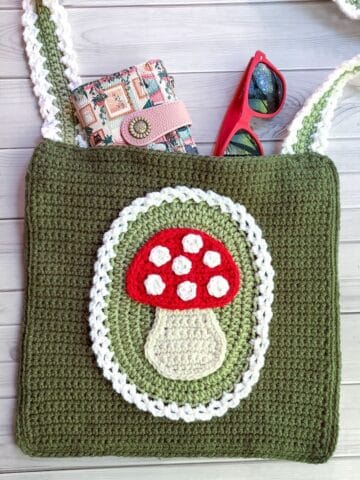
The crochet mushroom applique is quick, easy, and can be applied to nearly anything like blankets, hats, sweaters, gloves, bags, purses, and wallets!
The crochet mushroom applique is perfect for sewing onto items for fall markets, bazaars, or as gifts for your cottagecore aesthetic-loving friends.
I personally love mushrooms in my designs because I go picking chanterelles every fall—well, at least I try to lol! In the process of learning and identifying mushrooms, I've discovered some really cool ones, like cat's tongue, lobster, hedgehog, and fly agaric.
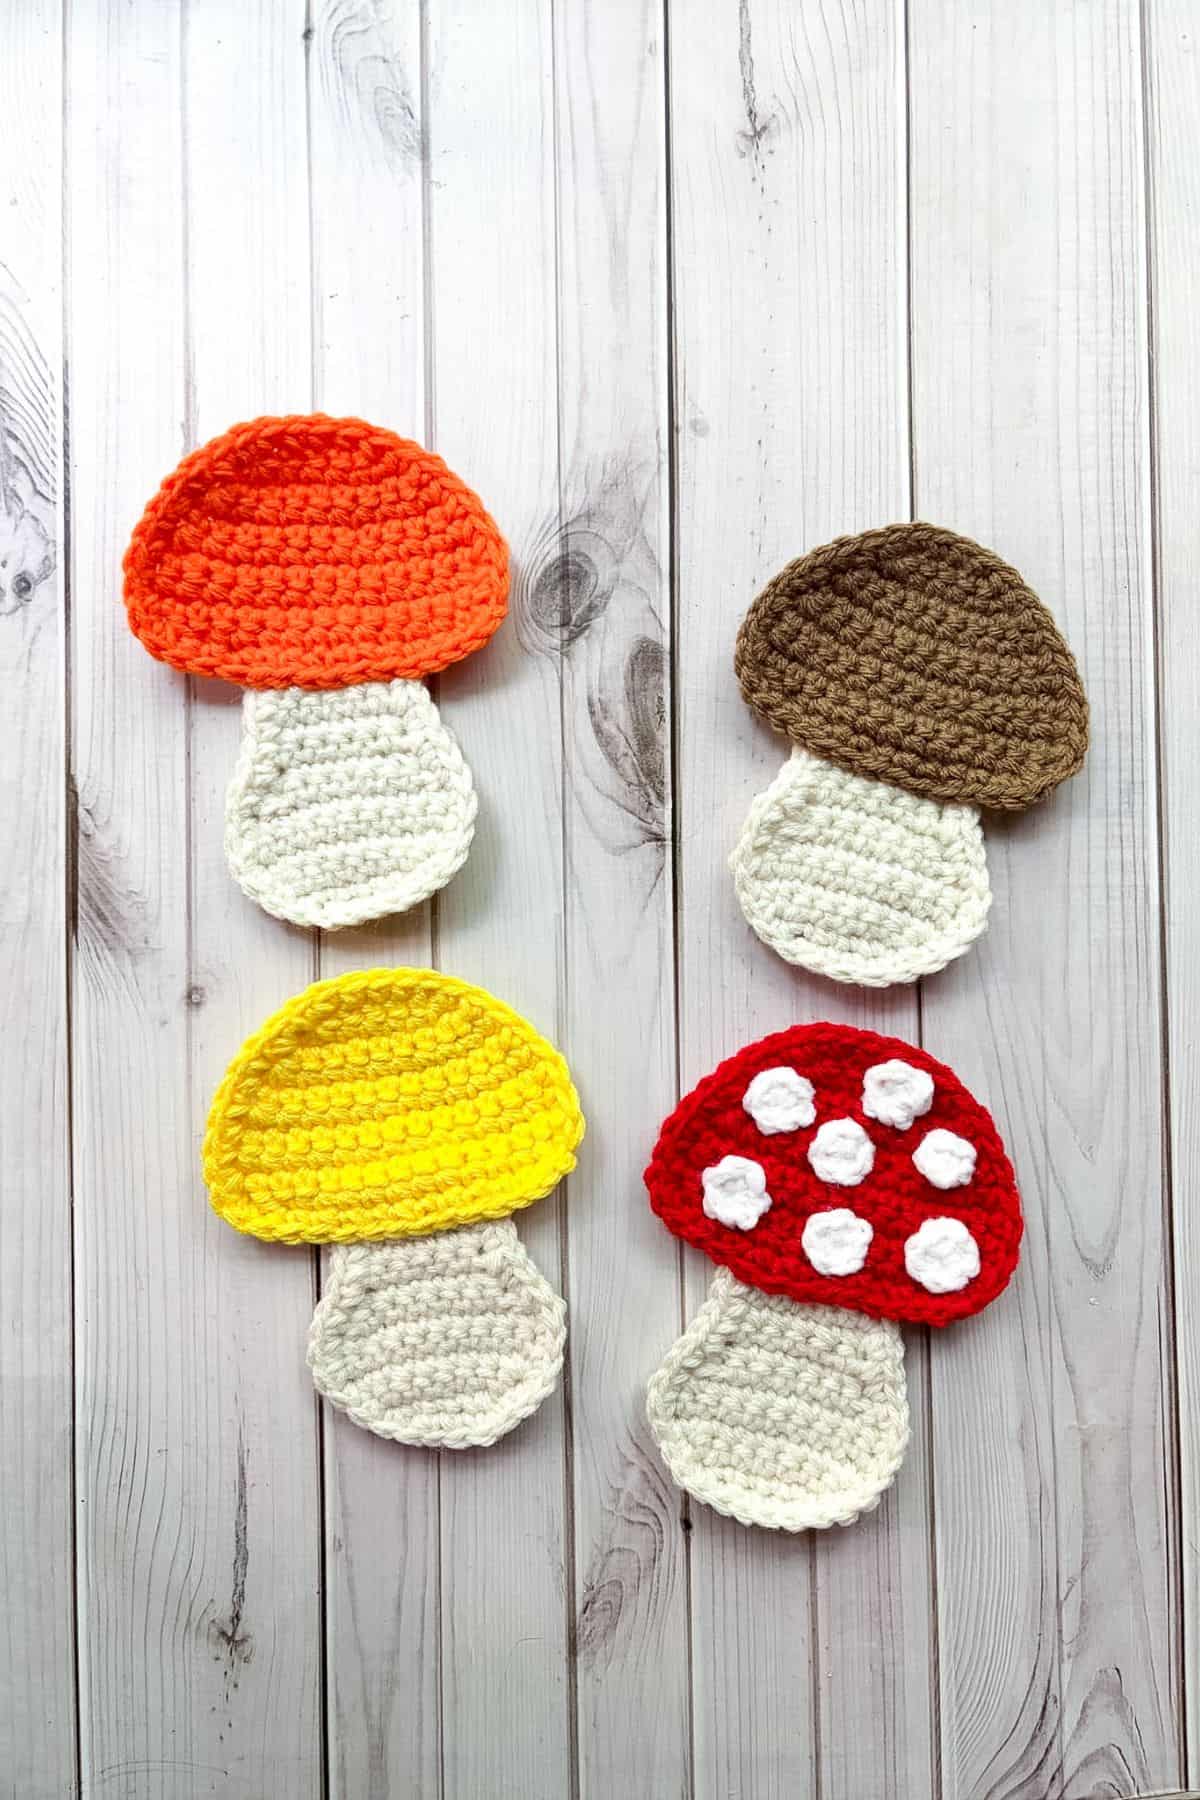
The crochet mushroom applique is also easy to customize. You can easily switch out the mushroom top color and have fun with making spots or leaving it blank on top.
So let's get started on making some crochet mushroom appliques!
Jump to:
✏️ Things To Note:
- Yarn Choice: For the crochet mushroom pattern, I opted for acrylic yarn. However, you can experiment with different yarns like cotton or chunky yarn, especially if you'd like to create a larger mushroom applique. Just be cautious with wool, as it may shrink when washed.
- Stitch Simplicity: The pattern primarily uses single crochet (sc) for the base, making it a simple and straightforward project. There are no complex stitches involved, so it’s perfect for beginners or anyone who prefers easy crochet patterns.
- Size: When completed, the mushroom measures approximately 6 inches in height and 4.5 inches in width.
🪡 Materials Needed
💭 Abbreviations to Remember (US Terms)
- Single crochet (sc)
- Increase (inc)
- Decrease (dec)
- Chains (ch)
- Magic ring (mr)
🧋 Variations
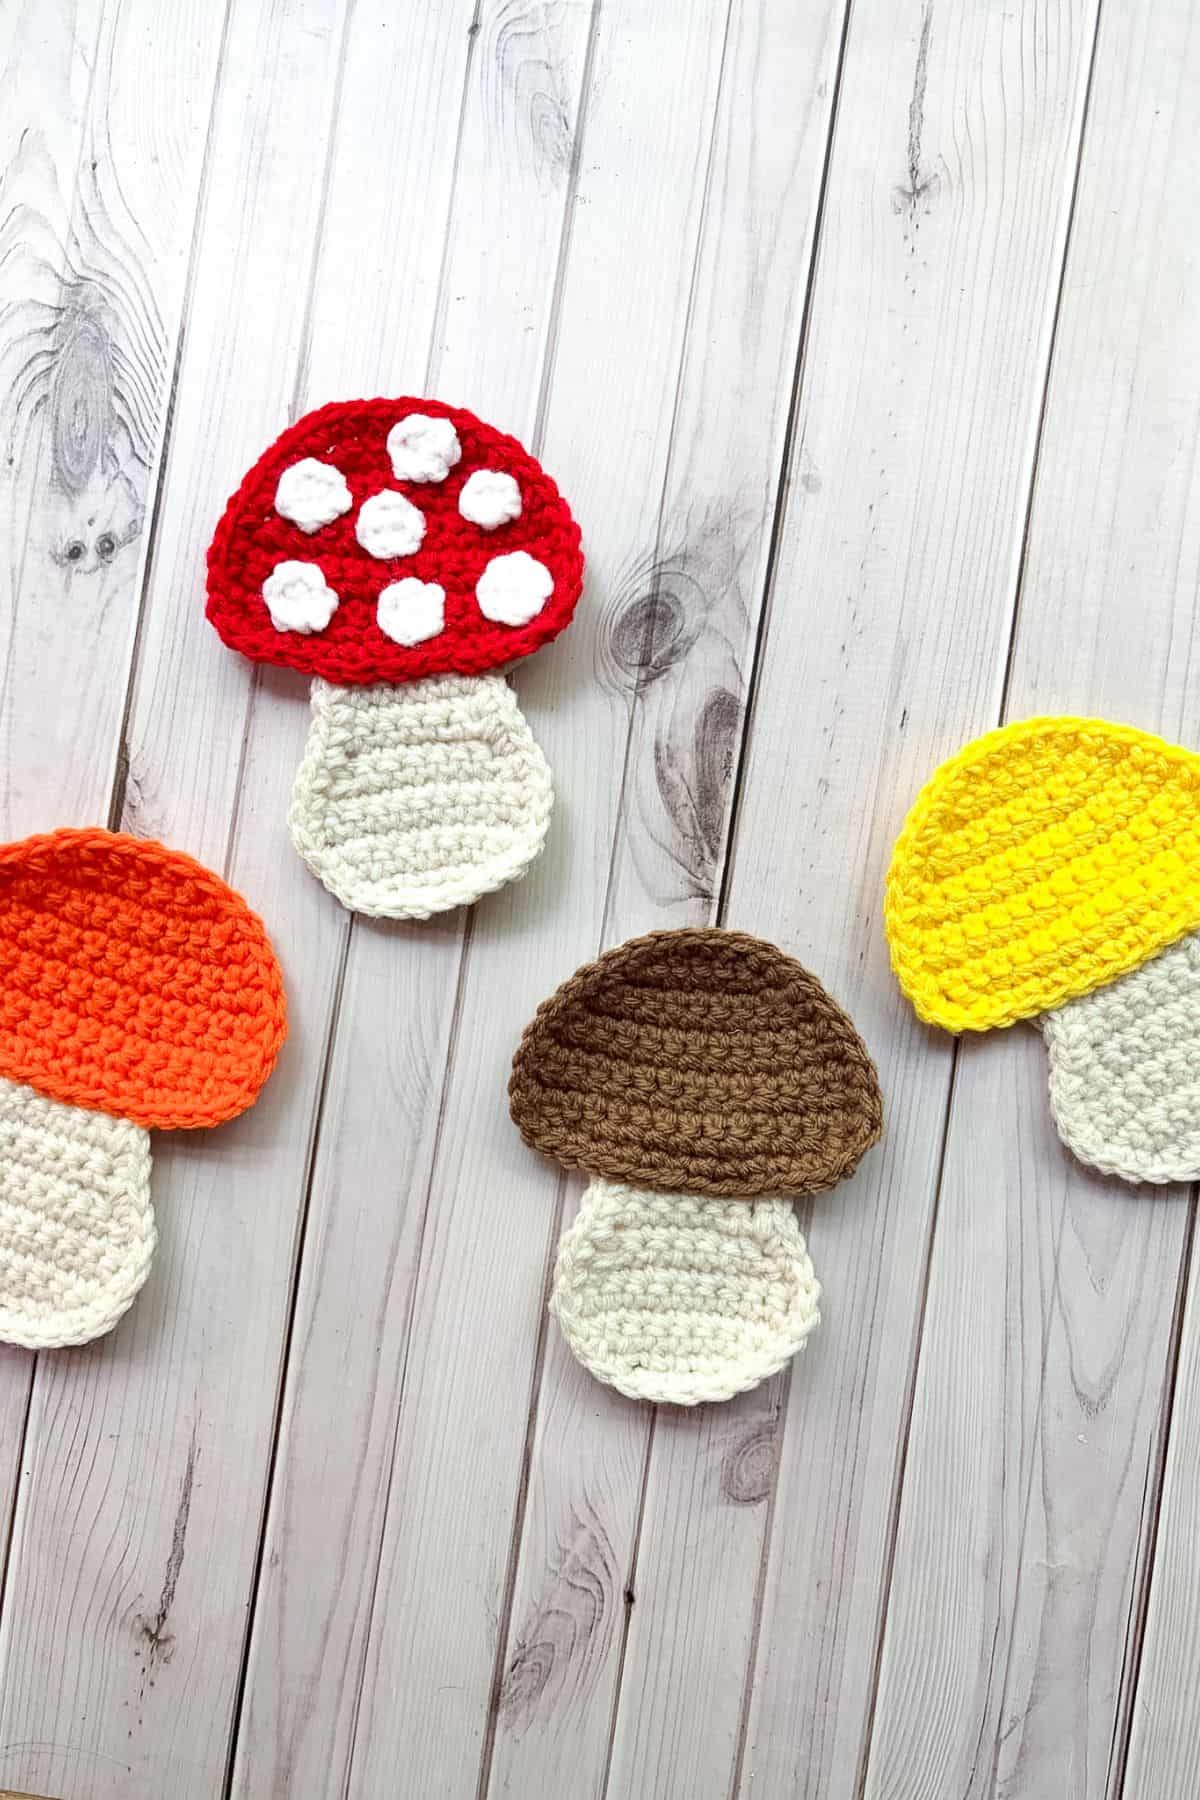
Switch out the colors for the top to create a rainbow of mushrooms. You can also create further variations by adding different types of spots on the mushrooms.
🍵 Instructions for Crochet Mushroom Applique Pattern
The crochet mushroom applique pattern is made in rows.
Crochet Mushroom Top:
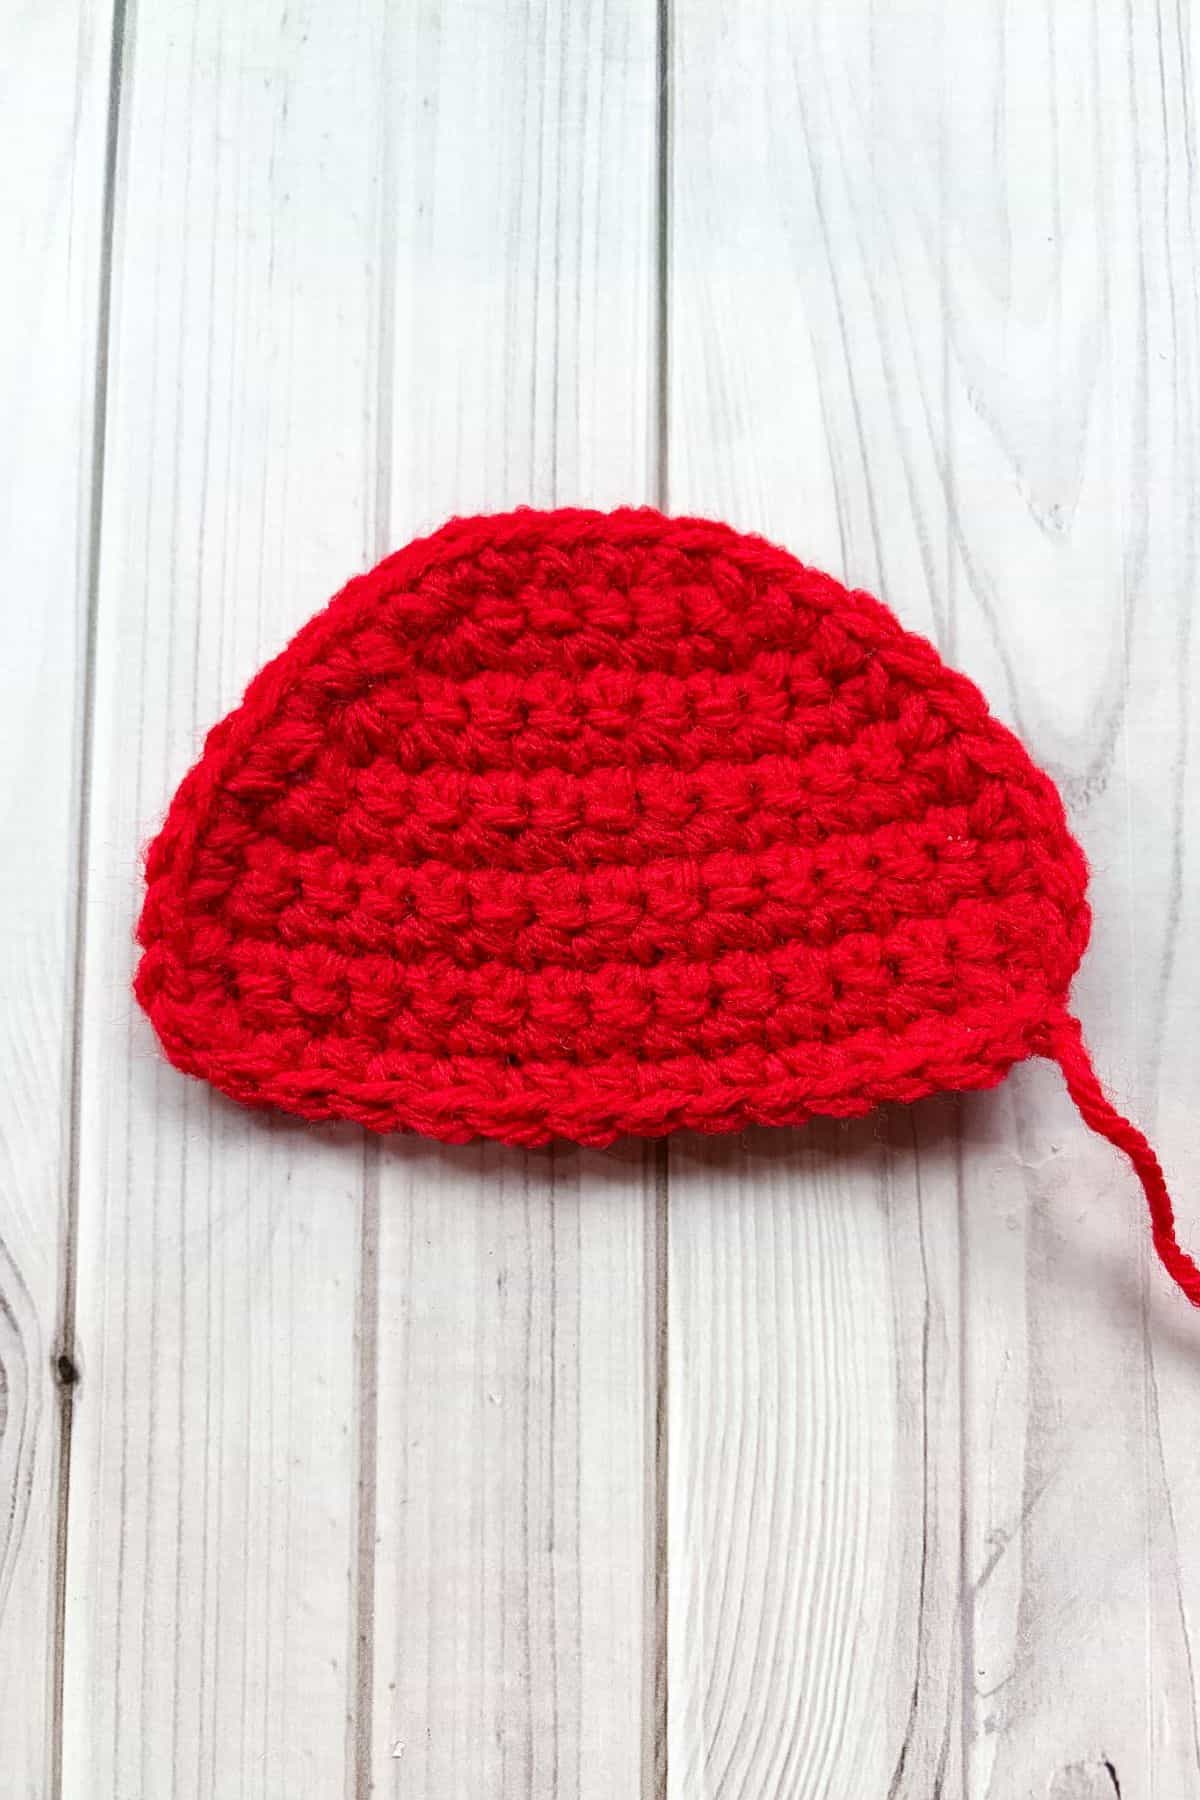
With red, ch x5, turn.
Row 1: In the second ch from the hook, make a inc. Then sc x2 and inc (6). Ch x1 and turn.
Row 2: Inc, sc x4 and inc (8). Ch x1 and turn.
Row 3: Inc, sc x6 and inc (10). Ch x1 and turn.
Row 4: Inc, sc x8 and inc (12). Ch x1 and turn.
Row 5: Sc in every stitch (12). Ch x1 and turn.
Row 6: Inc, sc x10 and inc (14). Ch x1 and turn.
Row 7-9: Sc in every stitch (14). Ch x1 and turn.
Row 10: Dec, sc x10, dec (12). Now you want to sc around the entire edge of the mushroom cap. This step is based on tension, but rule of thumb is 1 sc per row and then when you hit the top curves and bottom curves of the first and last row you add an additional stitch or two to accommodate the gentle curve to the other side of the mushroom.
Crochet Mushroom Stem:
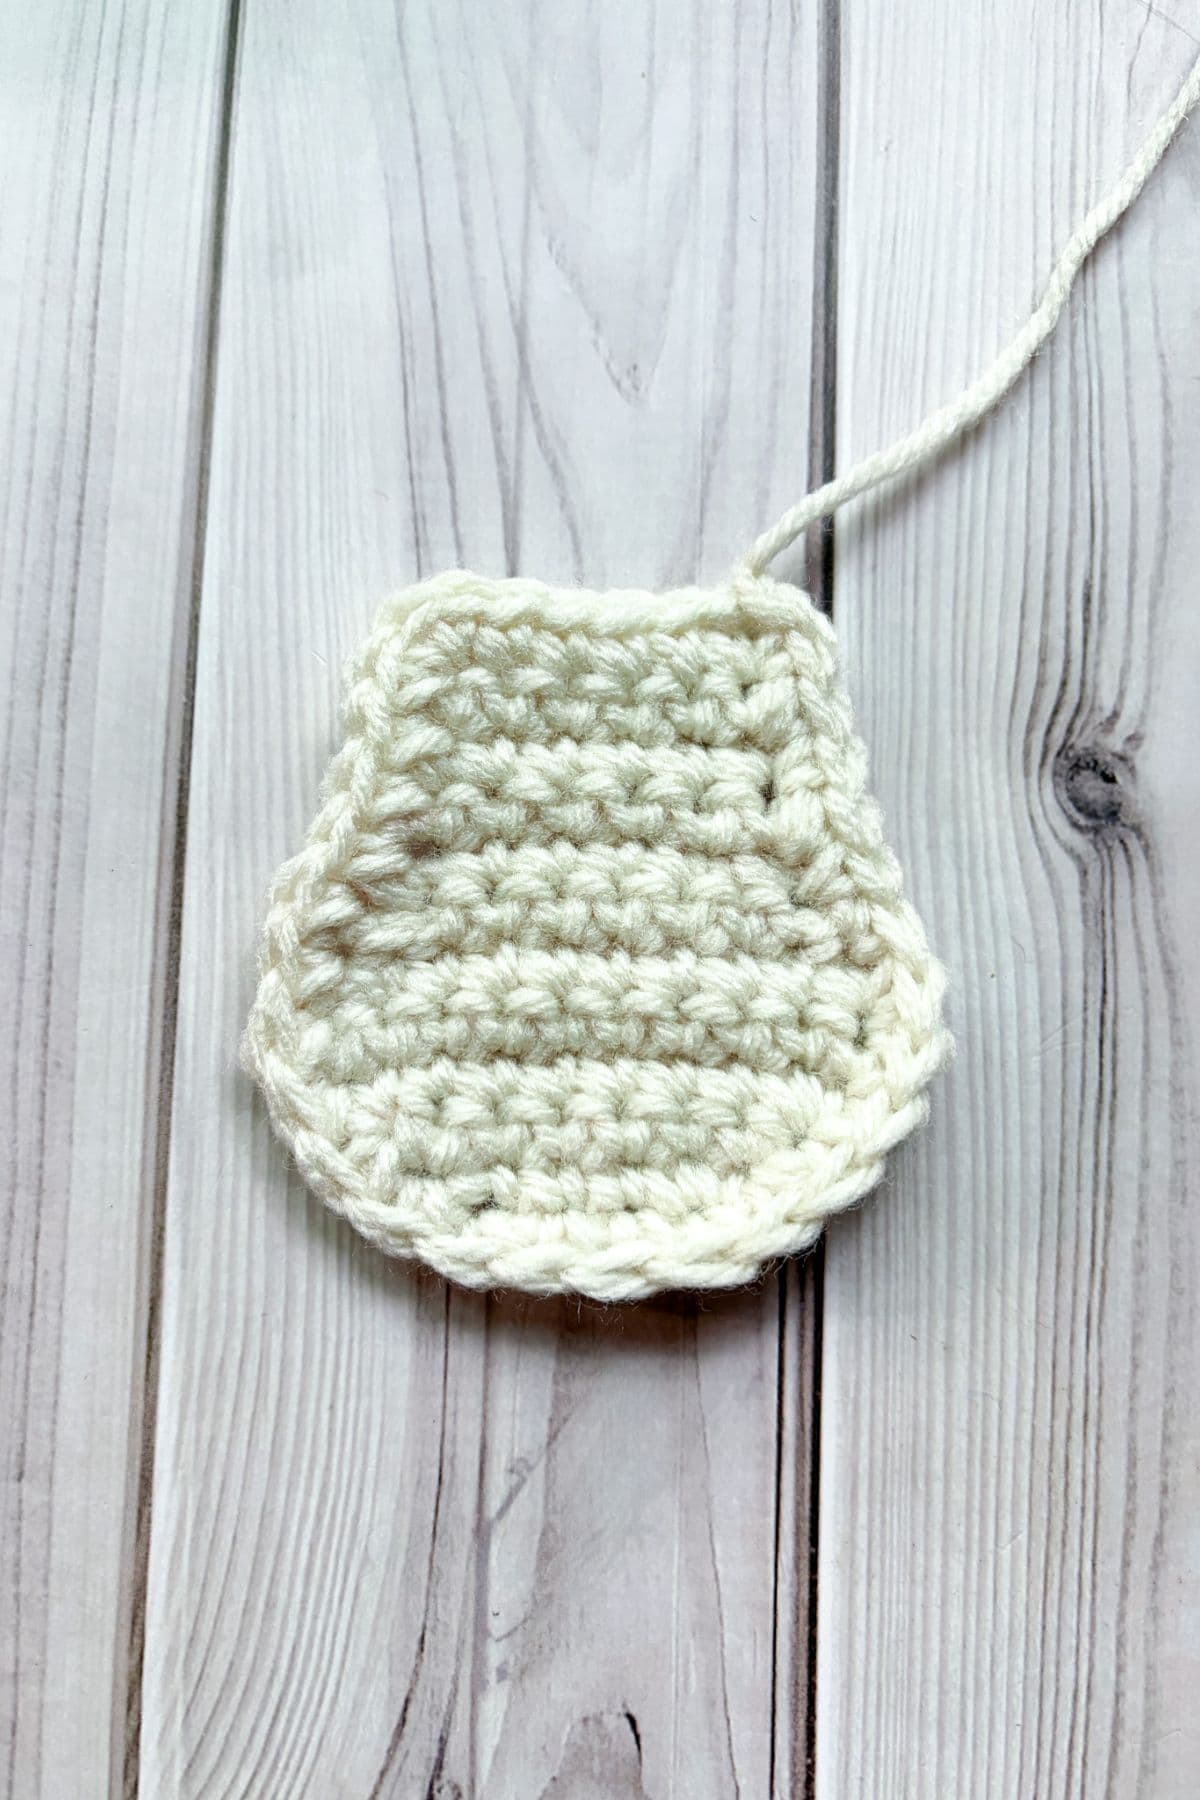
With aran, ch x5, turn.
Row 1: In the second ch from the hook, make a inc. Then sc x2 and inc (6). Ch x1 and turn.
Row 2: Inc, sc x4 and inc (8). Ch x1 and turn.
Row 3: Inc, sc x6 and inc (10). Ch x1 and turn.
Row 4-5: Sc in every stitch. Ch x1 and turn.
Row 6: Dec, sc x6, dec (8). Ch x1 and turn.
Row 7: Dec, sc x4, dec (6). Ch x1 and turn.
Row 8-11: Sc in every stitch. Ch x1 and turn. now sc around the stem similarly to what you did for the mushroom cap. Then fasten off and leave a tail for sewing.
Mushroom Dots and Sewing:
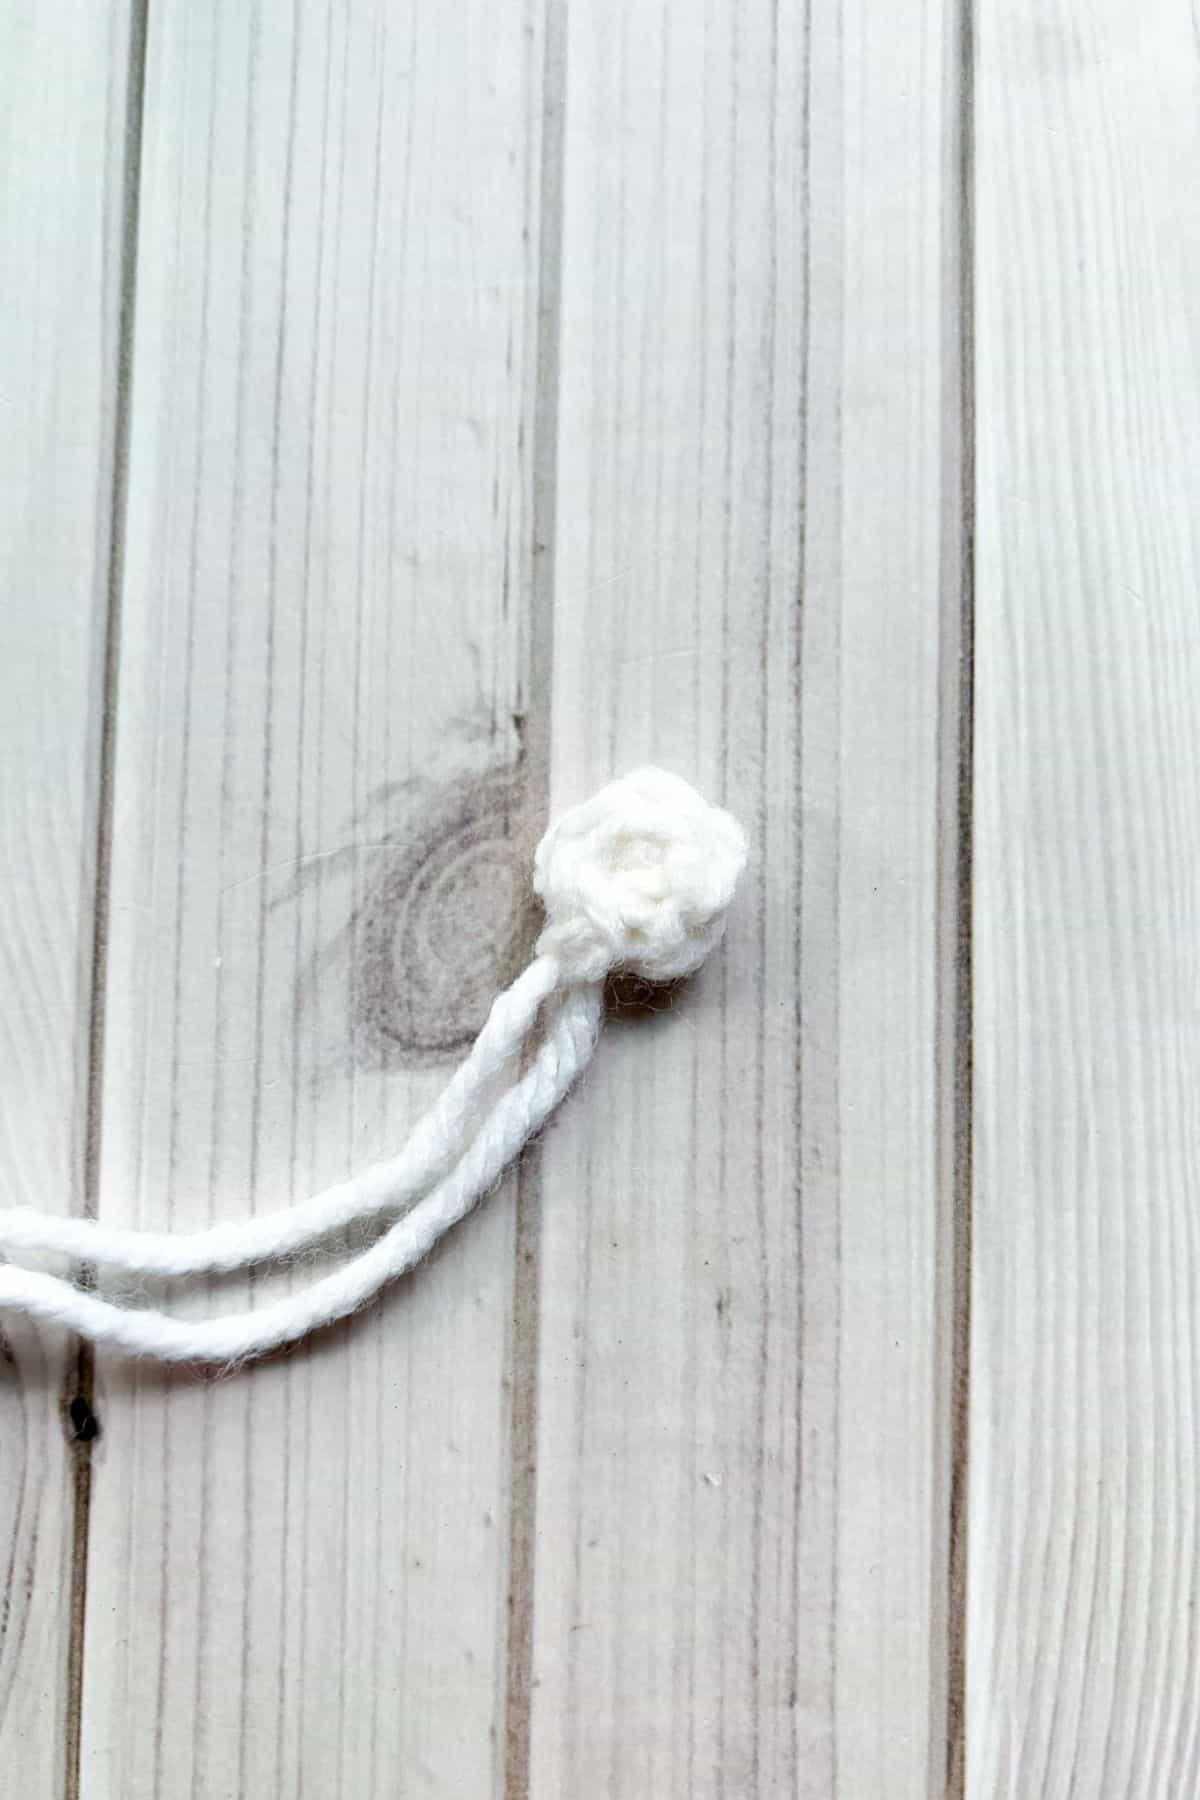
If you want dots for your mushroom make 5-7 dots.
Make a mr and sc x6 into the circle. Sl st to the first sc and fasten off the yarn. Leave a tail for sewing.
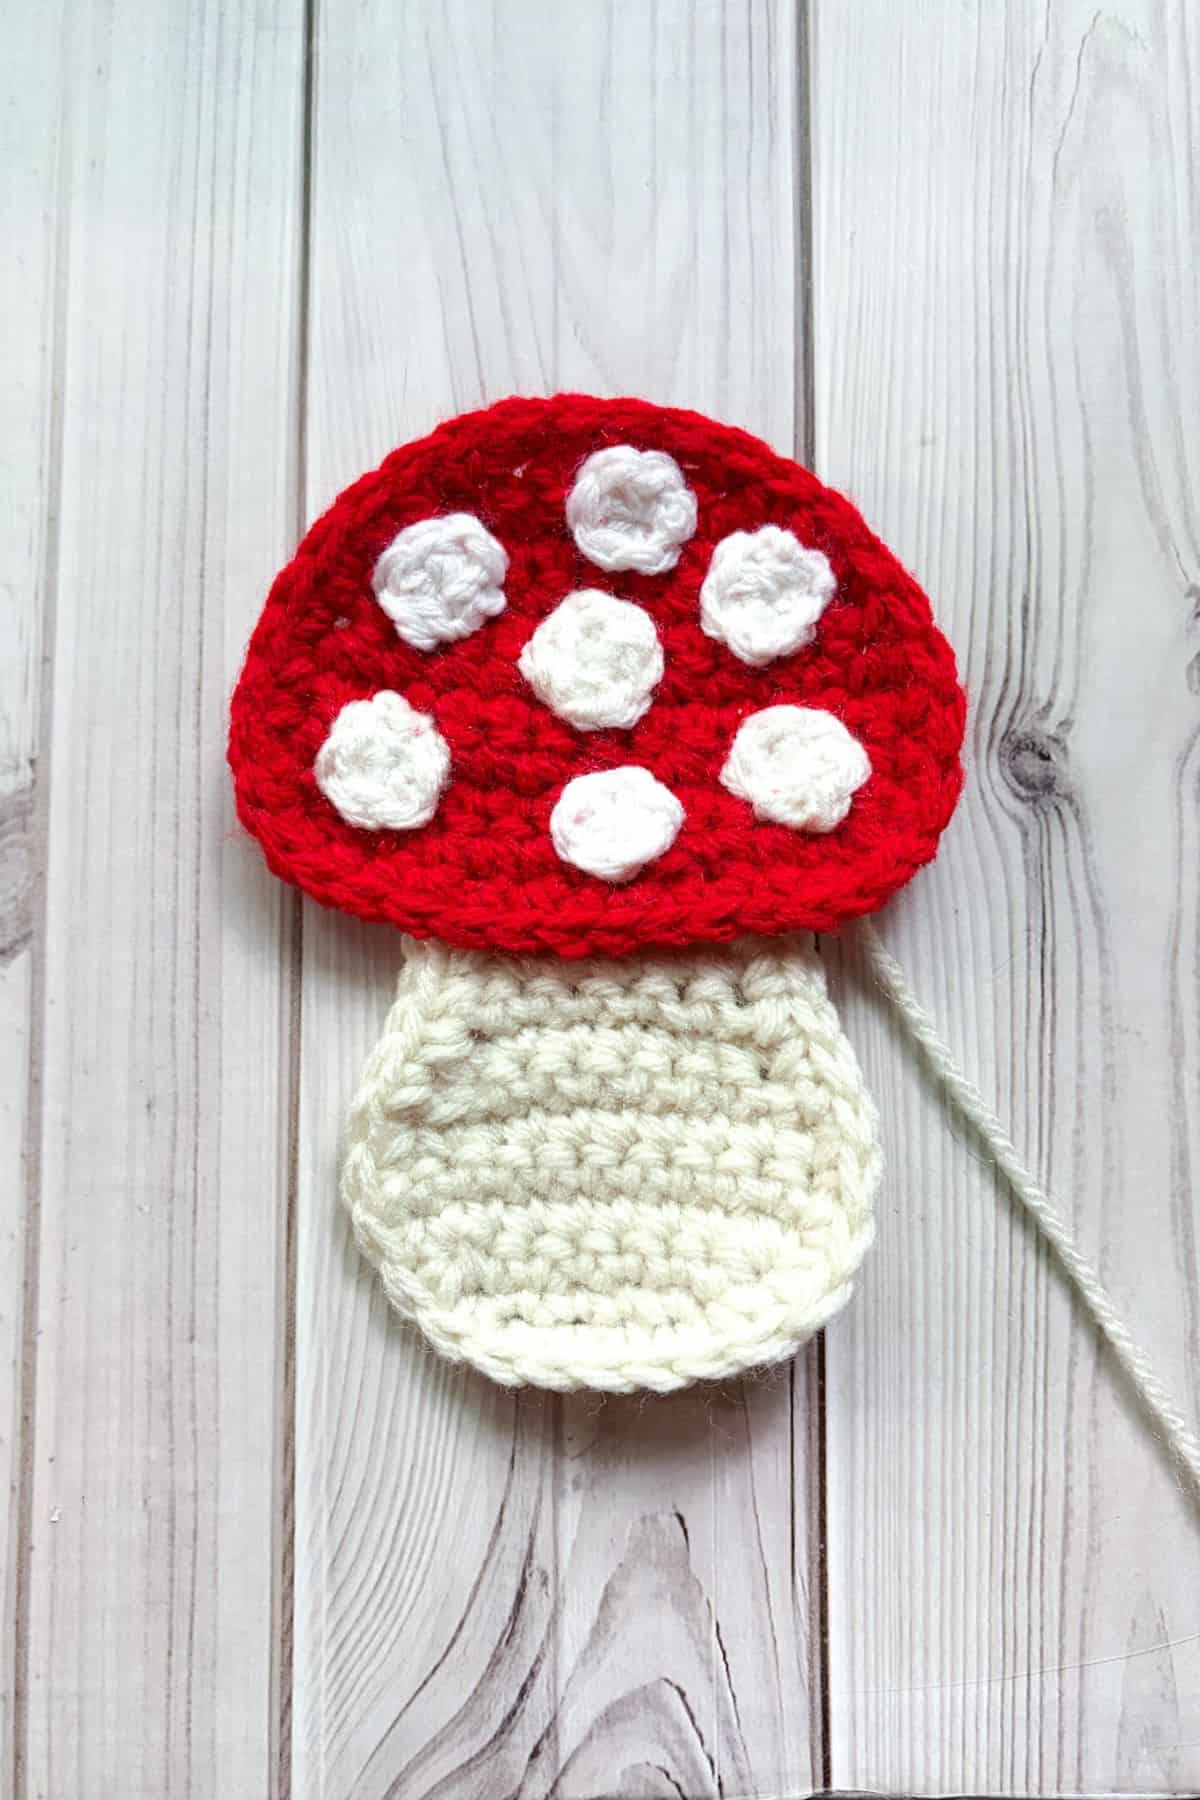
Finishing:
Sew the mushroom cap to the top of the mushroom stem. Add dots to the mushroom cap if you want to have a polka dot look.
Now you have a charming crochet mushroom applique that's perfect for adding a fun, whimsical touch to any project! Whether you're decorating a bag, creating a unique piece of home décor, or embellishing clothing, this little mushroom is a great way to infuse some personality and color.
If you are looking for other appliques to add to other crochet projects, check out my crochet skull applique, crochet strawberry applique or crochet 3D butterfly applique pattern.
If you want more mushroom themed projects, check out my crochet mushroom coaster pattern, crochet mushroom bookmark, and crochet mushroom keychain pattern.
If you have any leftover yarn my crochet ladybug pattern can be a great option!
Happy crocheting and let your imagination run wild!
🐌Expert Tips
- Color Experimentation: Mix and match colors to create a variety of mushroom styles. Consider using gradient yarn for a unique look.
- Textured Variations: Add texture by combining different yarn types. For instance, pairing a fuzzy yarn with a smooth one can give your mushroom a whimsical feel.
- Varying Dots: Vary the size of dots for a unique look.
🧵 Pattern FAQs
This mushroom could make a cute coin purse if you make 2 mushrooms and crochet or sew them together.
Absolutely! You can adapt this crochet mushroom applique for various seasons by changing the colors or sizes. For example, using pastel colors can create delightful spring decorations, while darker shades can be perfect for Halloween-themed projects.
To ensure your mushroom applique stays put, use a tapestry needle to sew it securely onto your project. You can also use fabric glue for a quick application, but stitching will give you a more durable finish.
🧶More Crochet Fall Patterns


If you tried this Crochet Mushroom Applique Pattern (or any other pattern on my website), please let me know how it went in the 📝 comments below. I'd love to hear from you!
Crochet Mushroom Applique Pattern
Abbreviations (US terms)
- Single crochet - sc
- Increase - inc
- Decrease - dec
- Chains - ch
- Magic ring - mr
Notes
- Yarn Choice: For the crochet mushroom pattern, I opted for acrylic yarn. However, you can experiment with different yarns like cotton or chunky yarn, especially if you'd like to create a larger mushroom applique. Just be cautious with wool, as it may shrink when washed.
- Stitch Simplicity: The pattern primarily uses single crochet (sc) for the base, making it a simple and straightforward project. There are no complex stitches involved, so it’s perfect for beginners or anyone who prefers easy crochet patterns.
- Size: When completed, the mushroom measures approximately 6 inches in height and 4.5 inches in width.
Instructions
- The crochet mushroom applique pattern is made in rows.
Crochet Mushroom Top:
- With red, ch x5, turn.
- Row 1: In the second ch from the hook, make a inc. Then sc x2 and inc (6). Ch x1 and turn.
- Row 2: Inc, sc x4 and inc (8). Ch x1 and turn.
- Row 3: Inc, sc x6 and inc (10). Ch x1 and turn.
- Row 4: Inc, sc x8 and inc (12). Ch x1 and turn.
- Row 5: Sc in every stitch (12). Ch x1 and turn.
- Row 6: Inc, sc x10 and inc (14). Ch x1 and turn.
- Row 7-9: Sc in every stitch (14). Ch x1 and turn.
- Row 10: Dec, sc x10, dec (12). Now you want to sc around the entire edge of the mushroom cap. This step is based on tension, but rule of thumb is 1 sc per row and then when you hit the top curves and bottom curves of the first and last row you add an additional stitch or two to accommodate the gentle curve to the other side of the mushroom.
Crochet Mushroom Stem:
- With aran, ch x5, turn.
- Row 1: In the second ch from the hook, make a inc. Then sc x2 and inc (6). Ch x1 and turn.
- Row 2: Inc, sc x4 and inc (8). Ch x1 and turn.
- Row 3: Inc, sc x6 and inc (10). Ch x1 and turn.
- Row 4-5: Sc in every stitch. Ch x1 and turn.
- Row 6: Dec, sc x6, dec (8). Ch x1 and turn.
- Row 7: Dec, sc x4, dec (6). Ch x1 and turn.
- Row 8-11: Sc in every stitch. Ch x1 and turn. now sc around the stem similarly to what you did for the mushroom cap. Then fasten off and leave a tail for sewing.
Mushroom Dots and Sewing:
- If you want dots for your mushroom make 5-7 dots.
- Make a mr and sc x6 into the circle. Sl st to the first sc and fasten off the yarn. Leave a tail for sewing.
Finishing:
- Sew the mushroom cap to the top of the mushroom stem. Add dots to the mushroom cap if you want to have a polka dot look.
- Now you have a charming crochet mushroom applique that's perfect for adding a fun, whimsical touch to any project!
Leave a Reply