

Are you ready to bring a touch of winter magic into your home? Today, I’m excited to share my crochet snowflake coaster pattern, perfect for beginners and experienced crocheters alike!
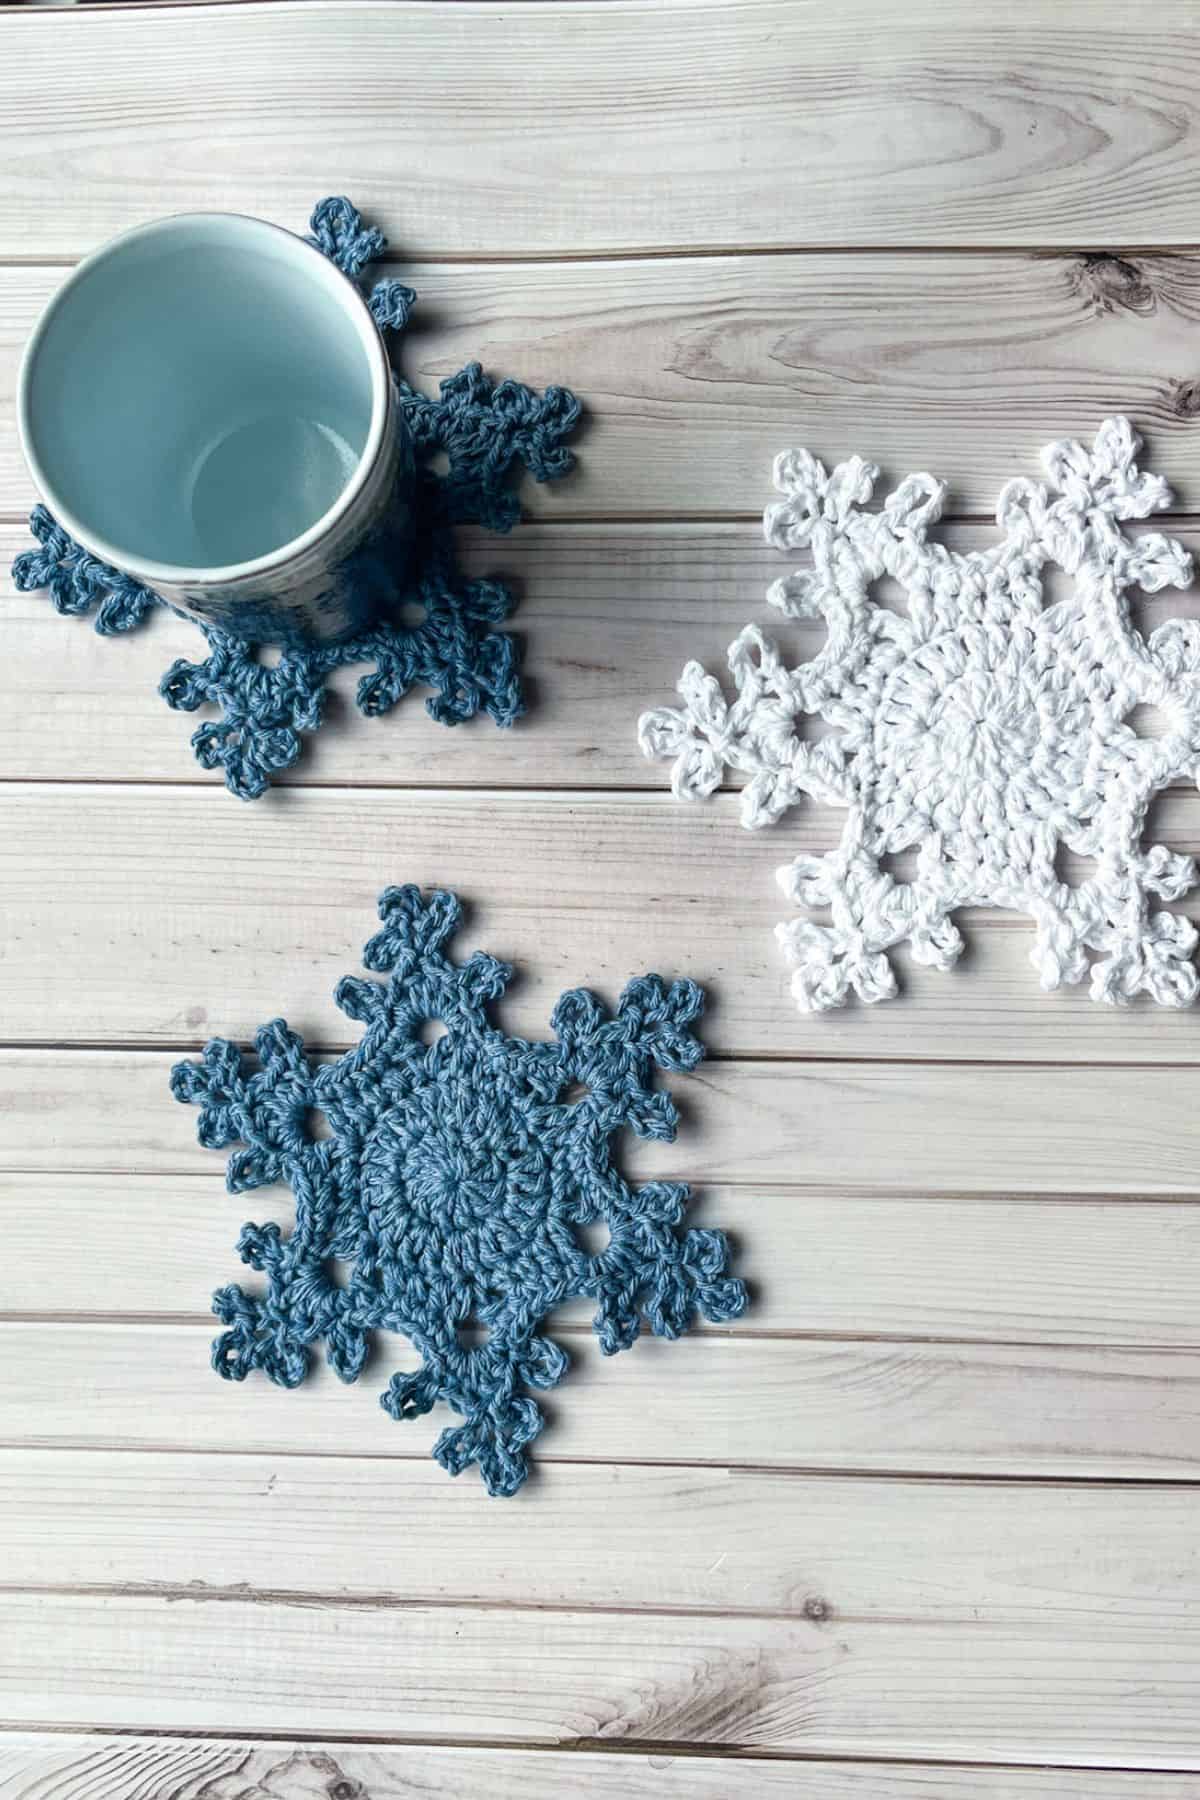
Winter has a special place in my heart. There’s nothing quite like the magic of freshly fallen snow blanketing the world in white. Inspired by those beautiful snowflakes, I’m thrilled to share my snowflake crochet coaster pattern with you! These delightful coasters are perfect for adding a cozy, wintry touch to your home.
If you’re curious about how to crochet a snowflake for beginners, you’re in luck! This crochet snowflake easy pattern is designed to be approachable for everyone, no matter your skill level. They may look intricate and detailed, but trust me—they're super easy to whip up! These coasters make wonderful gifts during the holiday season or charming items to sell at winter craft fairs.
So, if you’re ready to embrace the beauty of winter with some fun and functional decor, grab your yarn and let’s get crocheting! And if you’re looking for even more snowflake inspiration, don’t forget to check out my crochet polar bear hat pattern, crochet snowflake scarf pattern, and my crochet snowflake granny square pattern!
Let’s create some winter magic together!
Jump to:
✏️ Things To Note:
- Yarn Choice: Cotton yarn is perfect for the crochet snowflake coaster pattern due to its durability, absorbency, and ease of washing. It maintains its shape over time, making it a practical and long-lasting choice for functional and aesthetically pleasing coasters.
- Hook Size: Using the recommended hook size for your yarn ensures proper tension and gauge, allowing your coaster to lay flat. This helps maintain its shape and prevents it from becoming too tight or loose, resulting in a neat, even finish.
- Stitch Tension: Maintaining consistent tension is key to a well-made coaster. Stitches that are too tight or too loose can impact both the appearance and functionality, leading to uneven edges. Consistency ensures a smooth, professional-looking finish.
- Blocking: Blocking your finished crochet snowflake coaster pattern helps it lay flat and enhances its final shape. This step is particularly useful for intricate designs, such as snowflakes, ensuring clean edges and a polished look. It helps set the design and improve durability.
💭Abbreviations to Remember (US terms)
- Magic ring (mr)
- Chains (ch)
- Single crochet (sc)
- Half double crochet (hdc)
- Double crochet (dc)
- Slip stitch (sl st)
- Increase (inc)
🧋Variations
- Different Yarn Colors: Experiment with various color combinations to create a set of coasters that match your decor or holiday theme. You could use pastels for a soft winter look or bold colors for a vibrant pop.
- Larger or Smaller Sizes: Adjust your hook size or yarn weight to create coasters in different sizes. Larger coasters can serve as centerpiece decorations, while smaller ones can be perfect for cups or glasses.
🍵Instructions for Crochet Snowflake Coaster Pattern
For this crochet snowflake coaster pattern, we will be working in rounds.
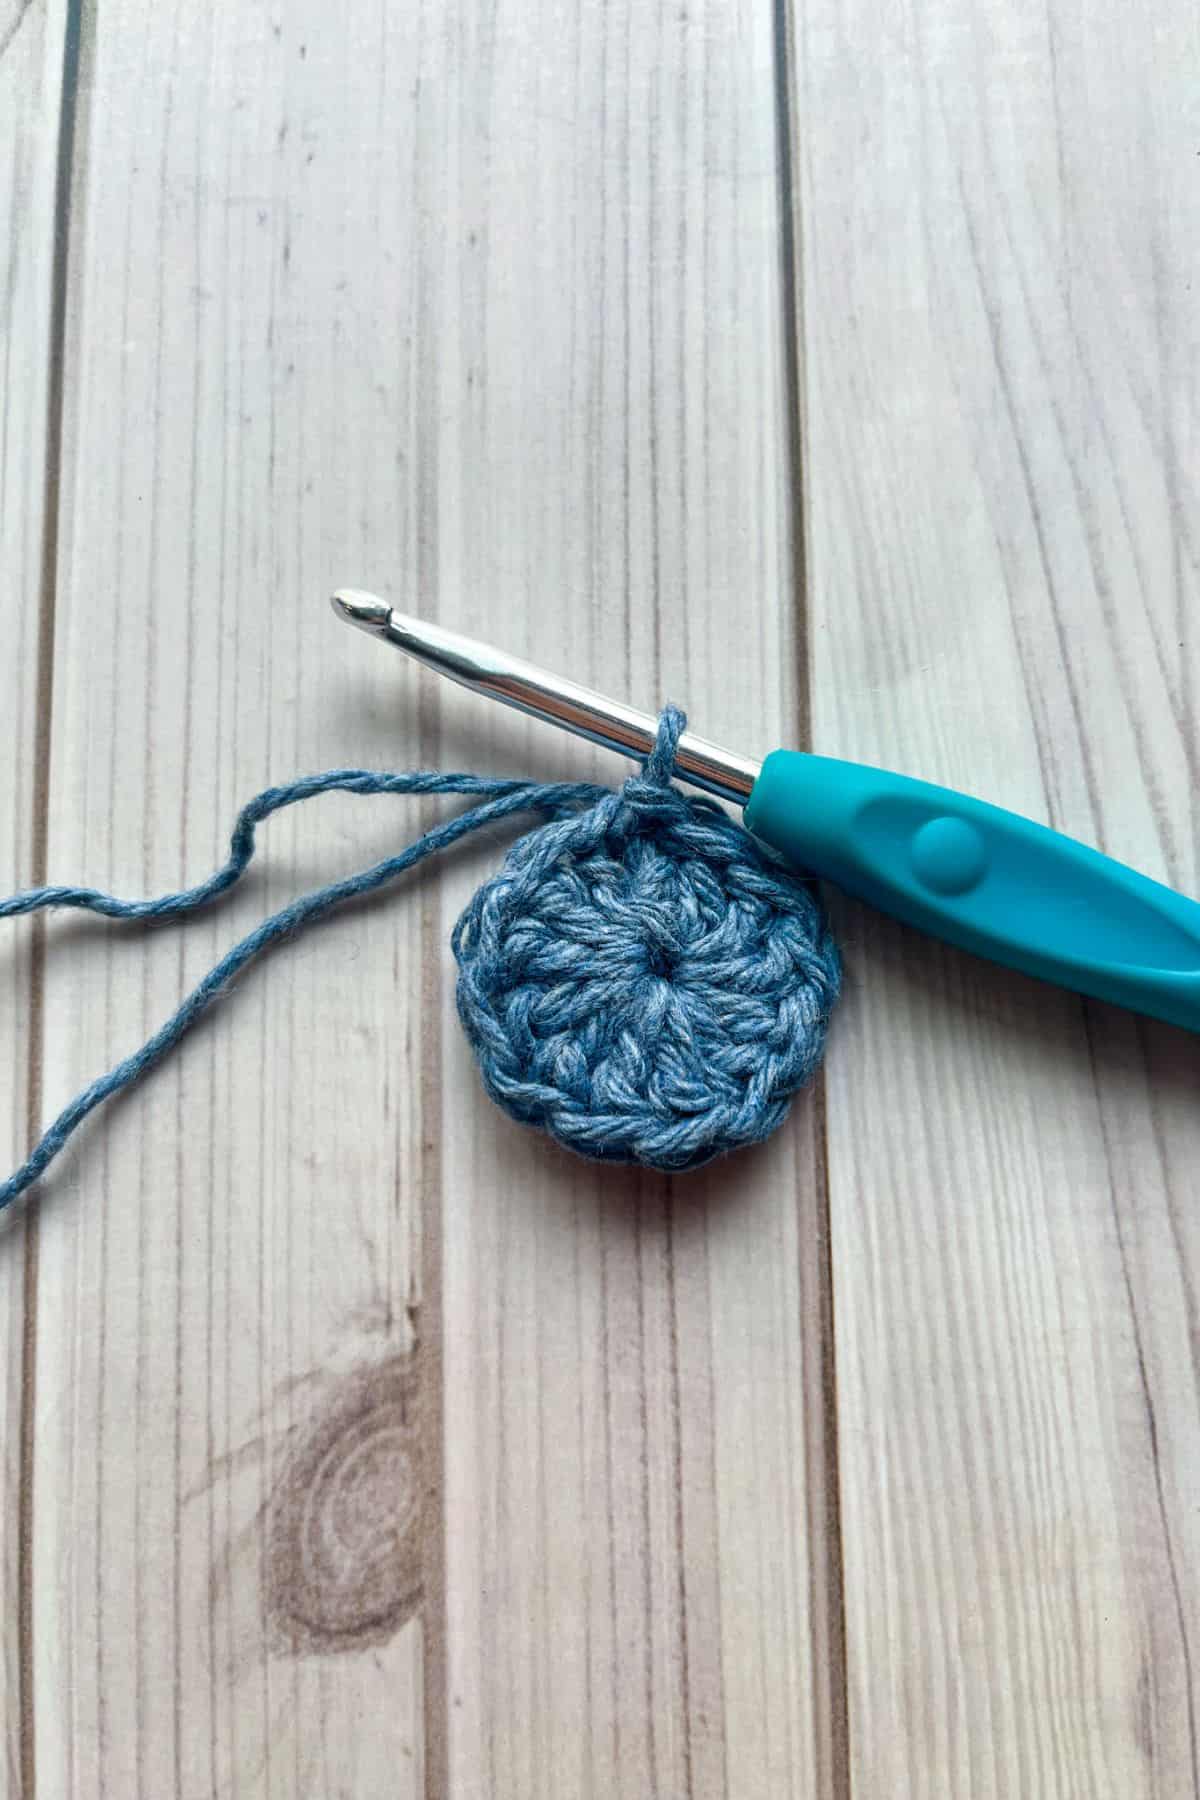
Round 1: Make a mr and ch x2 in it (does NOT count as a dc). Then dc x12 into the mr and sl st to the first dc in the round (12).
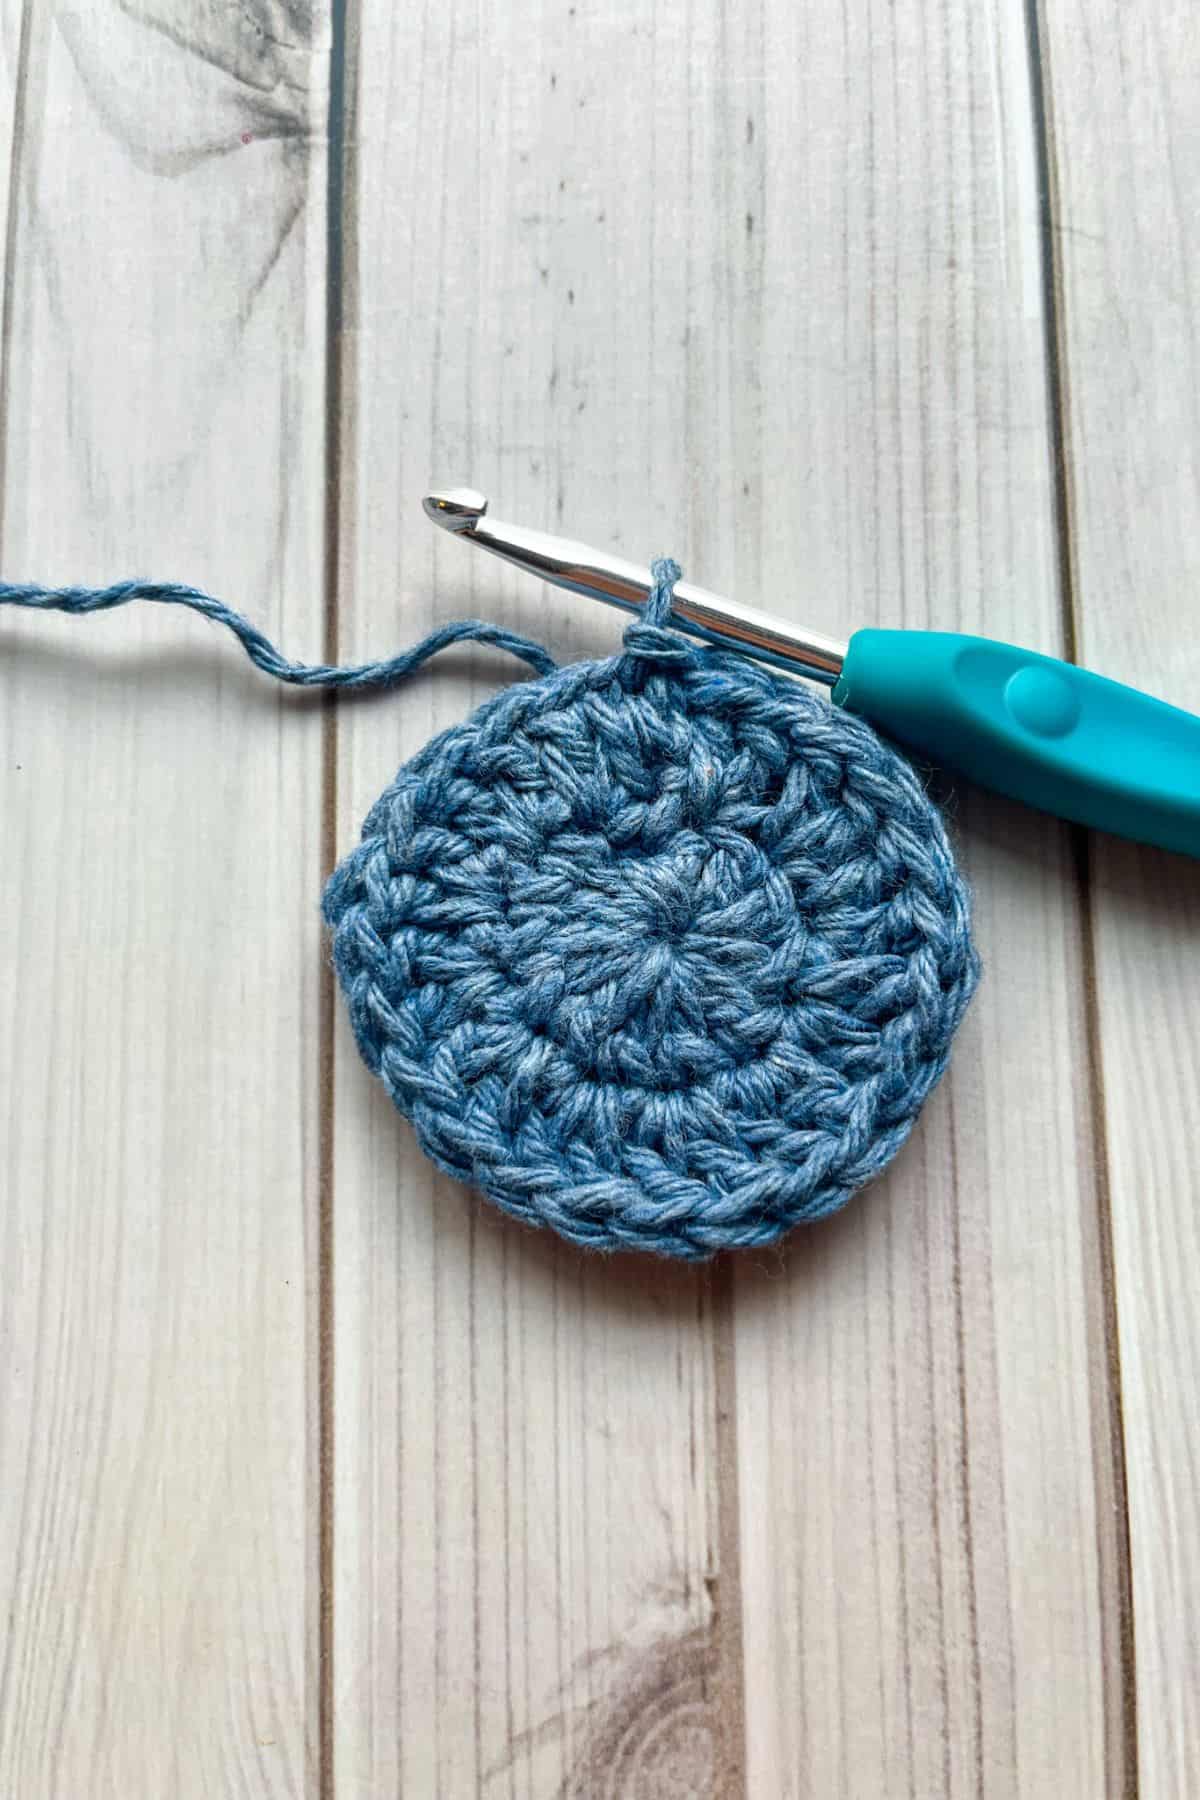
Round 2: Ch x2 and dc inc in every stitch. Then sl st to the first dc in the round (24).
Make sure you have exactly 24 stitches.
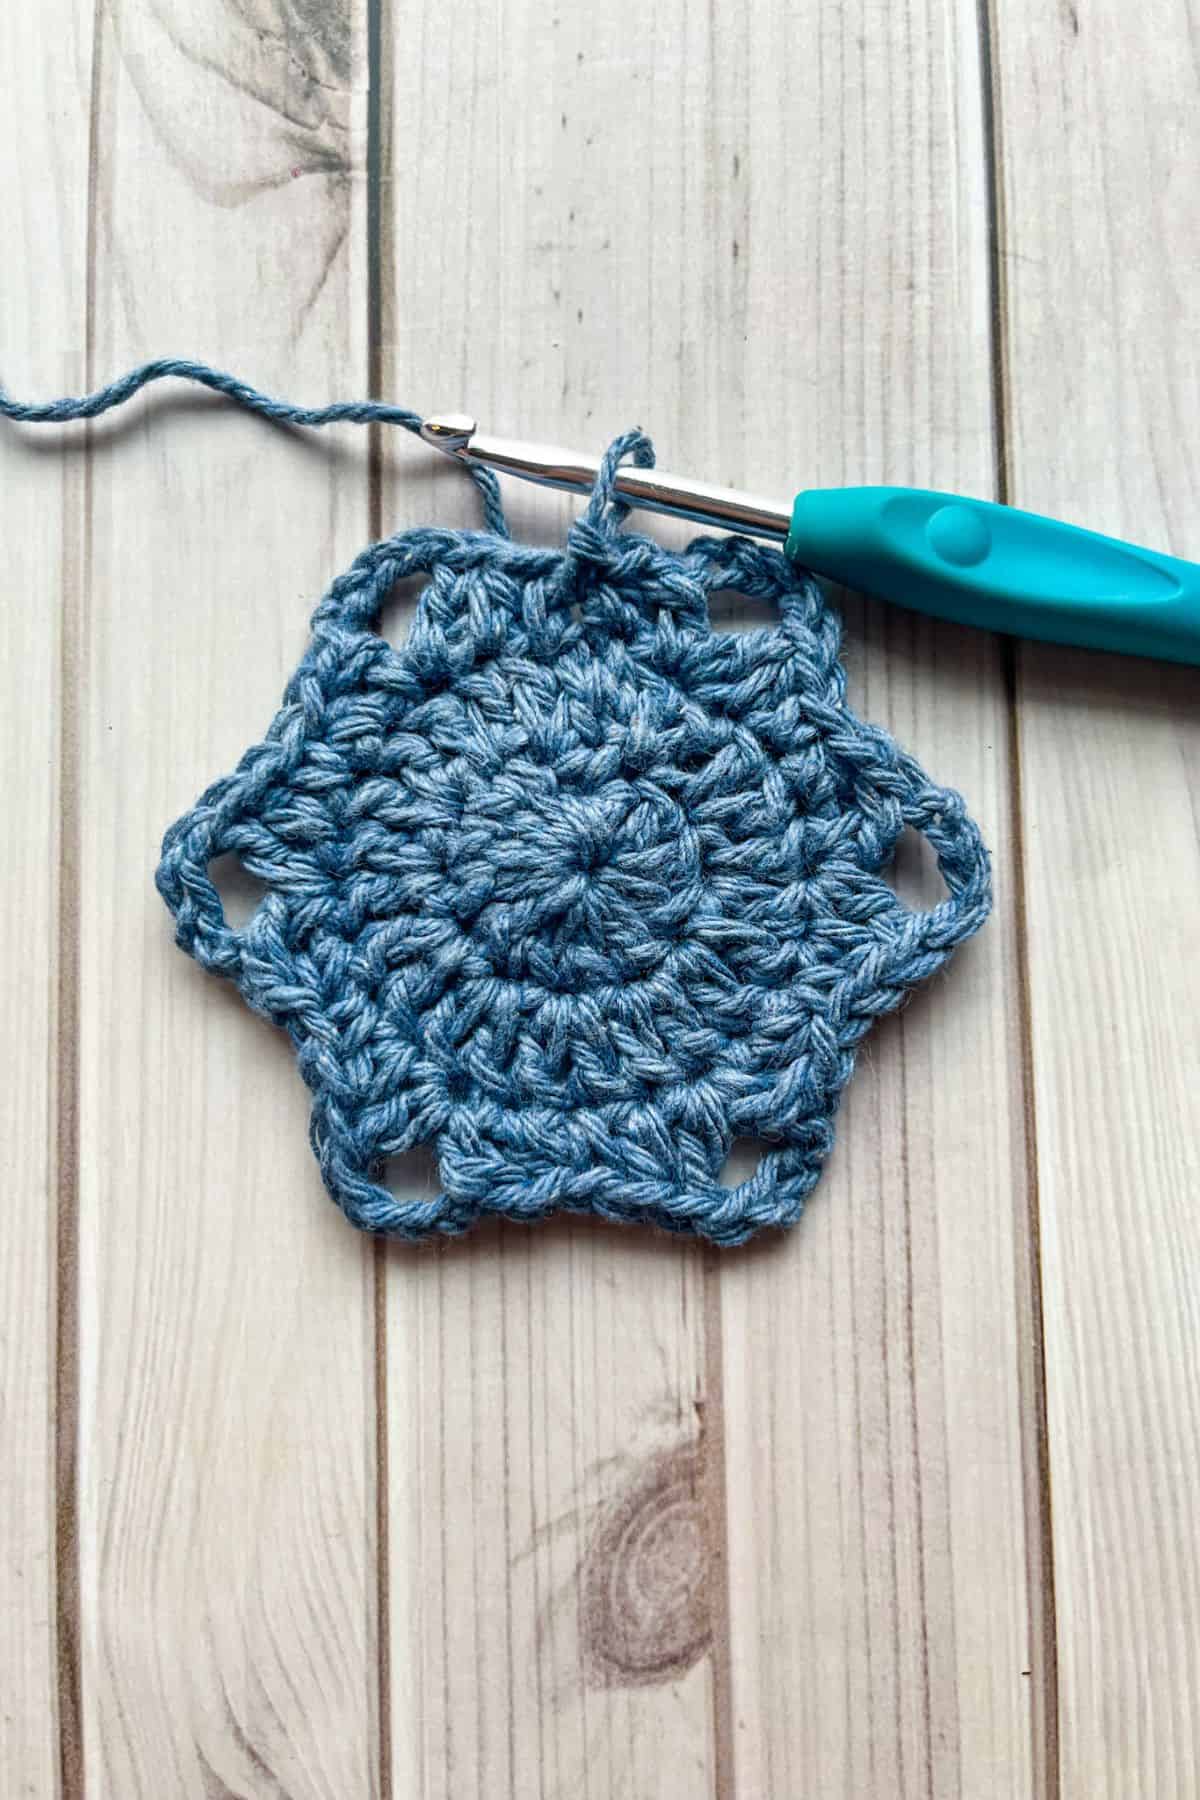
Round 3: Make a *Sc, hdc, and then in the next stitch (dc + ch x4 +dc). In the following stitch make a hdc*. Repeat this sequence for the rest of the round.
The last stitch you need to make for this round is a hdc, then sl st to the first sc in the round.
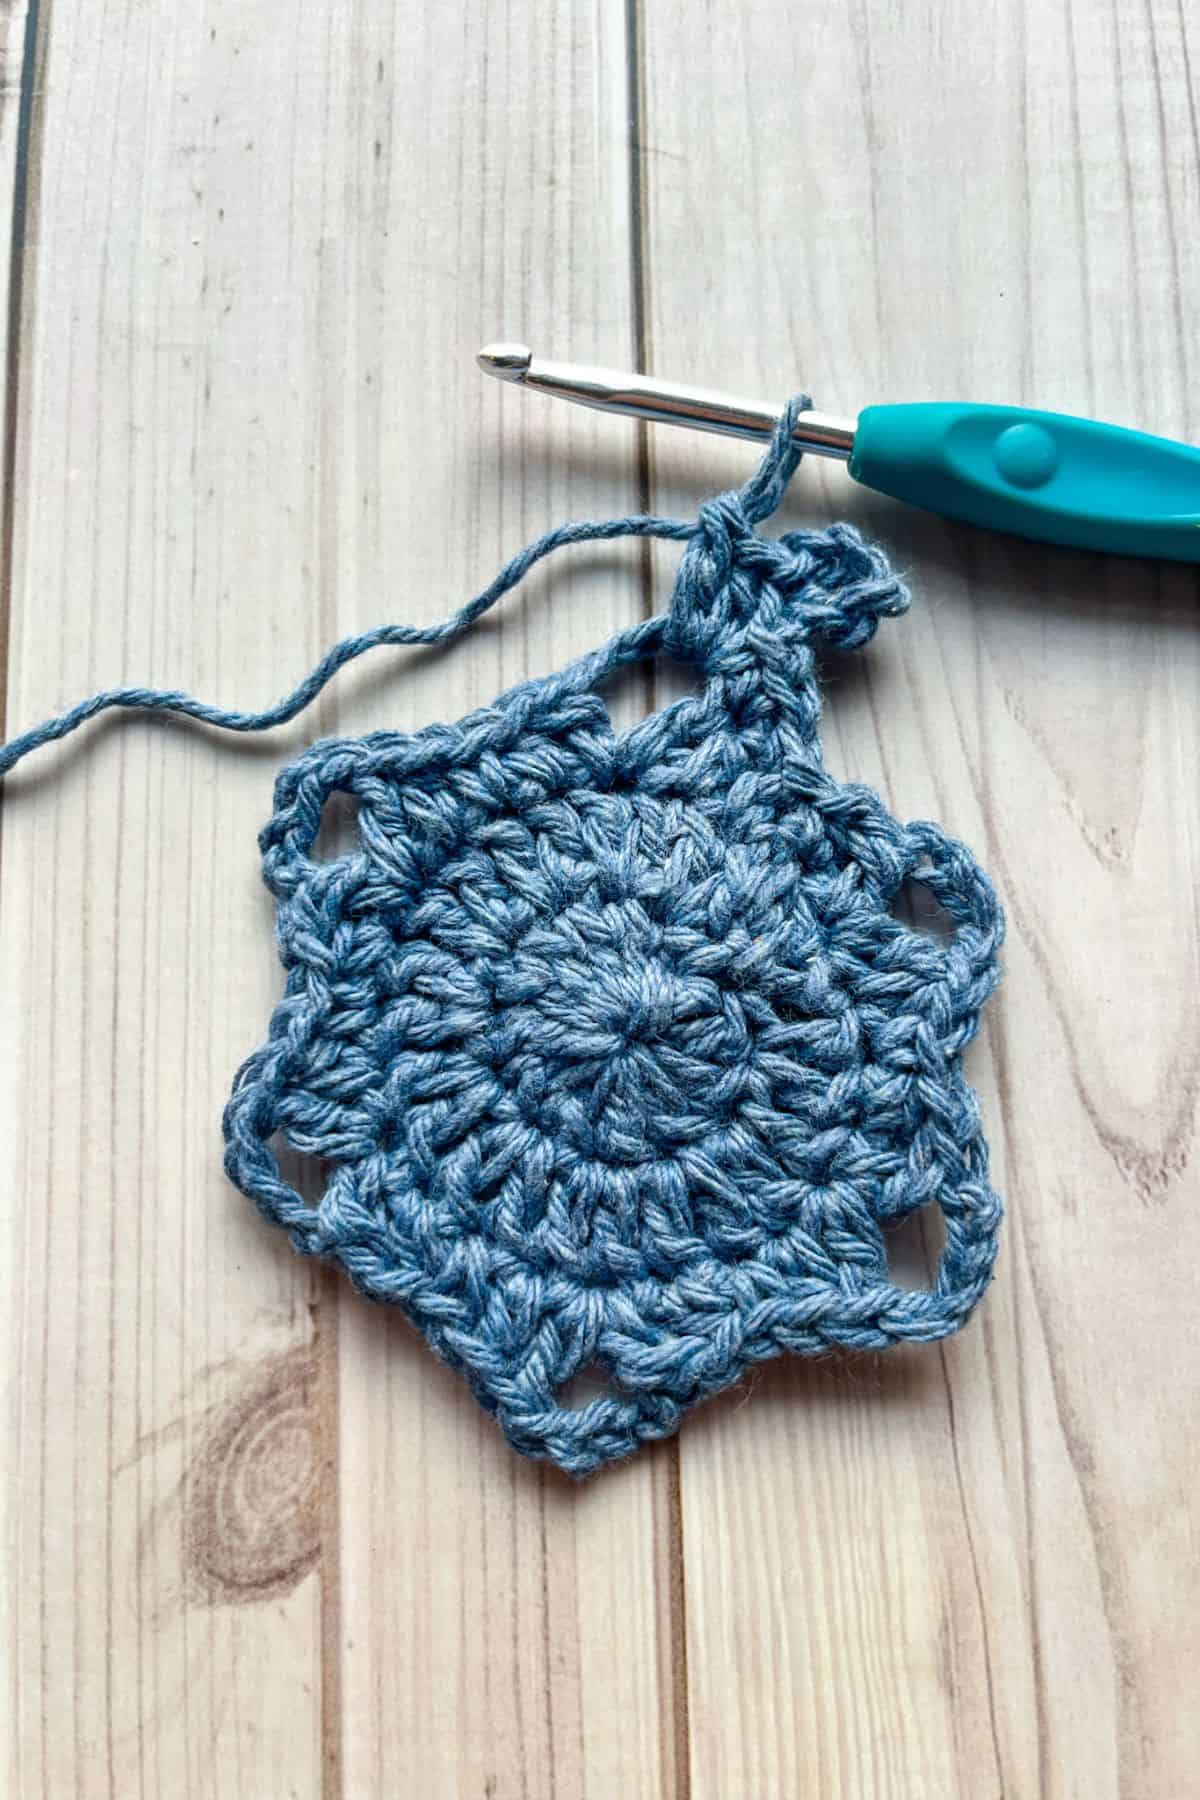
Round 4: Sc in the first 2 stitches. *Then in the chain space from round 3, make a sc and ch x6. Next, make a sl st in the first ch that you made after the sc (like a picot stitch).
Now you are going to crochet back in the chain space from round 3, by making a hdc and than a dc.
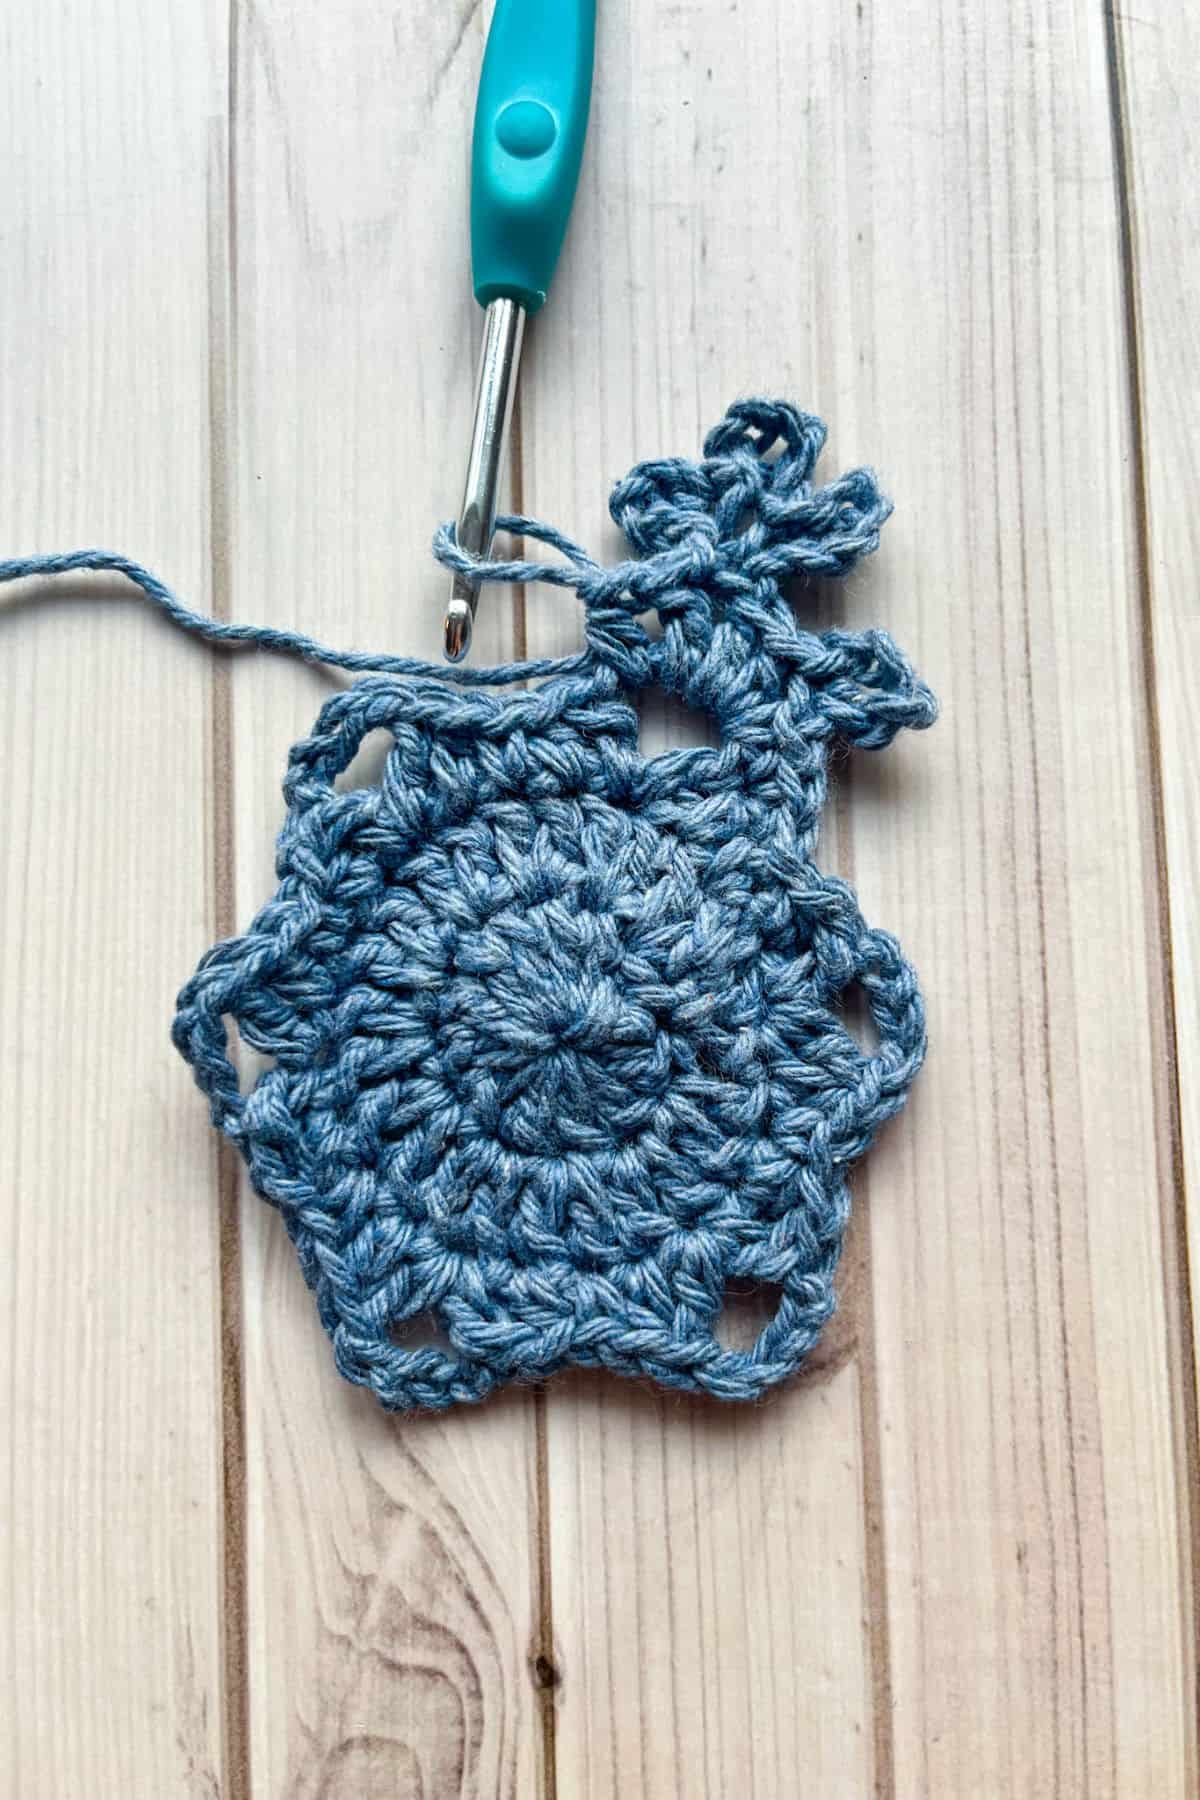
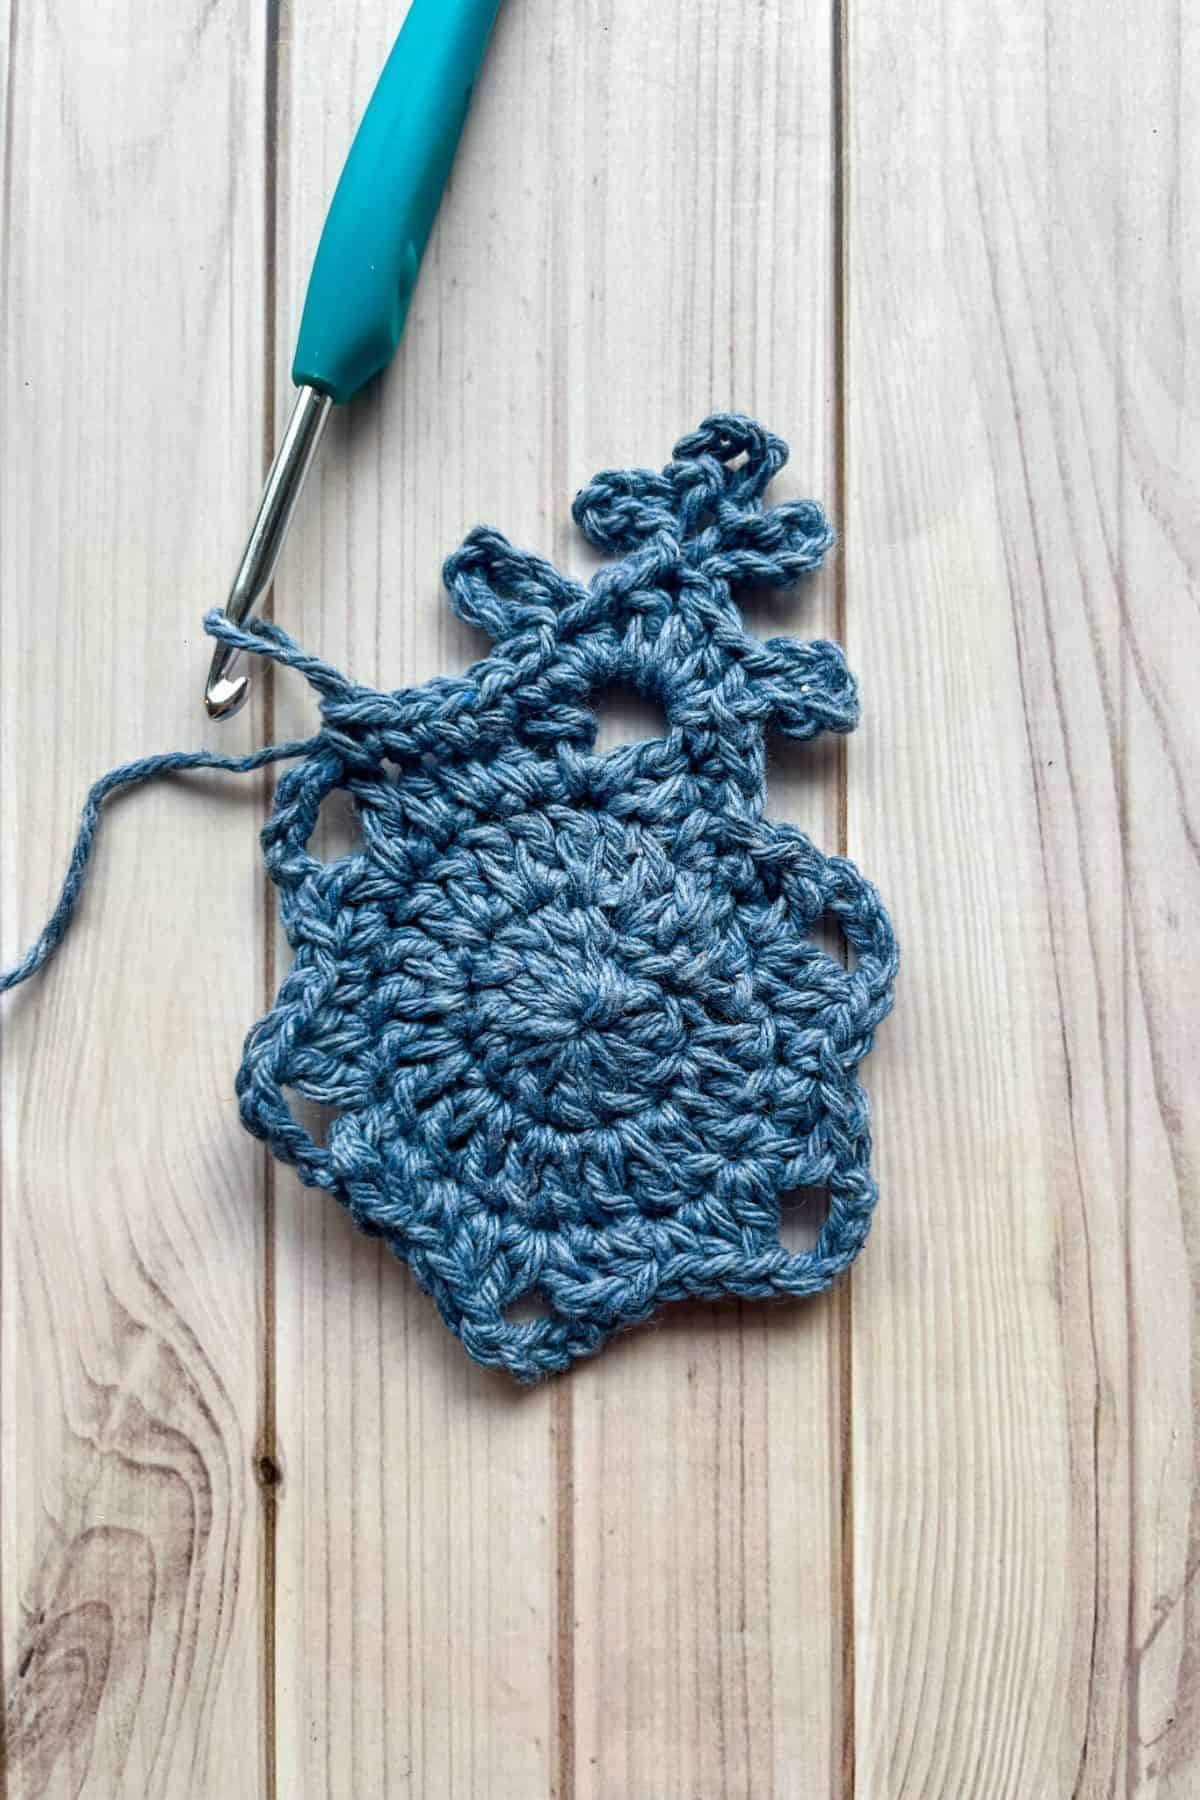
Next ch x6 and in the 5th chain from the hook, make a sl st.
After, ch x5 and in the 5th chain from the hook, make a sl st. Do this last step 1 more time.
Finally, slip stitch into the first chain you made in the initial chain of 6 (after the dc). You should now have 3 loops at the top of the dc you made previously.
Make a dc and a hdc in the chain space from the last round. You are now working down the other side of the snowflake spike.
Then ch x6 and make a sl st in the 6th ch (the one made after the hdc.)
Next, make 1 more sc in the chain space, then sc in the next 5 stitches before you get to the next ch space from round 3.*
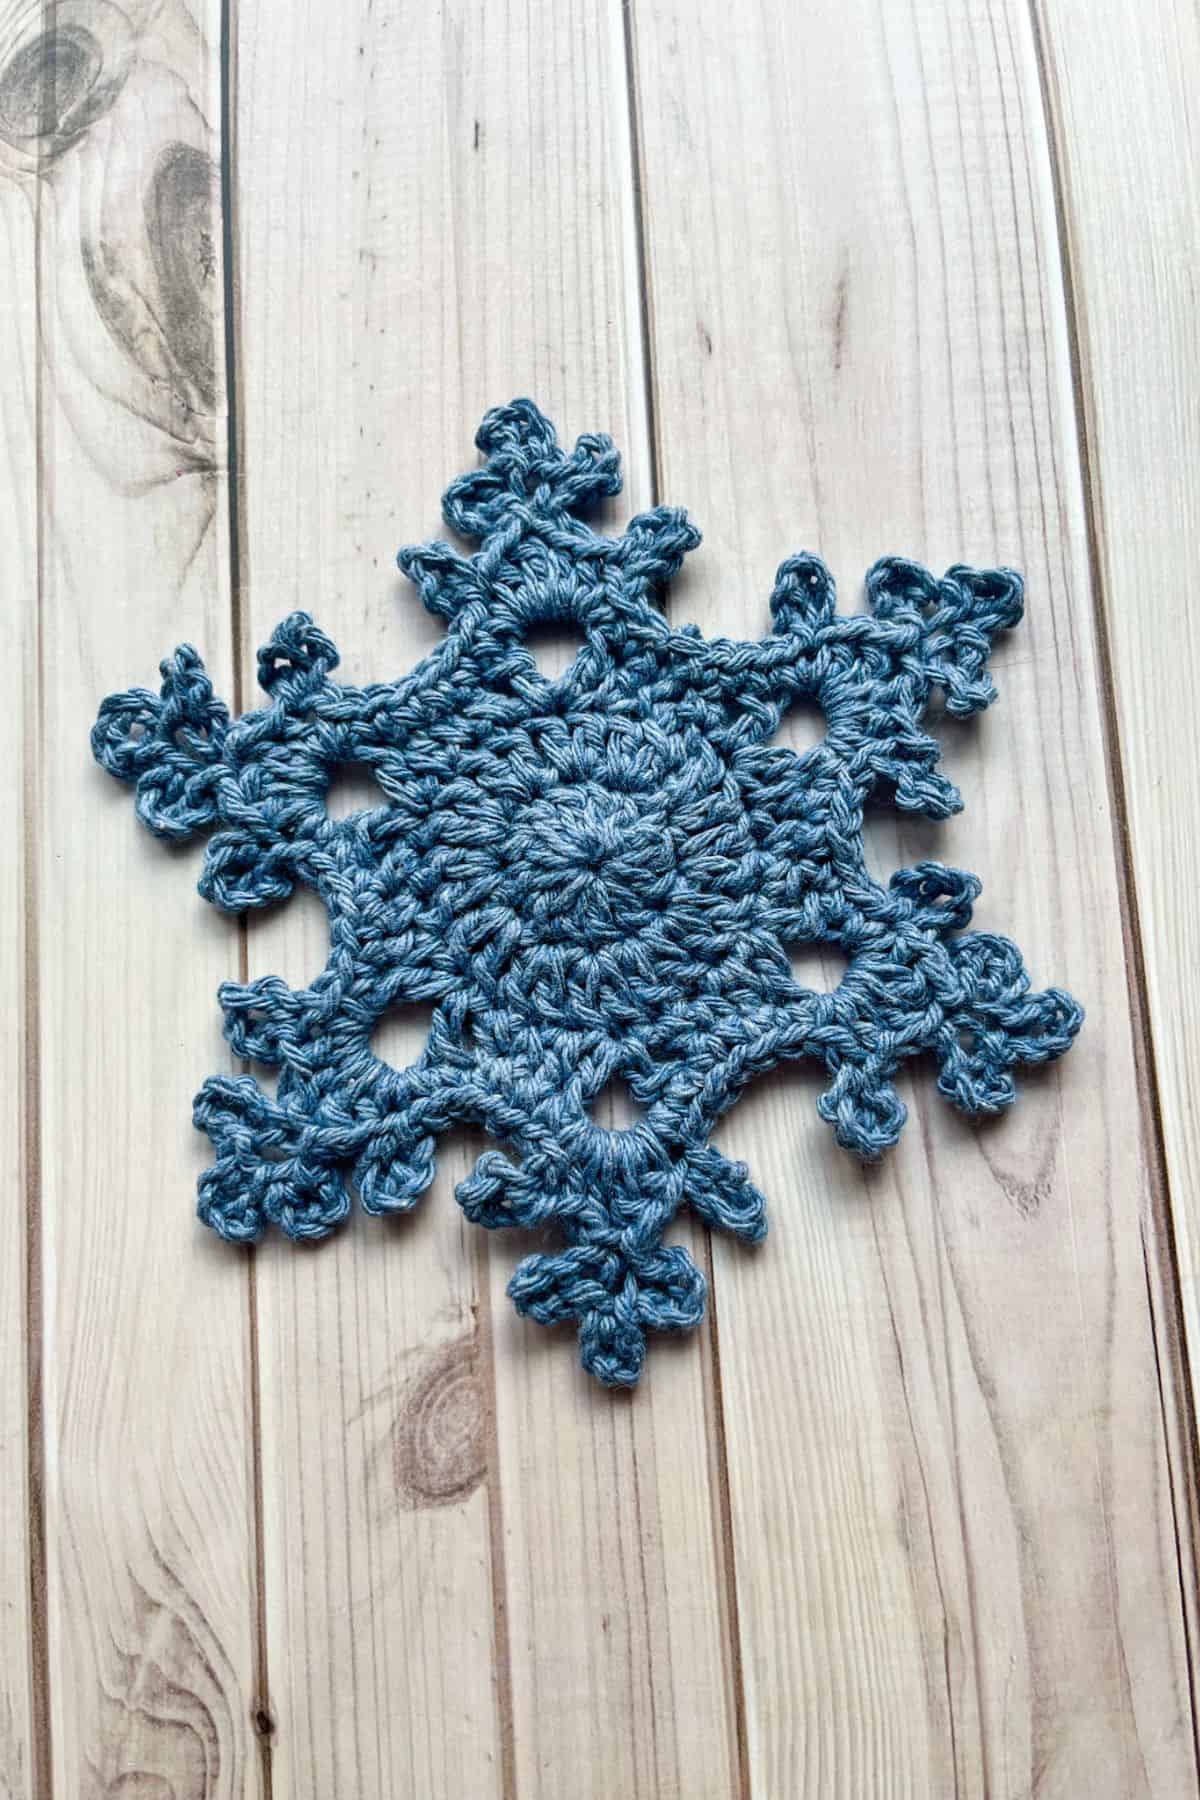
*Repeat for the rest of the round. After the last snowflake spike, sc in the next 3 stitches and then fasten off and weave in any ends.
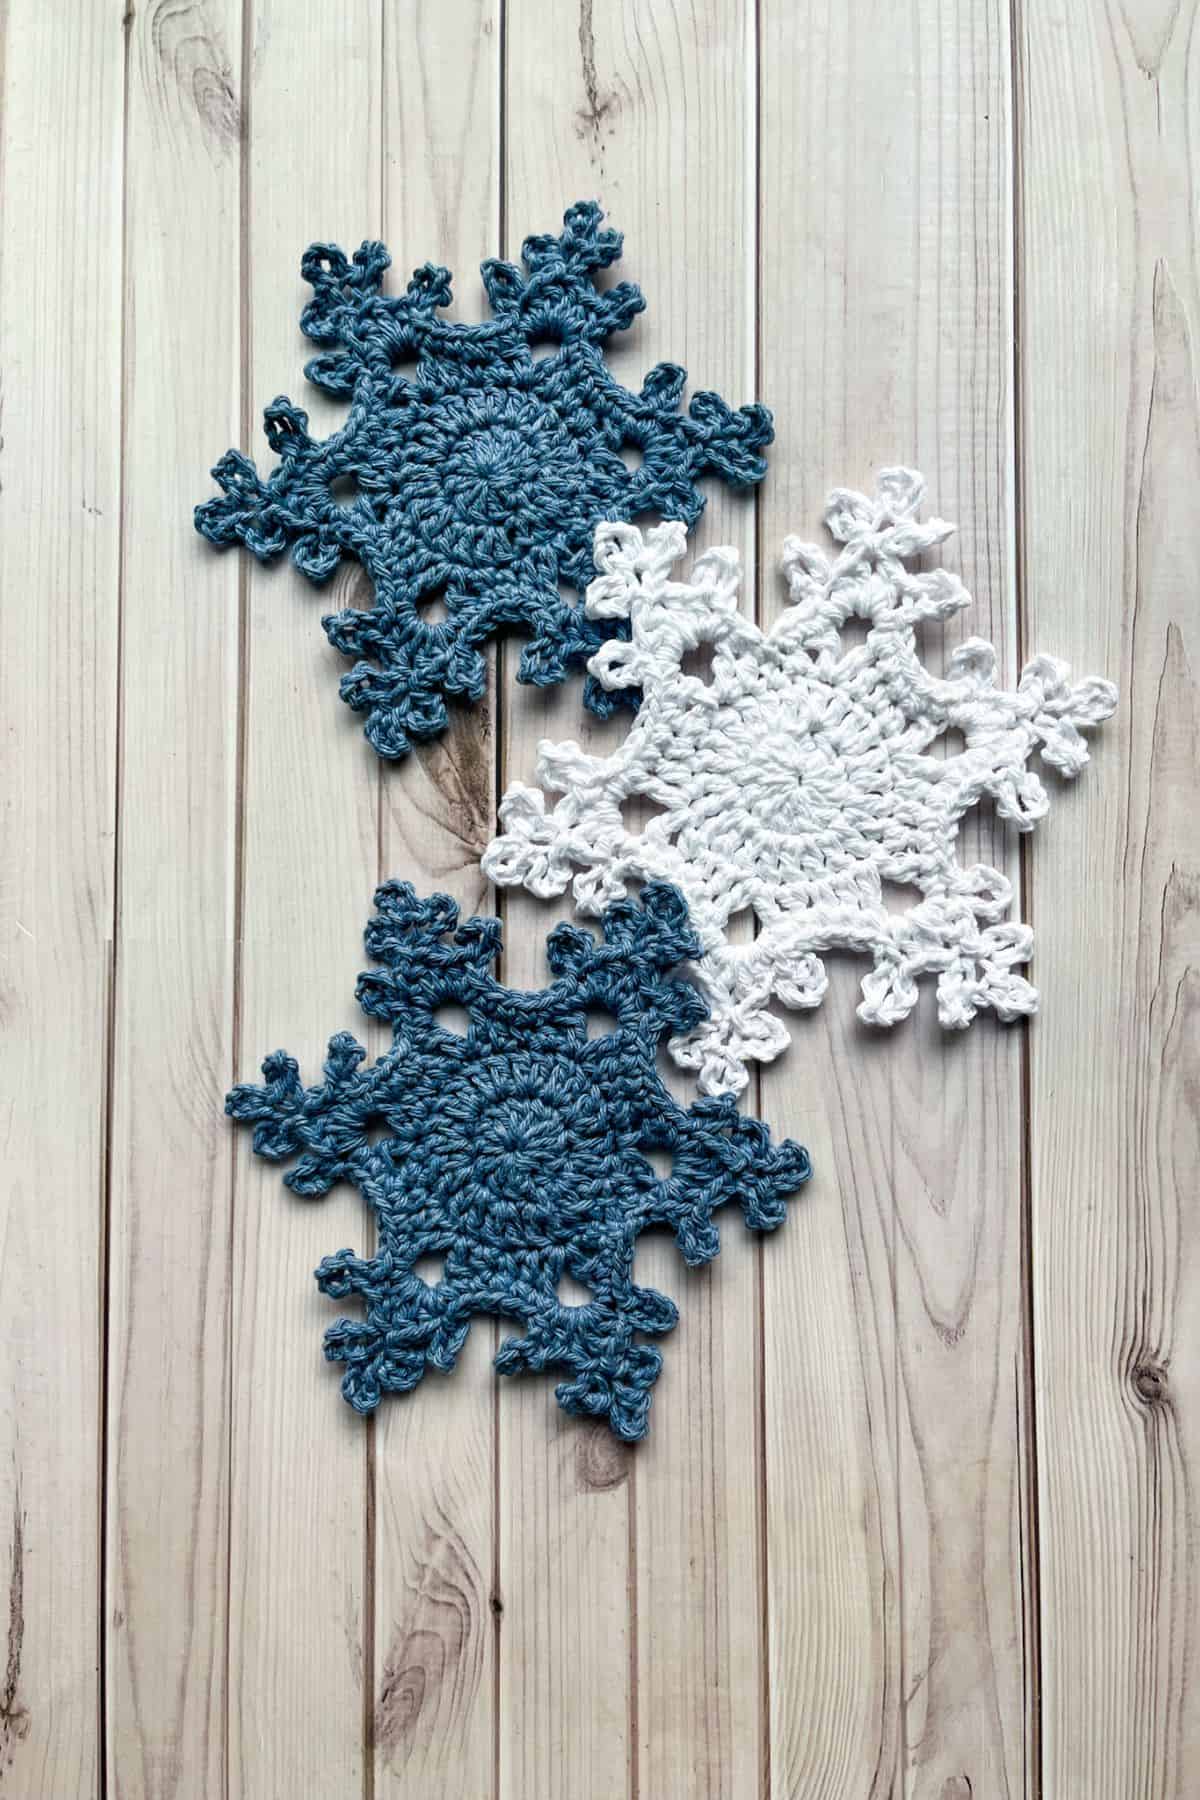
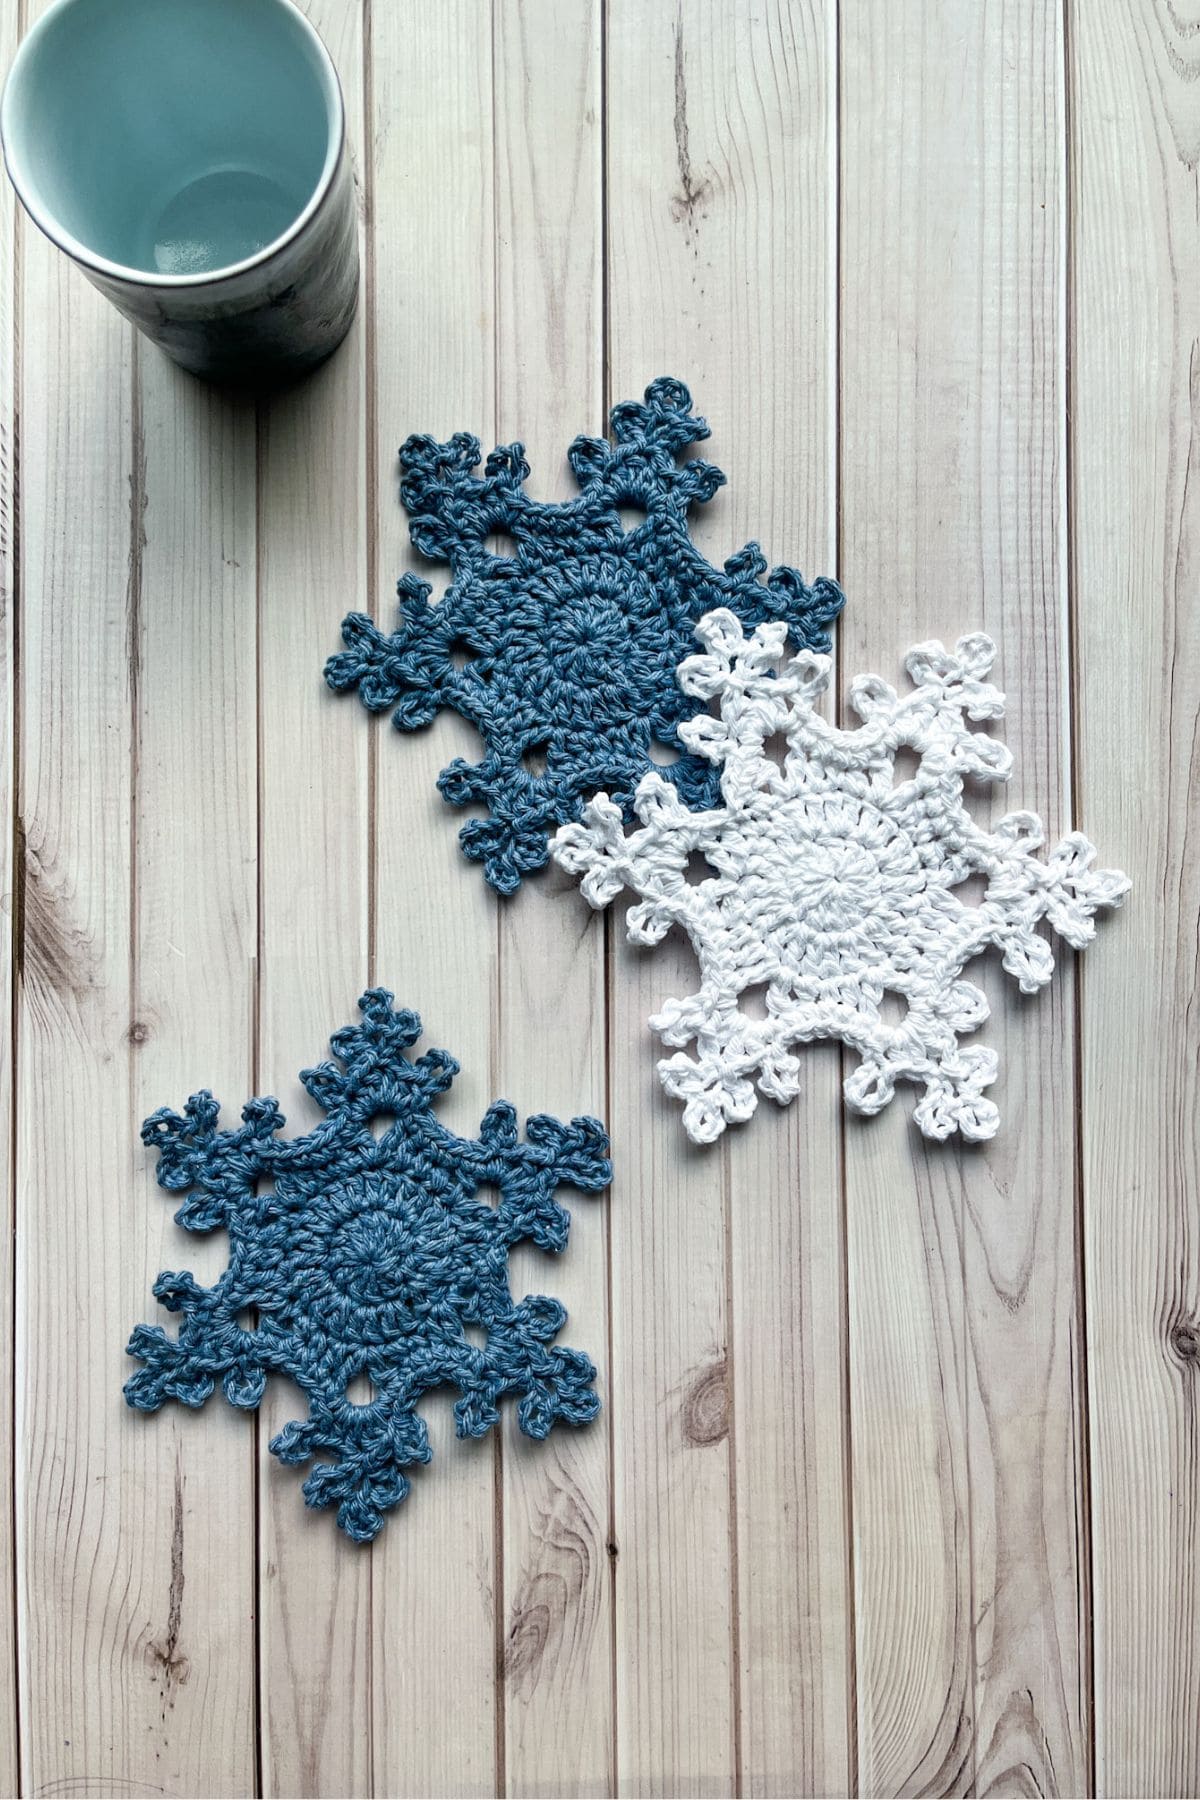
And there you have it—your beautiful crochet snowflake coaster is all finished!
I hope you had as much fun making it as I did sharing the pattern with you. If you’re excited to explore more winter designs, check out my crochet winter scarf pattern featuring a lovely buffalo plaid, or try my crochet fingerless glove pattern to keep your hands warm on those chilly, snowy days.
If you have extra white cotton yarn you can make my crochet snowman coaster pattern, which features a melted snowman for the design. Then if you have extra blue jean cotton yarn you can make some crochet cat coasters!
🐌Expert Tips
- Add a Non-Slip Backing: For extra functionality, consider sewing a non-slip fabric or felt to the bottom of your coasters. This will help prevent them from sliding around on surfaces.
- Personalize Your Coasters: Add your own flair by incorporating colors that match your decor or by adding embellishments like embroidery or appliqué.
- Practice Makes Perfect: Don’t worry if your first few coasters aren’t perfect. Use them as practice to improve your skills, and soon you’ll be making beautiful pieces with ease.
- Consider Gift Sets: Coasters make great gifts! Create matching sets and package them with a cute mug or other handmade items for a thoughtful present.
🧵Pattern FAQs
The time it takes can vary, but most coasters can be completed in under an hour, making them a quick and satisfying project!
Yes! Cotton coasters can typically be machine washed on a gentle cycle. Just make sure to lay them flat to dry to maintain their shape.
It’s best to use 100% cotton yarn. Cotton is absorbent, durable, and easy to wash, making it perfect for coasters.
To prevent curling, make sure to maintain consistent tension throughout your stitches. Blocking your finished coasters can also help them lay flat.
🧶More Crochet Winter Patterns

If you tried this Crochet Snowflake Coaster Pattern (or any other pattern on my website), please let me know how it went in the 📝 comments below. I'd love to hear from you!
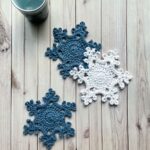
Crochet Snowflake Coaster Pattern
Materials
Abbreviations (US terms)
- Magic ring - mr
- Chains - ch
- Single crochet - sc
- Half double crochet - hdc
- Double crochet - dc
- Slip stitch - sl st
- Increase - inc
Notes
- Yarn Choice: Cotton yarn is perfect for coasters due to its durability, absorbency, and ease of washing. It maintains its shape over time, making it a practical and long-lasting choice for functional and aesthetically pleasing coasters.
- Hook Size: Using the recommended hook size for your yarn ensures proper tension and gauge, allowing your coaster to lay flat. This helps maintain its shape and prevents it from becoming too tight or loose, resulting in a neat, even finish.
- Tension: Maintaining consistent tension is key to a well-made coaster. Stitches that are too tight or too loose can impact both the appearance and functionality, leading to uneven edges or poor fit. Consistency ensures a smooth, professional-looking finish.
- Blocking: Blocking your finished coaster helps it lay flat and enhances its final shape. This step is particularly useful for intricate designs, such as snowflakes, ensuring clean edges and a polished look. It helps set the design and improve durability.
Instructions
- For this crochet snowflake coaster pattern, we will be working in rounds.
- Round 1: Make a mr and ch x2 (does NOT count as a dc) in it. Then dc x12 into the mr and sl st to the first dc in the round (12).
- Round 2: Ch x2 and dc inc in every stitch. Then sl st to the first dc in the round (24).Make sure you have exactly 24 stitches.
- Round 3: Make a *Sc, hdc, and then in the next stitch (dc + ch x4 +dc). In the following stitch make a hdc*. Repeat this sequence for the rest of the round.
- The last stitch you need to make for this round is a hdc, then sl st to the first sc in the round.
- Round 4: Sc in the first 2 stitches. *Then in the chain space from round 3, make a sc and ch x6. Next, make a sl st in the first ch that you made after the sc (like a picot stitch).
- Now you are going to crochet back in the chain space from round 3, by making a hdc and than a dc.
- Next ch x6 and in the 5th chain from the hook, make a sl st.
- After, ch x5 and in the 5th chain from the hook, make a sl st. Do this last step 1 more time.
- Finally, slip stitch into the first chain you made in the initial chain of 6 (after the dc). You should now have 3 loops at the top of the dc you made previously.
- Make a dc and a hdc in the chain space from the last round. You are now working down the other side of the snowflake spike.
- Then ch x6 and make a sl st in the 6th ch (the one made after the hdc.)
- Next, make 1 more sc in the chain space, * then sc in the next 5 stitches before you get to the next ch space from round 3.
- *Repeat for the rest of the round. After the last snowflake spike, sc in the next 3 stitches and then fasten off and weave in any ends.
- And there you have it—your beautiful crochet snowflake coaster is all finished!
Heather says
I love this pattern! I’ve made a bunch!
Def recommend reading thru the details, but if you’re like me it becomes little tedious to re-read the whole paragraph on row 4 after coming back to it here is the abbreviated version I jotted down for myself:
Row 4: SC x2,
[ (in chain space:
SC, ch 6, sl st in 1st chain,
HDC, DC,
ch 6 (mark 1st st), sl st in 2nd chain,
(ch 5, sl st in 1st chain) x 2,
sl st into marked stitch,
DC, HDC,
ch 6, sl st in 1st chain,
SC),
SC x 5] x repeat until last which is an SC x 3
Also for row 3, I mark every single stitch on row 3 to make sure I get 2 SCs before and after that marked stitch since the yarn I’m using can sometimes bury the first of the 5 SCs needed between chain spaces.
Hope these tips help some beginners like me!
Kimberly Arenas says
love it!
Ruchi says
Thanks for the easy to follow pattern. Made a couple of snowflake coasters and they look beautiful.
Kimberly Arenas says
Glad you like the pattern!
Alyssa says
Thank you for this pattern! It was easy, directions were clear, and it worked up quickly. I ended up using crochet thread and a 2.25mm hook to give it a more lacy appearance, and this pattern worked well for that.
Kimberly Arenas says
I'm glad you liked the pattern!