

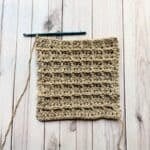
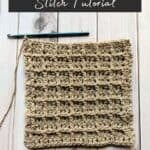
Learn to crochet the waffle stitch with this waffle stitch crochet pattern! This stitch is best for intermediate to advanced crocheters as you have to know how to make fpdc and bpdc stitches.
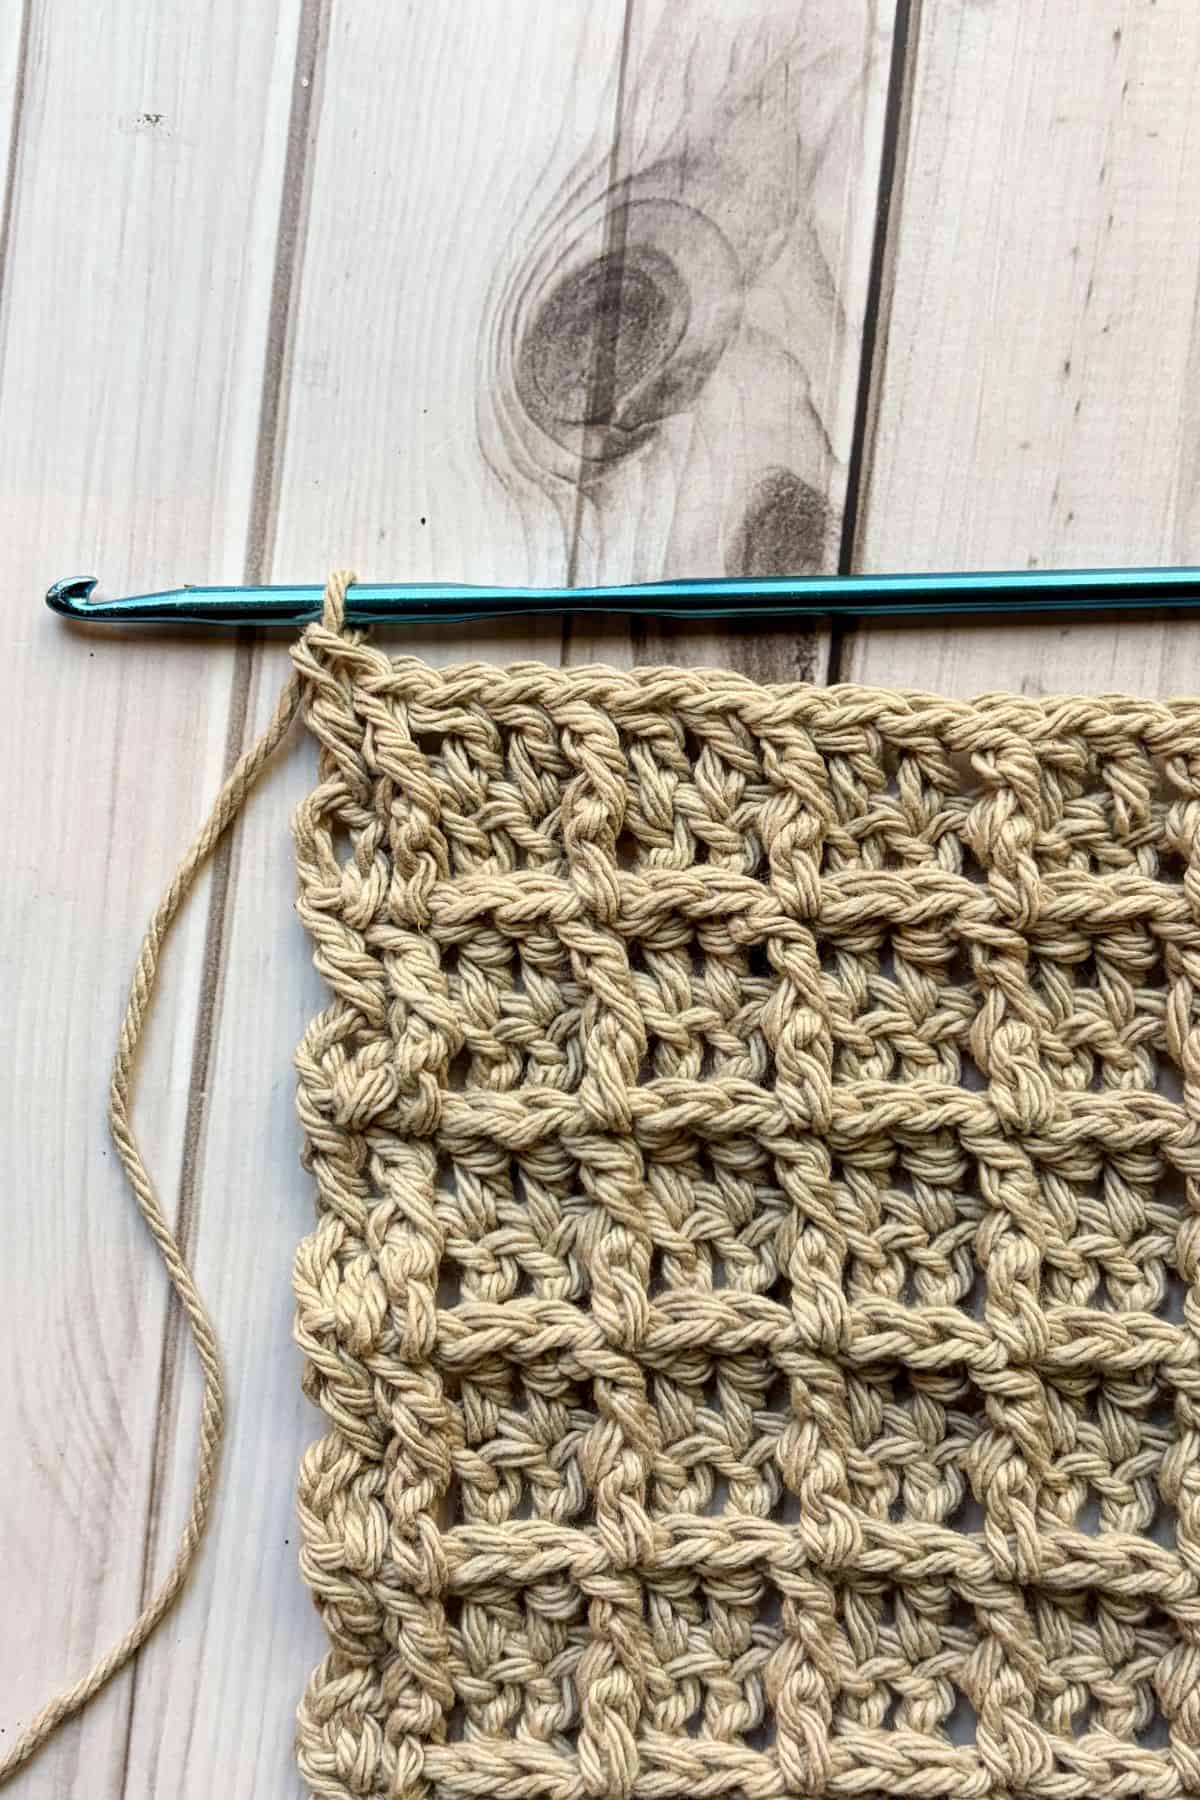
It's wild that I avoided the crochet waffle stitch for YEARS because I was intimidated by it - but it's actually pretty easy if you know how to do fpdc and bpdc stitches.
I was SO intimidated by it I went and learned other, more "complicated stitches" like the Daisy Stitch Crochet which in my opinion is much harder to make then the waffle stitch.
I use the fpdc and bpdc in other stitches and patterns like the Granny Square Fingerless Gloves Pattern and the Crochet Rice Stitch Pattern. Knowing this one skill can open so many doors for patterns and variations of the technique. In fact, I use a variation of it to complete my Masculine Crochet Scarf Pattern which uses the celtic crochet stitch.
Jump to:
✏️ Things To Note:
- Yarn Eater: The waffle stitch pattern is a yarn eater because it creates a denser fabric with shorter rows because of the fpdc and bpdc stitches.
- Starting Chain: The starting chain is made by a multiple of 3 +2 for the turning chain.
- Row Repeat: The waffle stitch crochet tutorial is a 2-row repeat after you get the base row made.
🪡 Materials Needed
- Yarn of choice
- Hook of choice
- Tapestry needle
💭Abbreviations to Remember (US terms)
- Chains - ch
- Double Crochet - dc
- Front Post Double Crochet - fpdc
- Back Post Double Crochet - bpdc
🍵Instructions for Waffle Stitch Crochet Pattern
This waffle stitch tutorial is made in rows.
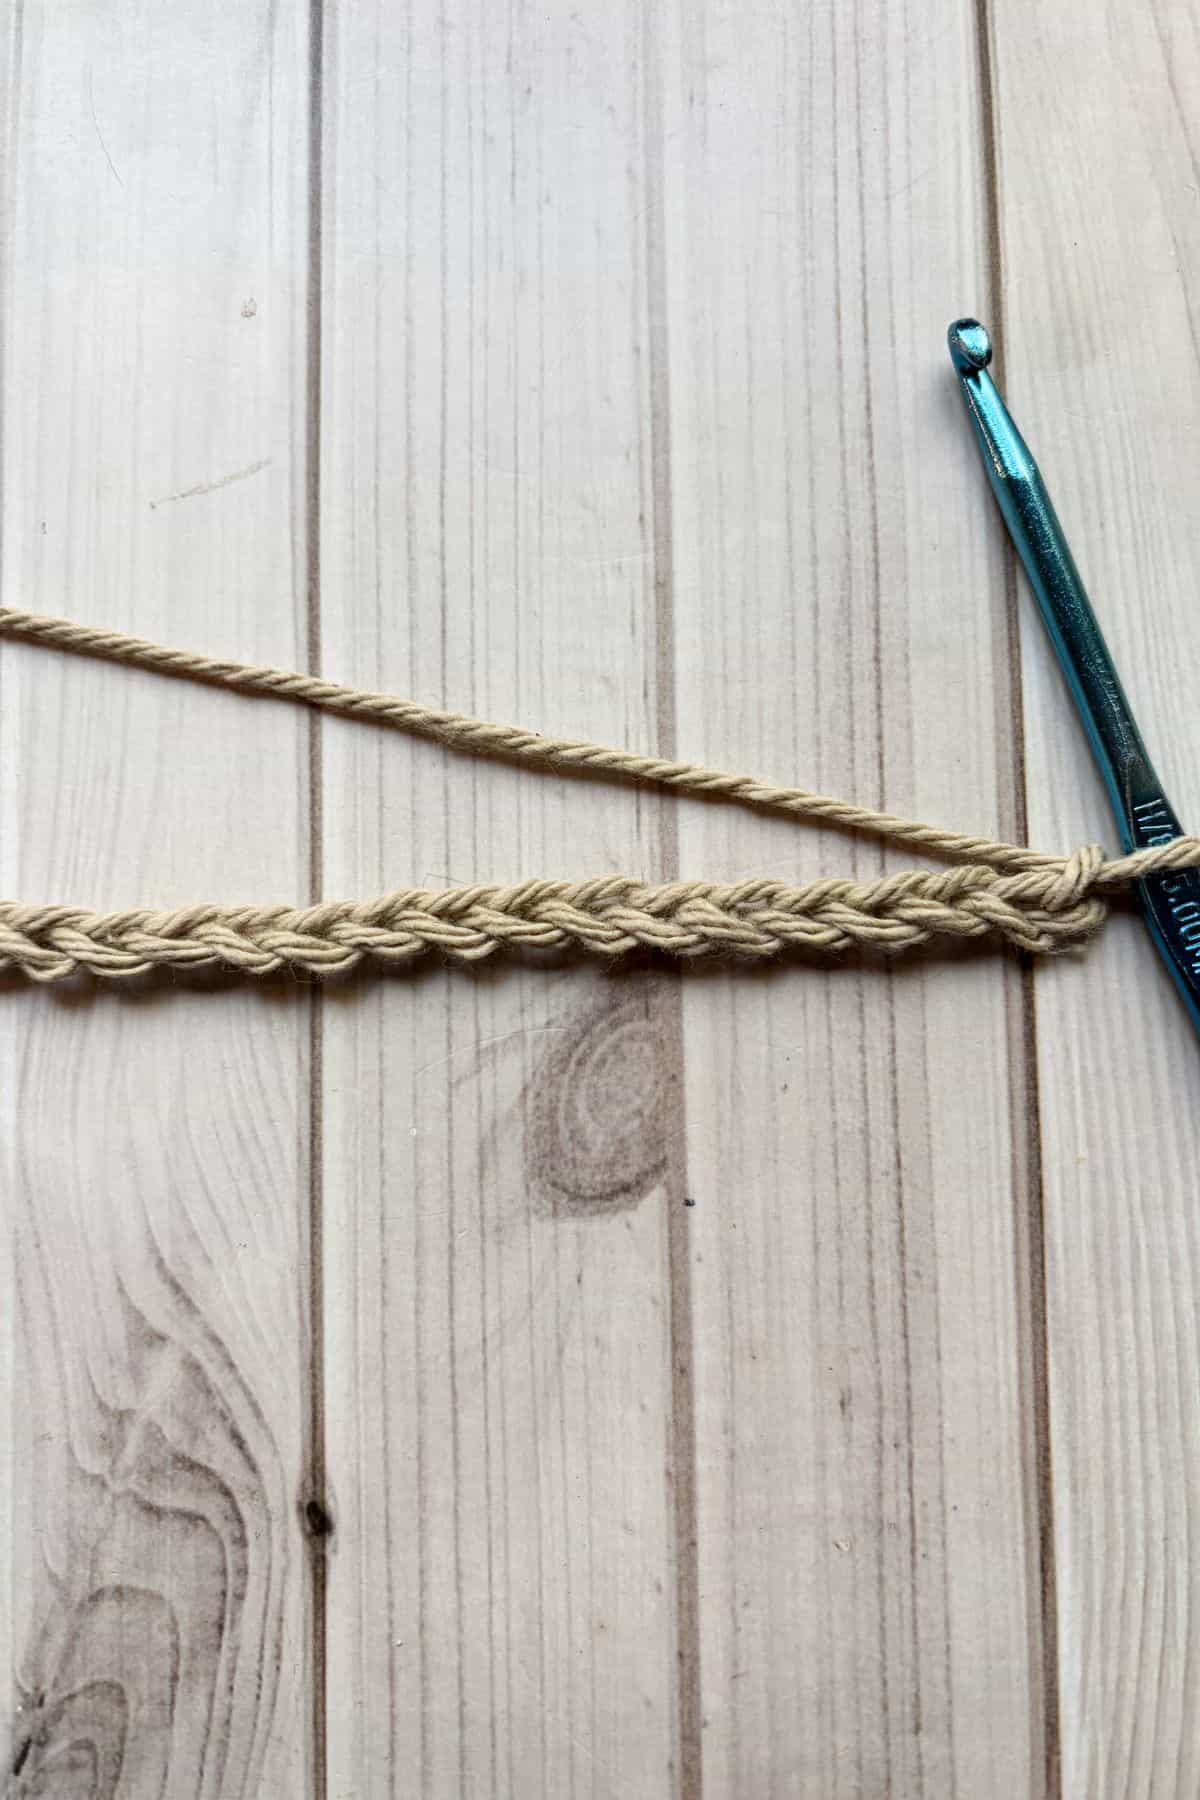
Make your starting chain (multiple of 3 +2). For example, I made 26 chains.
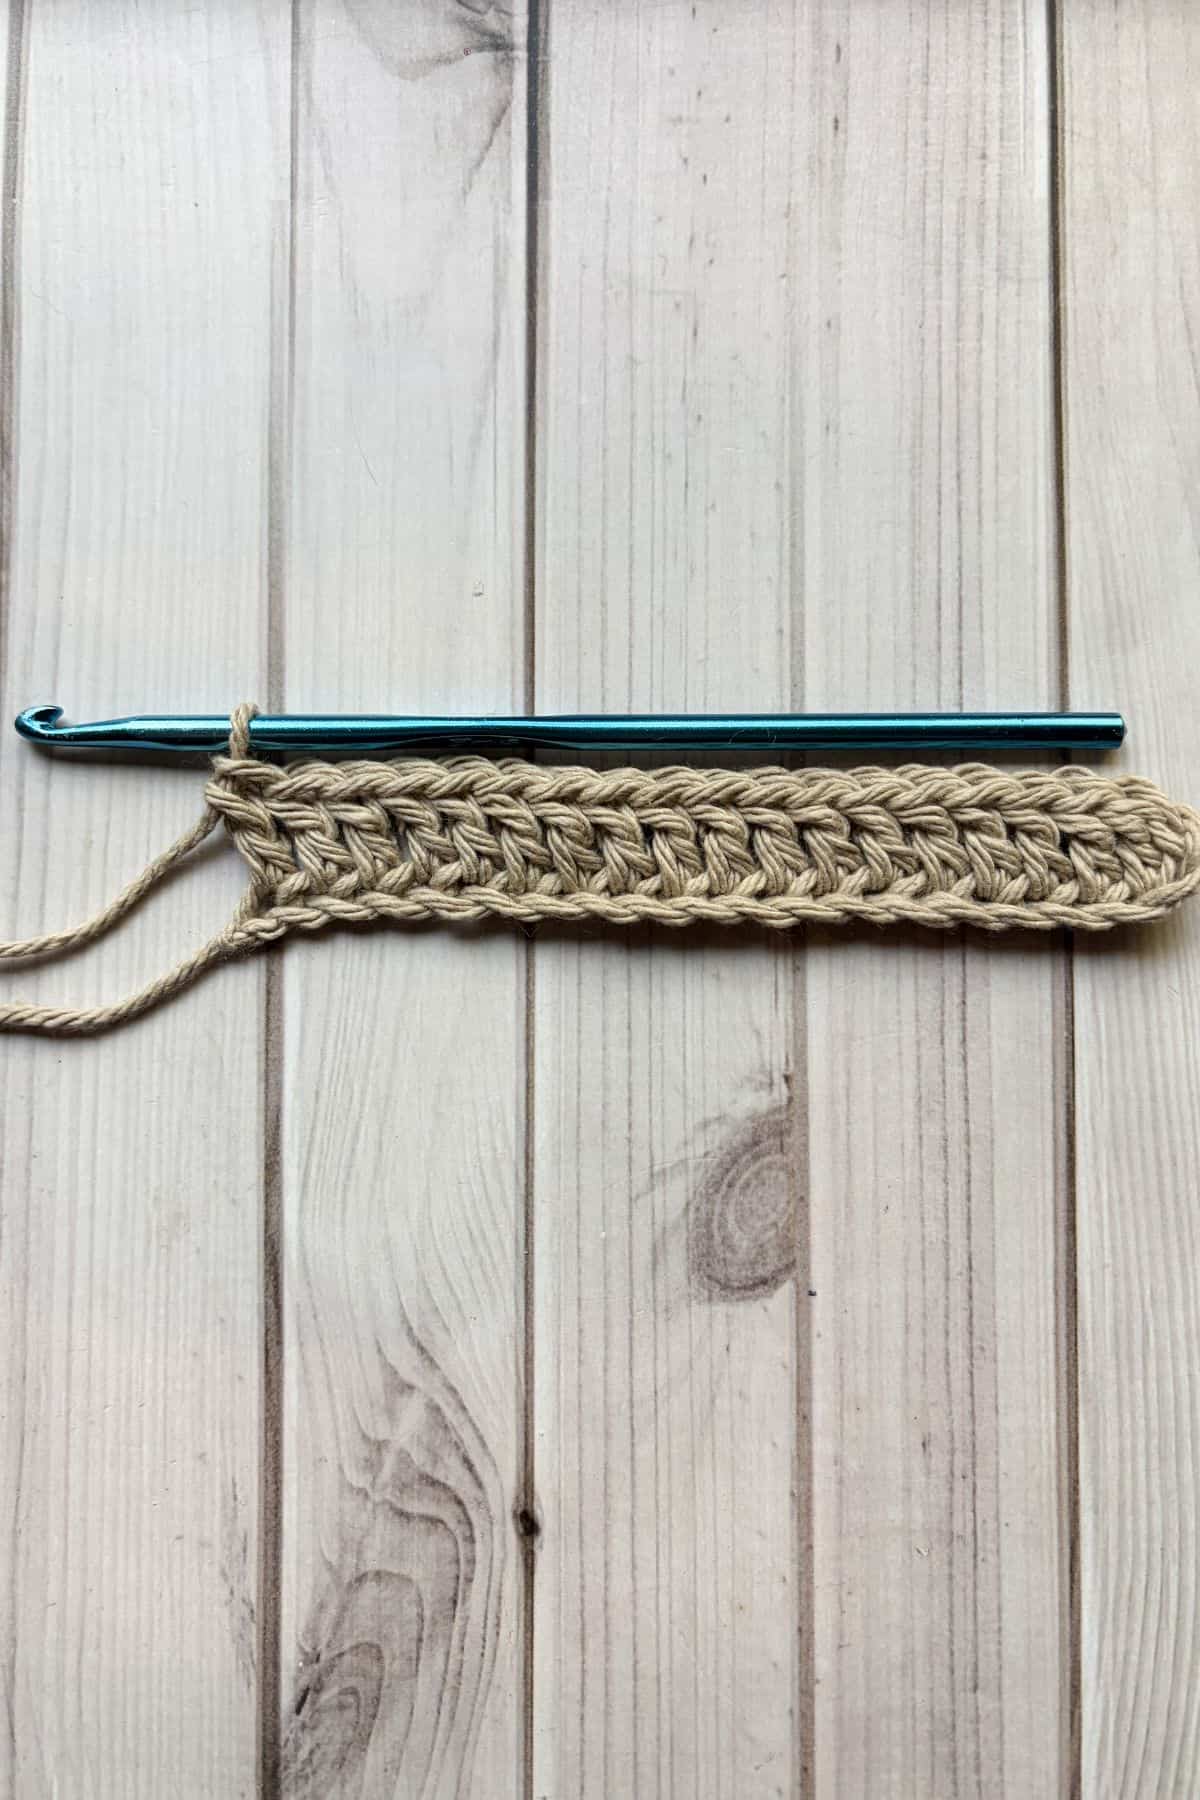
Row 1: In the third ch from the hook make a dc. Dc for the rest of the row. Then ch x2 and turn.
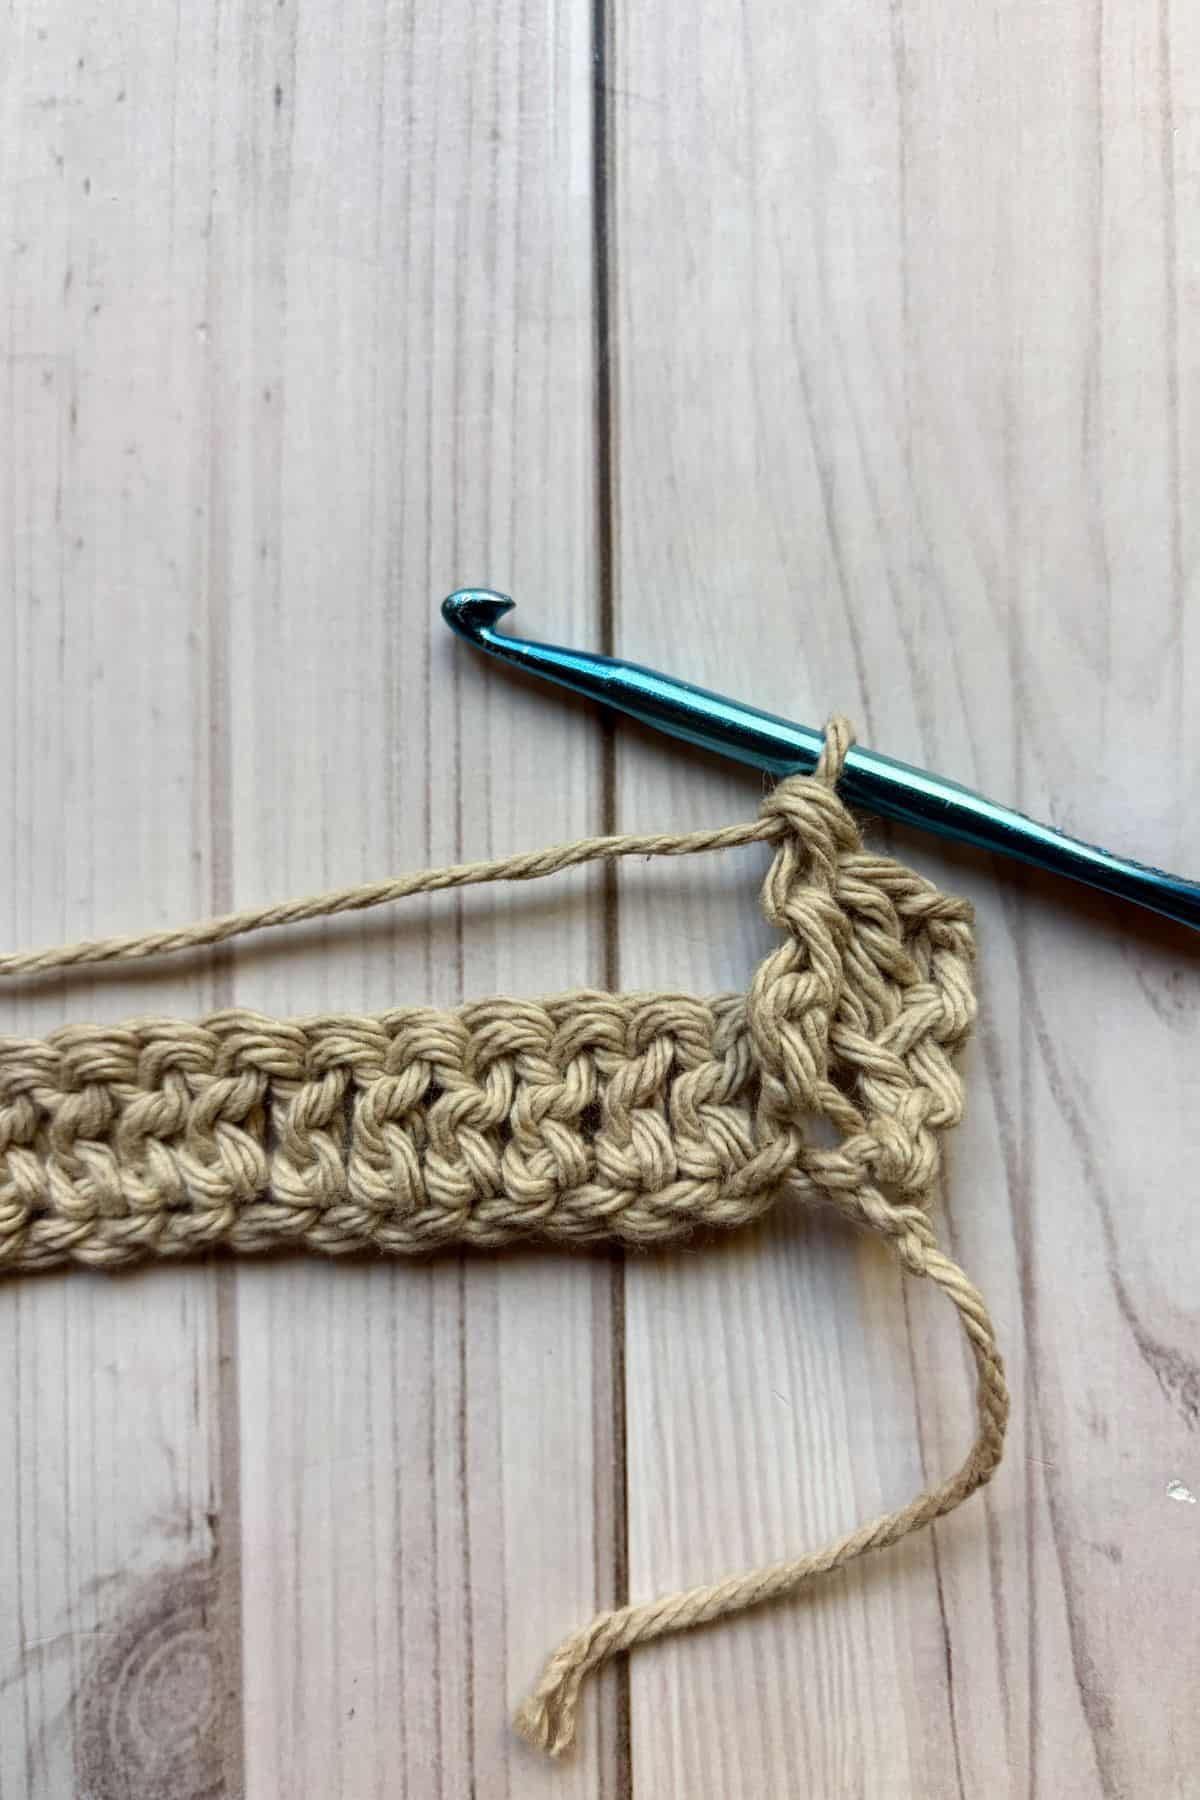
Row 2: Dc in the first stitch, *then make a fpdc in the second stitch.
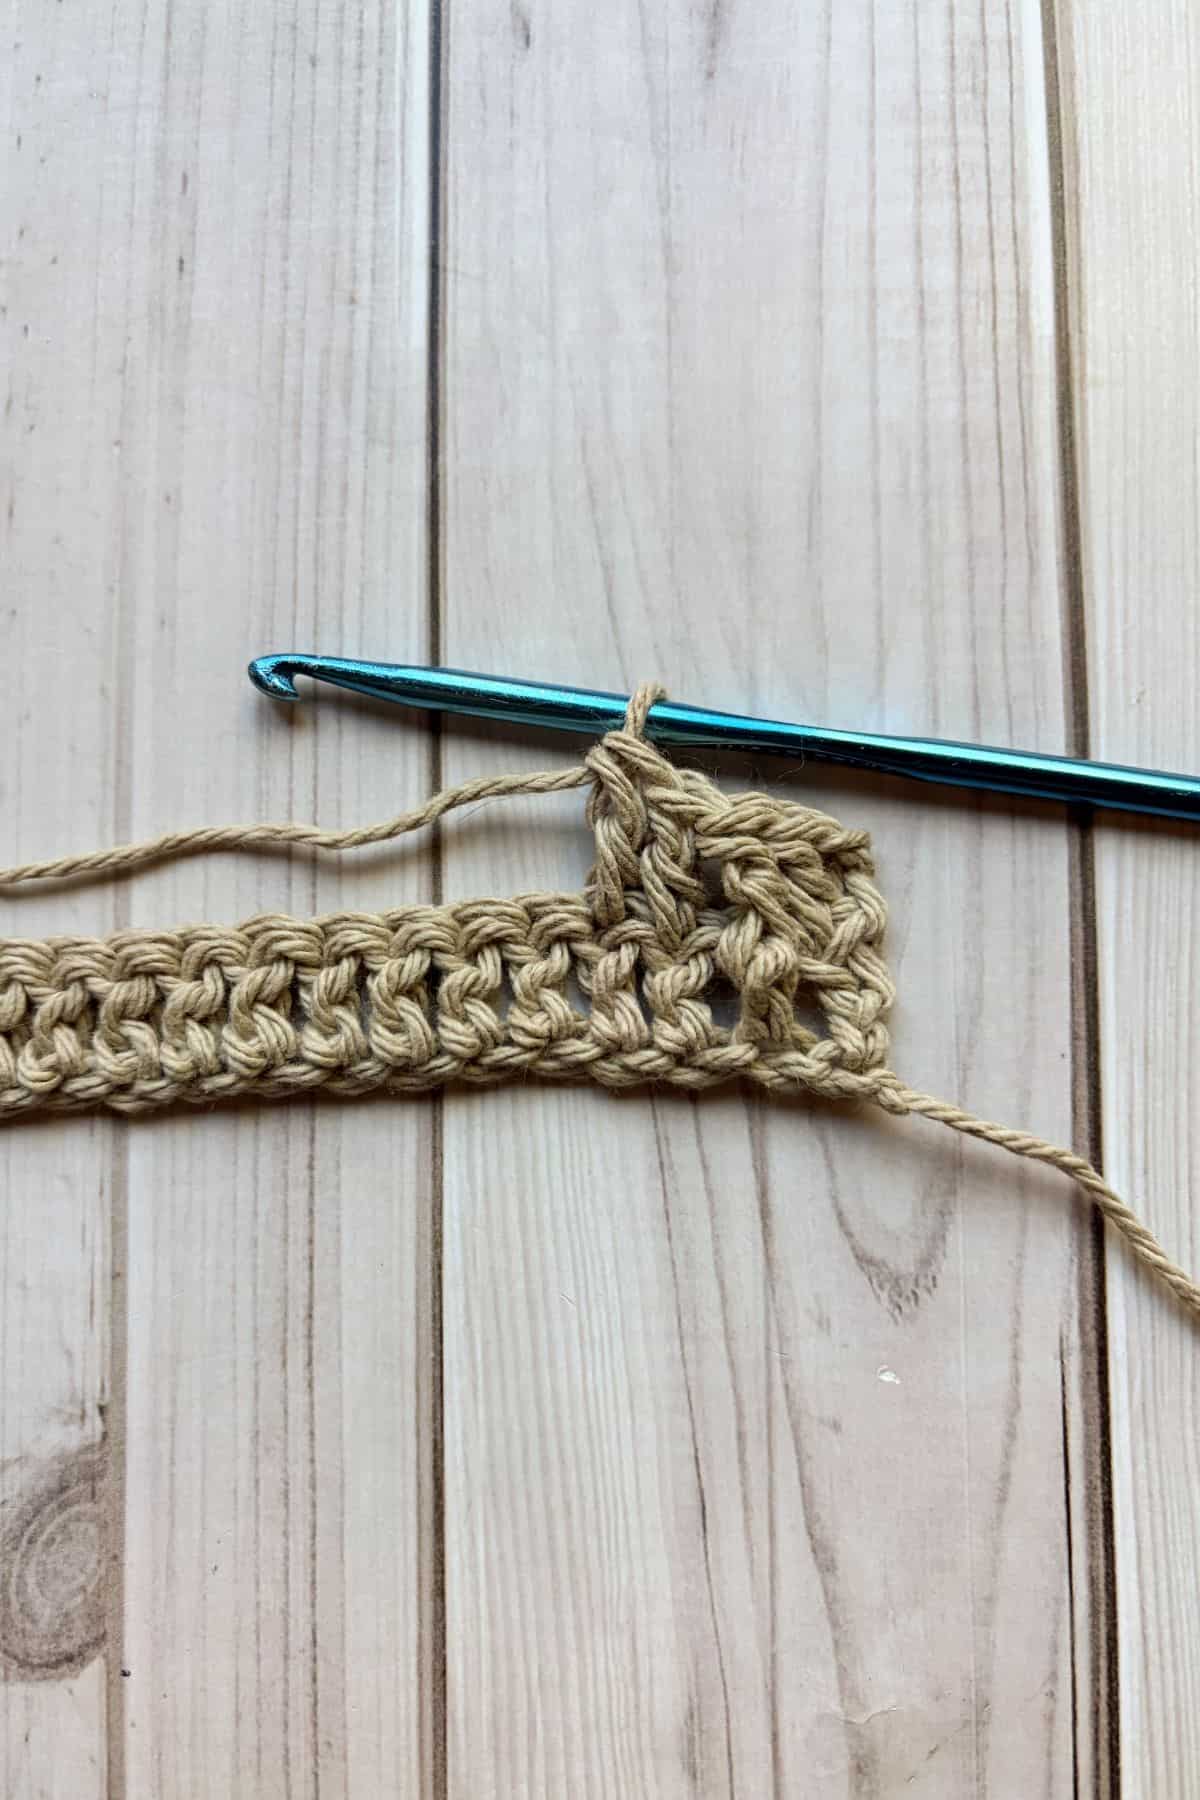
Make a dc in the next 2 stitches. Repeat from * for the rest of the row, until you have 2 stitches left.
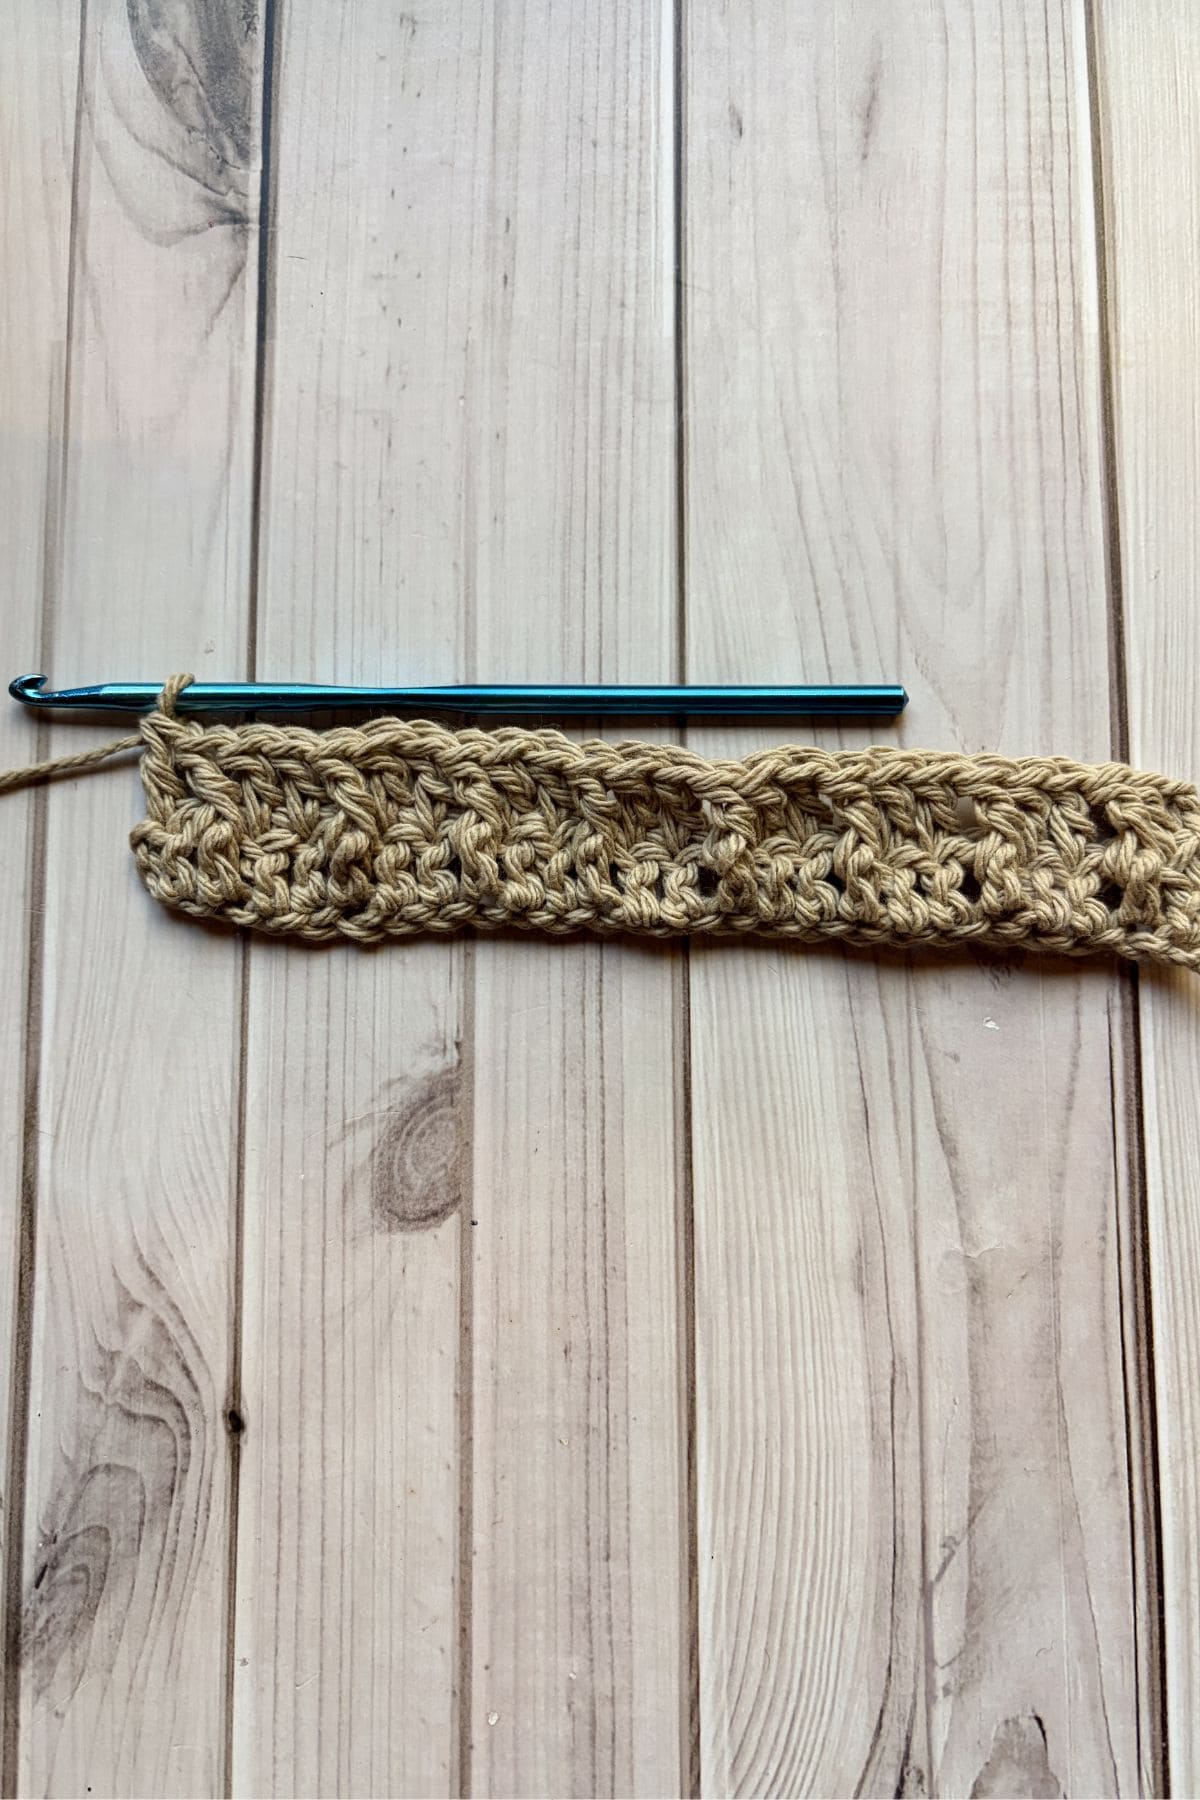
Make a fpdc in the second to last stitch then a dc in the very last stitch. Then ch x2 and turn.
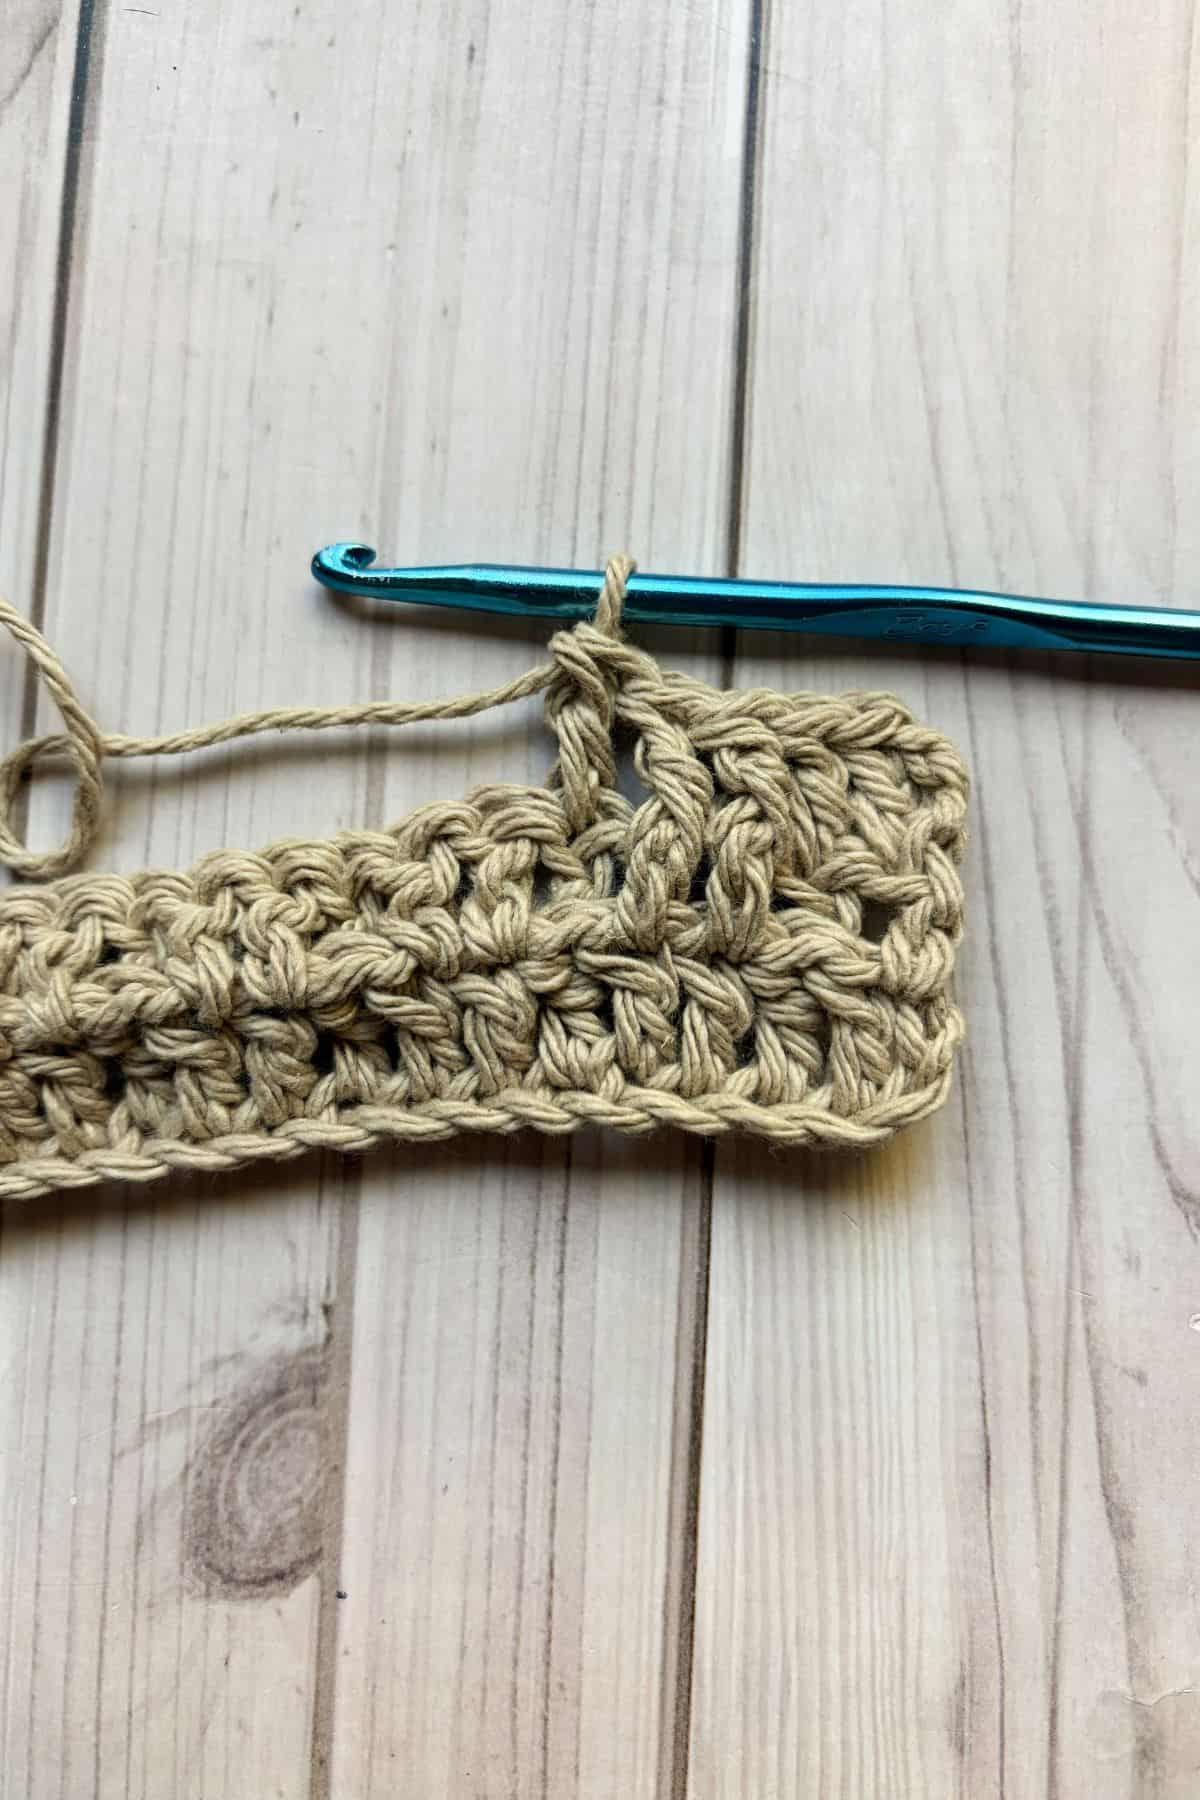
Row 3: Dc in the first 2 stitches, * fpdc in the next 2 stitches. Then dc in the next stitch.
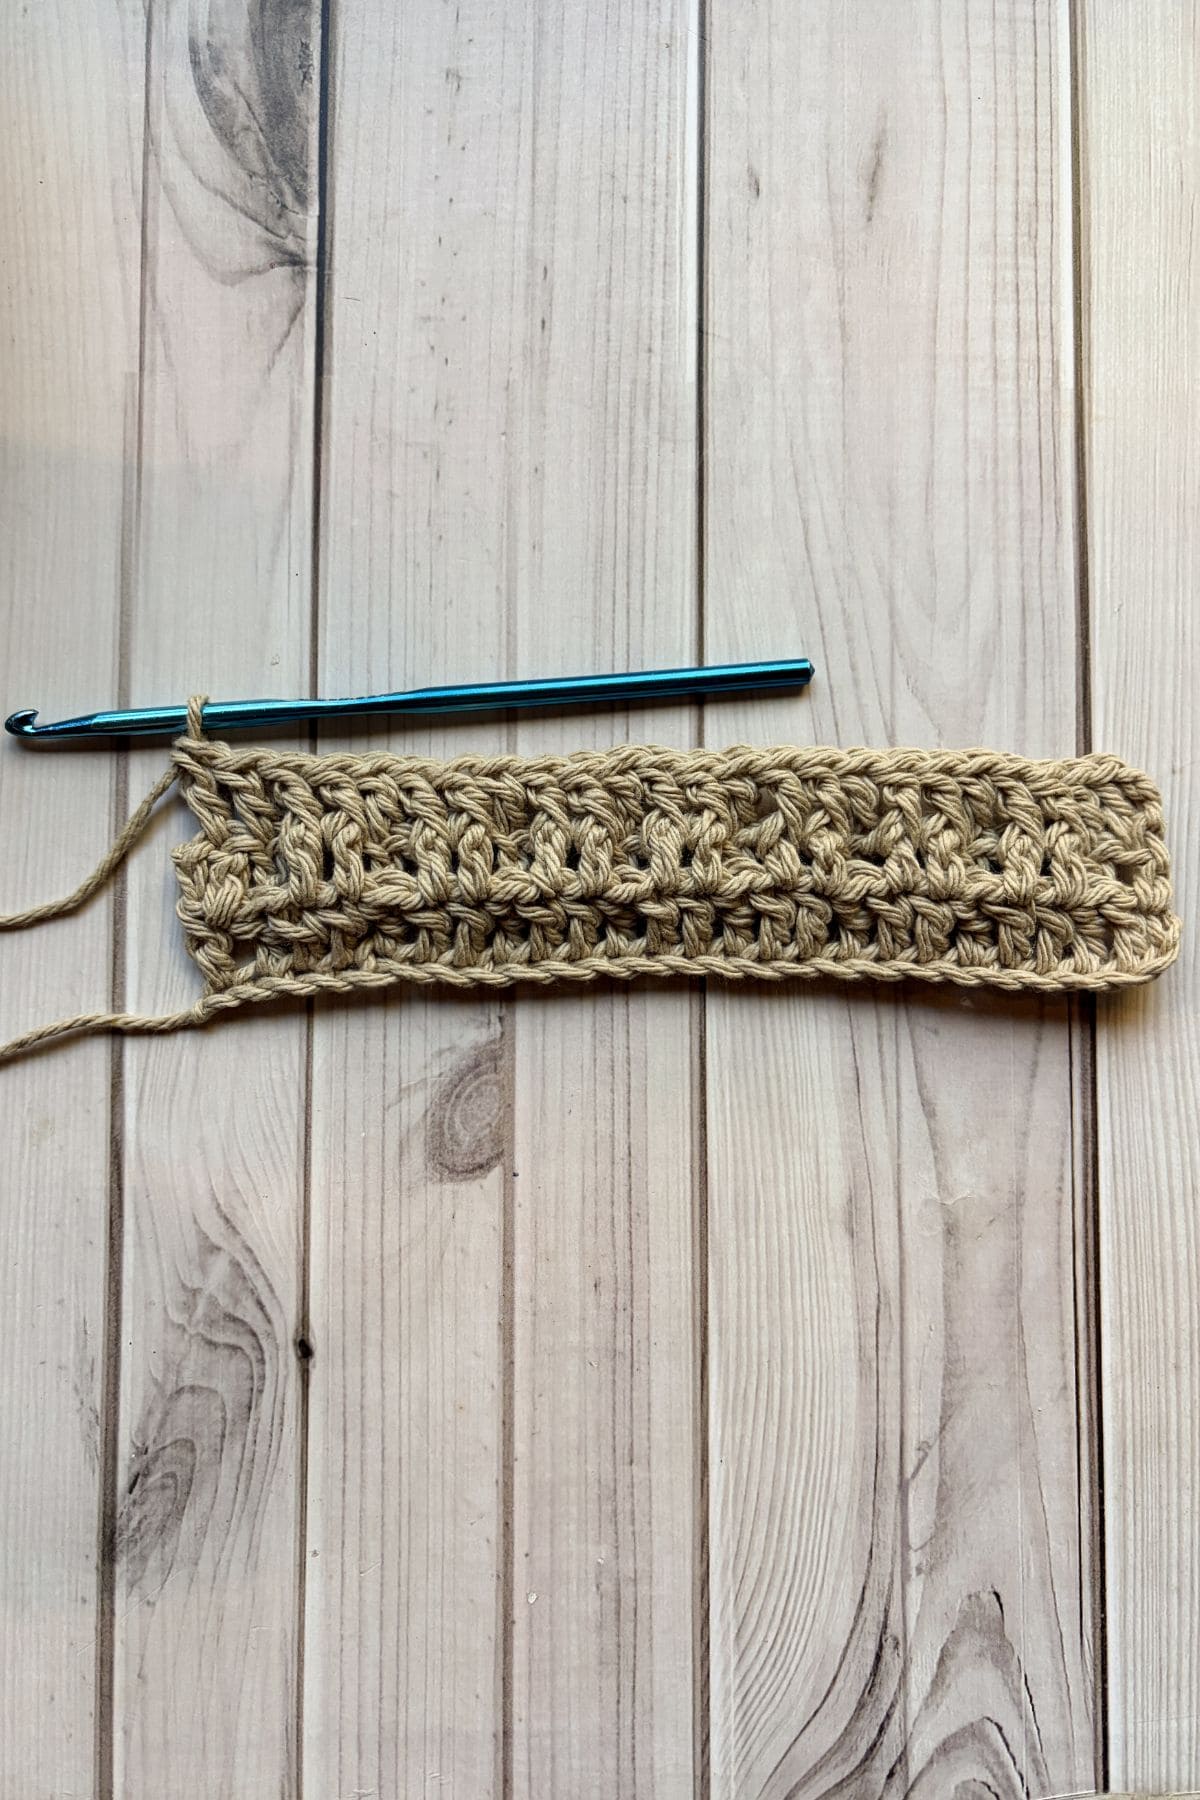
Repeat from * until the end of the round, in the last stitch of the round make a dc. Then ch x2 and turn.
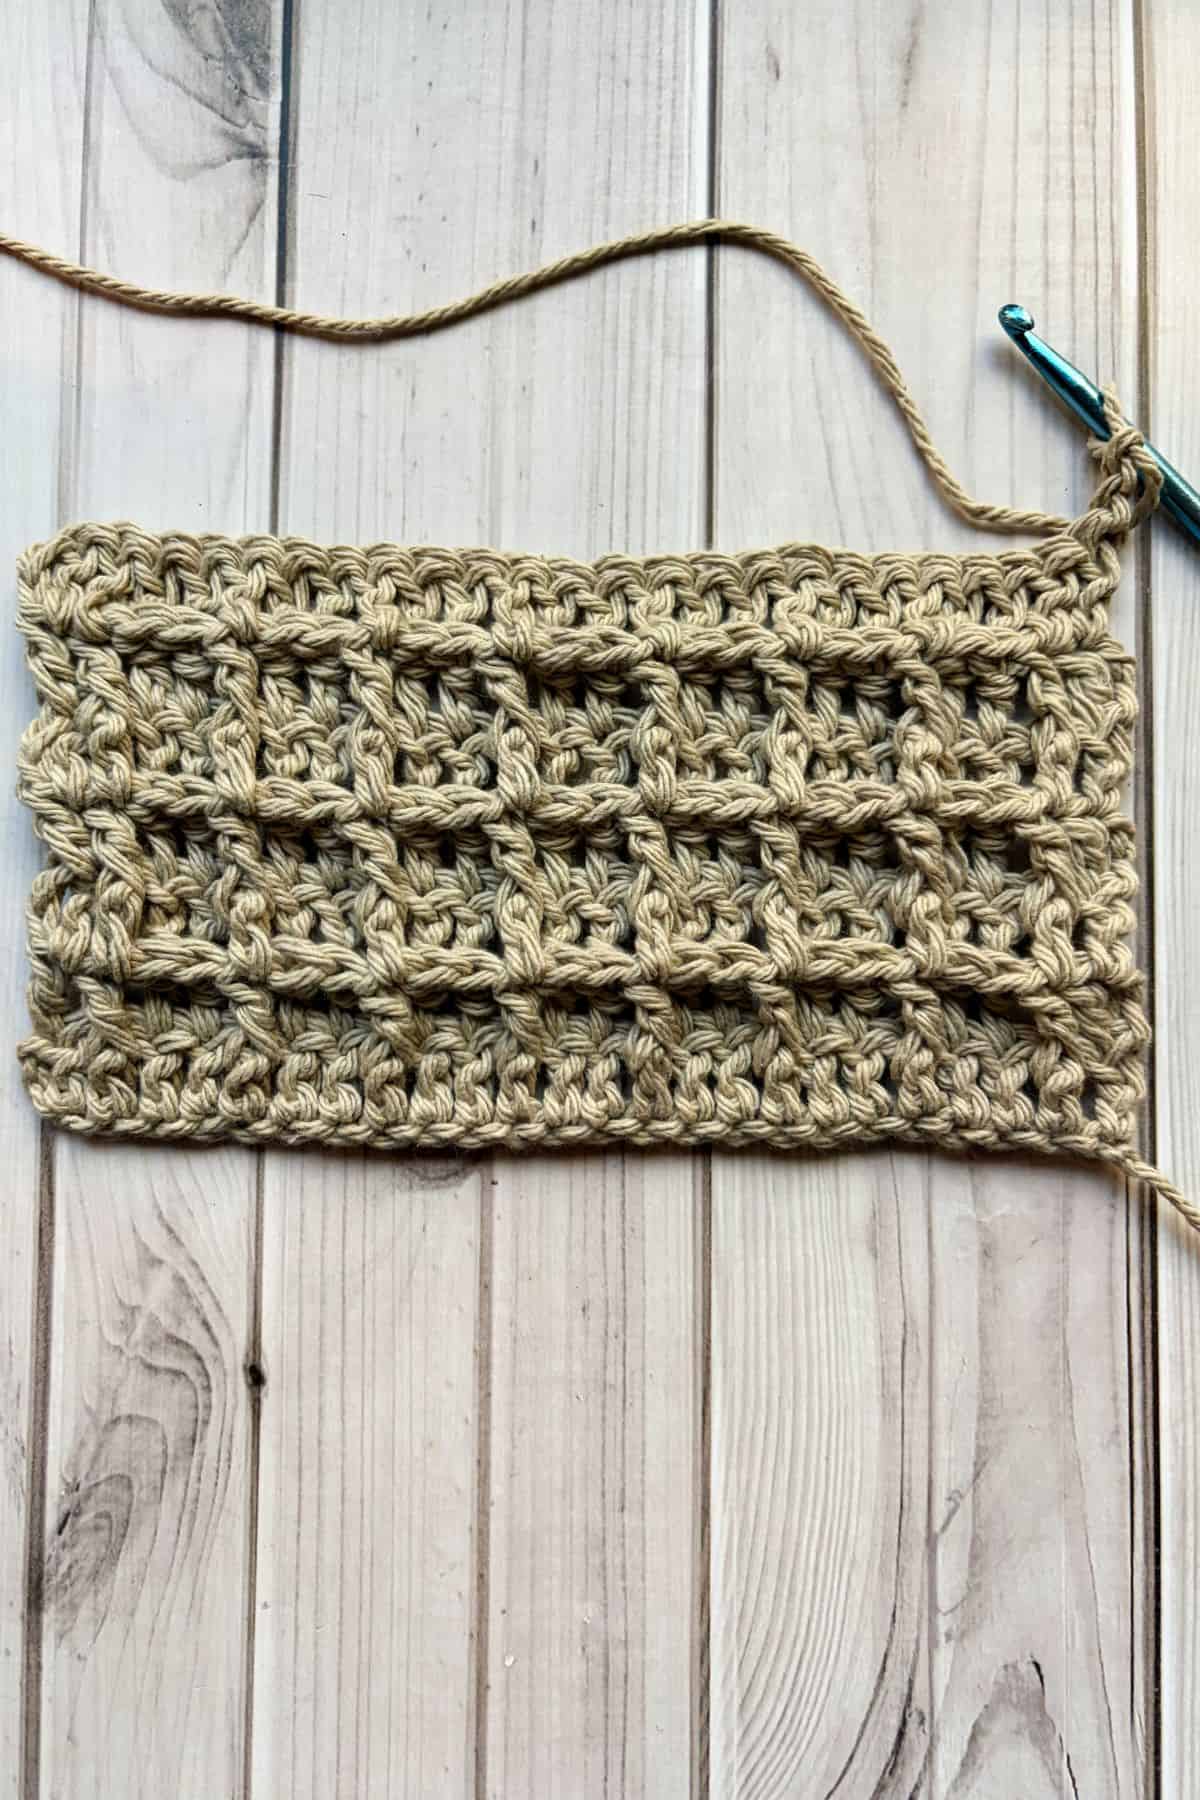
Repeat row 2 and 3 for as long as you want.
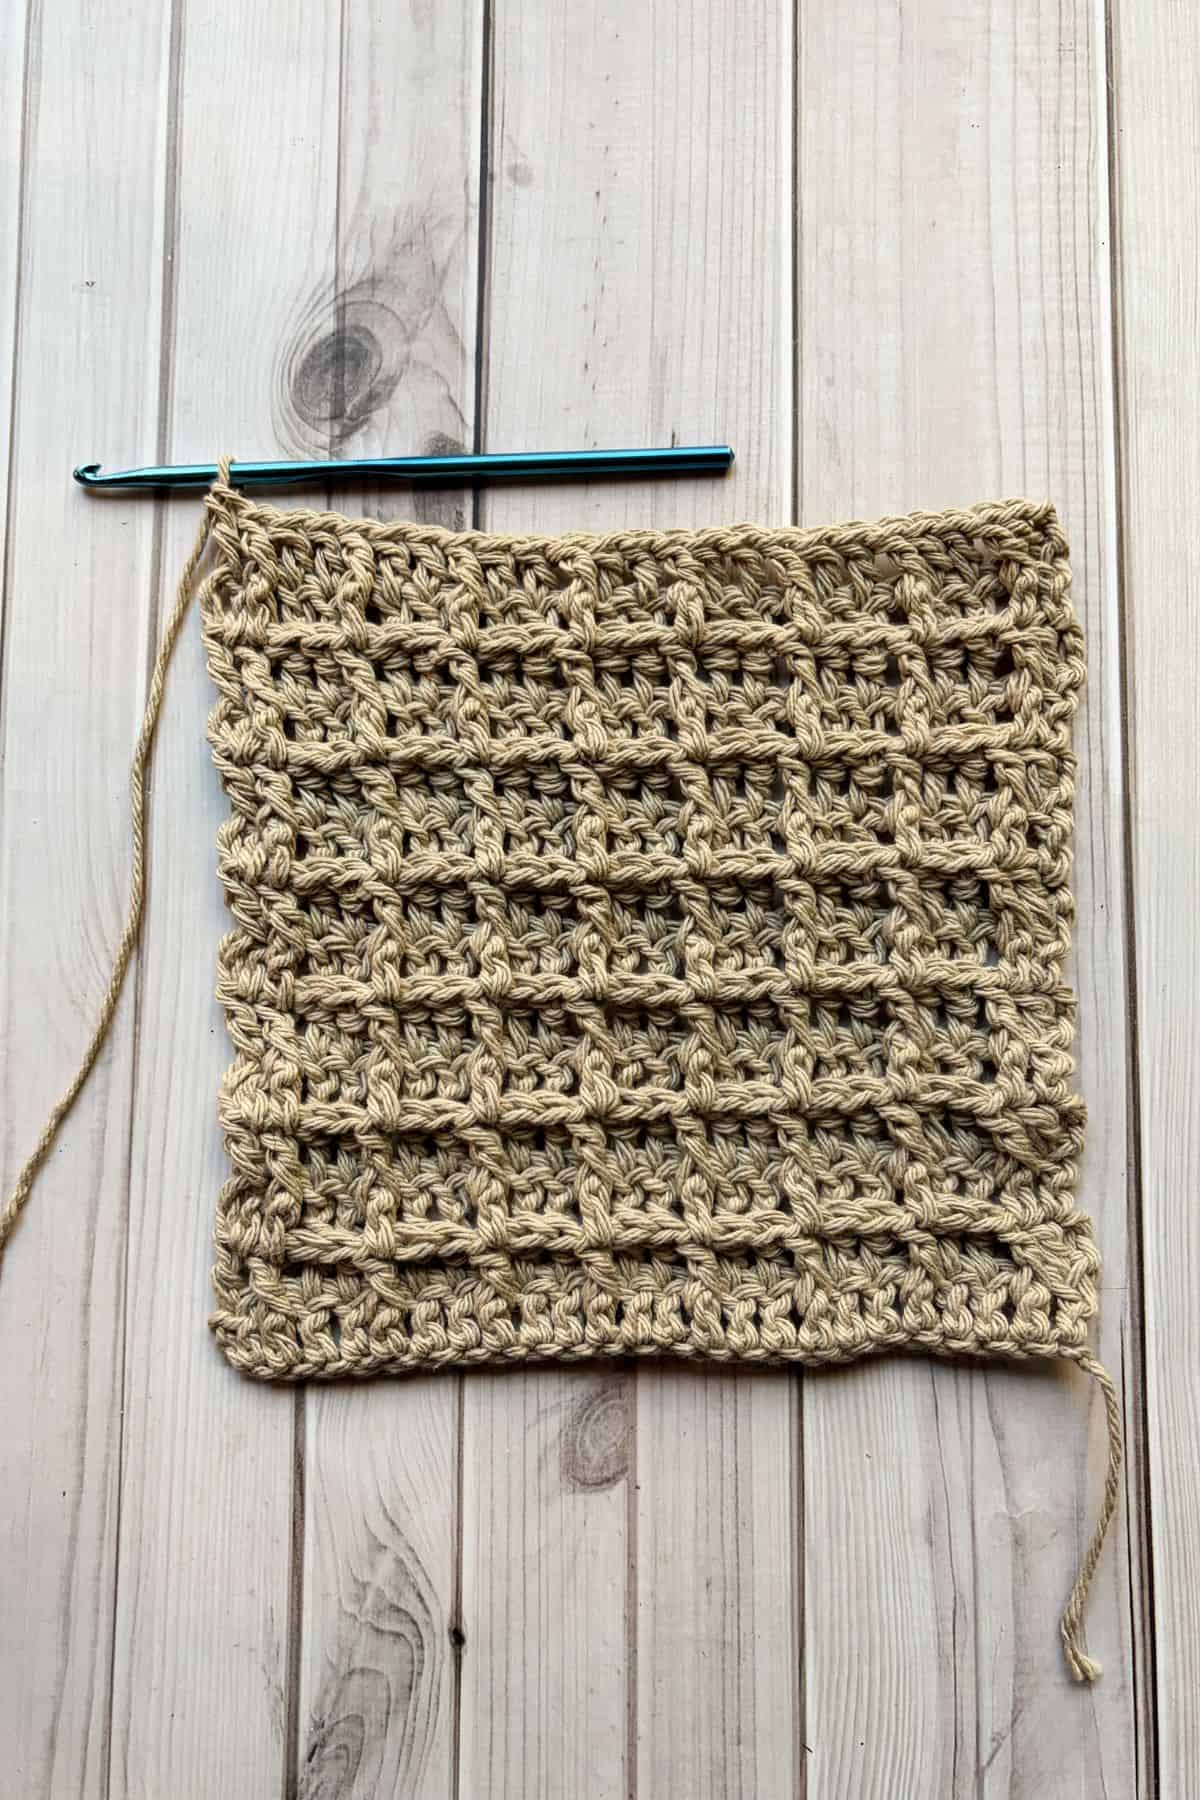
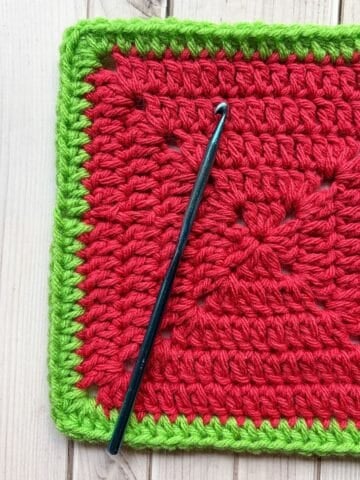
And now you know how to crochet the waffle stitch! It is a perfect stitch for potholders, pillows, blankets, sweaters and much more! If you would like to try some other dense crochet stitches, I suggest the Crochet Crunch Stitch or the Crochet Garter Stitch.
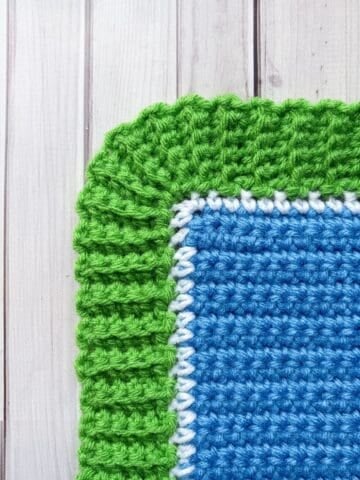
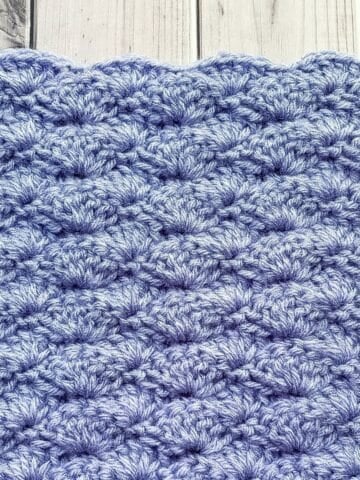
If you are just looking for another highly textured crochet stitch, I suggest the Crochet Berry Stitch.
🐌Expert Tips
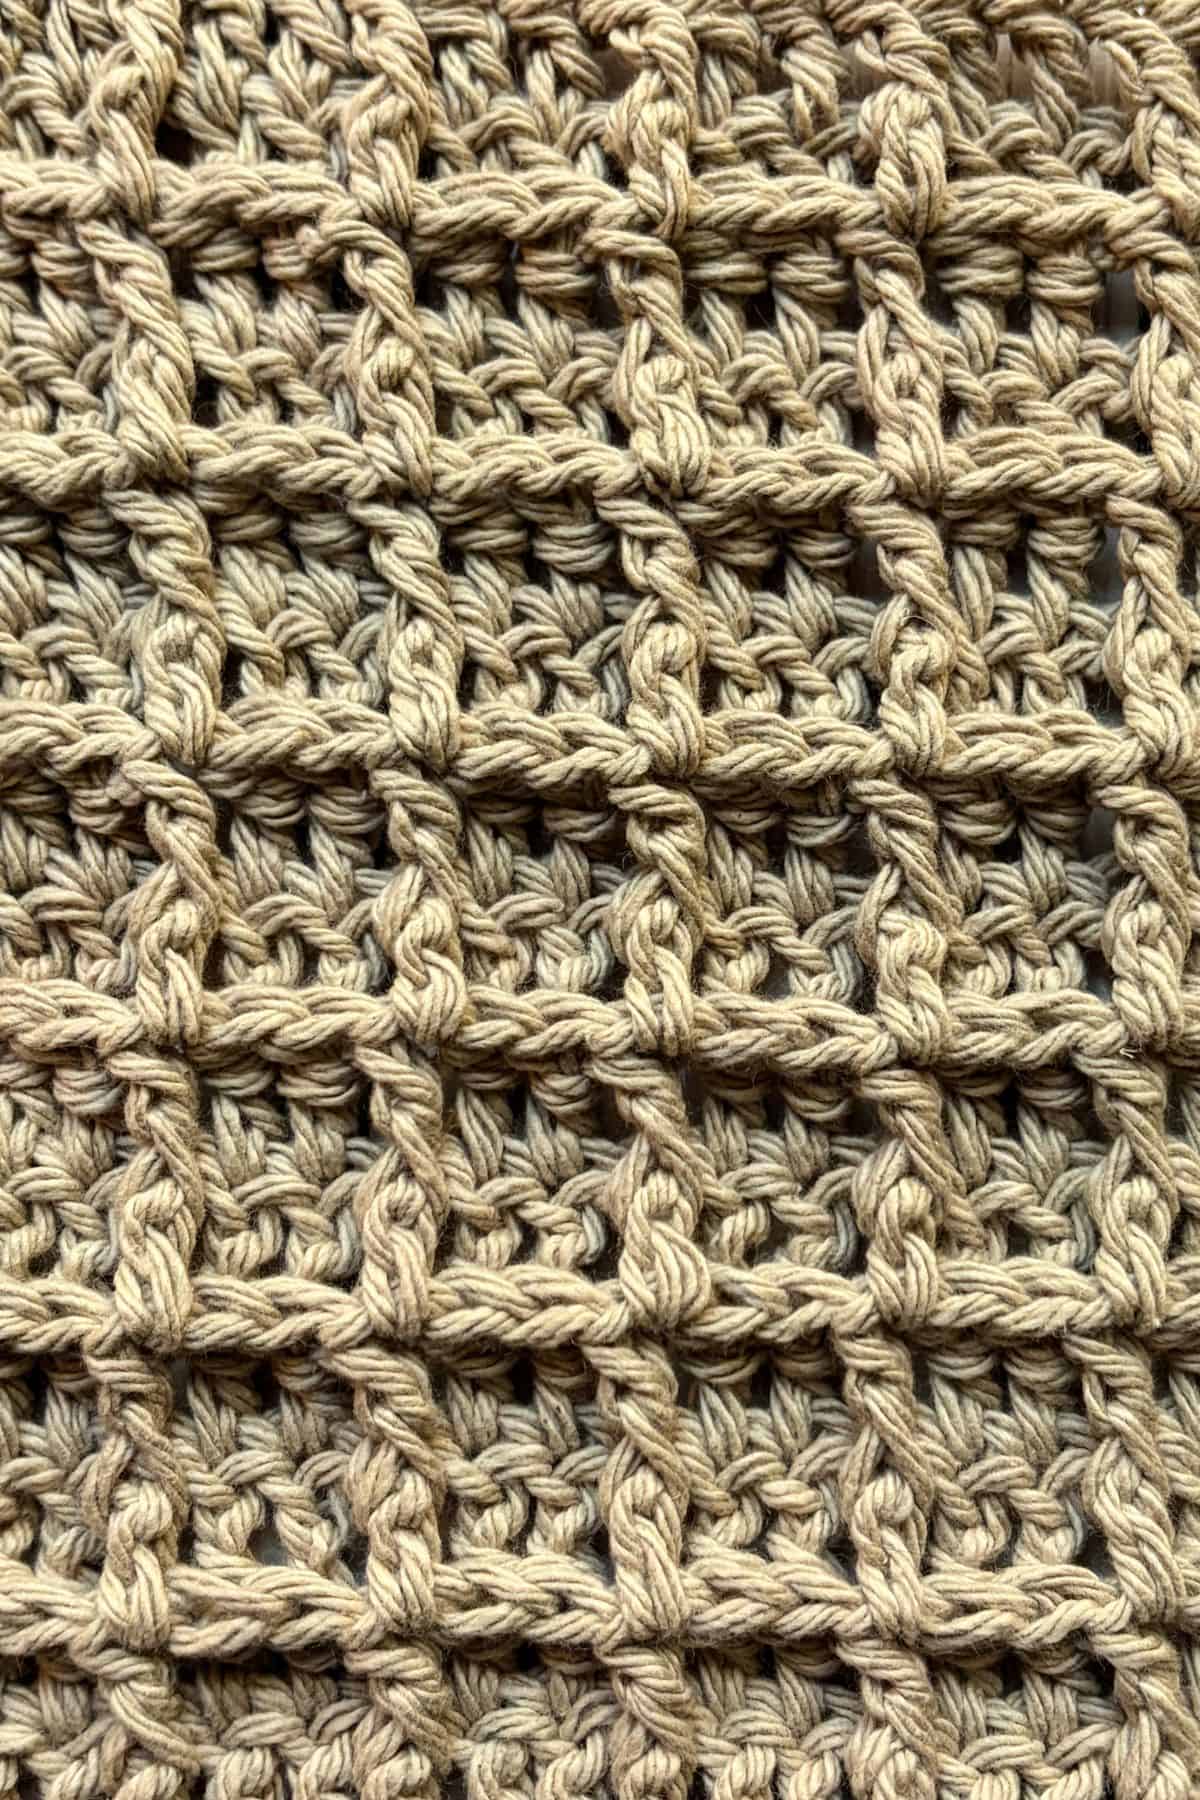
- In the 3rd row repeat, make sure the front posts are made above the regular dc stitches and the dc stitch is made above the last rows fpdc stitches.
- Skip the top of post stitches. Make sure you move onto the next stitch after making a post stitch otherwise your stitches will increase.
- For continuity, try to end your project on a row 2 repeat so the top and bottom of the project marrow each other.
🧵Pattern FAQs
No it does not look the same, so make sure you keep all of the posts going the same direction and do not accidentally skip a row repeat.
Yes, it is, make sure to have enough yarn on hand for your project!
Yes, it can be made in the round, often times being made in a square or rectangle.
🧶More Crochet Stitch Patterns
If you tried this Waffle Stitch Crochet Pattern (or any other pattern on my website), please let me know how it went in the 📝 comments below. I'd love to hear from you!
Waffle Stitch Crochet Pattern
Materials
- Yarn of choice
- Hook of choice
- Tapestry needle
Abbreviations (US terms)
- Chains - ch
- Double crochet - dc
- Front post double crochet (fpdc)
- Back post double crochet (bpdc)
Notes
- Yarn Eater: The waffle stitch pattern is a yarn eater because it creates a denser fabric with shorter rows because of the fpdc and bpdc stitches.
- Starting Chain: The starting chain is made by a multiple of 3 +2 for the turning chain.
- Row Repeat: The waffle stitch crochet tutorial is a 2-row repeat after you get the base row made.
Instructions
- This waffle stitch tutorial is made in rows.
- Make your starting chain (multiple of 3 +2). For example, I made 26 chains.
- Row 1: In the third ch from the hook make a dc. Dc for the rest of the row. Then ch x2 and turn.
- Row 2: Dc in the first stitch, *then make a fpdc in the second stitch.
- Make a dc in the next 2 stitches. Repeat from * for the rest of the row, until you have 2 stitches left.
- Make a fpdc in the second to last stitch then a dc in the very last stitch. Then ch x2 and turn.
- Row 3: Dc in the first 2 stitches, * fpdc in the next 2 stitches. Then dc in the next stitch.
- Repeat from * until the end of the round, in the last stitch of the round make a dc. Then ch x2 and turn.
- Repeat row 2 and 3 for as long as you want.
- And now you know how to crochet the waffle stitch! It is a perfect stitch for potholders, pillows, blankets, sweaters and much more!

Leave a Reply