

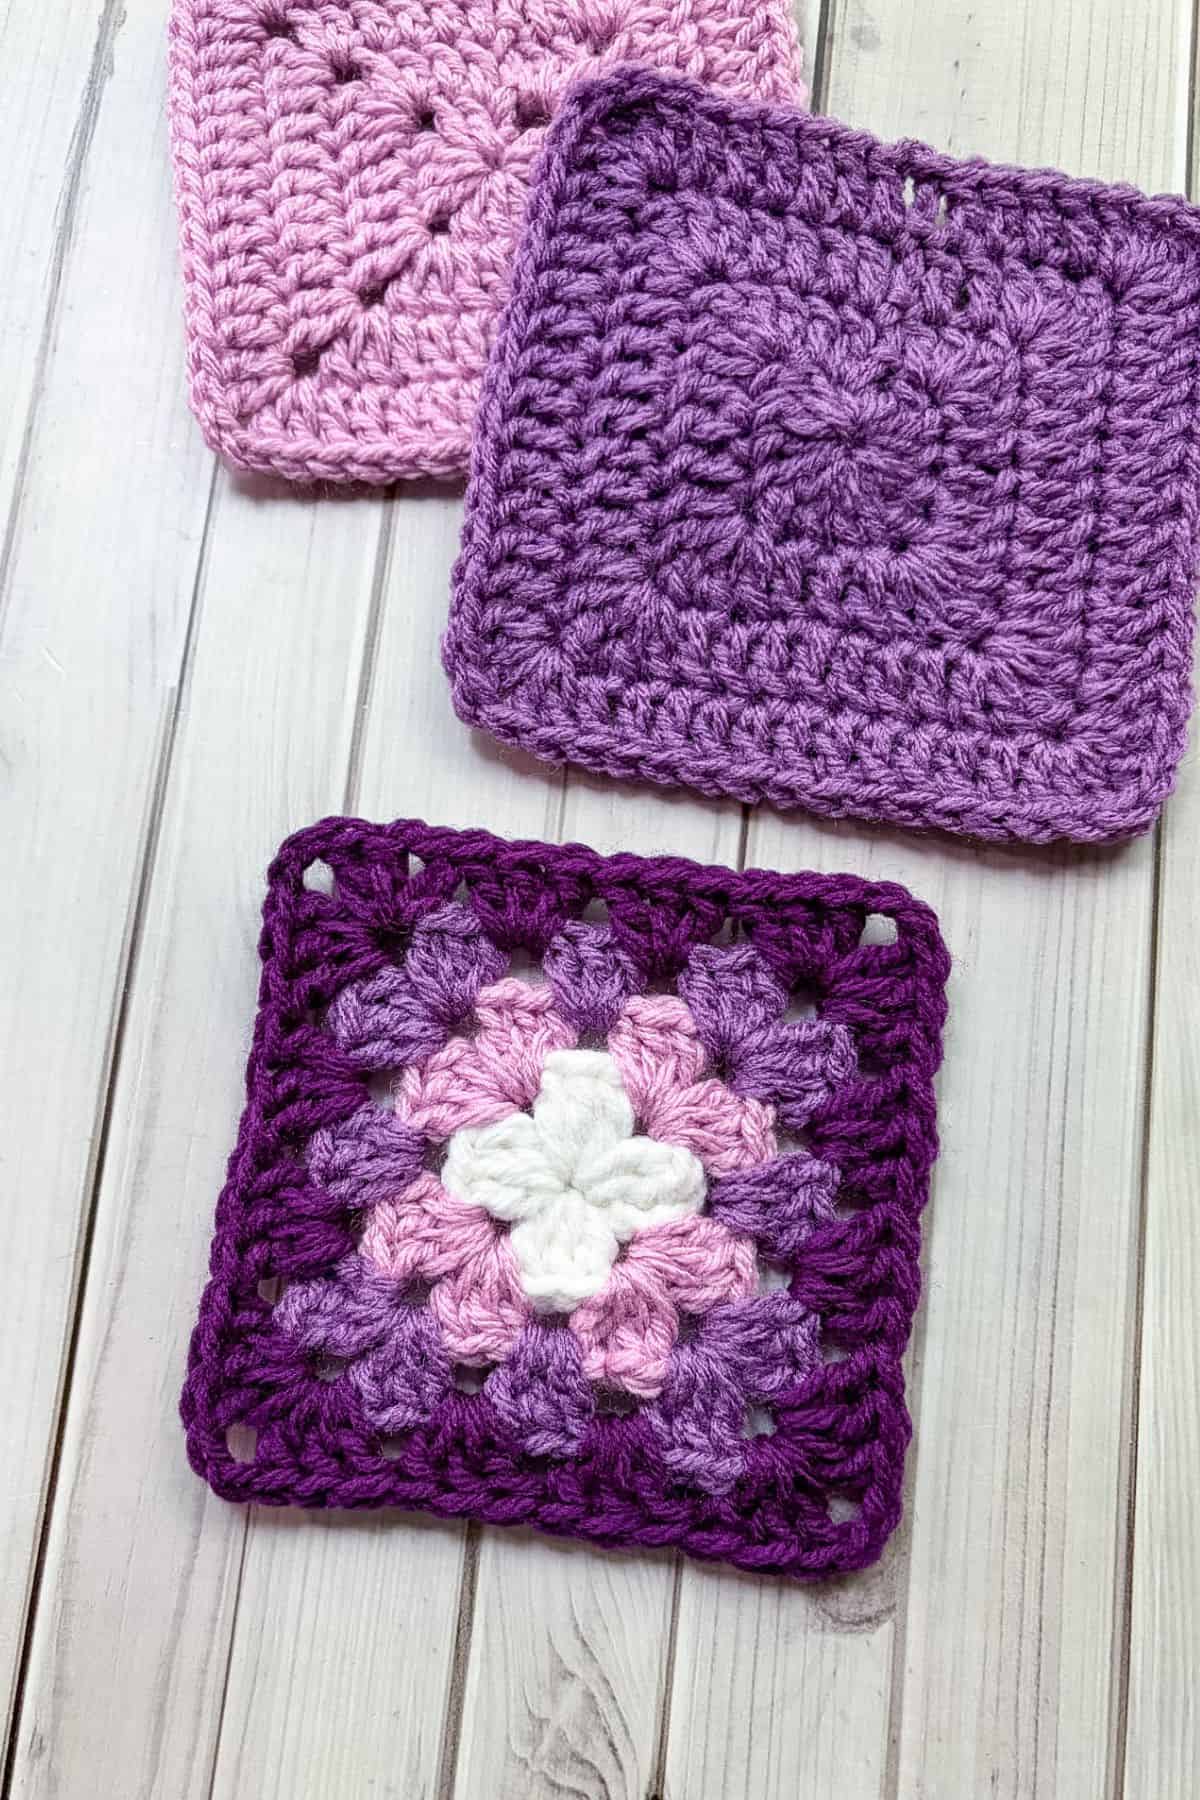
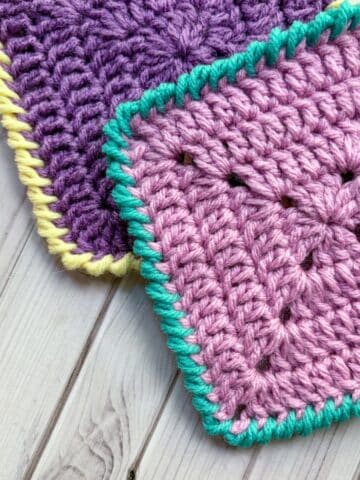
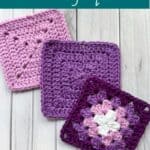
These beginner crochet granny square patterns are perfect for those who are new to crochet or want a refresher on how to complete a basic granny square. This tutorial will go over the classic granny square, the solid granny square, and the "no-holes" granny square.
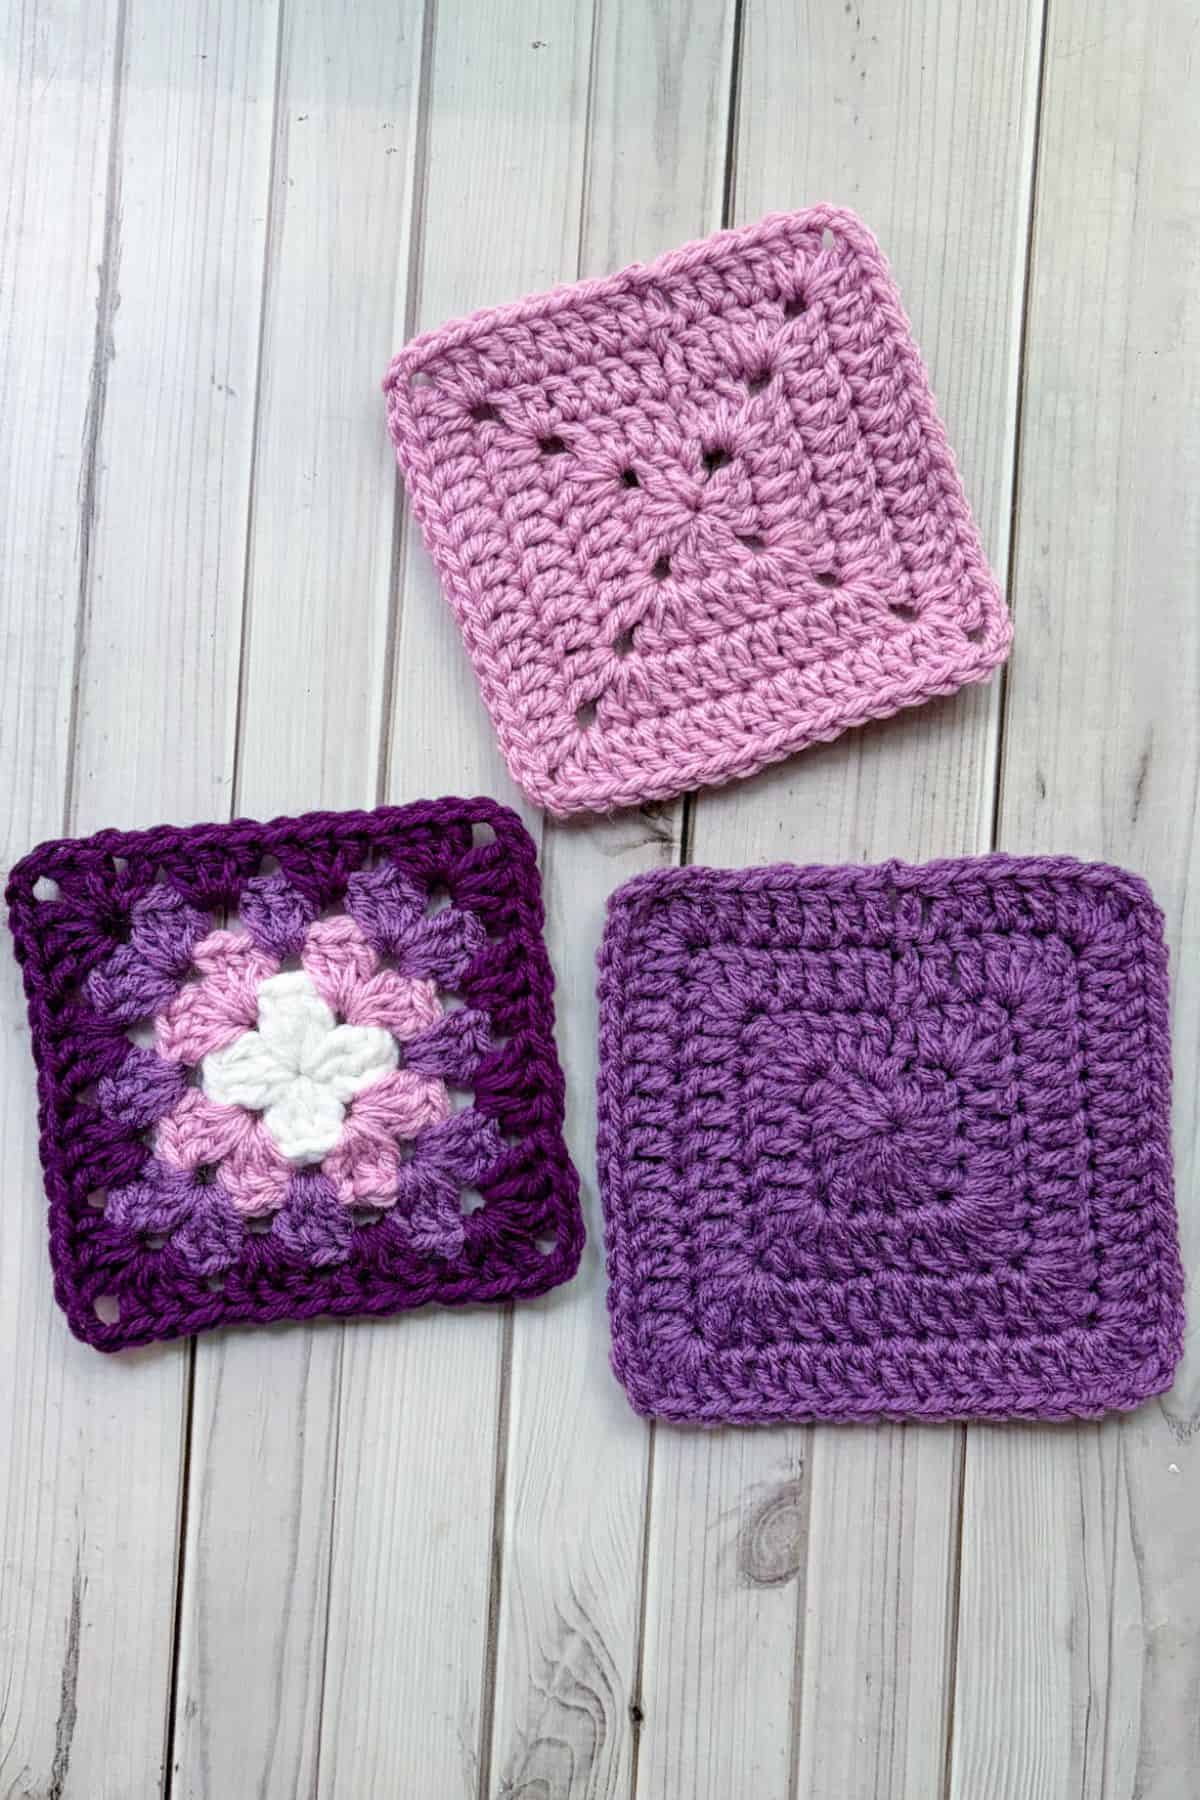
Knowing how to crochet a basic granny square pattern is fundamental to learning how to crochet. By knowing how to crochet a simple granny square pattern, you open the world of crocheting!
You can make granny squares with motifs, like my Crochet Rose Granny Square Pattern, or you can make bags like my Crochet Granny Square Bag Pattern by using a simple granny square. You can make granny square patterns complicated like my Daisy Crochet Blanket Pattern or keep it simple with this Crochet Granny Square Coaster Pattern.
So learn these beginner crochet granny square patterns so you can make classic granny square pattern designs or make unique granny squares for your next project! But first things first, you need to have the foundational skills.
Jump to:
✏️ Things To Note:
- Simple Granny Square Pattern: I go over easy crochet granny square patterns in this tutorial, if you want to try something a little fancier, check out my Crochet Backpack Pattern to make a sunburst granny square pattern.
- Double Crochet: These granny squares use double crochet. Once you get used to making them in double crochet you can experiment with other stitches, like the Moss Stitch Granny Square Pattern.
- Yarn: Yarn type can be almost anything for granny squares - smooth, fuzzy, thin, thick etc. If you are a beginner I suggest going with a smooth yarn so you can see your stitches.
🪡 Materials Needed
- Yarn
- Hook size that matches yarn type
- Tapestry needle
💭Abbreviations to Remember (US terms)
- Magic ring - mr
- Chains - ch
- Double crochet - dc
- Triple crochet - tr (for the no holes granny square)
- Slip stitch - sl st
🧋Variations
Experiment with colors, try different stitches, like single crochet, if you want to experiment with different stitches for these crochet square patterns.
🍵Instructions for Beginner Crochet Granny Square Patterns
Classic Granny Square Pattern:
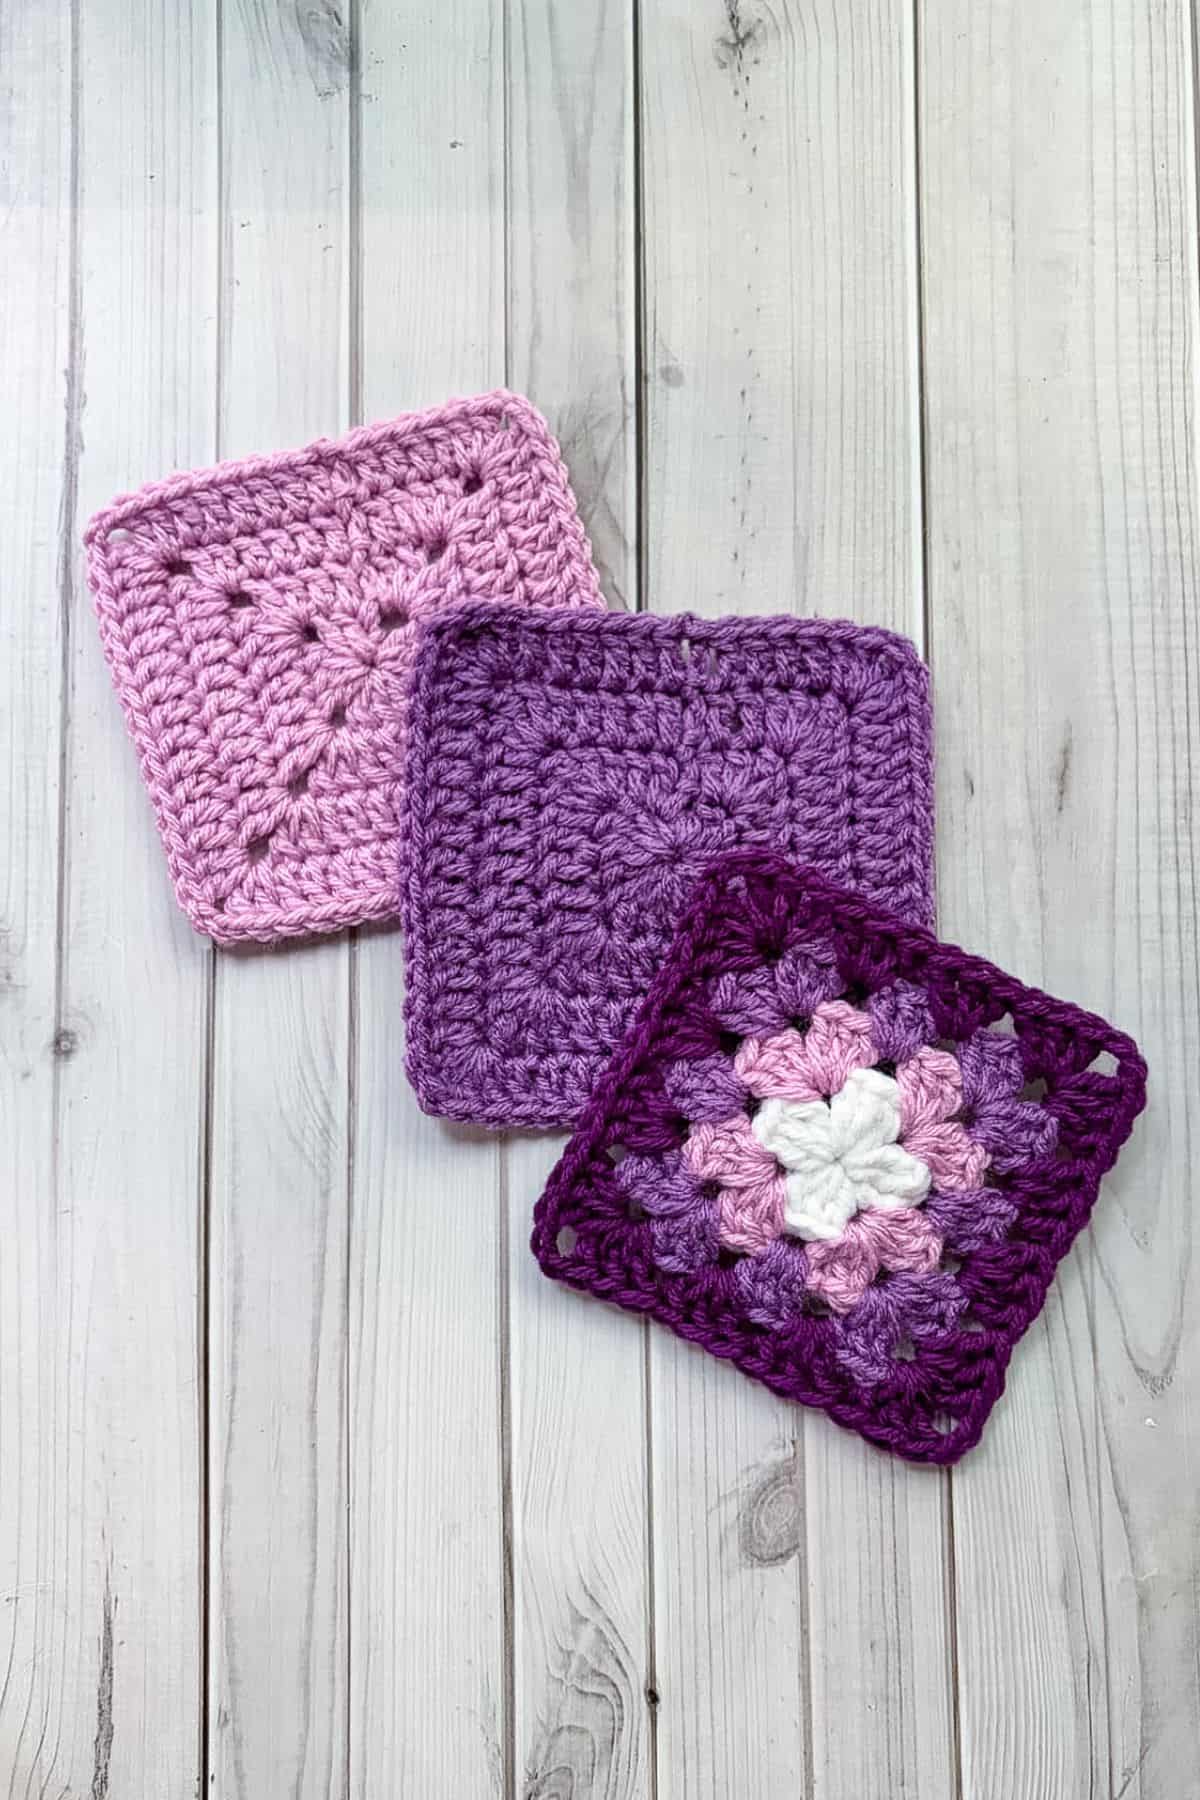
This first granny square crochet pattern utilizes the granny stitch pattern which is 3 double crochet groupings.
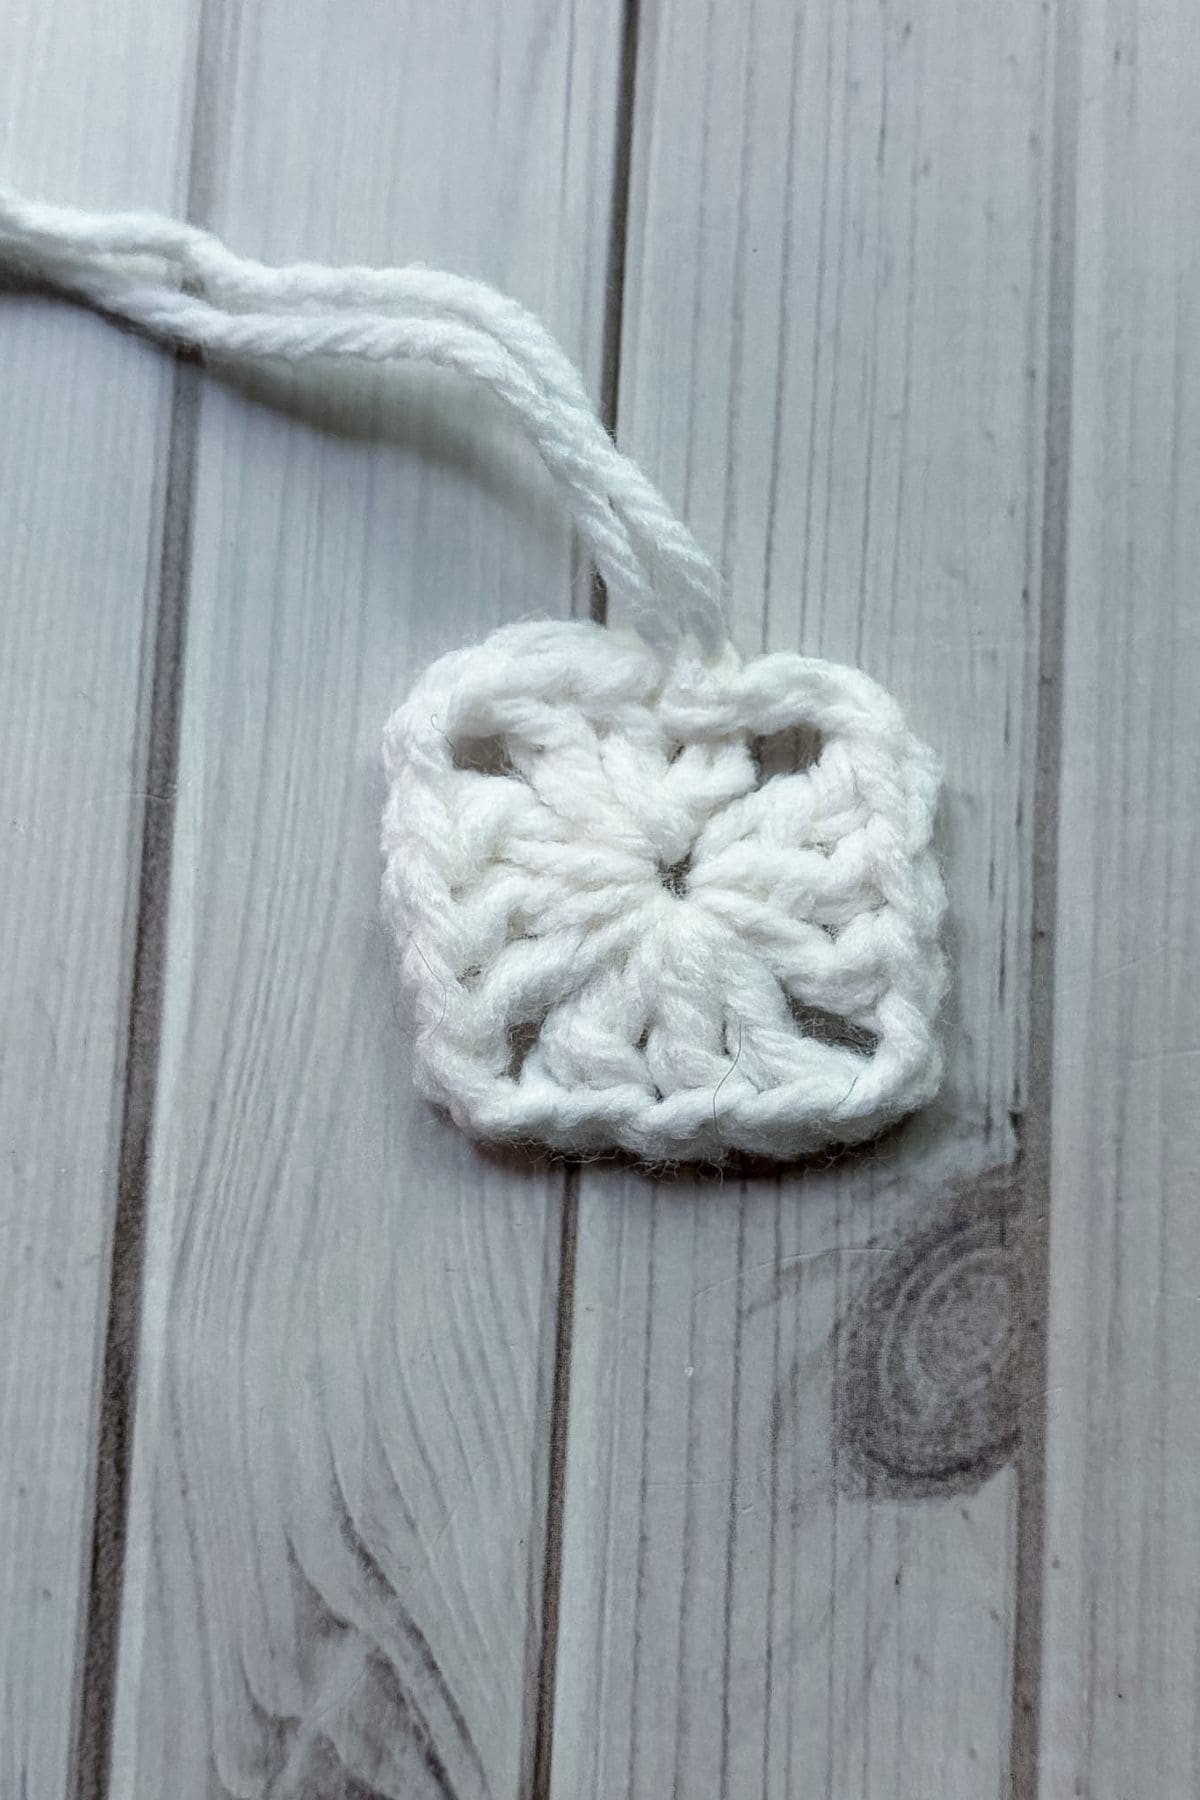
Round 1: With color A, make a magic ring and then ch x3 (counts as a dc) and dc x2 into the mr.
After, * ch x2 and then dc x3 into the circle.
Repeat from * 2 more times, then ch x2 and connect to the top of the ch x3 you made at the beginning by making a sl st, pull tight and fasten off.
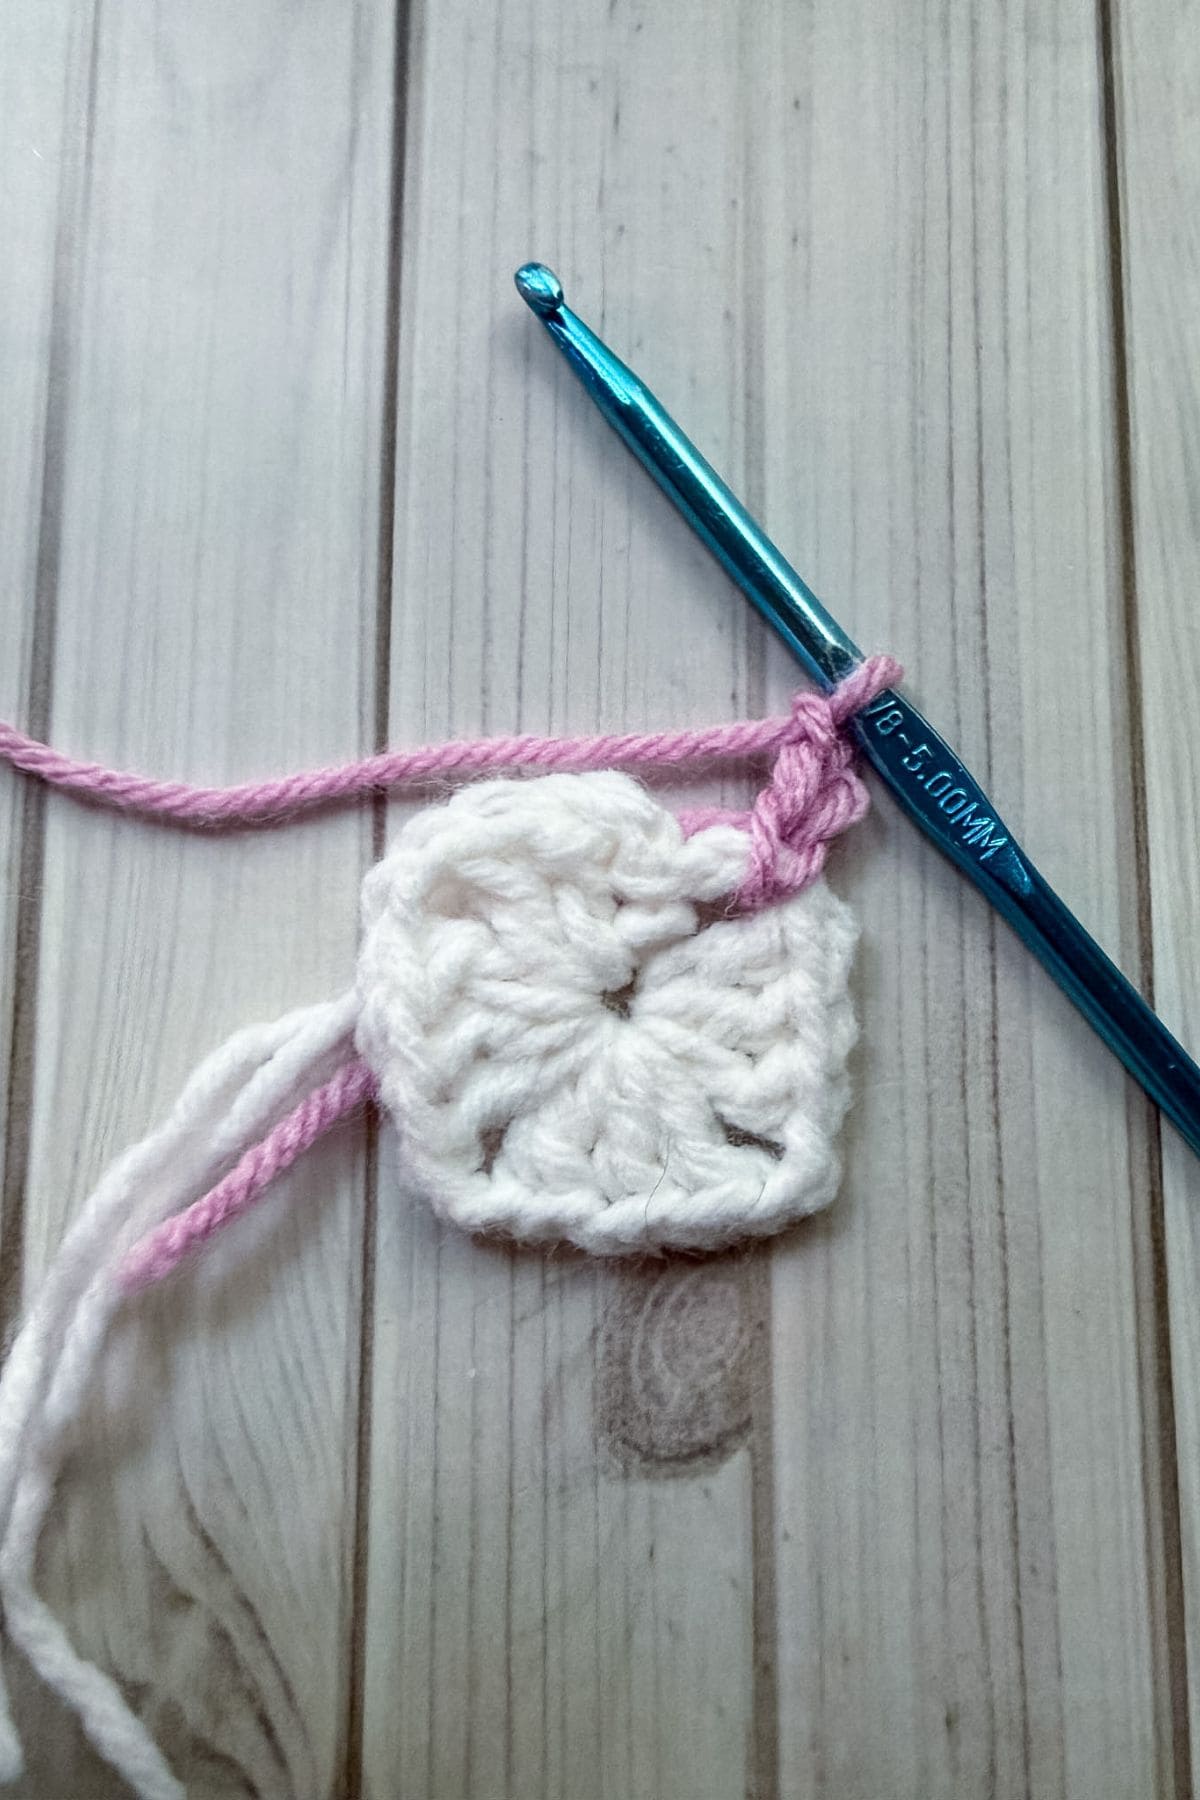
Round 2: Join color B in any ch x2 space from the round before. Ch x3
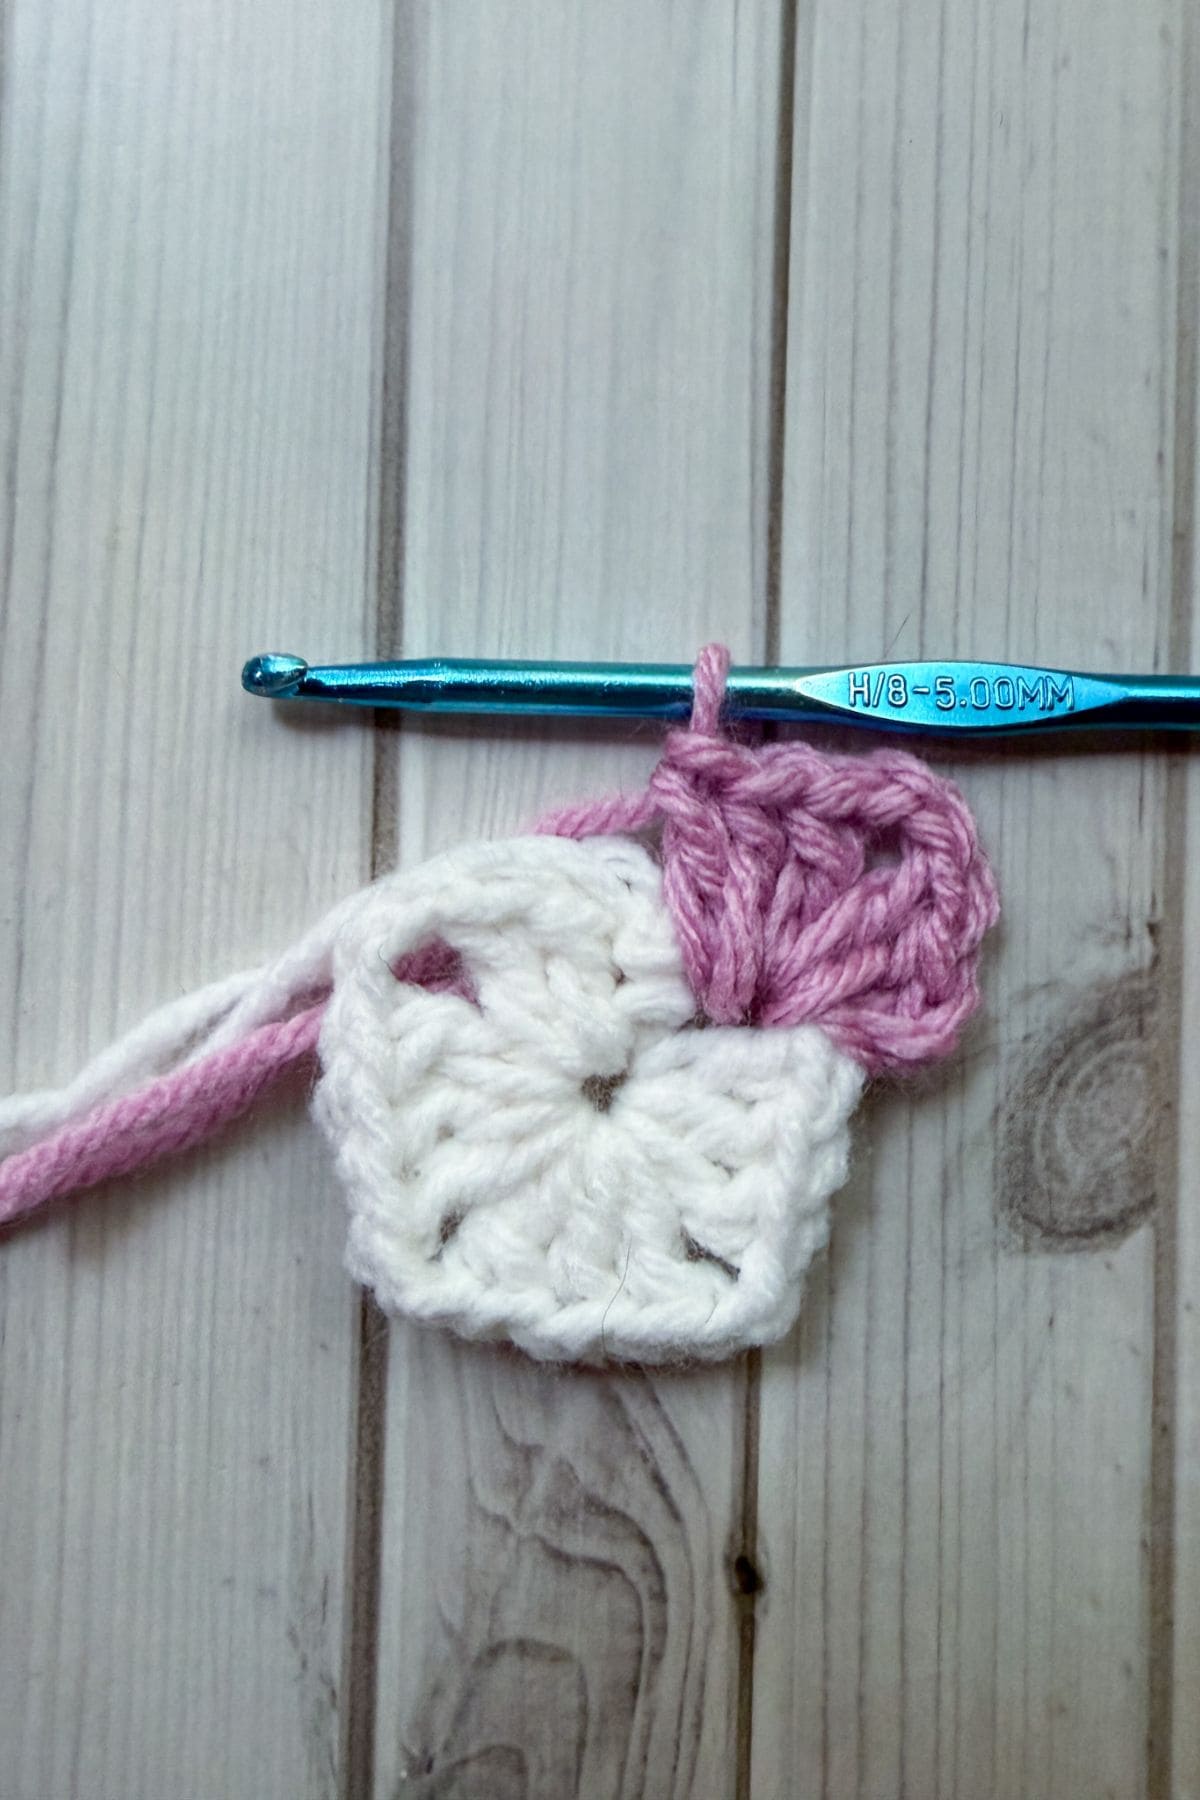
Then dc x2, ch x2, and dc x3 into that corner space.
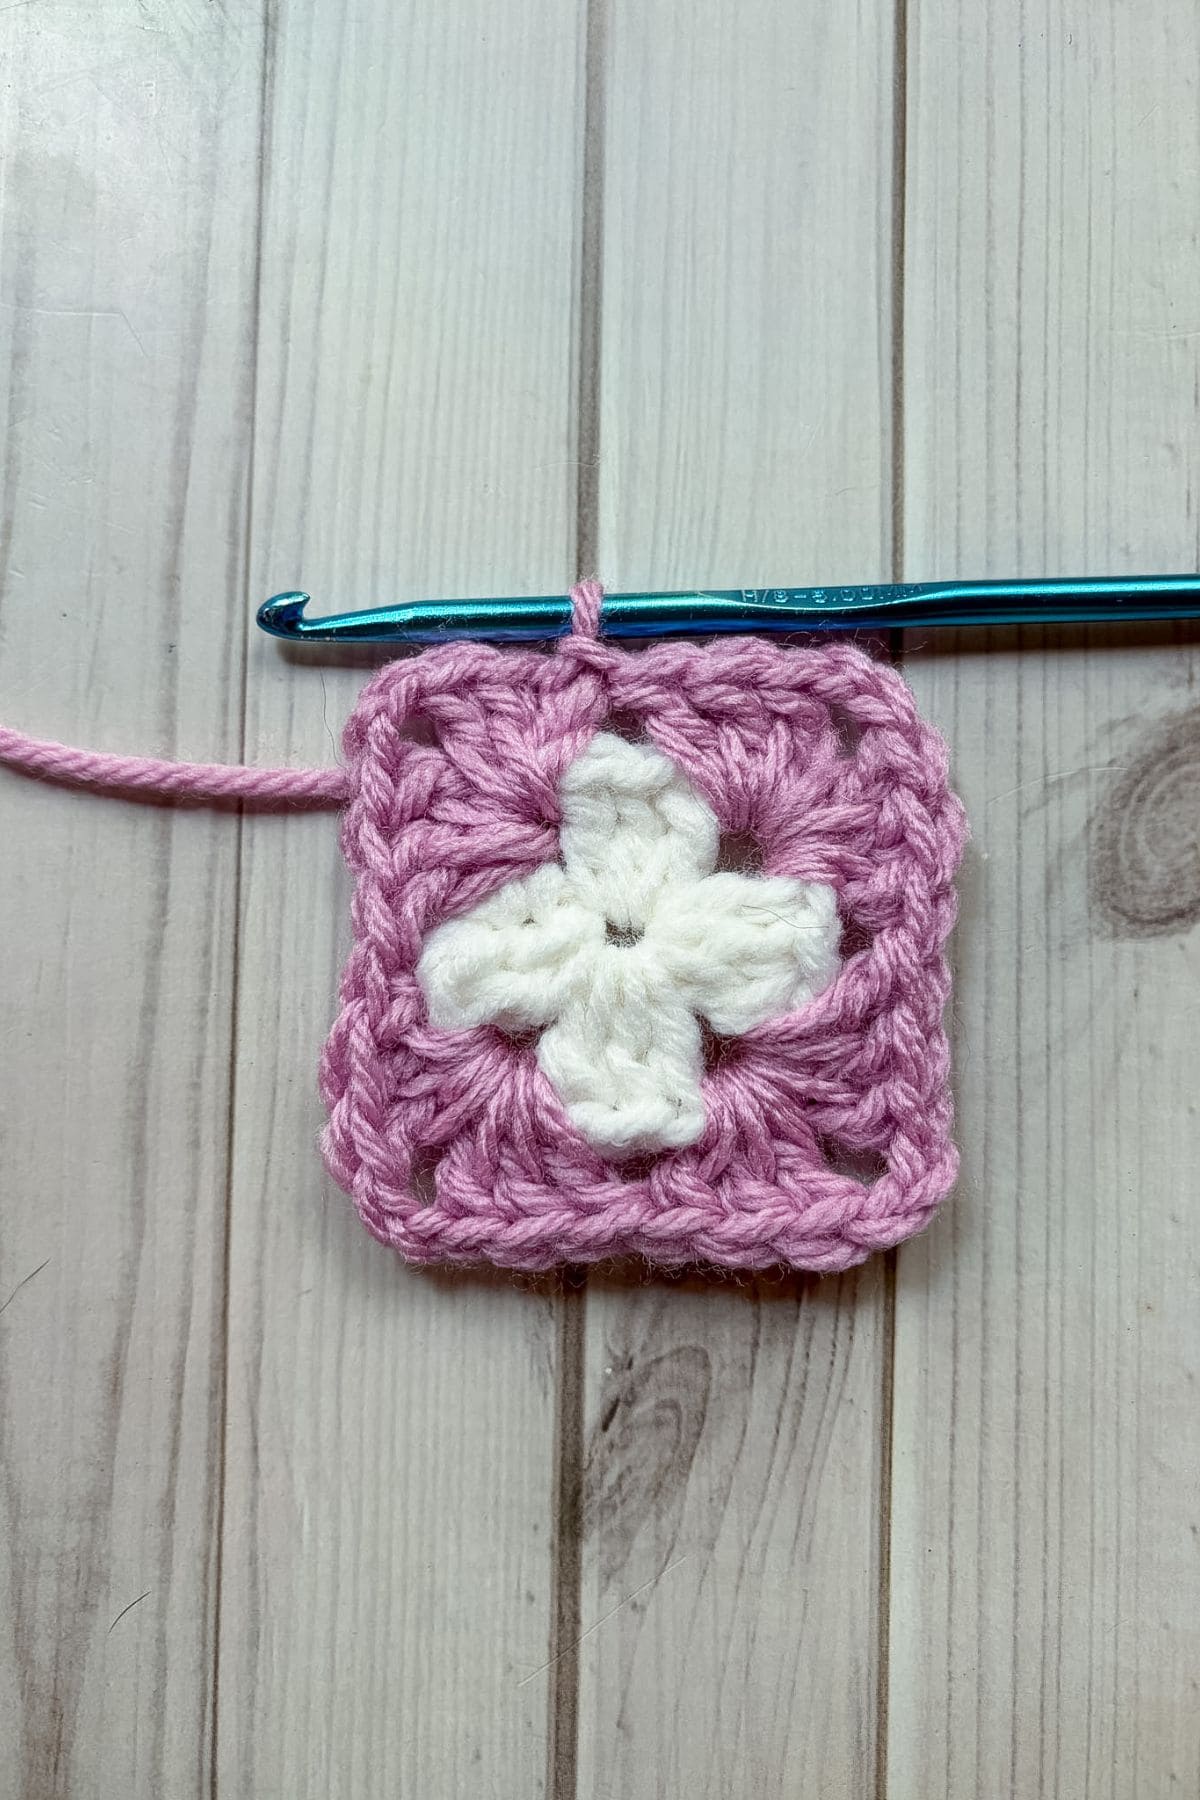
*Dc x3, ch x2, dc x3 into the next corner space and repeat from * 2 more times.
Then sl st to the beginning chains and fasten off the yarn
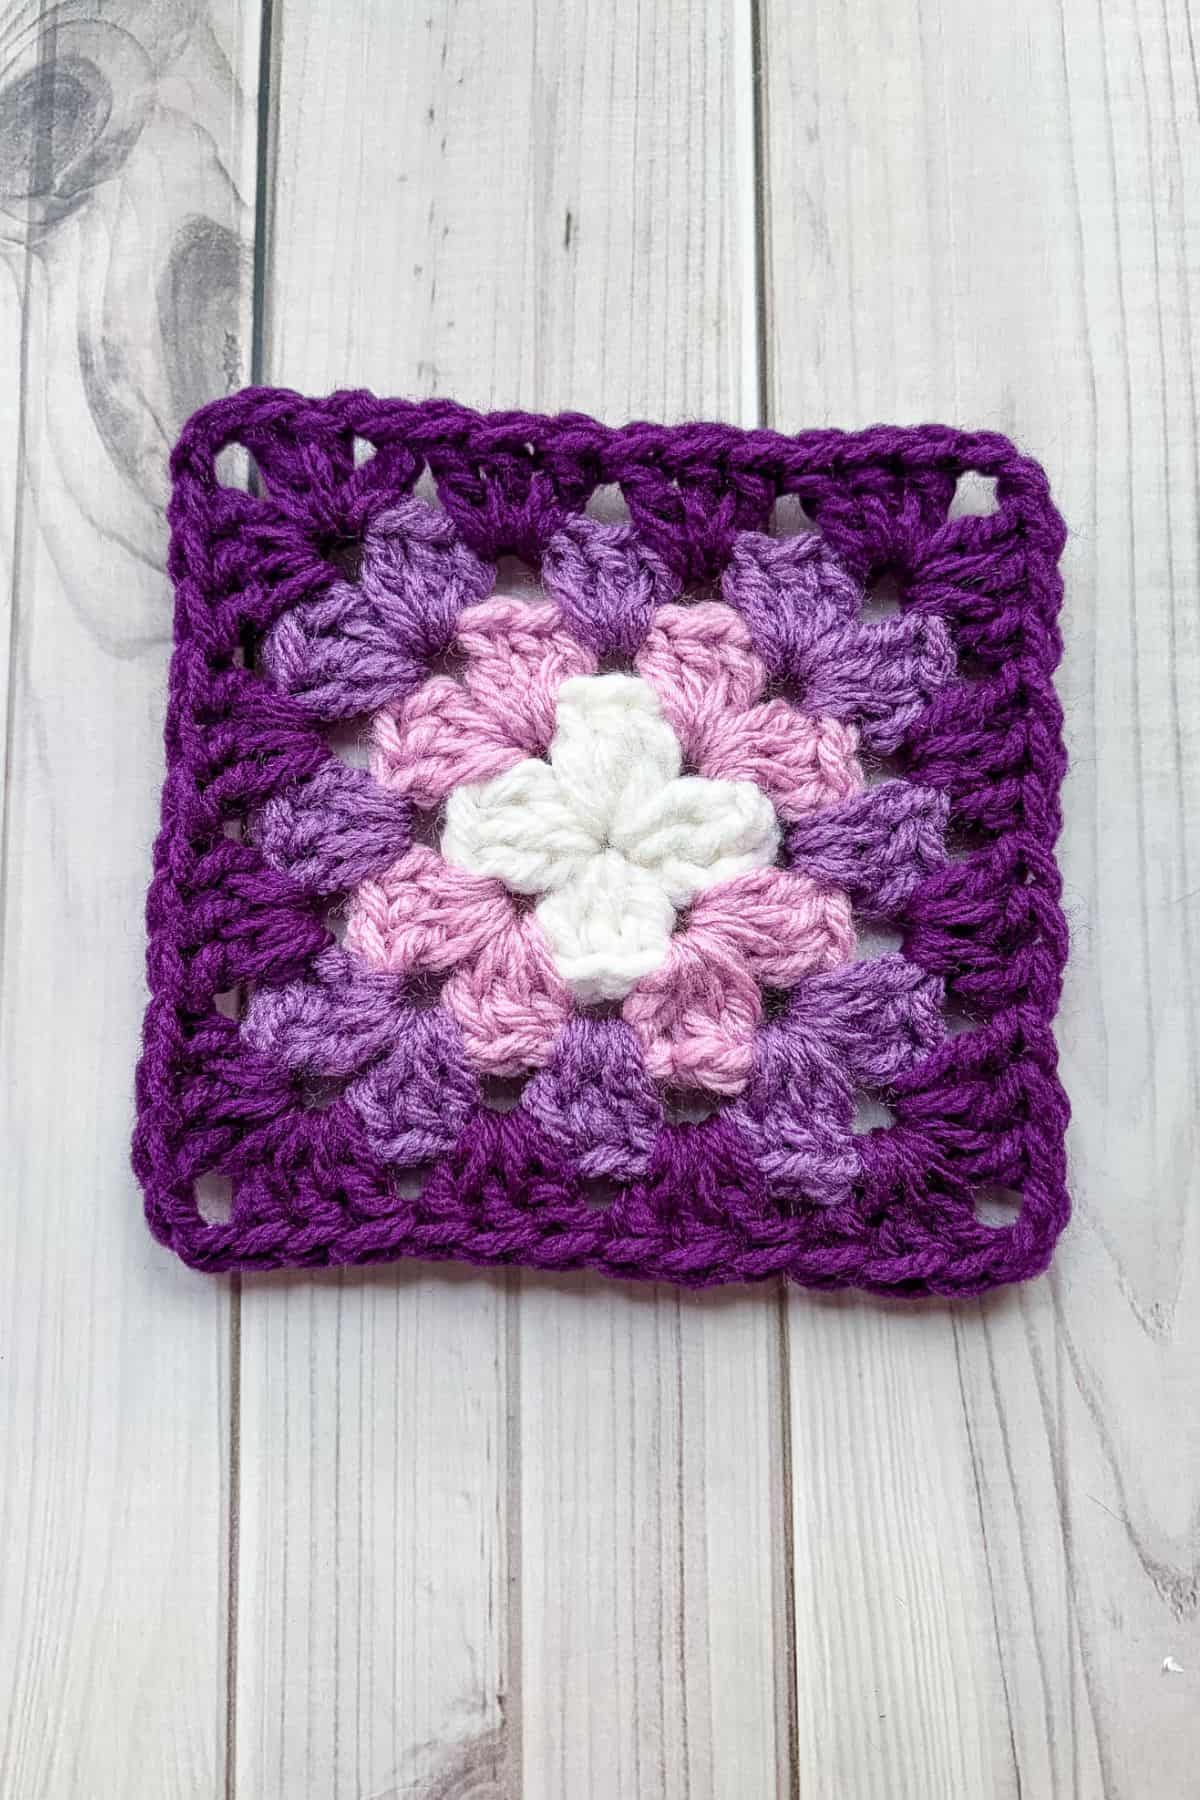
Round 3: Join color C in any ch x2 space from the round below. Ch x3, then dc x2, ch x2, and dc x3 into that corner space. *Then dc x3 in the next space between the 2 corner clusters from the round below. Then in the corner space - dc x3, ch x2 and dc x3. Repeat from * 2 more times, then dc x3 in that last space before the first corner. Then sl st to the beginning chains and fasten off.
Round 4: Join color D in any ch x2 space from the round below. At this point you want to repeat round 3, but add an extra cluster of 3 dc on the side. At the end, sl st to the beginning chains and fasten off.
And now you know how to crochet a classic and easy crochet granny square.
Crochet Solid Granny Square:
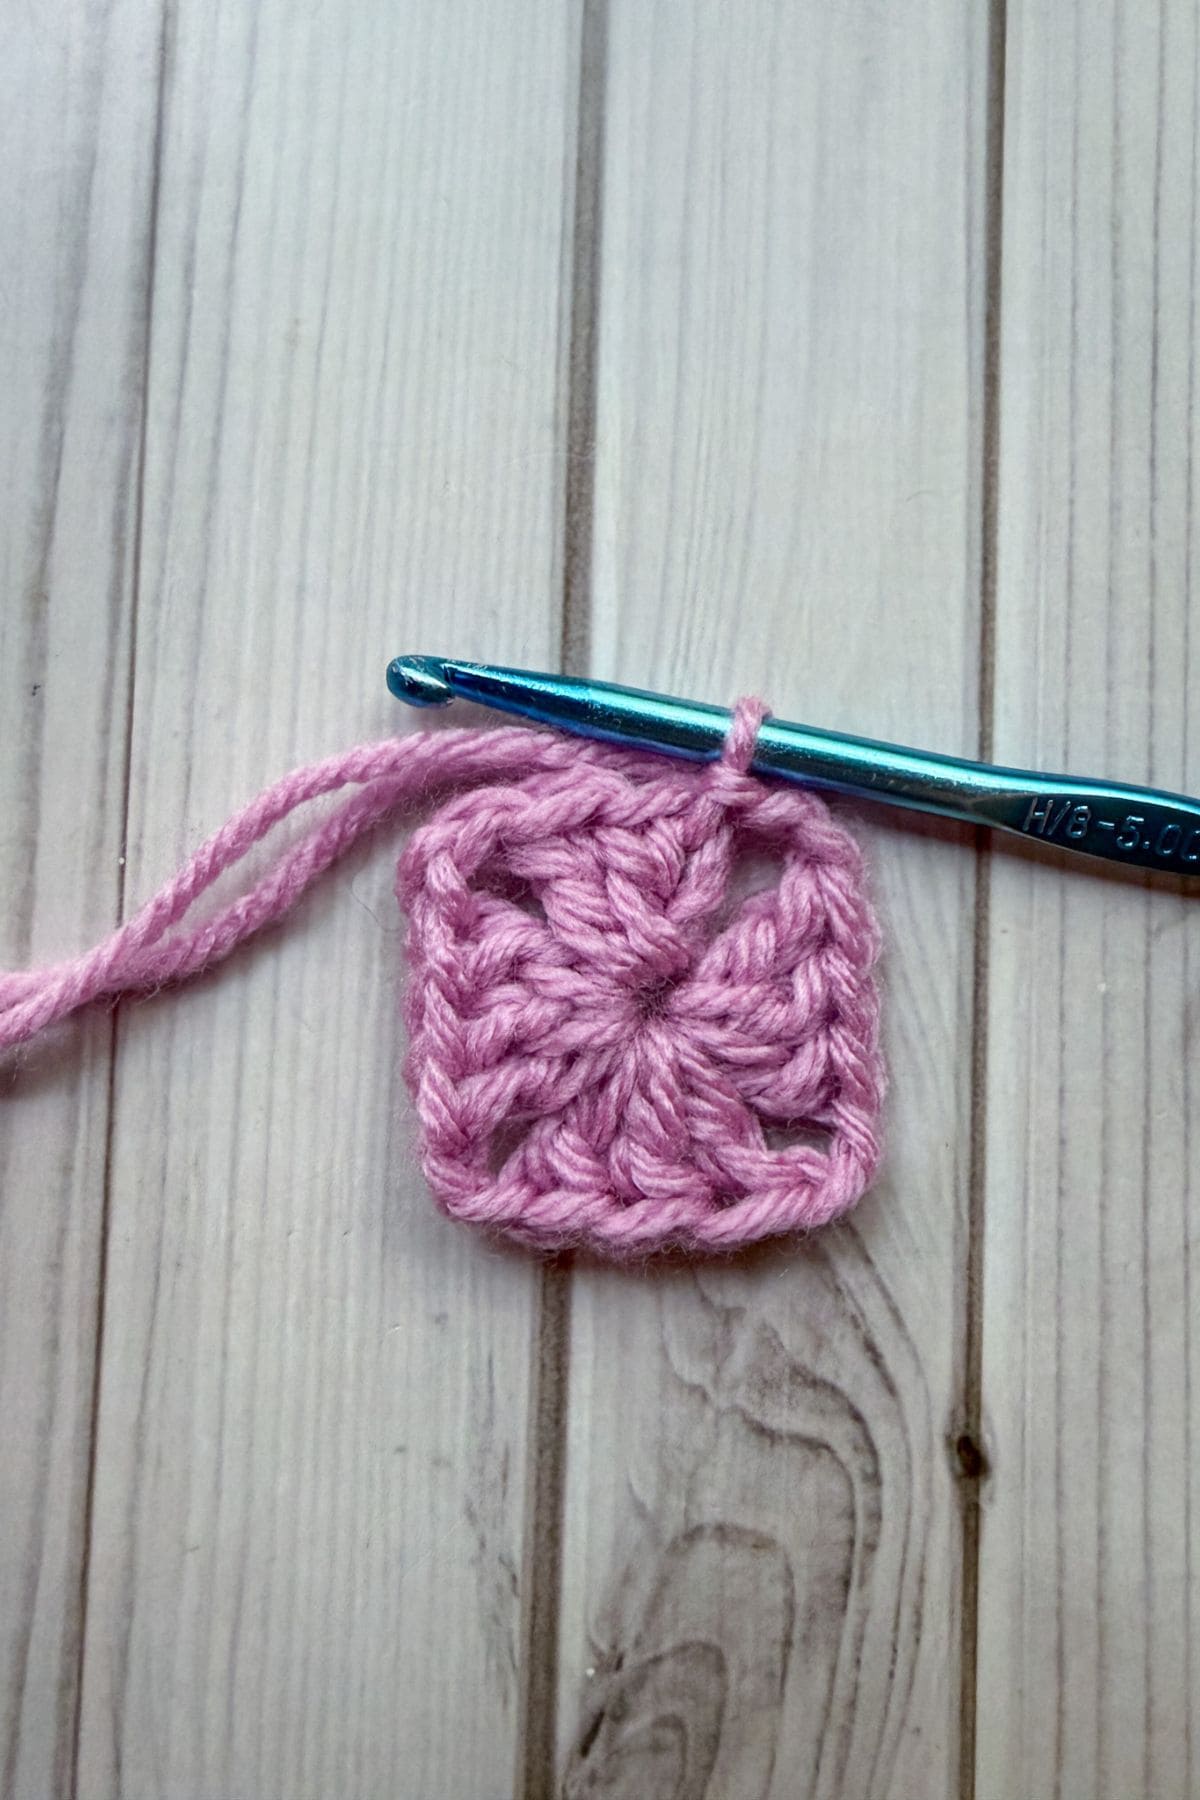
Round 1: With any color, make a magic ring and then ch x3 (counts as a dc) and dc x2 into the mr.
After, * ch x2 and then dc x3 into the circle.
Repeat from * 2 more times, then ch x2 and connect to the top of the ch x3 you made at the beginning by making a sl st, and pull the circle closed.
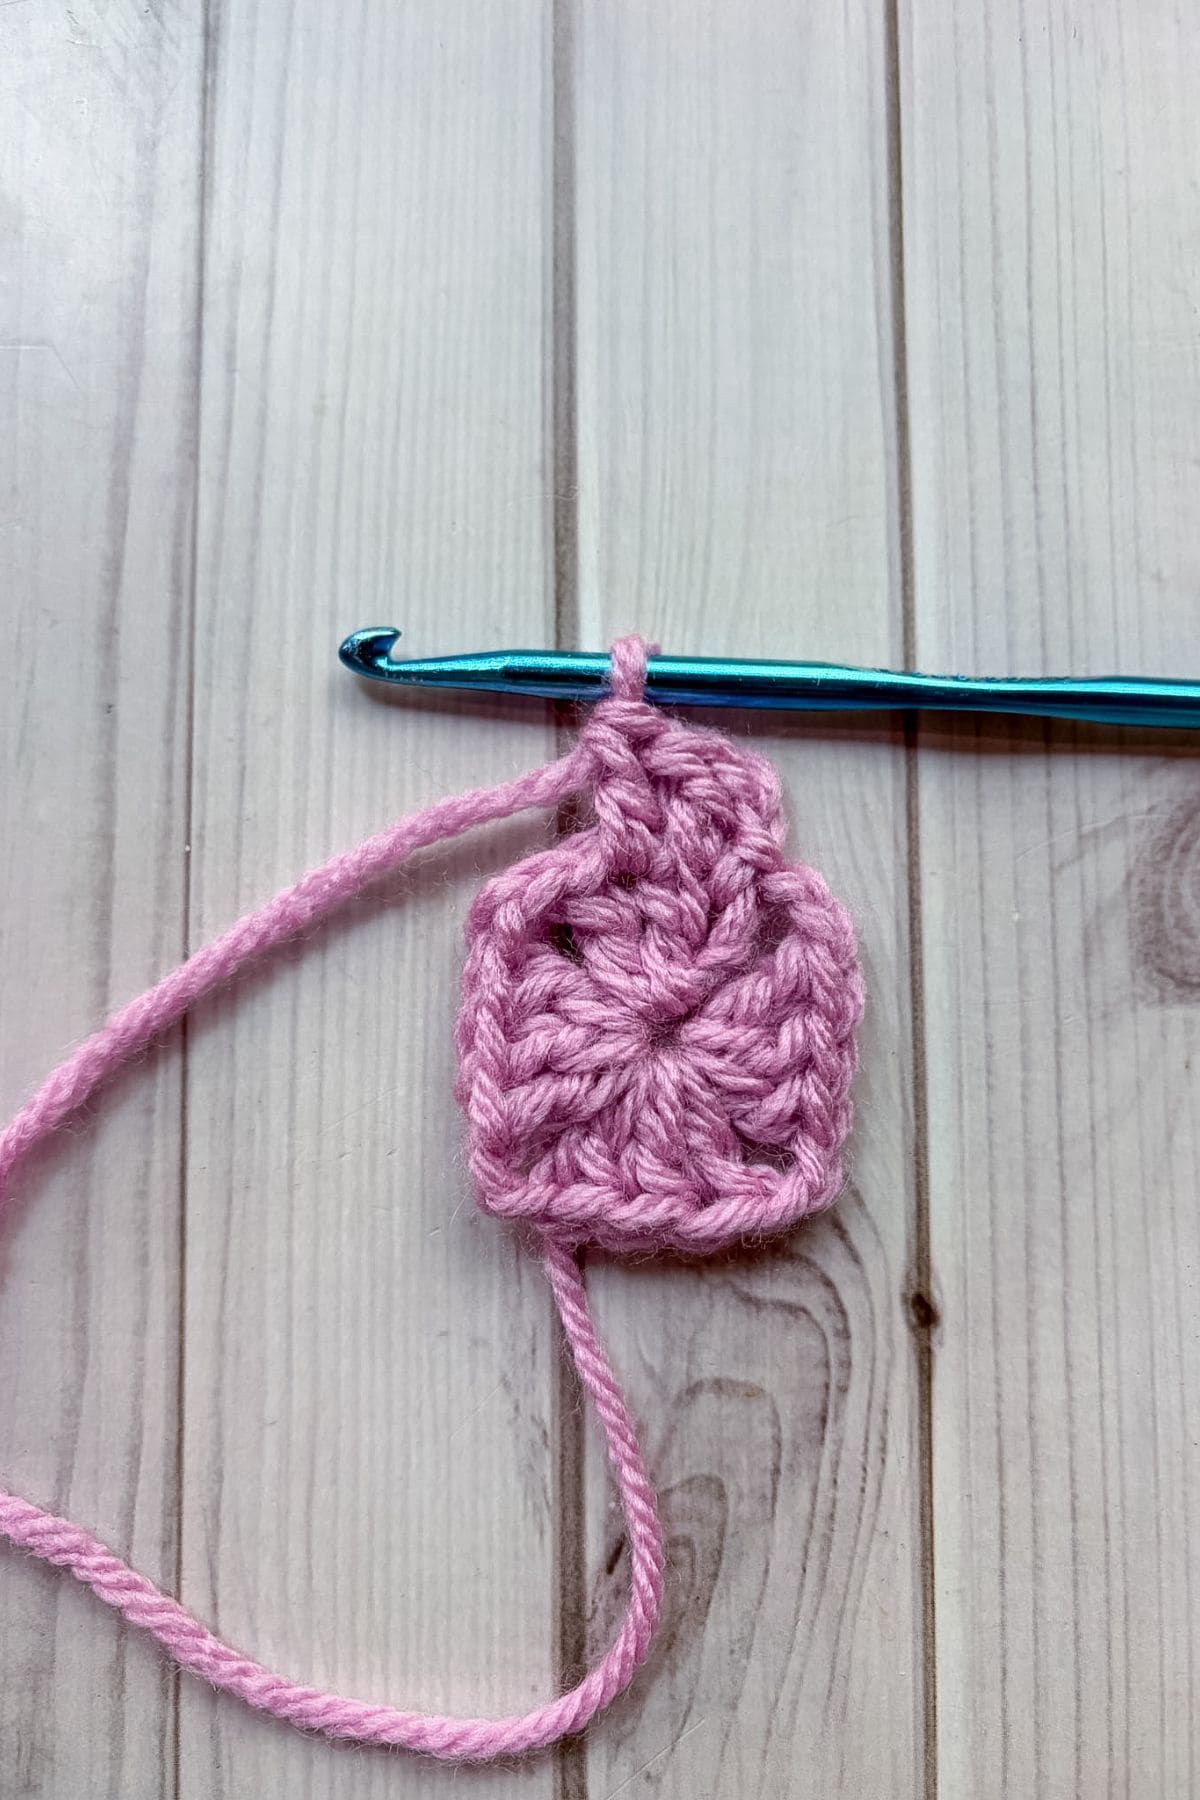
Round 2: Ch x3, dc into the tops of the next 2 stitches.
* For the ch-2 space from the previous row dc x2, ch x2, dc x2.
Then dc into the 3 stitches from the round below.
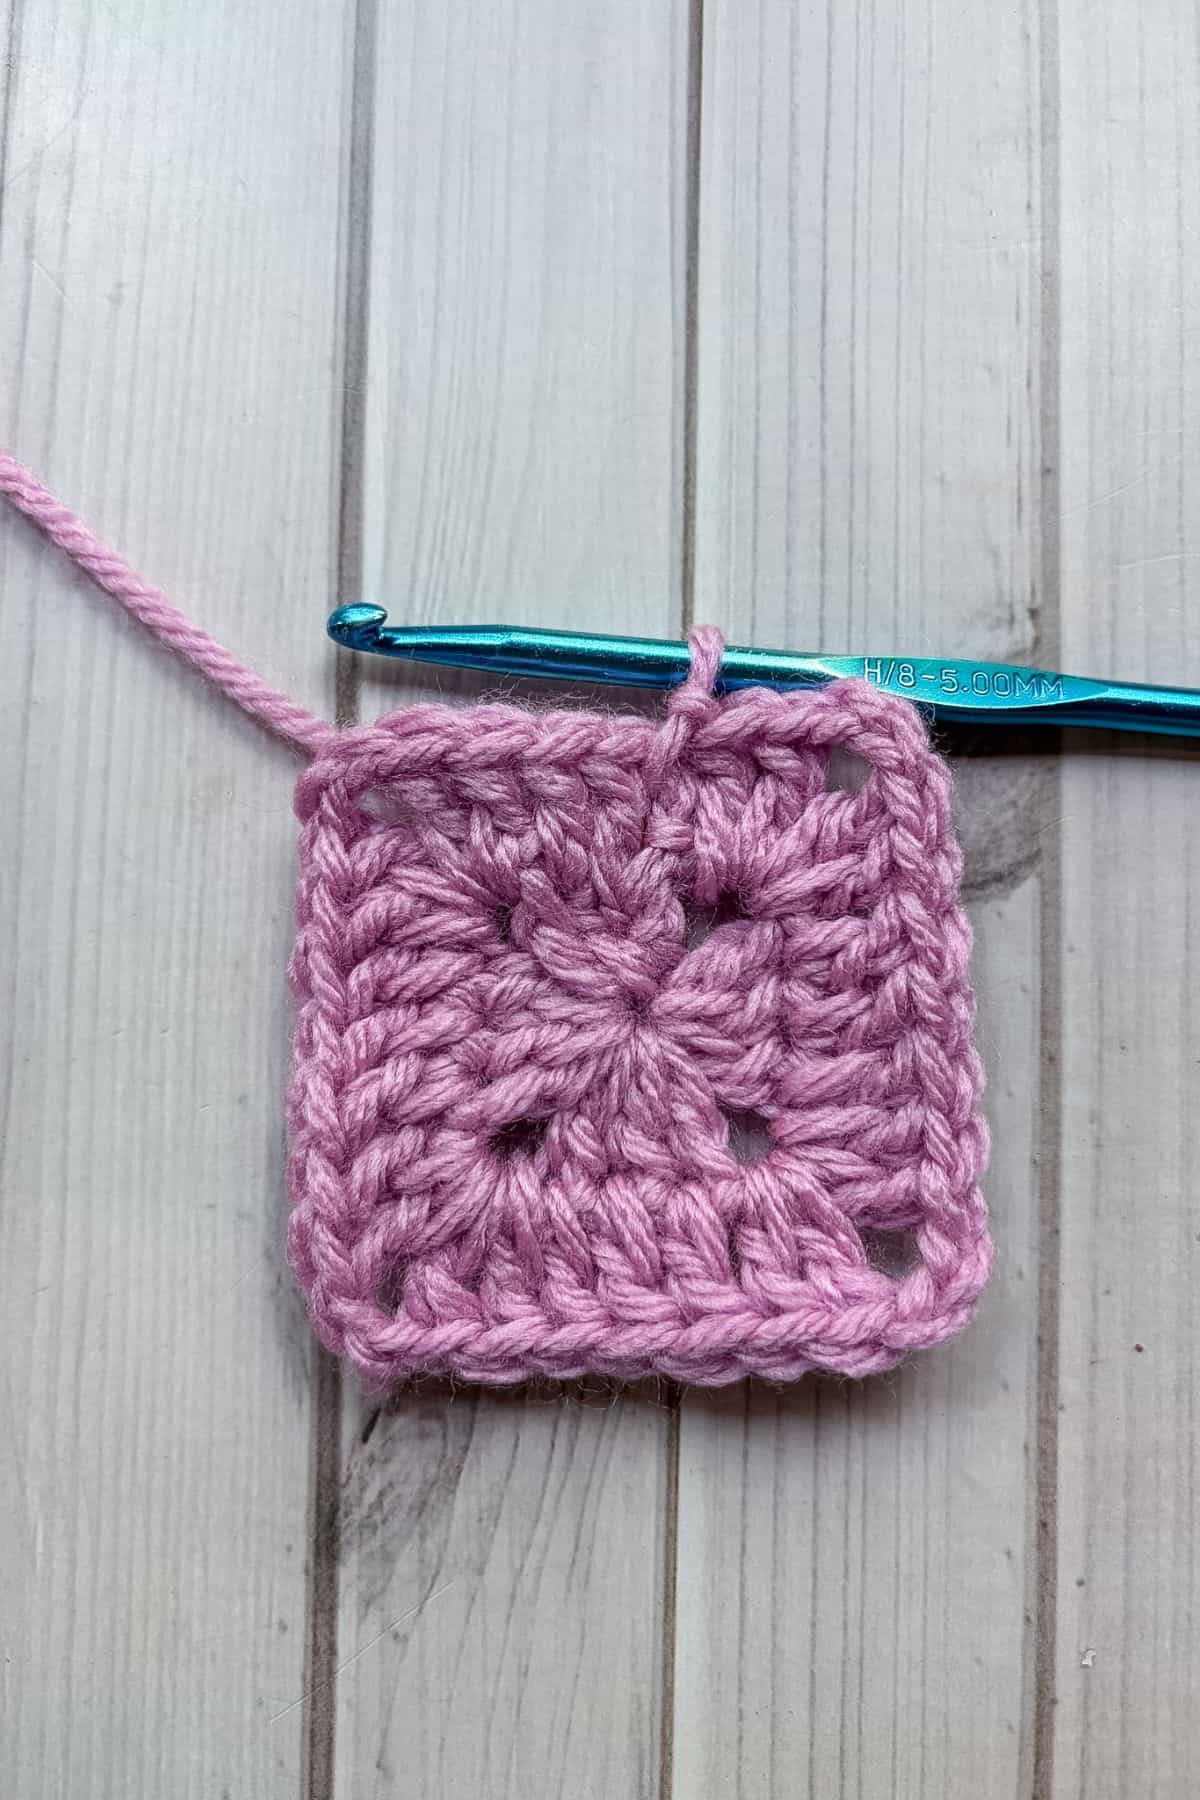
Repeat from * for the other 2 sides of the granny square.
Then sl st to the beginning chains.
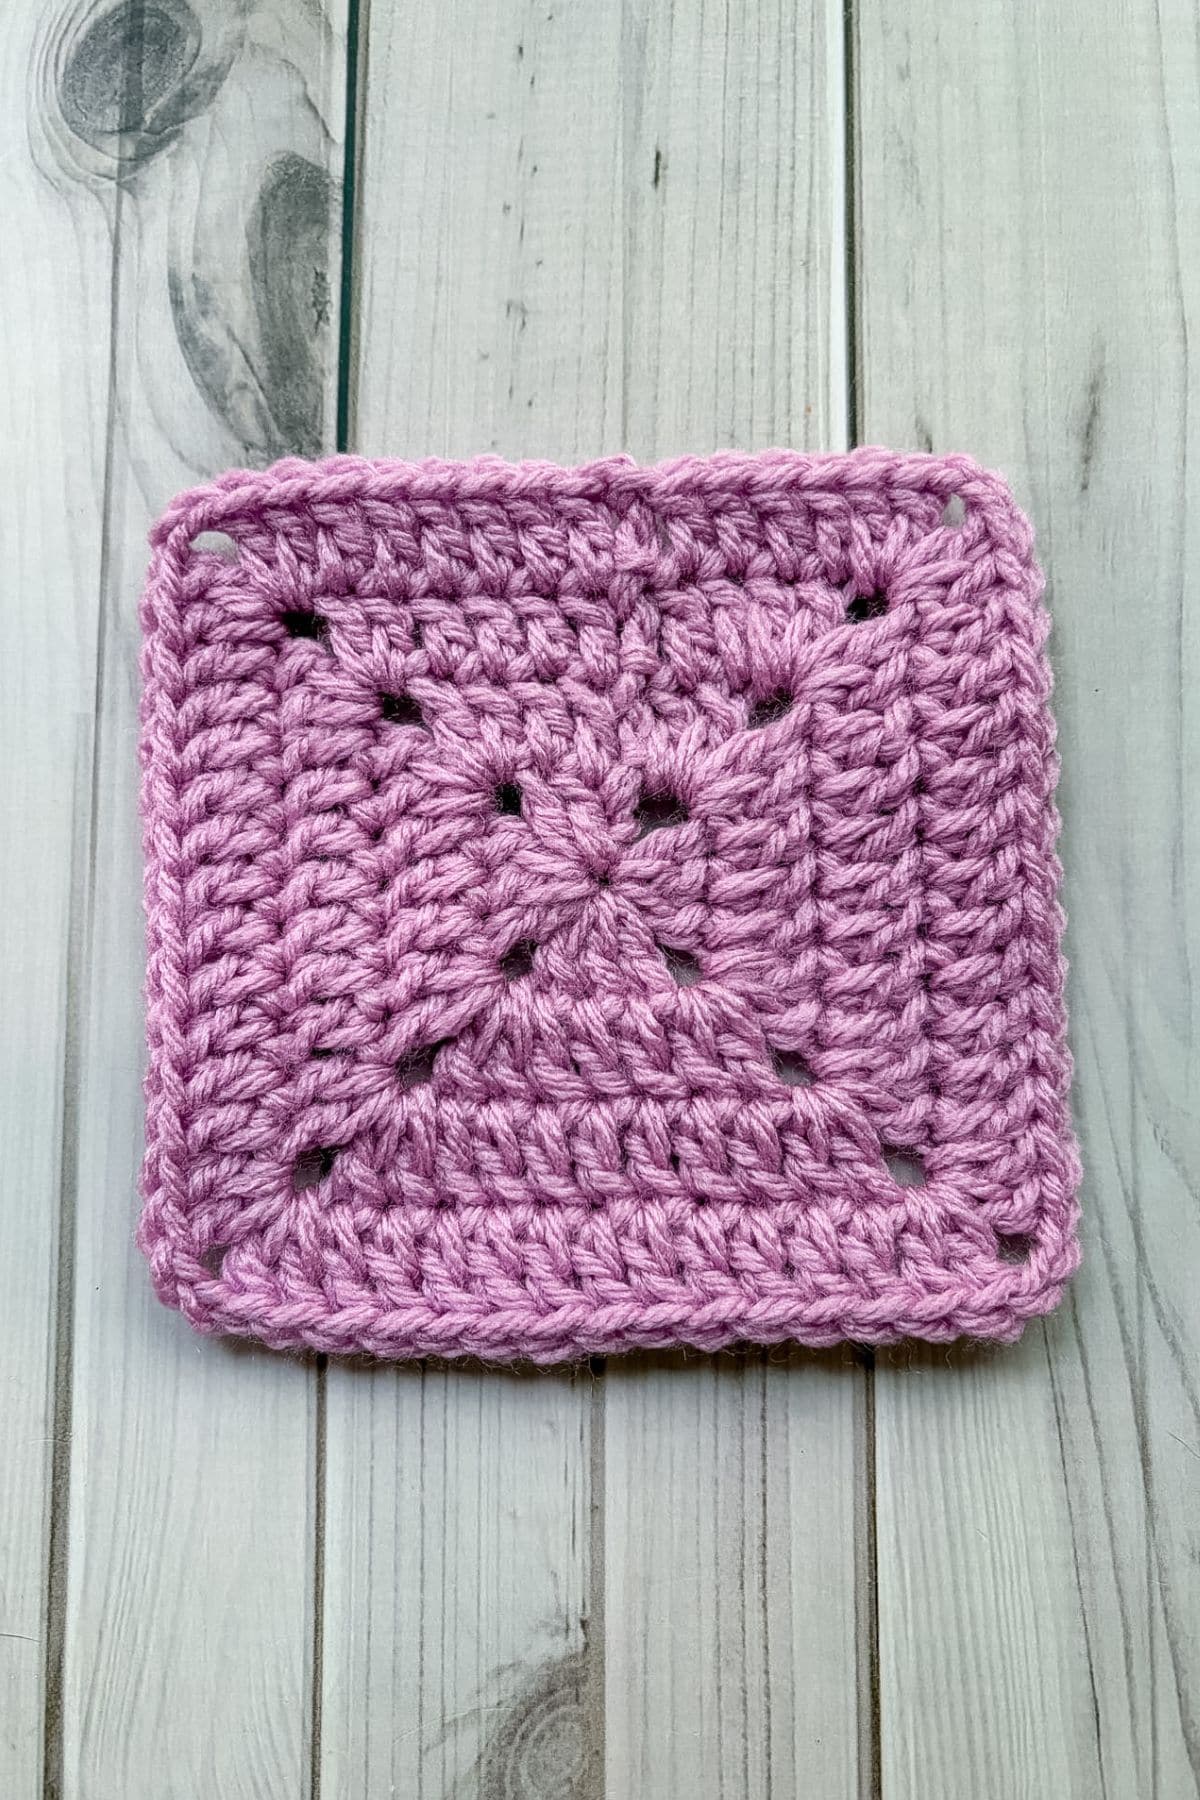
Round 3 and onwards: Ch x3, dc into the tops of the dc stitches from the round below, when you get to a corner dc x2, chx2, dc x2. Then sl st to the beginning chains.
And now you know how to crochet a solid crochet granny square.
No Holes Granny Square:
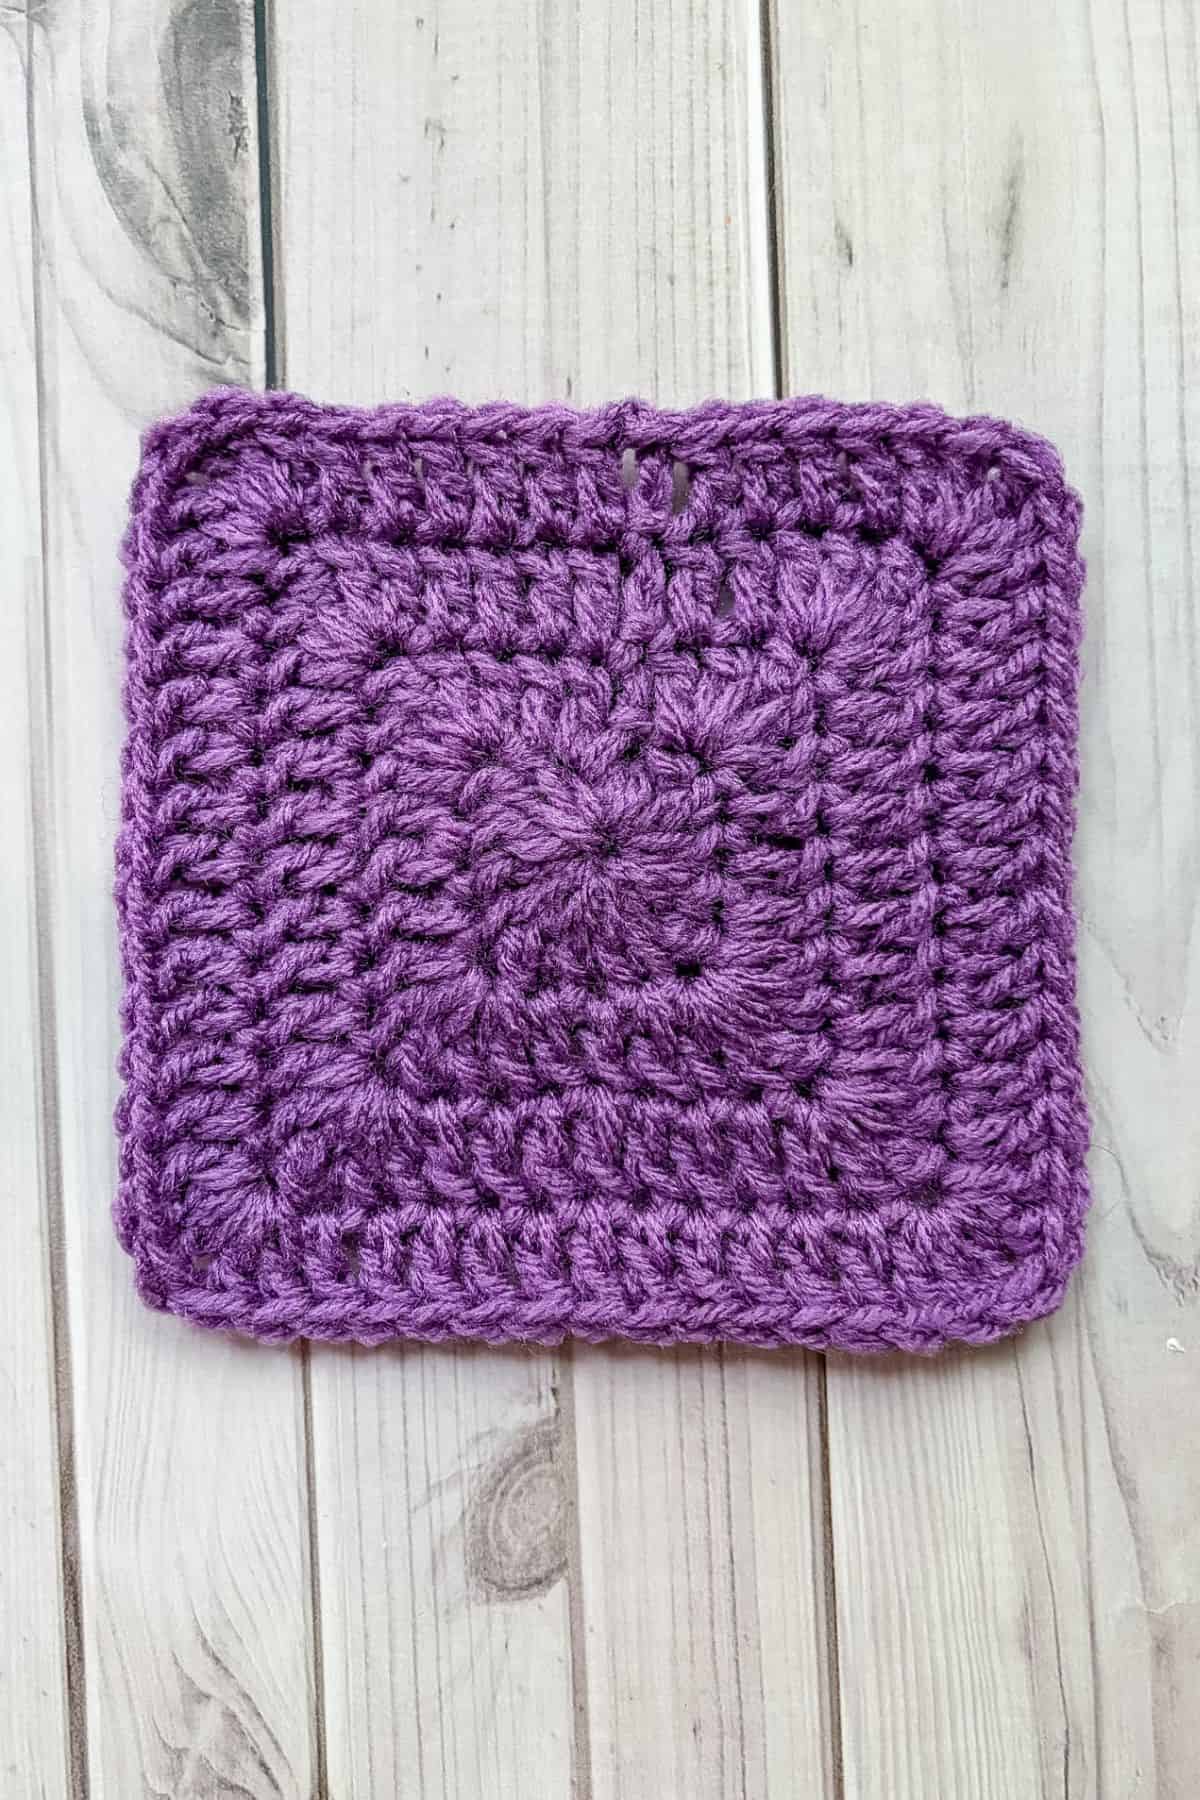
Round 1: With any color, make a magic ring and then ch x3 (counts as a dc) and dc, tr into the mr. *dc x2, tr into the ring.
Repeat from * 2 more times. Sl st to the beginning chains. Pull the circle closed.
Round 2: Ch x3, dc into the top of the dc stitch. When you get to a tr, you are going to dc, tr, dc into the stitch. The tr will be your "corner" every round. Sl st to the beginning chains.
Round 3 and onwards: Ch x3, *dc into the tops of the dc stitches from the round below. In the corners (the tr) dc, tr, dc in the one stitch. Repeat from * for the rest of the round. Then sl st to the beginning chains.
And now you know how to crochet a no holes crochet granny square.
I hope you enjoyed these free crochet granny squares that are perfect for beginners or for those who just need a little refresher! If you are looking for more granny square patterns, check out my African Flower Granny Square Pattern.
🐌Expert Tips
- Keep your tension consistent: If you are making lots of crochet granny squares, you need to make sure you have the same tension throughout the project otherwise the granny squares will come out different sizes.
- Start with a secure center: If making a magic ring is hard, ch x4 and sl st to the first chain and work around the chains. Pull the beginning tail tightly and weave it in securely afterward.
- Block your squares: Blocking can dramatically improve appearance because it straightens edges and makes squares all the same size before assembly.
🧵Pattern FAQs
Double crochet is the most common and is arguably the best for simple granny squares since it works up fast. But you can make granny squares with any stitch!
The amount of time you need to crochet a granny square will depend on a number of factors, like the size of the square you're making and your skill level. Overall, it takes around 20-30 minutes to crochet a classic granny square.
Crochet granny squares are incredibly versatile and perfect for both stash-busting and ambitious heirloom projects. You can join them together to make blankets, clothes, bags or use single squares for quick accessories like coasters and pouches.
🧶More Crochet Granny Square Patterns


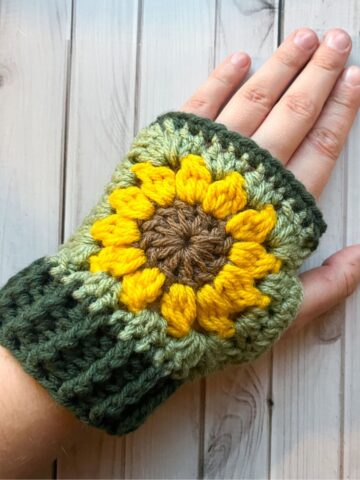
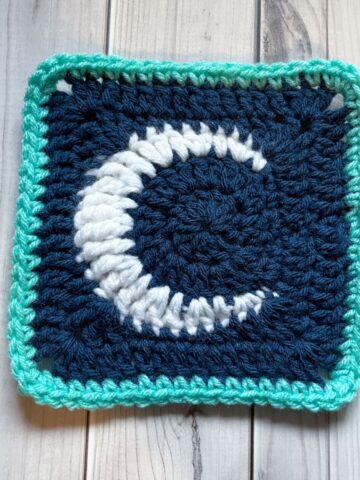
If you tried this Beginner Crochet Granny Square Patterns (or any other pattern on my website), please let me know how it went in the 📝 comments below. I'd love to hear from you!
Beginner Crochet Granny Square Patterns
Materials
- Yarn
- Hook size that matches yarn type
- Tapestry needle
Abbreviations (US terms)
- Magic ring - mr
- Chains - ch
- Double crochet - dc
- Triple crochet - tr (for the no holes granny square)
- Slip stitch - sl st
Notes
- Simple Granny Square Pattern: I go over easy crochet granny square patterns in this tutorial, if you want to try something a little fancier, check out my Crochet Backpack Pattern to make a sunburst granny square pattern.
- Double Crochet: These granny squares use double crochet. Once you get used to making them in double crochet you can experiment with other stitches, like the Moss Stitch Granny Square Pattern.
- Yarn: Yarn type can be almost anything for granny squares - smooth, fuzzy, thin, thick etc. If you are a beginner I suggest going with a smooth yarn so you can see your stitches.
Instructions
- Classic Granny Square Pattern:
- This first granny square crochet pattern utilizes the granny stitch pattern which is 3 double crochet groupings.
- Round 1: With color A, make a magic ring and then ch x3 (counts as a dc) and dc x2 into the mr.
- After, * ch x2 and then dc x3 into the circle.
- Repeat from * 2 more times, then ch x2 and connect to the top of the ch x3 you made at the beginning by making a sl st, pull tight and fasten off.
- Round 2: Join color B in any ch x2 space from the round before. Ch x3
- Then dc x2, ch x2, and dc x3 into that corner space.
- *Dc x3, ch x2, dc x3 into the next corner space and repeat from * 2 more times.
- Then sl st to the beginning chains and fasten off the yarn
- Round 3: Join color C in any ch x2 space from the round below. Ch x3, then dc x2, ch x2, and dc x3 into that corner space. *Then dc x3 in the next space between the 2 corner clusters from the round below. Then in the corner space - dc x3, ch x2 and dc x3. Repeat from * 2 more times, then dc x3 in that last space before the first corner. Then sl st to the beginning chains and fasten off.
- Round 4: Join color D in any ch x2 space from the round below. At this point you want to repeat round 3, but add an extra cluster of 3 dc on the side. At the end, sl st to the beginning chains and fasten off.
- And now you know how to crochet a classic and easy crochet granny square.
Crochet Solid Granny Square:
- Round 1: With any color, make a magic ring and then ch x3 (counts as a dc) and dc x2 into the mr.
- After, * ch x2 and then dc x3 into the circle.
- Repeat from * 2 more times, then ch x2 and connect to the top of the ch x3 you made at the beginning by making a sl st, and pull the circle closed.
- Round 2: Ch x3, dc into the tops of the next 2 stitches.
- * For the ch-2 space from the previous row dc x2, ch x2, dc x2.
- Then dc into the 3 stitches from the round below.
- Repeat from * for the other 2 sides of the granny square.
- Then sl st to the beginning chains.
- Round 3 and onwards: Ch x3, dc into the tops of the dc stitches from the round below, when you get to a corner dc x2, chx2, dc x2. Then sl st to the beginning chains.
- And now you know how to crochet a solid crochet granny square.
No Holes Granny Square:
- Round 1: With any color, make a magic ring and then ch x3 (counts as a dc) and dc, tr into the mr. *dc x2, tr into the ring.
- Repeat from * 2 more times. Sl st to the beginning chains. Pull the circle closed.
- Round 2: Ch x3, dc into the top of the dc stitch. When you get to a tr, you are going to dc, tr, dc into the stitch. The tr will be your "corner" every round. Sl st to the beginning chains.
- Round 3 and onwards: Ch x3, *dc into the tops of the dc stitches from the round below. In the corners (the tr) dc, tr, dc in the one stitch. Repeat from * for the rest of the round. Then sl st to the beginning chains.
- And now you know how to crochet a no holes crochet granny square.
- I hope you enjoyed these free crochet granny squares that are perfect for beginners or for those who just need a little refresher!
Leave a Reply