

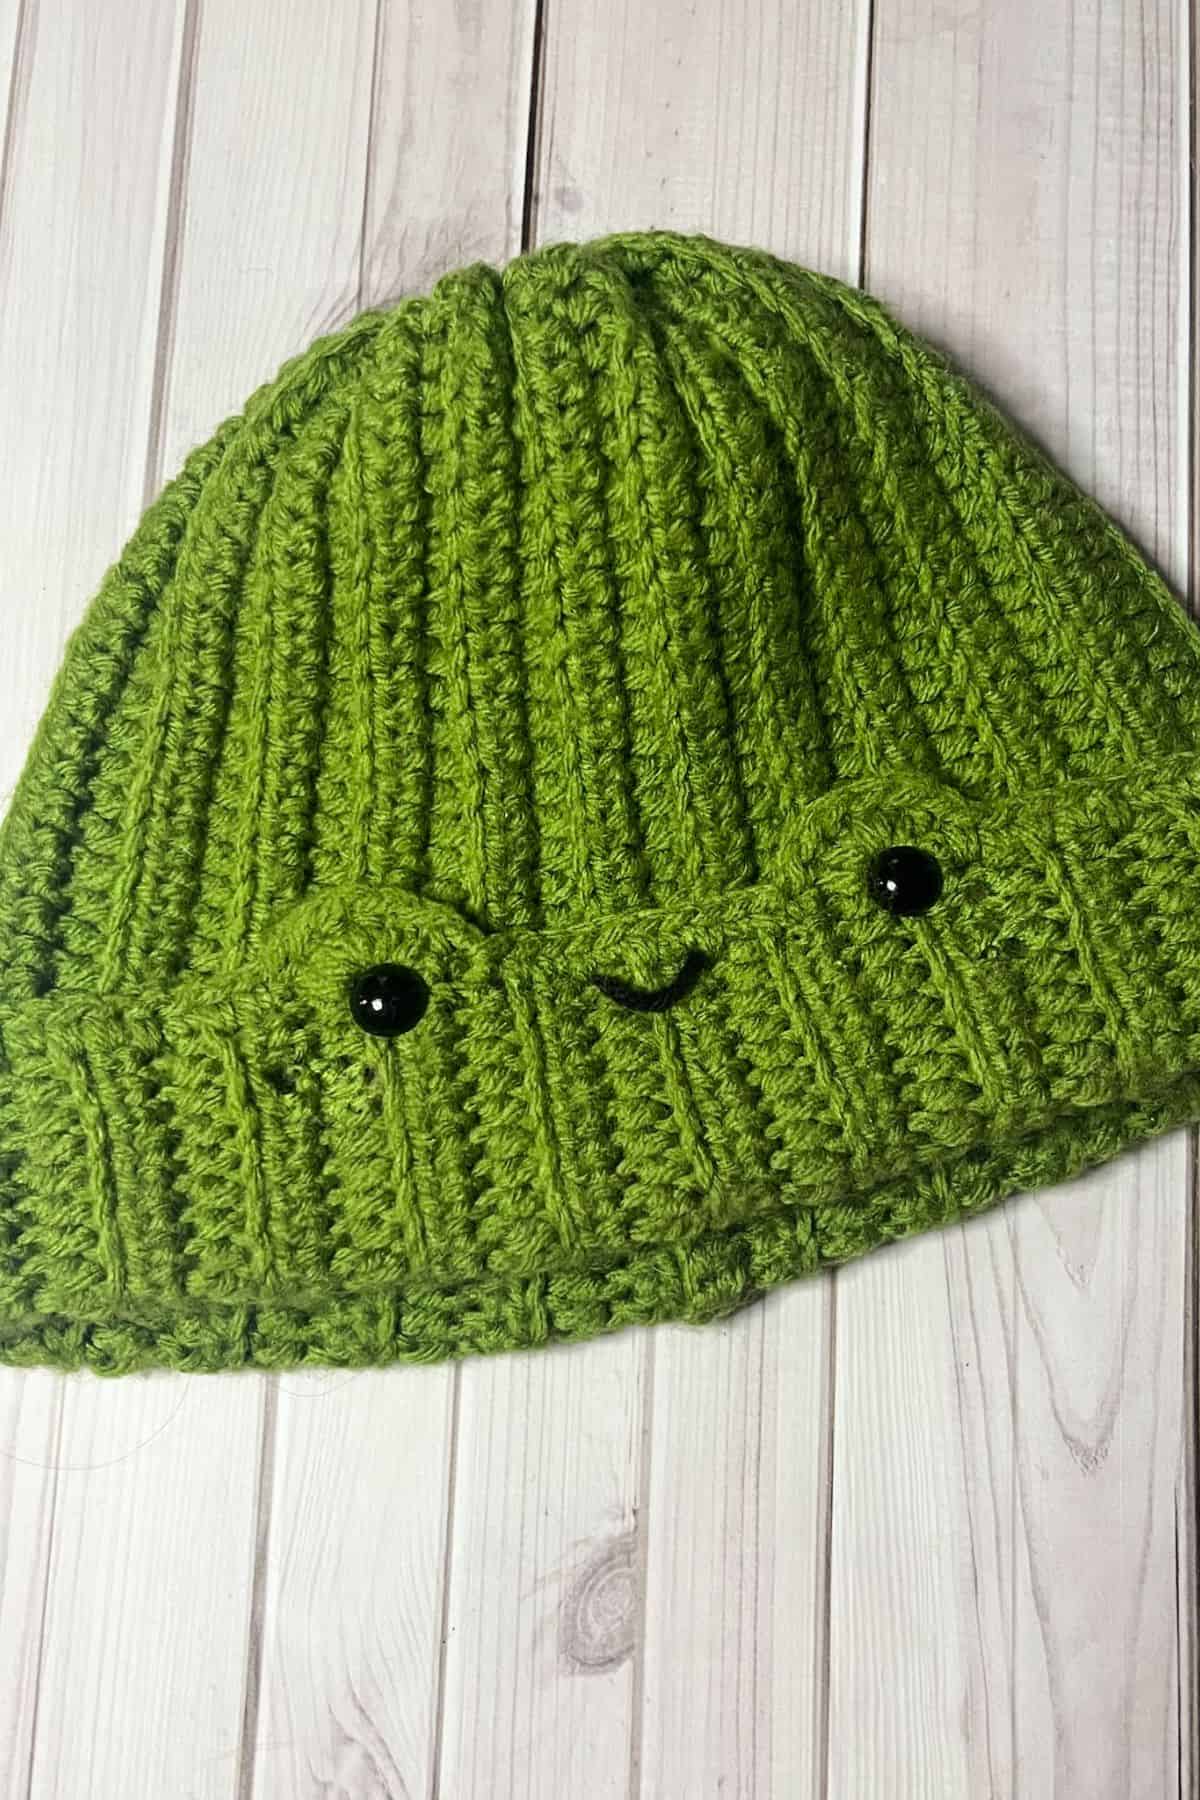
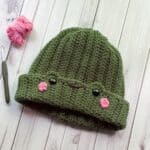
This easy Crochet Frog Hat Pattern will keep you nice and toasty during fall and winter, and it’s super cute! The crochet frog hat is simple to make and can be sized to fit any head.
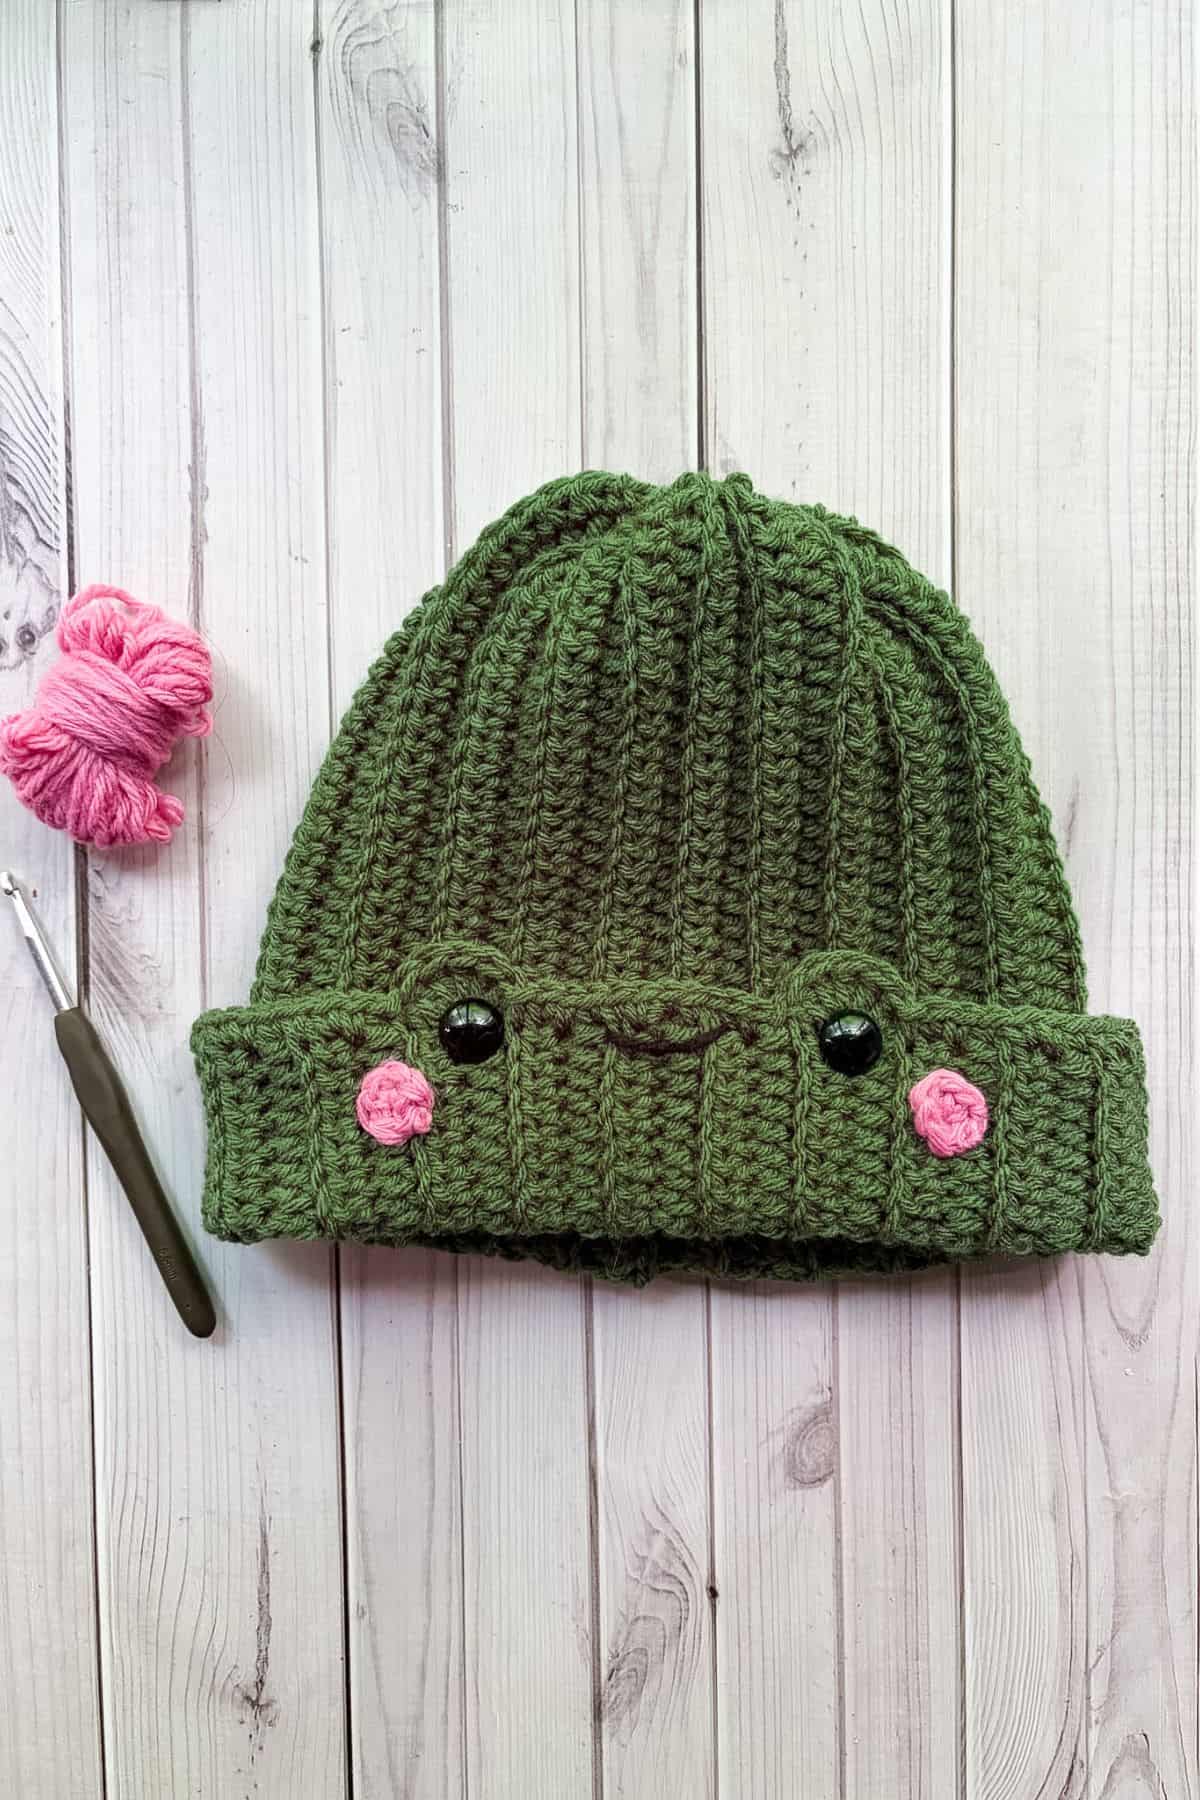
The crochet frog hat pattern is perfect for beginners because it uses just one type of stitch for the base of the hat, following a flat rectangle method. No joining rounds, increasing, or decreasing is required!
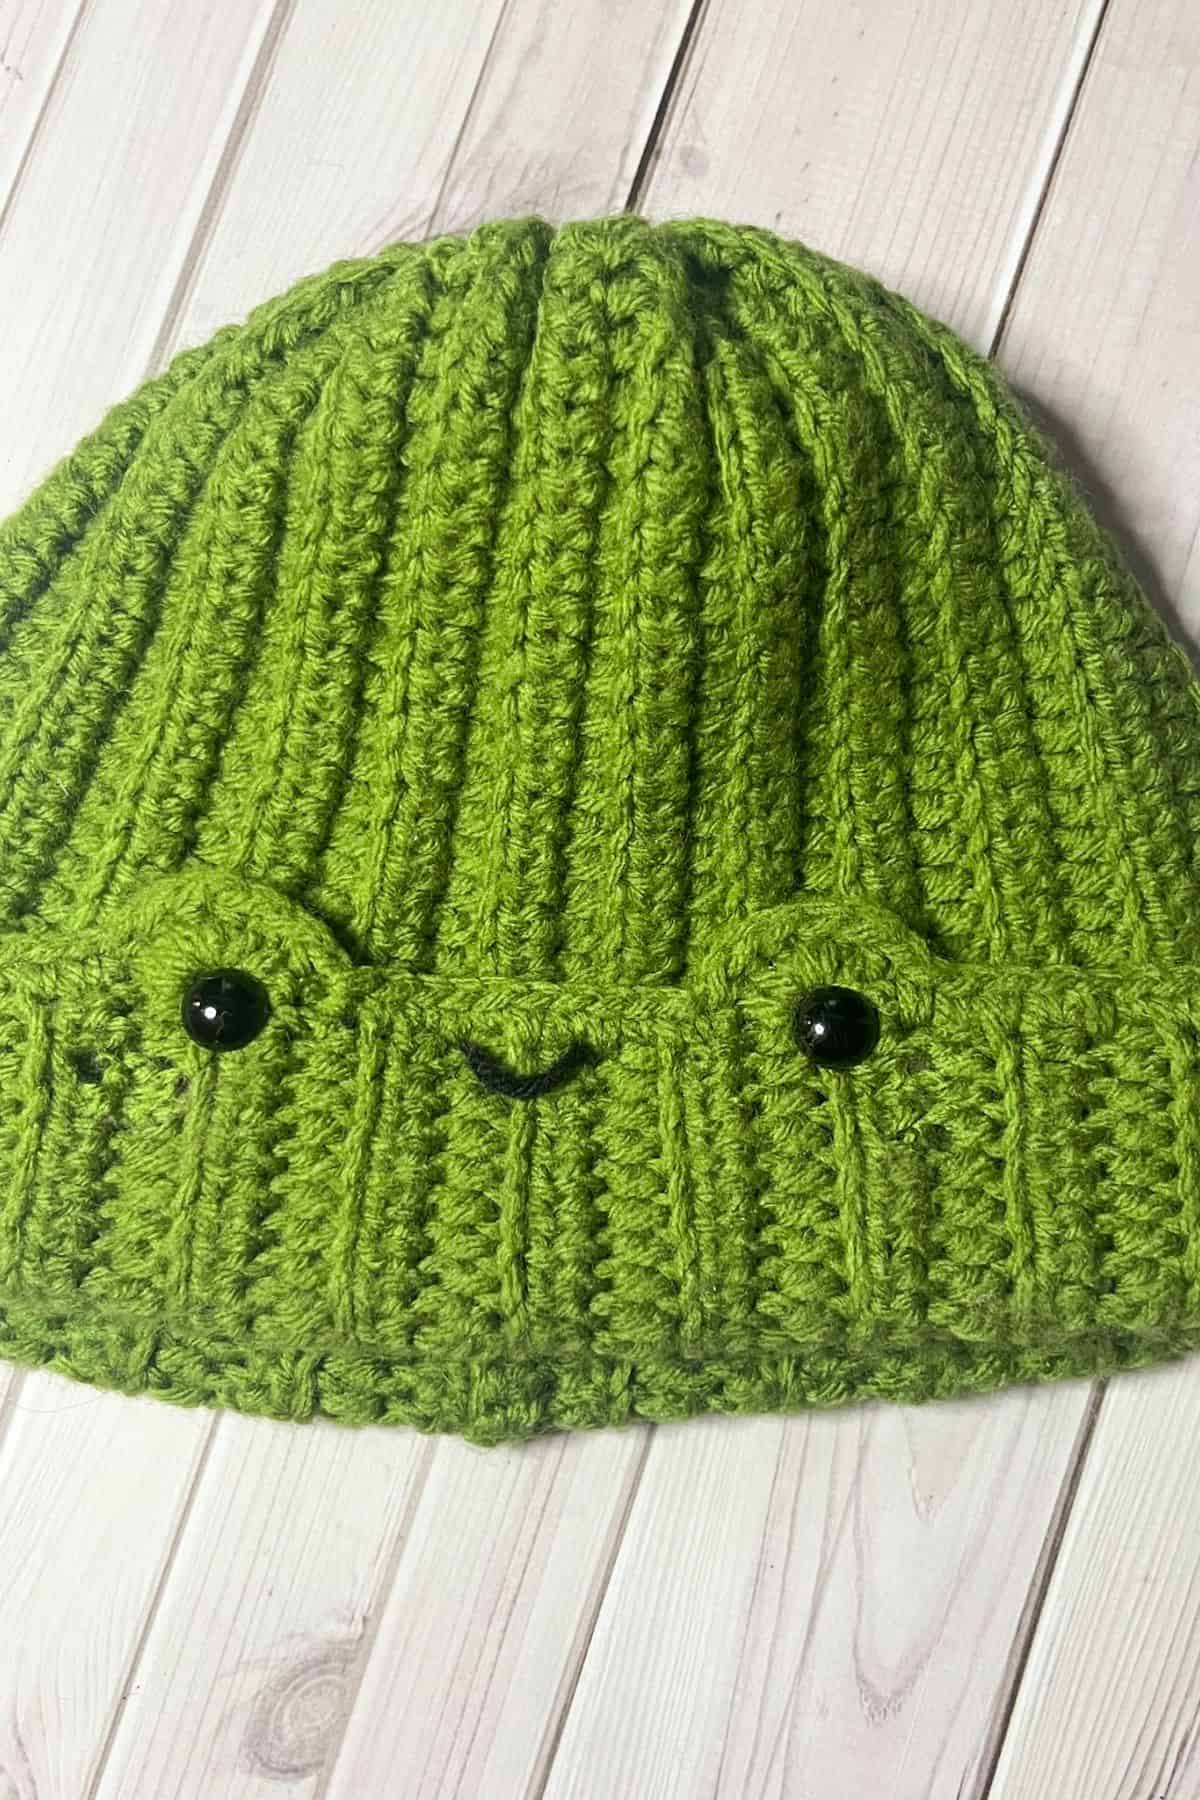
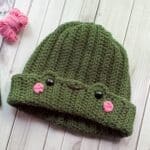
The crochet frog beanie is subtle; unless you’re up close, it looks like a perfectly normal green beanie. This is great if you want to be trendy yet understated with the crochet frog trend.
I make my crochet animal hats by decorating the brim of the hat, making the hat more self-contained. This helps make my crochet hats more practical for those (me included) who work in places that can't have things protruding from hats because of wearing helmets or hard hats, or close to machinery and other things that can snag on the hats.
If you're looking for other animal hat patterns my crochet bear hat and crochet cat hat are pretty cute and easy to make!
For a more festive theme, check out the crochet reindeer hat pattern!
So let's begin making the crochet frog hat pattern!
Jump to:
✏️ Things To Note:
- Yarn and Hook Information: I used acrylic worsted yarn for this free, easy crochet frog hat pattern. Any type of yarn like cotton, chunky, etc. will work for this crochet frog beanie pattern.
- Hook Size and Dimensions: Using a 5.5mm hook, my crochet rectangle for the beanie measures roughly 14 inches by 22 inches. I’d consider my head medium-sized. Adjust the height or length as needed to fit different head sizes!
- Kid-Sized Crochet Frog Hat: For a kid-sized crochet frog hat, I recommend chaining 25-30 and then following the pattern as normal, completing only 30-35 rows. Adjust based on the child’s age. Since I haven’t made this hat for a child, keep sizing in mind as suggestions may need adjustments.
🪡 Materials Needed
- Red Heart Yarn - Medium Thyme
- Small amount of black.
- 14 mm Safety eyes
- 5.5mm hook
- Tapestry needle
💭 Abbreviations to Remember (US Terms)
- Single crochet (sc)
- Chains (ch)
- Half double crochet (hdc)
- Back loop only (blo)
- Double crochet (dc)
- Slip stitch - (sl st)
- Magic ring (mr) (for blush marks)
🧋 Variations
- Use different shades of green for a unique look or try varying the number of rows for different sizes.
- Experiment with different types of yarn, like cotton or chunky, to give the hat a different texture.
🍵 Instructions for Crochet Frog Hat
For this pattern we will be working mostly in rows.
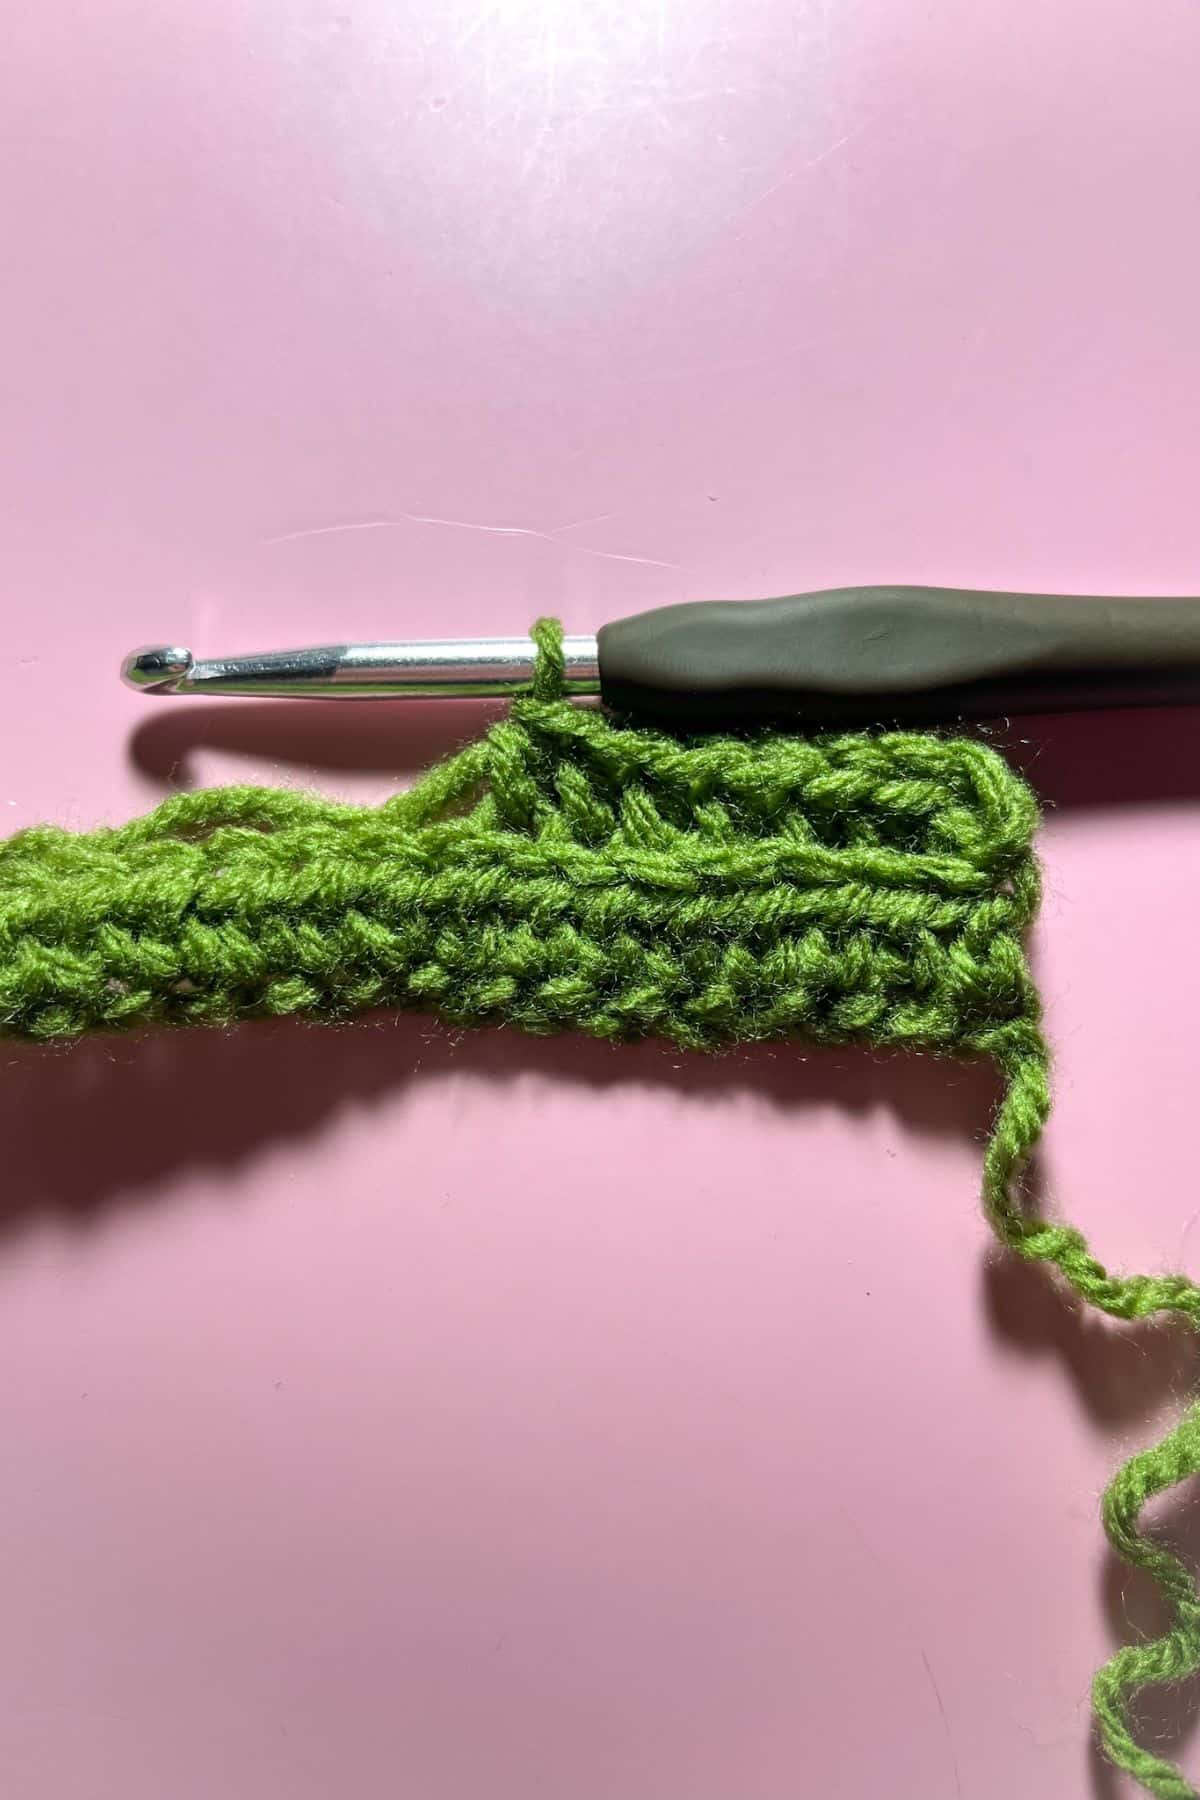
Ch x41, turn
Row 1: In the second chain from the hook, make a hdc. Continue to make hdc for the rest of the row (40). At the end of the row, ch x1 and turn. (The ch is a turning ch, you will be making these every row but do not work in them!)
Row 2: In blo, hdc for the entire row (40). Ch x1 and turn.
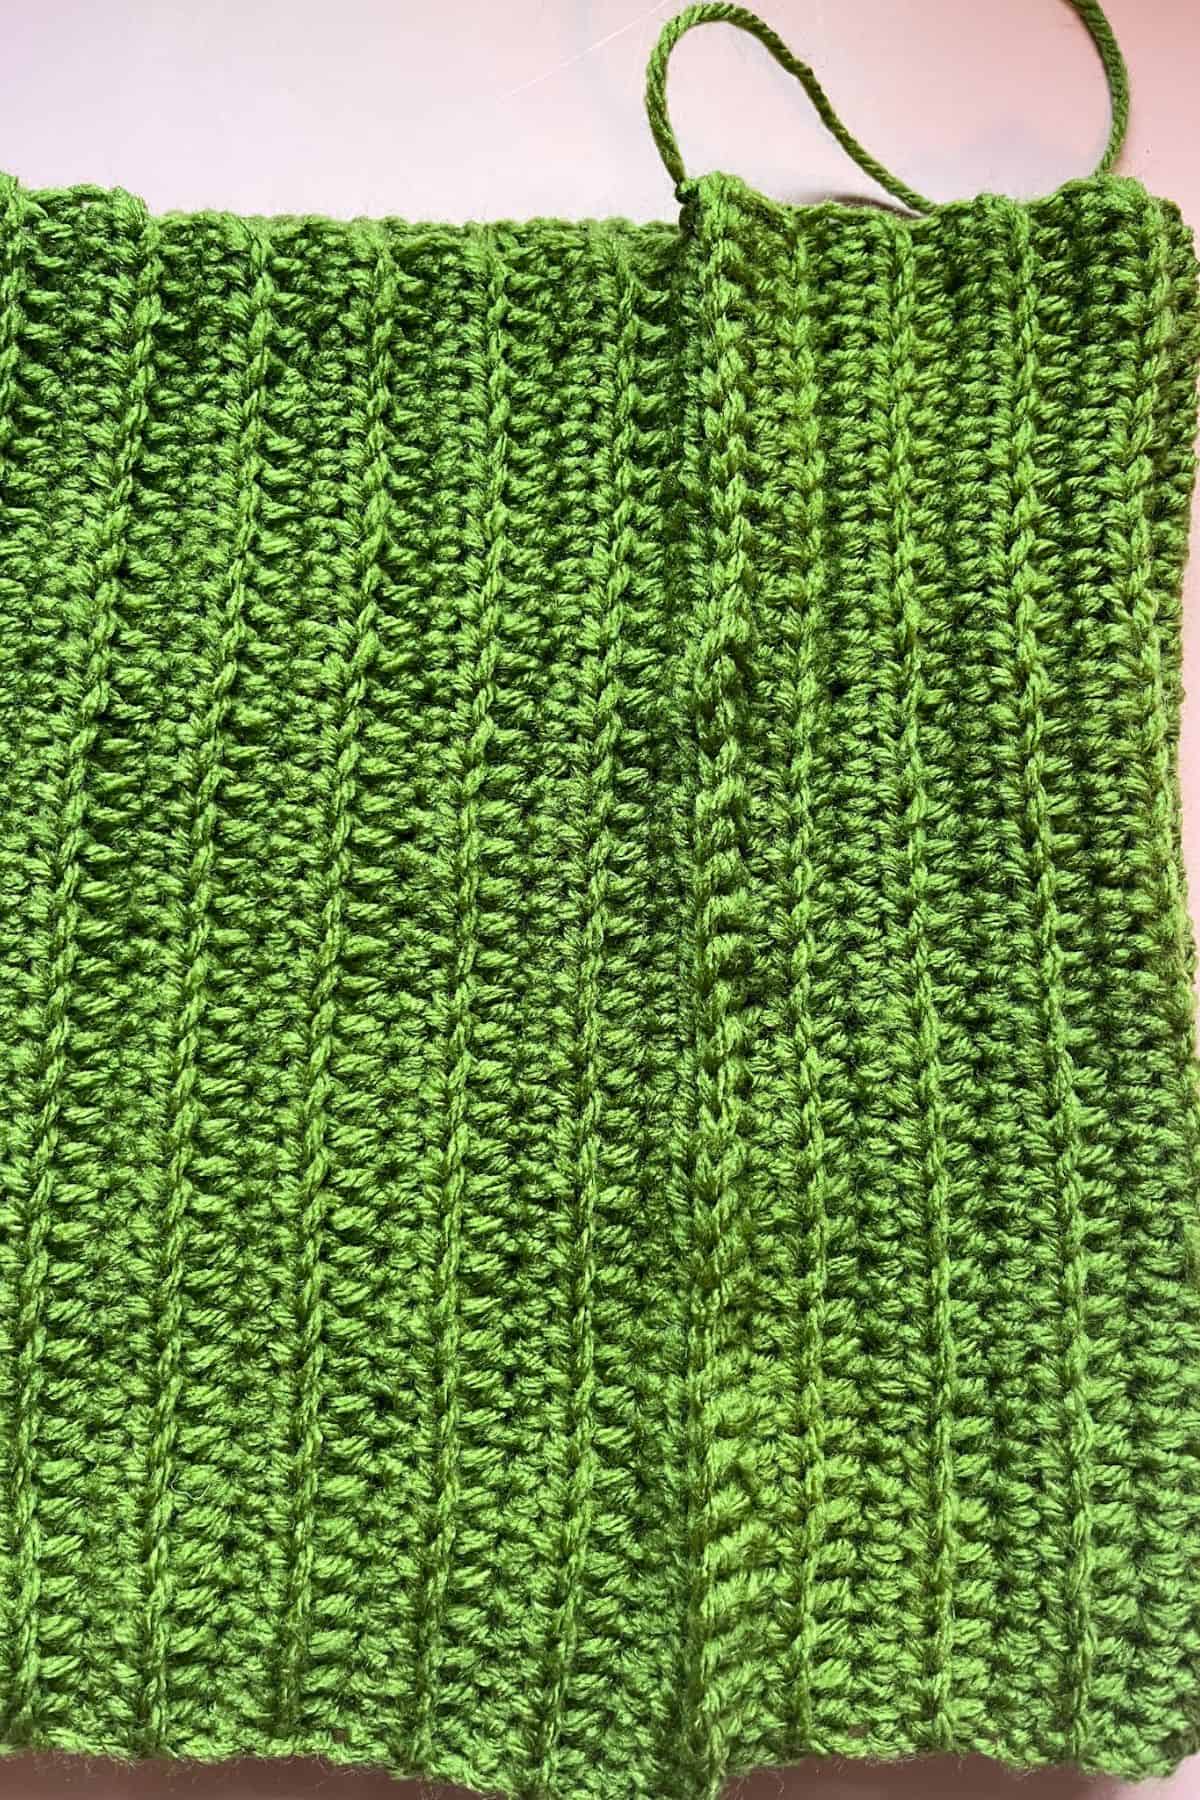
Row 3-44: Repeat row 2 (40). Ch x1 and turn.
Use more or less rows depending on the size of hat you are trying to achieve.
Before fastening off the yarn you want to fold the rectangle in half and then sew or crochet it shut. (I crocheted mine).
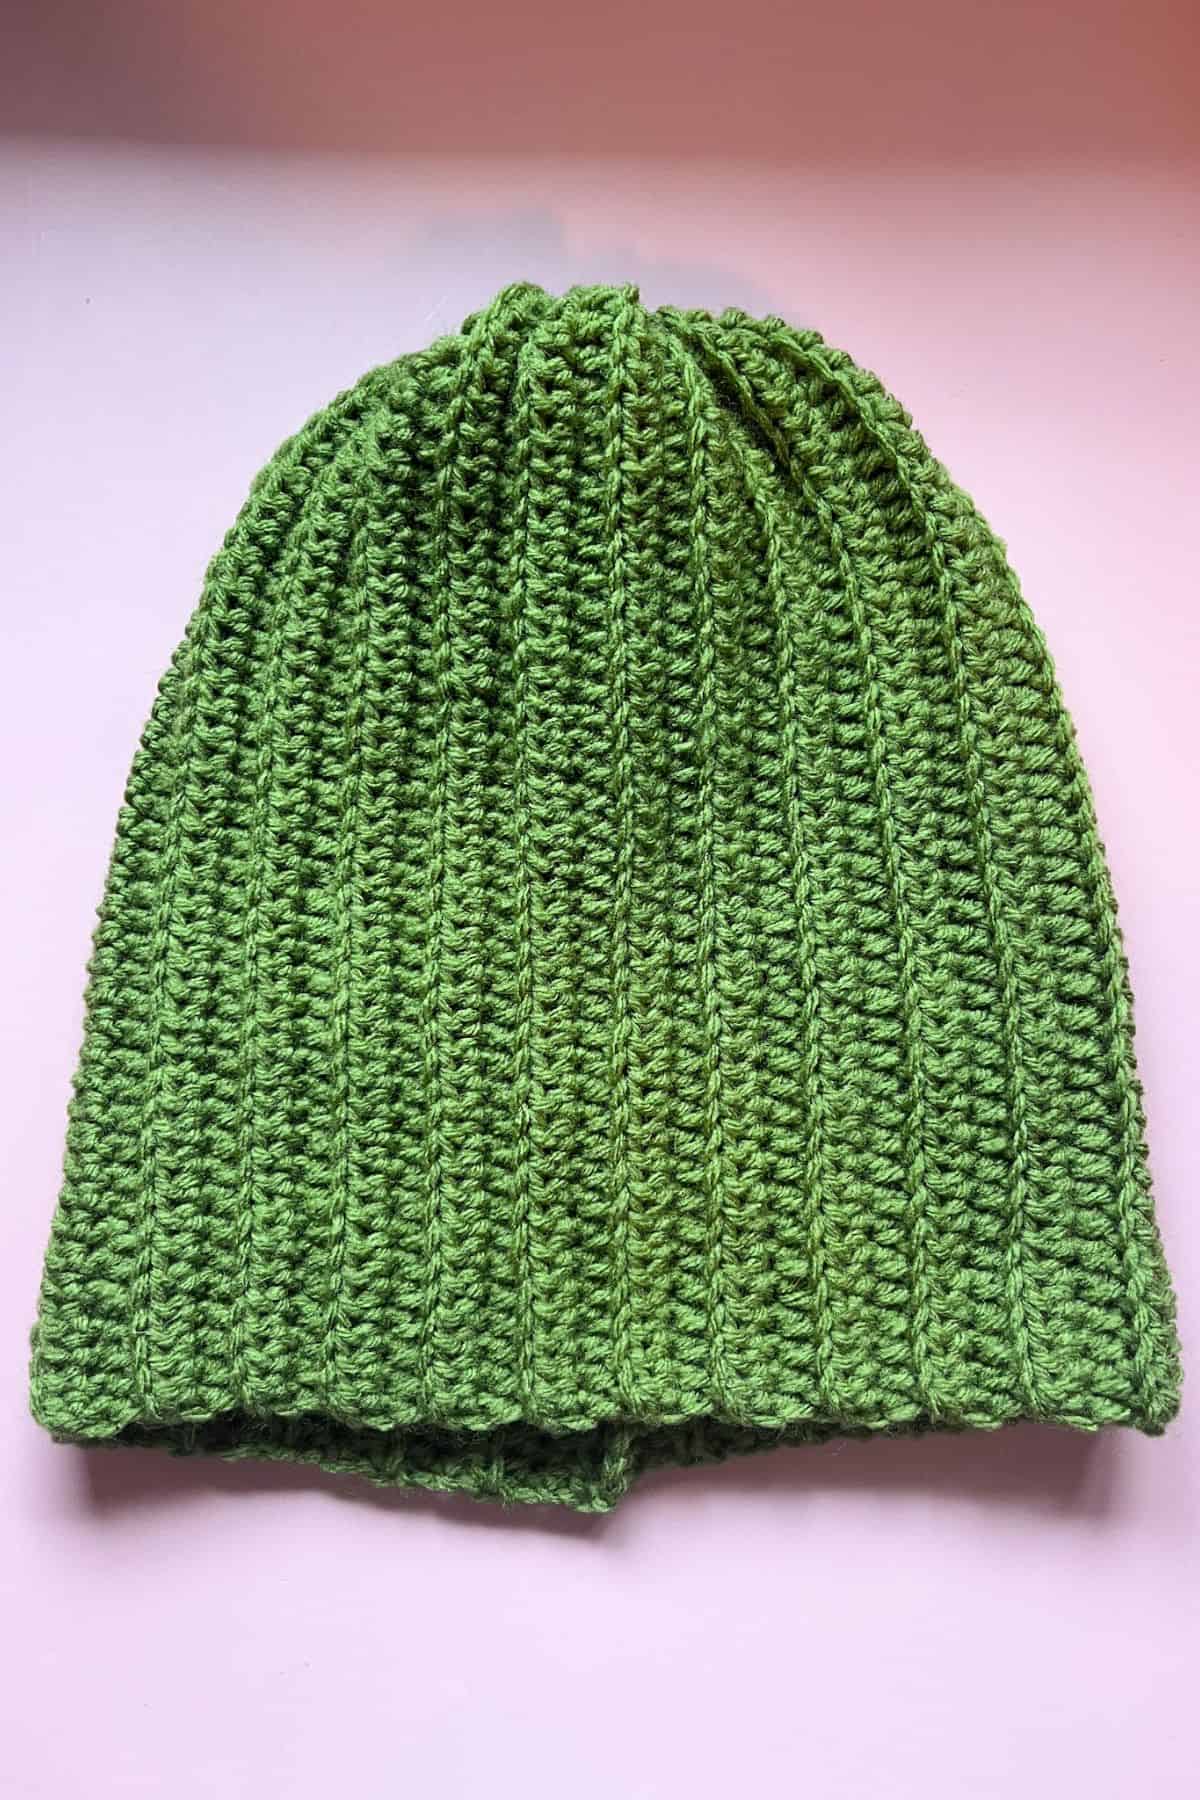
After the side of the hat has been sewn shut, take the yarn and cinch the top of the hat shut. Fasten off and weave in the end.
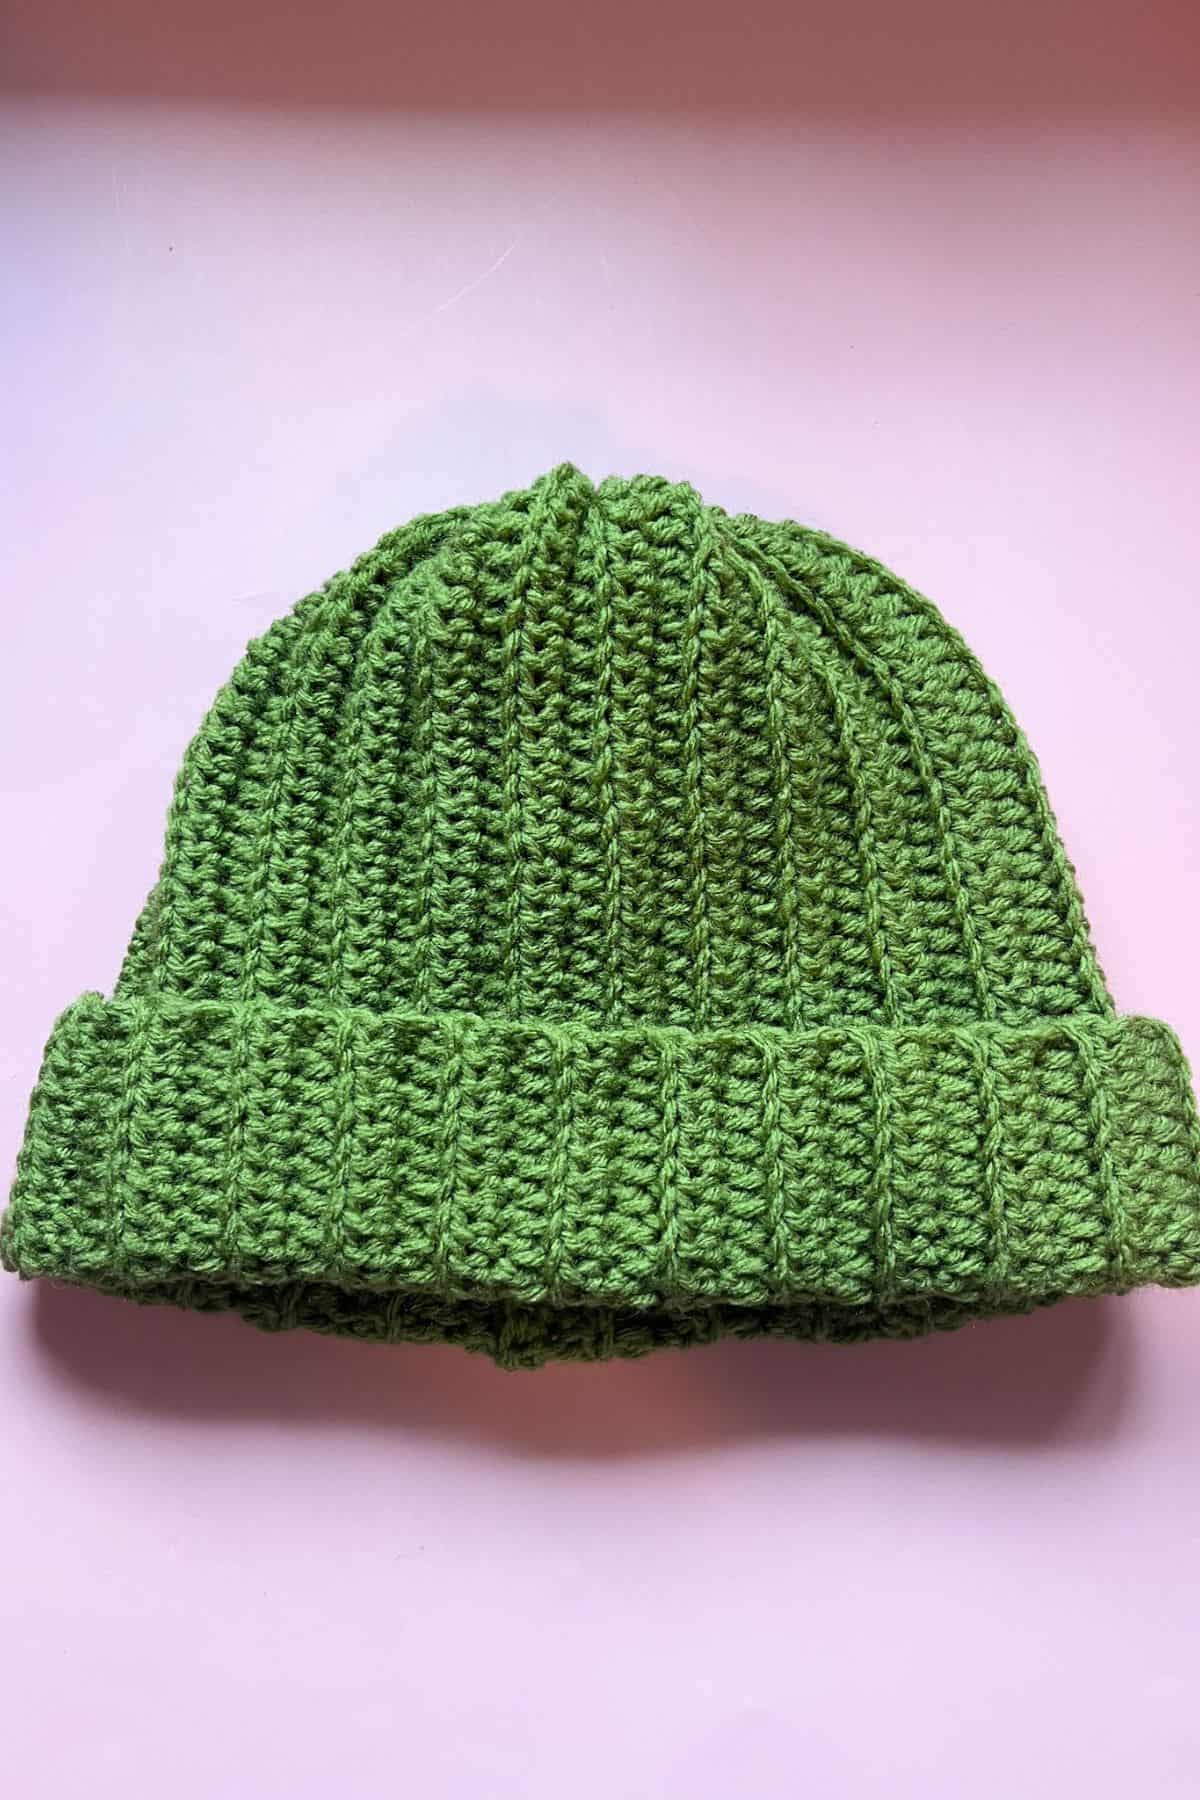
Once that is done, flip the hat inside out so now the sewn edges are on the inside of the hat.
Brim:
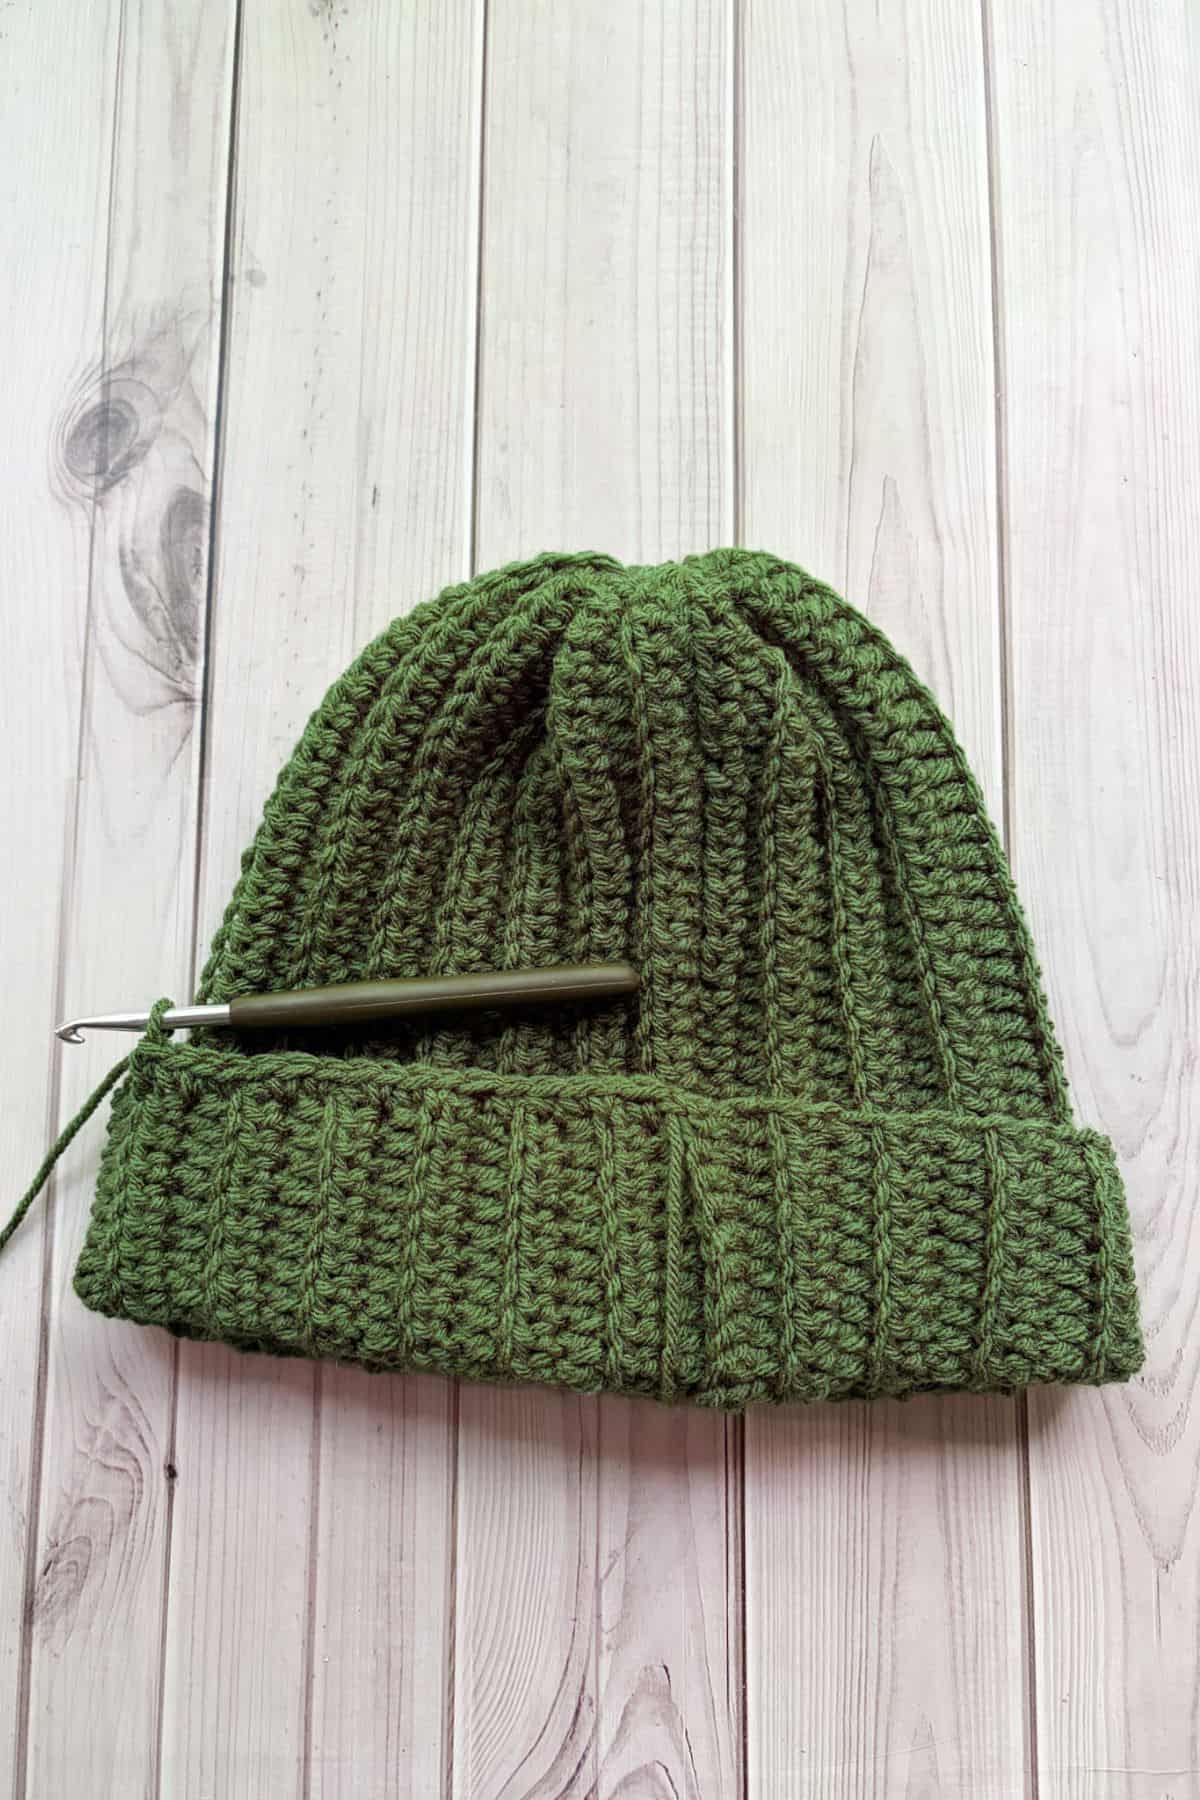
The seam should be the back center of the hat. Join the green yarn at the seam and then sc a quarter of the way around the hat (if the hat is laid flat with seam at the center, you should be at the side of the hat).
Sc x10.

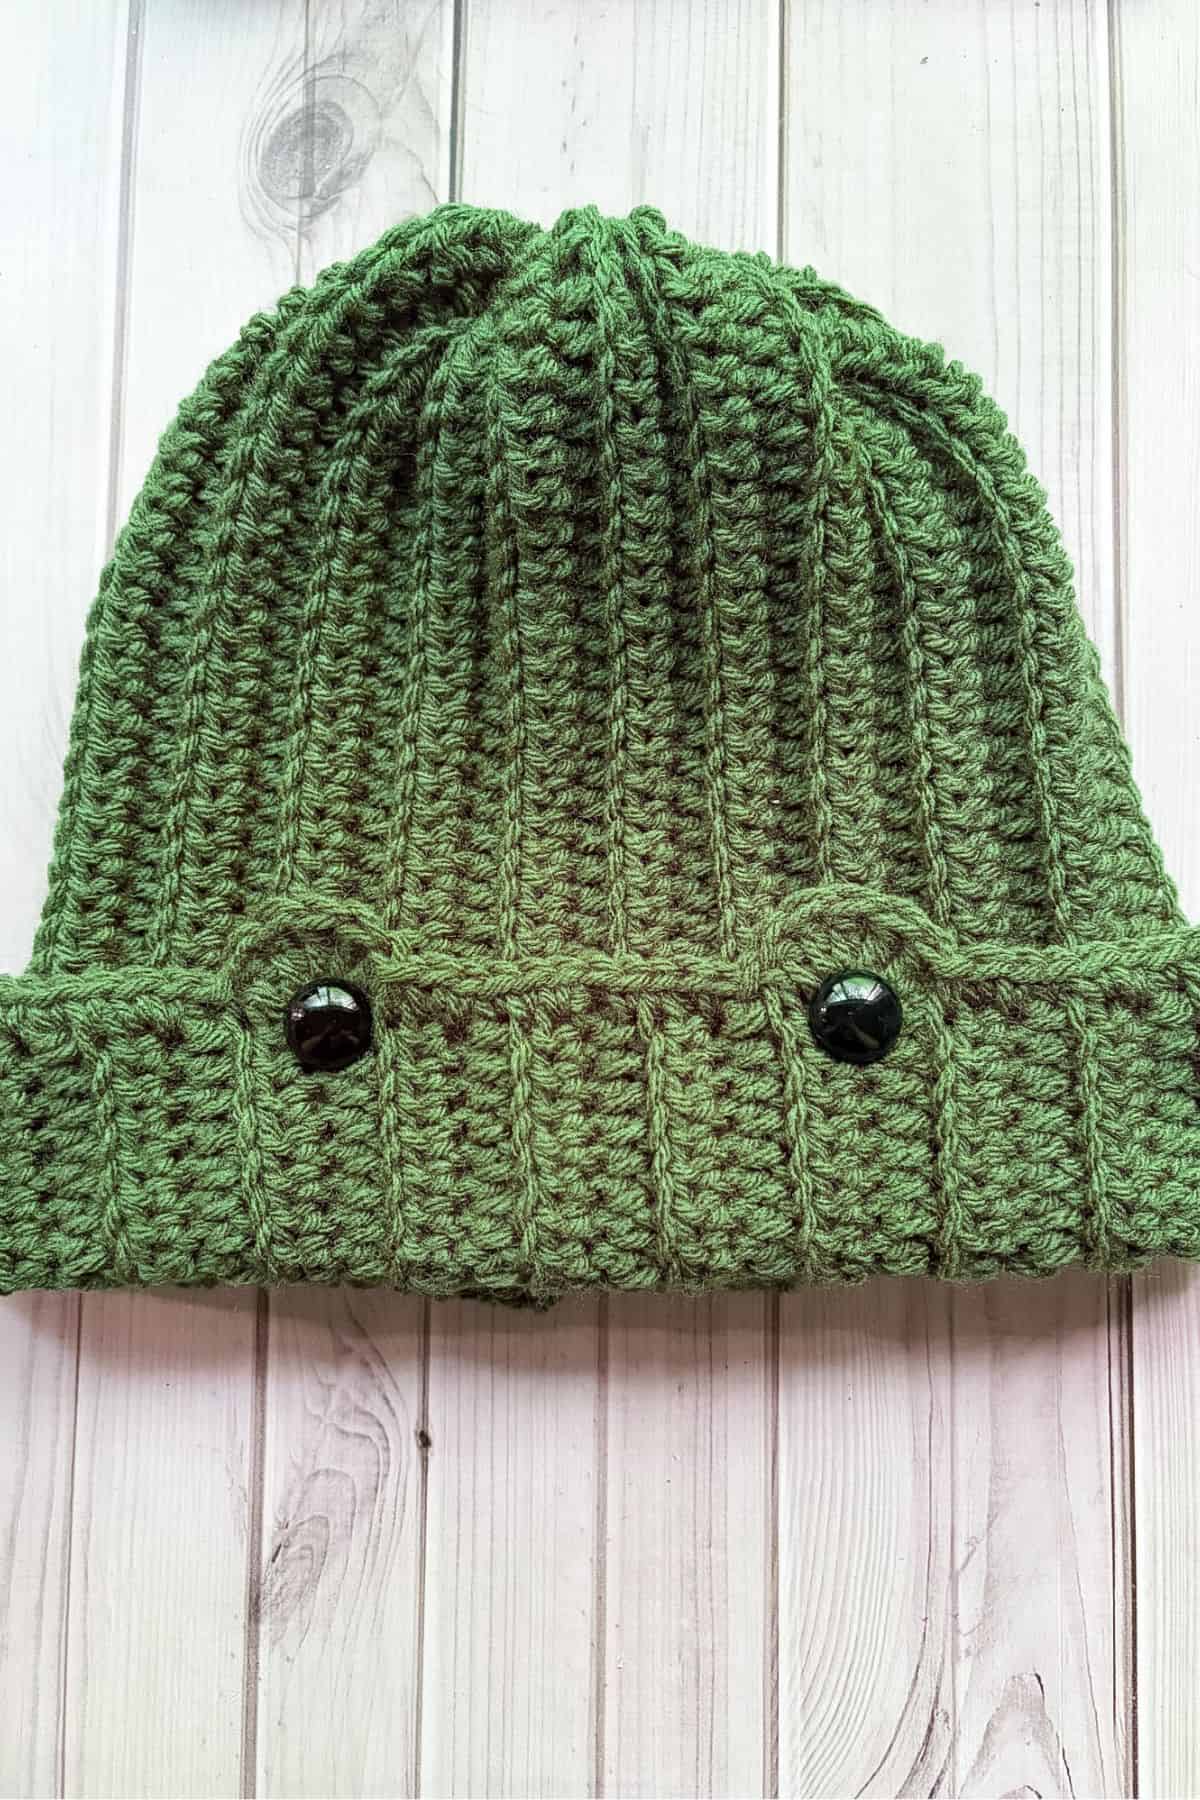
Now for the frog eye socket: *Make a sl st.
Now you are going to make a crochet shell stitch. To do this yarn over, skip a stitch, and then insert the yarn and make a dc. In the same stitch make another 4 dc’s in it (5 total). Then skip the next stitch and sl st into the following stitch.
Sc x10, repeat from * one more time.
Once that is done sc the rest of the brim. Fasten off and weave in the ends.
Finishing:
Insert safety eyes to the frog's eye sockets. Use a big washer so the eyes don't fall out.
With black yarn embroider the mouth by making a straight line across between the eyes.
Optional blush:
Make a mr and sc x6. Then sl st to the first sc. Fasten off the yarn and leave a tail for sewing. Then sew below and to the outer edge of the eyes.
And once all of that is done, the ends are weaved in, your crochet frog hat made from my crochet frog hat pattern is completed! I hope you enjoy your crochet frog beanie as much as I had fun designing the pattern for it!
If you like this crochet frog inspired design you can try and create a few other frog inspired patterns! I really like my crochet frog coaster and crochet lily pad coaster, and the crochet frog bag and crochet frog amigurumi pattern are also super popular!
🐌Expert Tips
- Adjust the Yarn Weight: For a thicker, cozier hat, try using chunky yarn. It will create a bulkier look and warmer feel. Be sure to adjust the number of rows as needed.
- Customize with Facial Expressions: For a playful twist, use embroidery to add cute or funny expressions to the frog’s face.
- Earflaps and Ties: For a winter-ready version, add earflaps by chaining 8-10 stitches, attaching them to the sides, and tying braids at the ends for ear ties.
- Secure Eyes Well: Ensure the safety eyes are tightly fastened to avoid any potential safety hazards, especially if making the hat for children.
🧵 Pattern FAQs
I use worsted weight yarn, but you can try any kind. I like a medium thyme green or olive, but any shade should work! Choose your favorite.
Absolutely! Just make sure it's superwash wool, otherwise there could be a lot of shrinkage if it’s washed.
No, they don’t! The safety eyes are only attached to the brim of the hat, so the posts don’t touch your head.
Yes, if you prefer, you can crochet or embroider the eyes instead of using safety eyes. It’s a great option for a softer finish or if making the hat for a child under three years old.
🧶More Crochet Hat Patterns
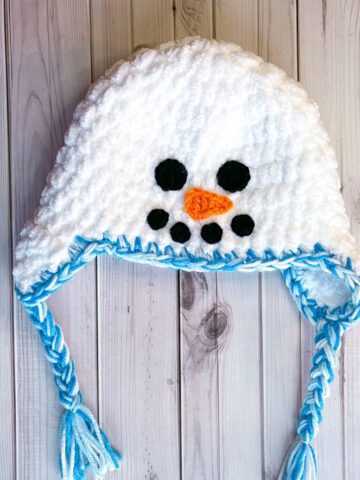
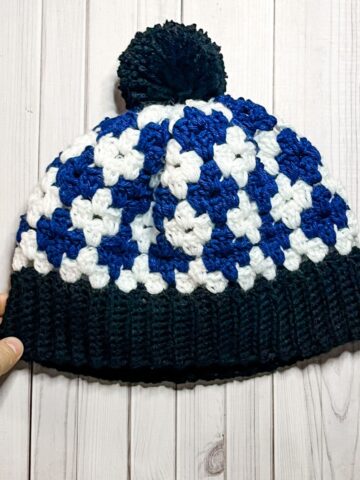
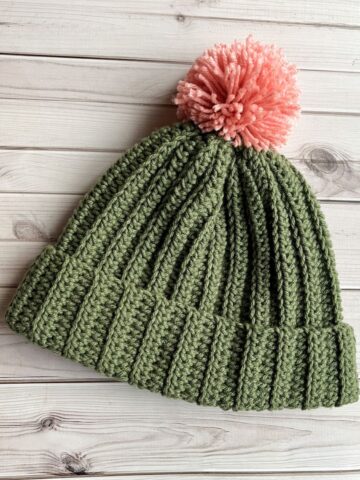
If you tried this Crochet Frog Hat Pattern (or any other pattern on my website), please let me know how it went in the 📝 comments below. I'd love to hear from you!
Crochet Frog Hat Pattern
Materials
- Red Heart Yarn - Medium Thyme
- Small amount of black.
- 14 mm Safety eyes
- 5.5 mm hook
- Tapestry needle
Abbreviations (US terms)
- Single crochet - sc
- Chains - ch
- Half double crochet - hdc
- Back loop only - blo
- Double crochet - dc
- Slip stitch - sl st
- Magic ring (mr) (for blush marks)
Notes
- Yarn and Hook Information: I used acrylic worsted yarn for this free, easy crochet frog hat pattern. Any type of yarn like cotton, chunky, etc. will work for this crochet frog beanie pattern.
- Hook Size and Dimensions: Using a 5.5mm hook, my crochet rectangle for the beanie measures roughly 14 inches by 22 inches. I’d consider my head medium-sized. Adjust the height or length as needed to fit different head sizes!
- Kid-Sized Crochet Frog Hat: For a kid-sized crochet frog hat, I recommend chaining 25-30 and then following the pattern as normal, completing only 30-35 rows. Adjust based on the child’s age. Since I haven’t made this hat for a child, keep sizing in mind as suggestions may need adjustments.
Instructions
For this pattern we will be working mostly in rows.
- Ch x41, turn
- Row 1: In the second chain from the hook, make a hdc. Continue to make hdc for the rest of the row (40). At the end of the row, ch x1 and turn. (The ch is a turning ch, you will be making these every row but do not work in them!)
- Row 2: In blo, hdc for the entire row (40). Ch x1 and turn.
- Row 3-44: Repeat row 2 (40). Ch x1 and turn.
- Use more or less rows depending on the size of hat you are trying to achieve.
- Before fastening off the yarn you want to fold the rectangle in half and then sew or crochet it shut. (I crocheted mine).
- After the side of the hat has been sewn shut, take the yarn and cinch the top of the hat shut. Fasten off and weave in the end.
- Once that is done, flip the hat inside out so now the sewn edges are on the inside of the hat.
Brim:
- The seam should be the back center of the hat. Join the green yarn at the seam and then sc a quarter of the way around the hat (if the hat is laid flat with seam at the center, you should be at the side of the hat).
- Sc x10.
- Now for the frog eye socket: *Make a sl st.
- Now you are going to make a crochet shell stitch. To do this yarn over, skip a stitch, and then insert the yarn and make a dc. In the same stitch make another 4 dc’s in it (5 total). Then skip the next stitch and sl st into the following stitch.
- Sc x10, repeat from * one more time.
- Once that is done sc the rest of the brim. Fasten off and weave in the ends.
Finishing:
- Insert safety eyes to the frog's eye sockets. Use a big washer so the eyes don't fall out.
- With black yarn embroider the mouth by making a straight line across between the eyes.
- Optional blush:
- Make a mr and sc x6. Then sl st to the first sc. Fasten off the yarn and leave a tail for sewing. Then sew below and to the outer edge of the eyes.
- And once all of that is done, the ends are weaved in, your crochet frog hat made from my crochet frog hat pattern is completed! I hope you enjoy your crochet frog beanie as much as I had fun designing the pattern for it!

Carmen says
Can we sell physical items we make using this pattern as long as credit you as the designer?
Kimberly Arenas says
Yeah thats fine 🙂
Linda says
I have made the frog and the polar bear versions - very easy and very effective both for adult but l intend to try the children sizes. Thank you!
Judy Carter says
Do you have a cat pattern. I making hats for Halloween for the littles than come to our local food pantry.
Kimberly Arenas says
Yes, I do have a cat hat pattern! We also have a brown bear, polar bear, bunny and reindeer, so there's plenty of options 🙂 Happy Halloween!
Kirstin says
What size safety eyes would you recommend for this beanie?
Kimberly Arenas says
I used 12mm safety eyes 🙂
Kittyk4y says
Great pattern! Finished result here: https://www.ravelry.com/projects/Kittyk4y/froggie-beanie
KimberlyArenas says
I love it! It turned out great!
Bailey says
I was wondering how you went about cinching the top of the hat so that it was more round than square. Mine is square as I just joined the two parts.
KimberlyArenas says
To cinch in the top I just weave tapestry needle with yarn attached at the top opening. Each stitch is about an inch long and they are right at the very edge of the top. Then pull tight.
Bailey says
Do you join the sides and then cinch or just cinch?
KimberlyArenas says
I join the sides and then cinch.
Bailey says
Had a little trouble with the edging on the brim since this was one of my first crochet patterns, but managed to figure it out in the end. Came out great!
Bailey says
I'm having trouble with the brim, I don't understand how I'm suppose to make the eye sockets. If I could see some process photos, or a video. Thanks!
KimberlyArenas says
The eye socket is done just like a shell stitch, you are going to single crochet, then skip a stitch (or the next row), then double crochet 6 times into the following stitch (or row). Then skip a stitch and single crochet. You create a wide fan shape by skipping the spaces directly next to the single crochet and double crochet stitches. The eye goes into the small hole the shell stitch makes. I unfortunately don't have any videos but you can find many on the internet for creating a shell stitch 🙂
Tina says
Do you have a pattern for a dog hat? Your hats are so cute 😊
KimberlyArenas says
Not yet but maybe in the future! 🙂