

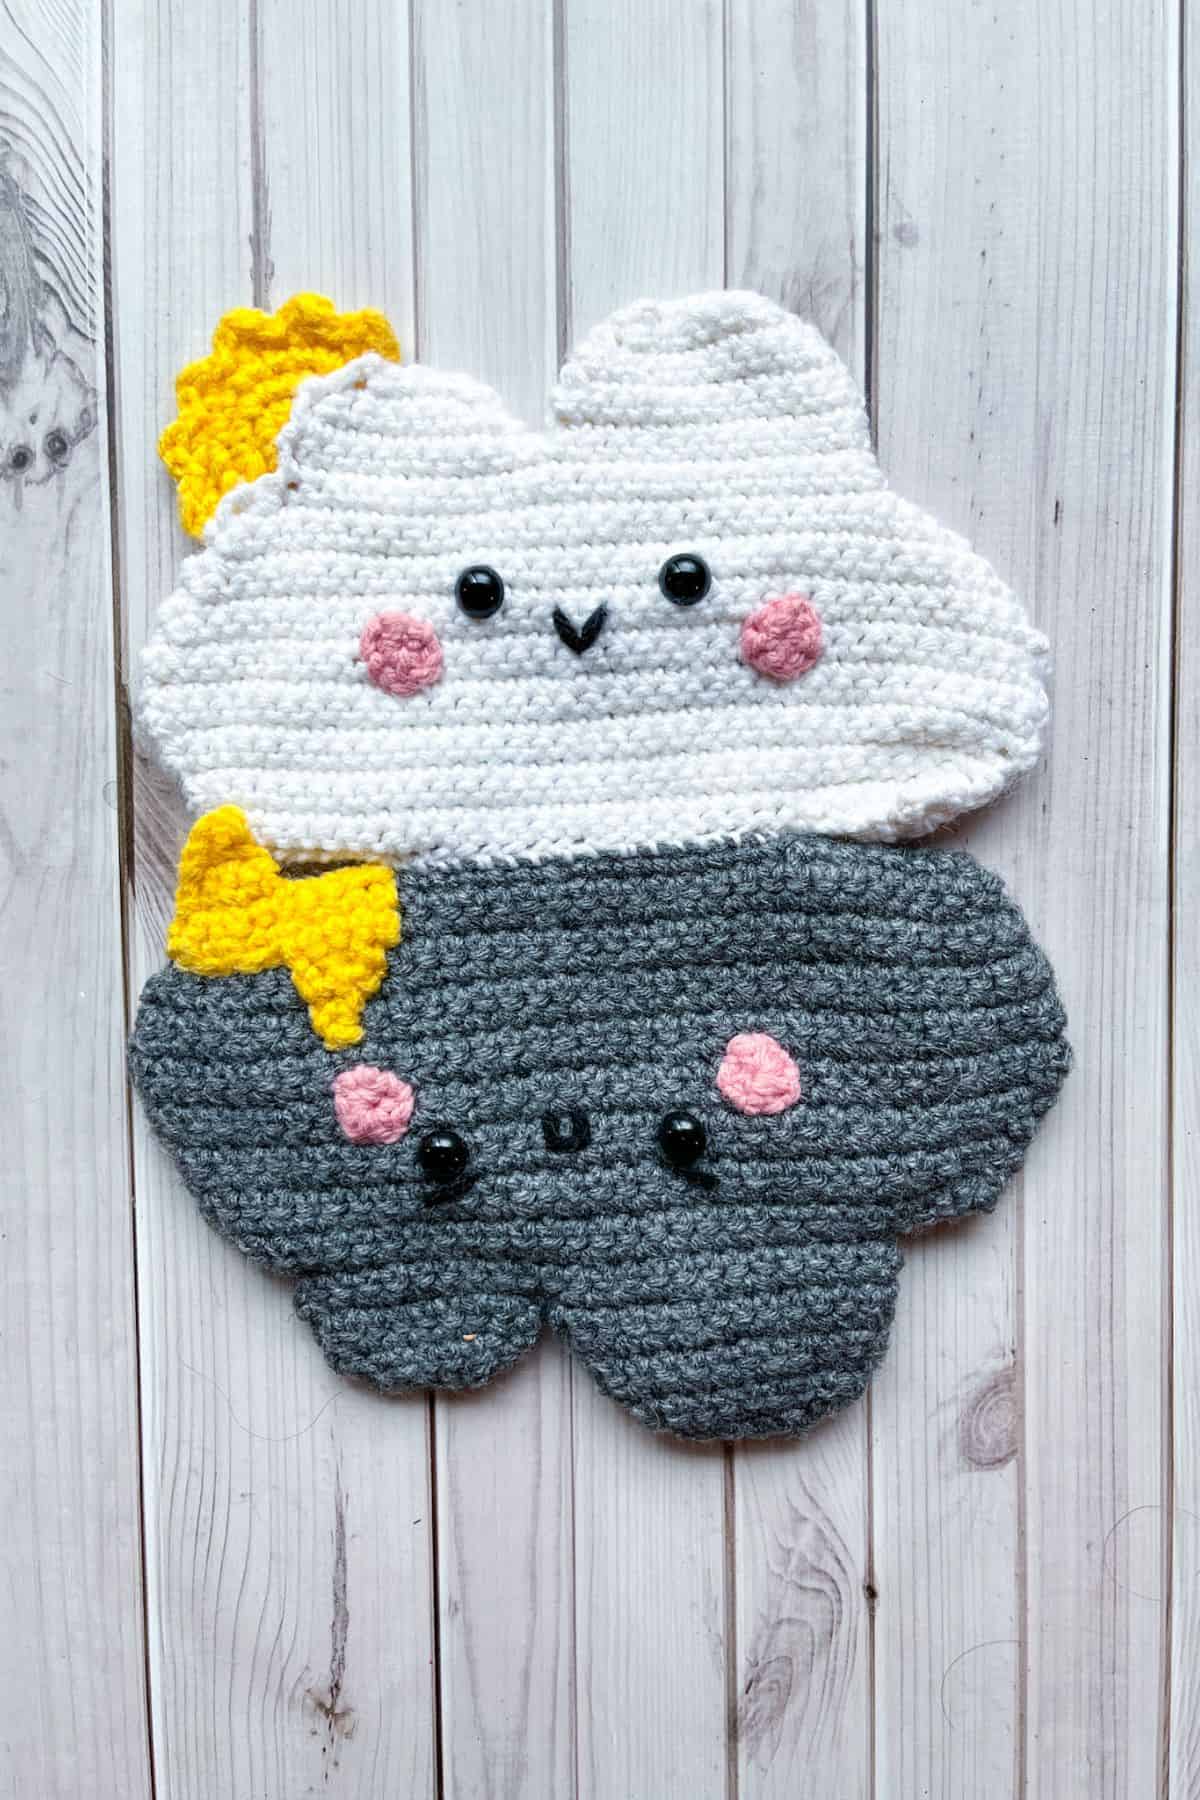
My Crochet Cloud Pattern is reversible, giving you double the cuteness! This pattern features one side as a happy white crochet cloud with a sun, and the other side as a mad dark gray crochet cloud with a lightning bolt.
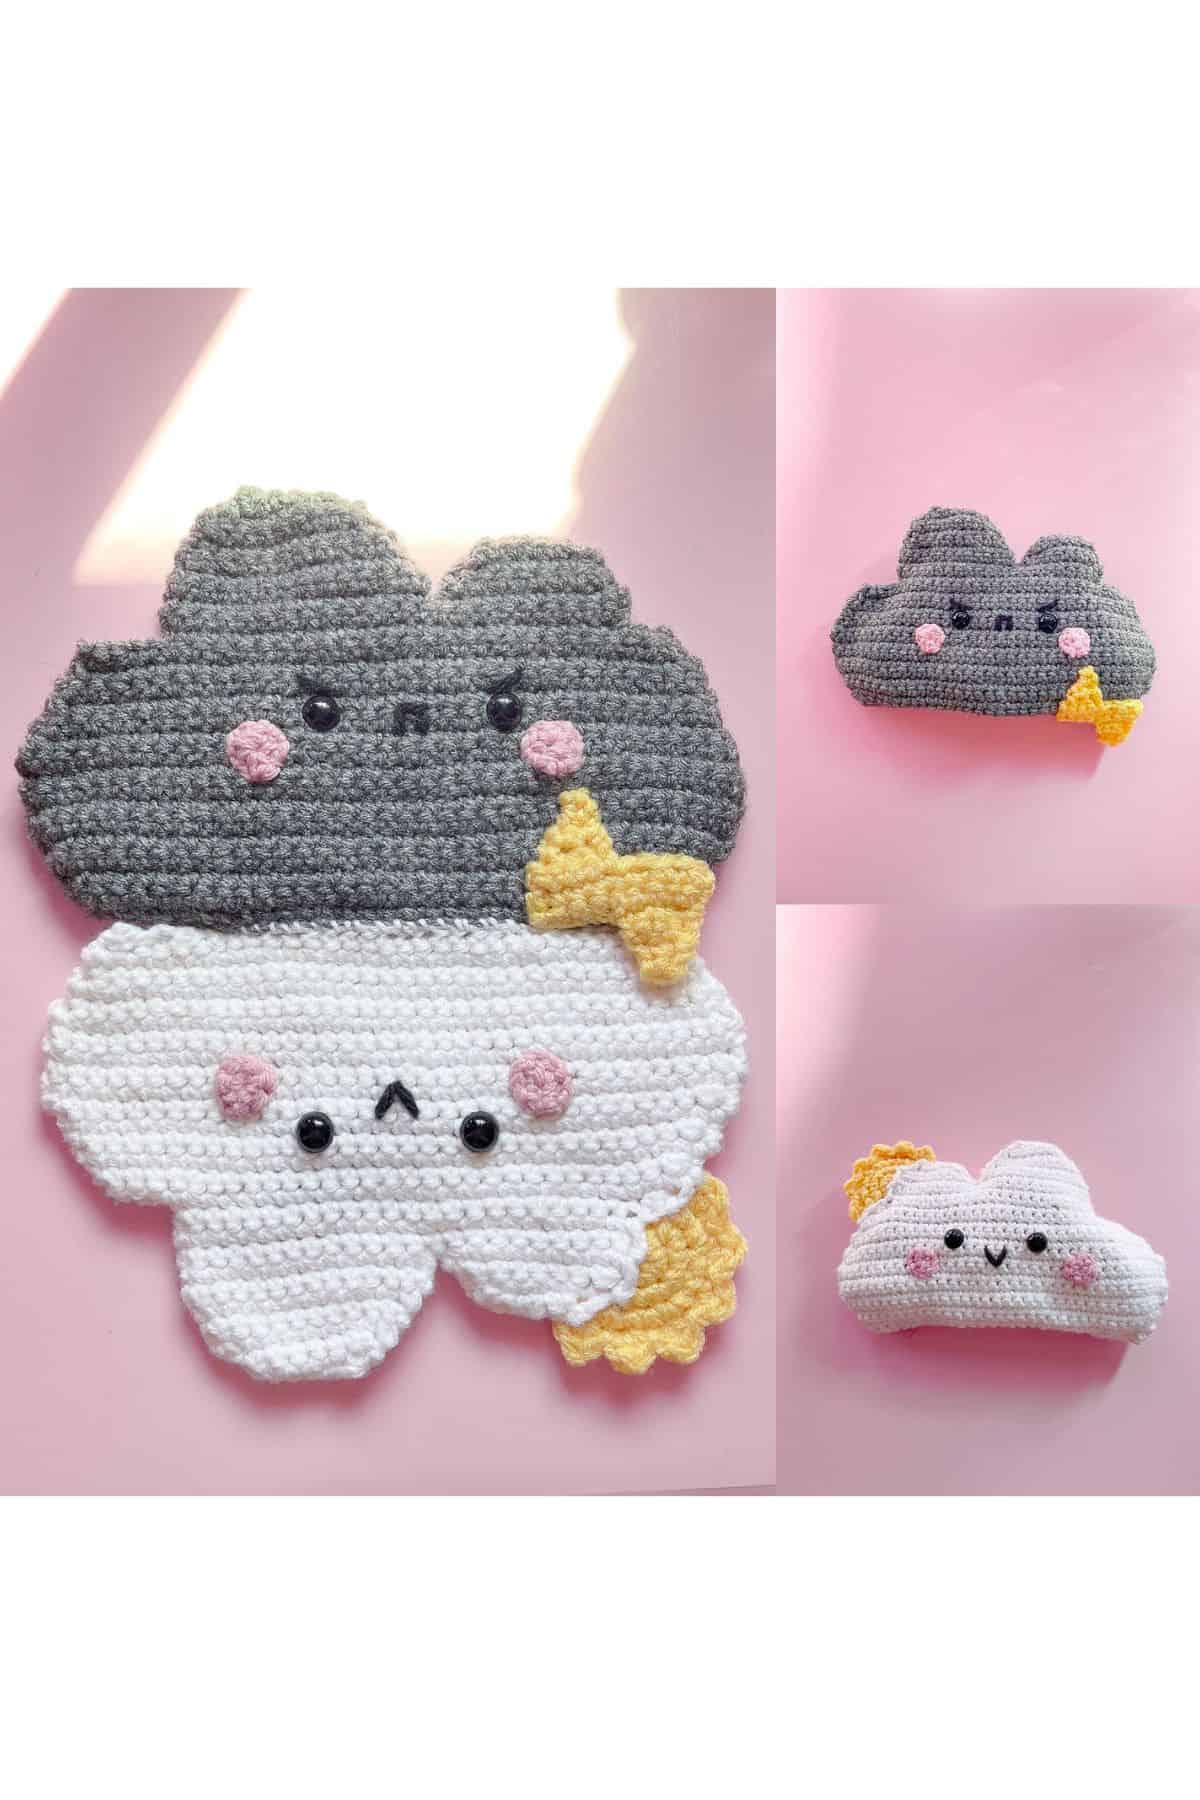
When I completed this crochet cloud pattern plush and realized I had constructed it correctly, I felt so proud of myself. Throughout the process, I wondered how I would make this reversible plush work.
After sewing the two clouds together, I had to figure out how to orient them. It took me two tries to decide which side would have the faces, but in the end, I’m glad it worked out!
The crochet cloud pattern is also a fantastic way to teach kids about weather and emotions or to let those around you know your mood and proceed with caution.
Jump to:
✏️ Things To Note:
- Yarn Choice: I used acrylic yarn to create this free crochet cloud pattern. You can use any yarn to make the crochet cloud plush, but if you want it bigger, I suggest chunky blanket yarn, which would make it the size of a crochet cloud pillow!
- Separate Plush Option: You can make the clouds separate, stuff them, and have two plushies or pillows instead of one.
- Finished Size: The finished size of the crochet cloud pattern is roughly 10 inches by 6 inches.
🪡 Materials Needed
- 1 skein of white
- 1 skein of dark grey
- 1 small ball of yellow
- 1 small ball of pink
- 1 small ball of black
- H hook (5mm)
- Tapestry needle for weaving in the ends
- Safety eyes
💭 Abbreviations to Remember (US Terms)
- Magic ring (mr)
- Single crochet (sc)
- Chains (ch)
- Increase (inc)
- Decrease (dec)
- Slip stitch (sl st)
- Double Crochet (dc)
🧋 Variations
Try using chunky yarn to turn the crochet cloud into a crochet cloud pillow pattern!
🍵 Instructions for Crochet Cloud Pattern (Reversible)
Crochet Cloud x4:
For this crochet cloud pattern, we will be working in rows.
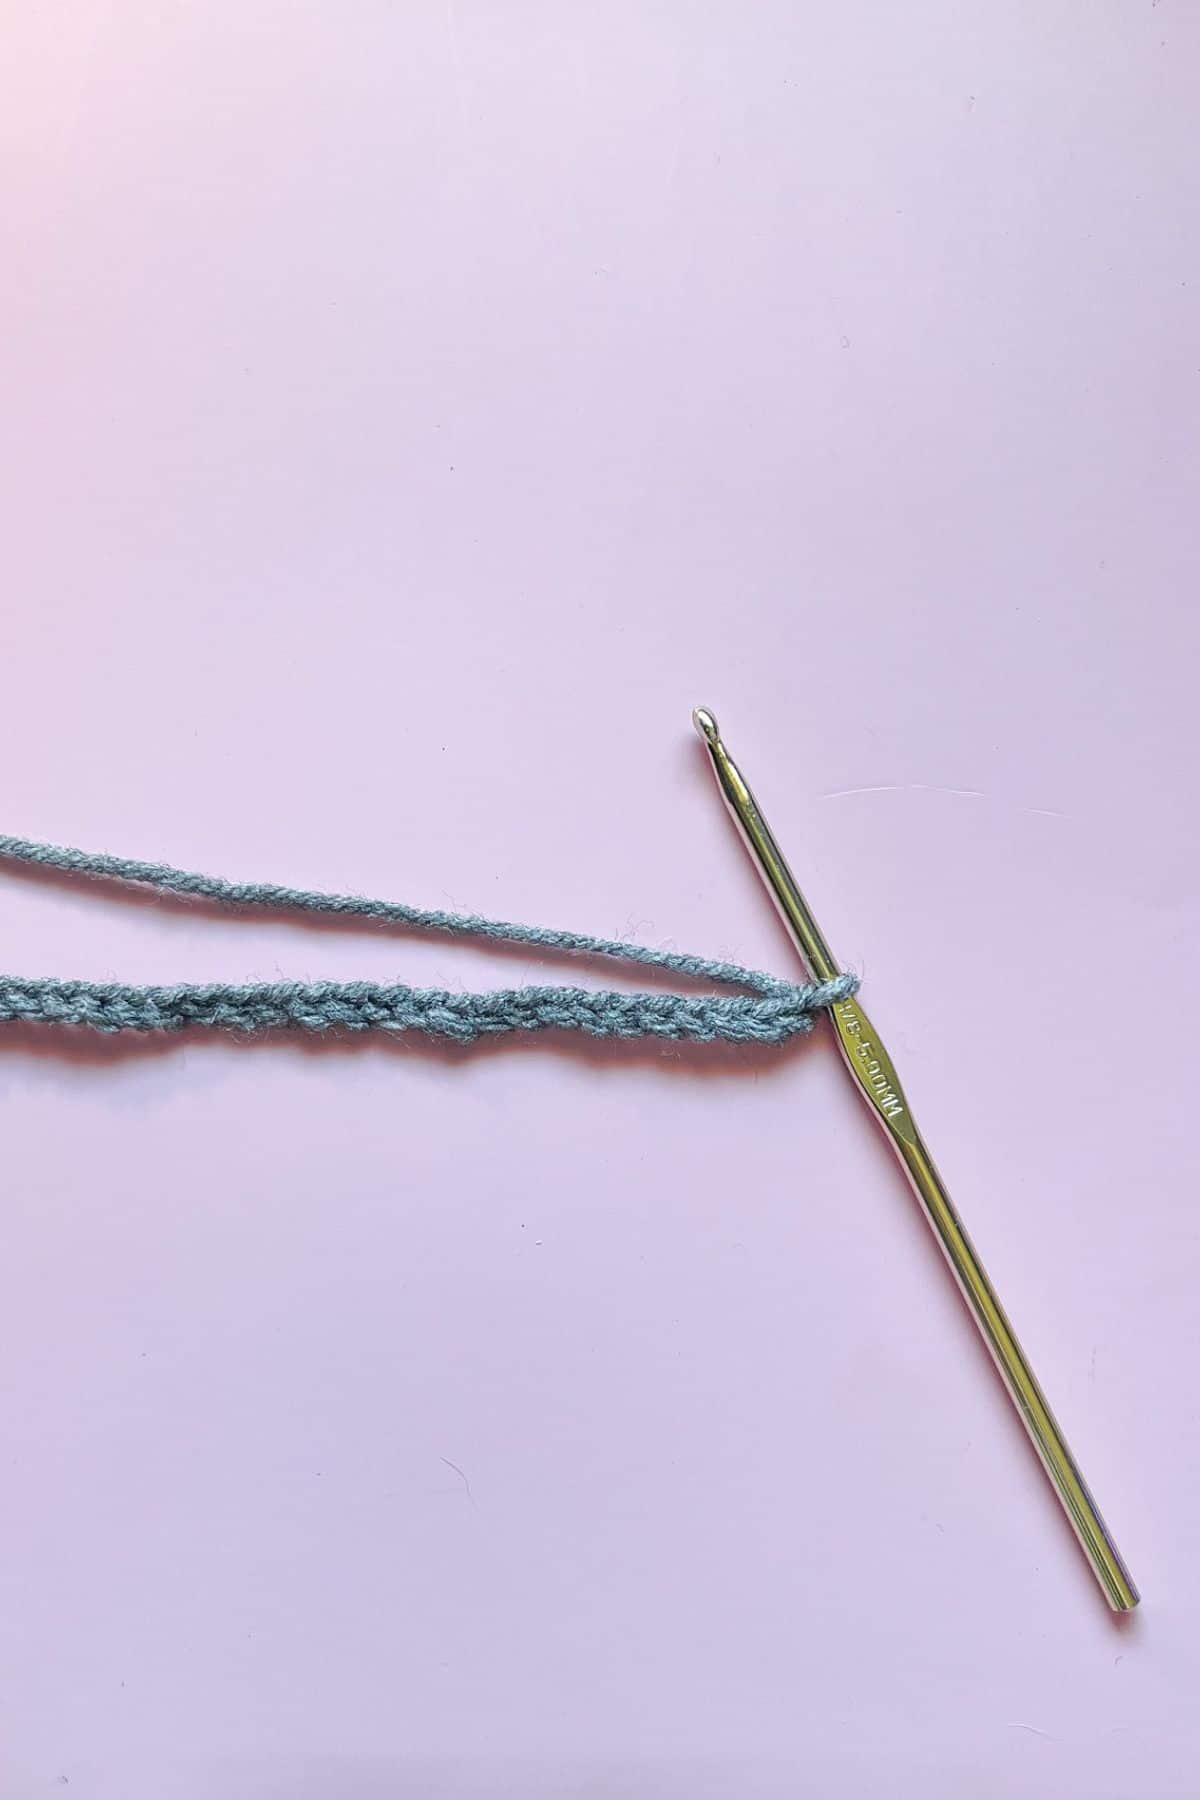
Row 1: Ch x31 and turn
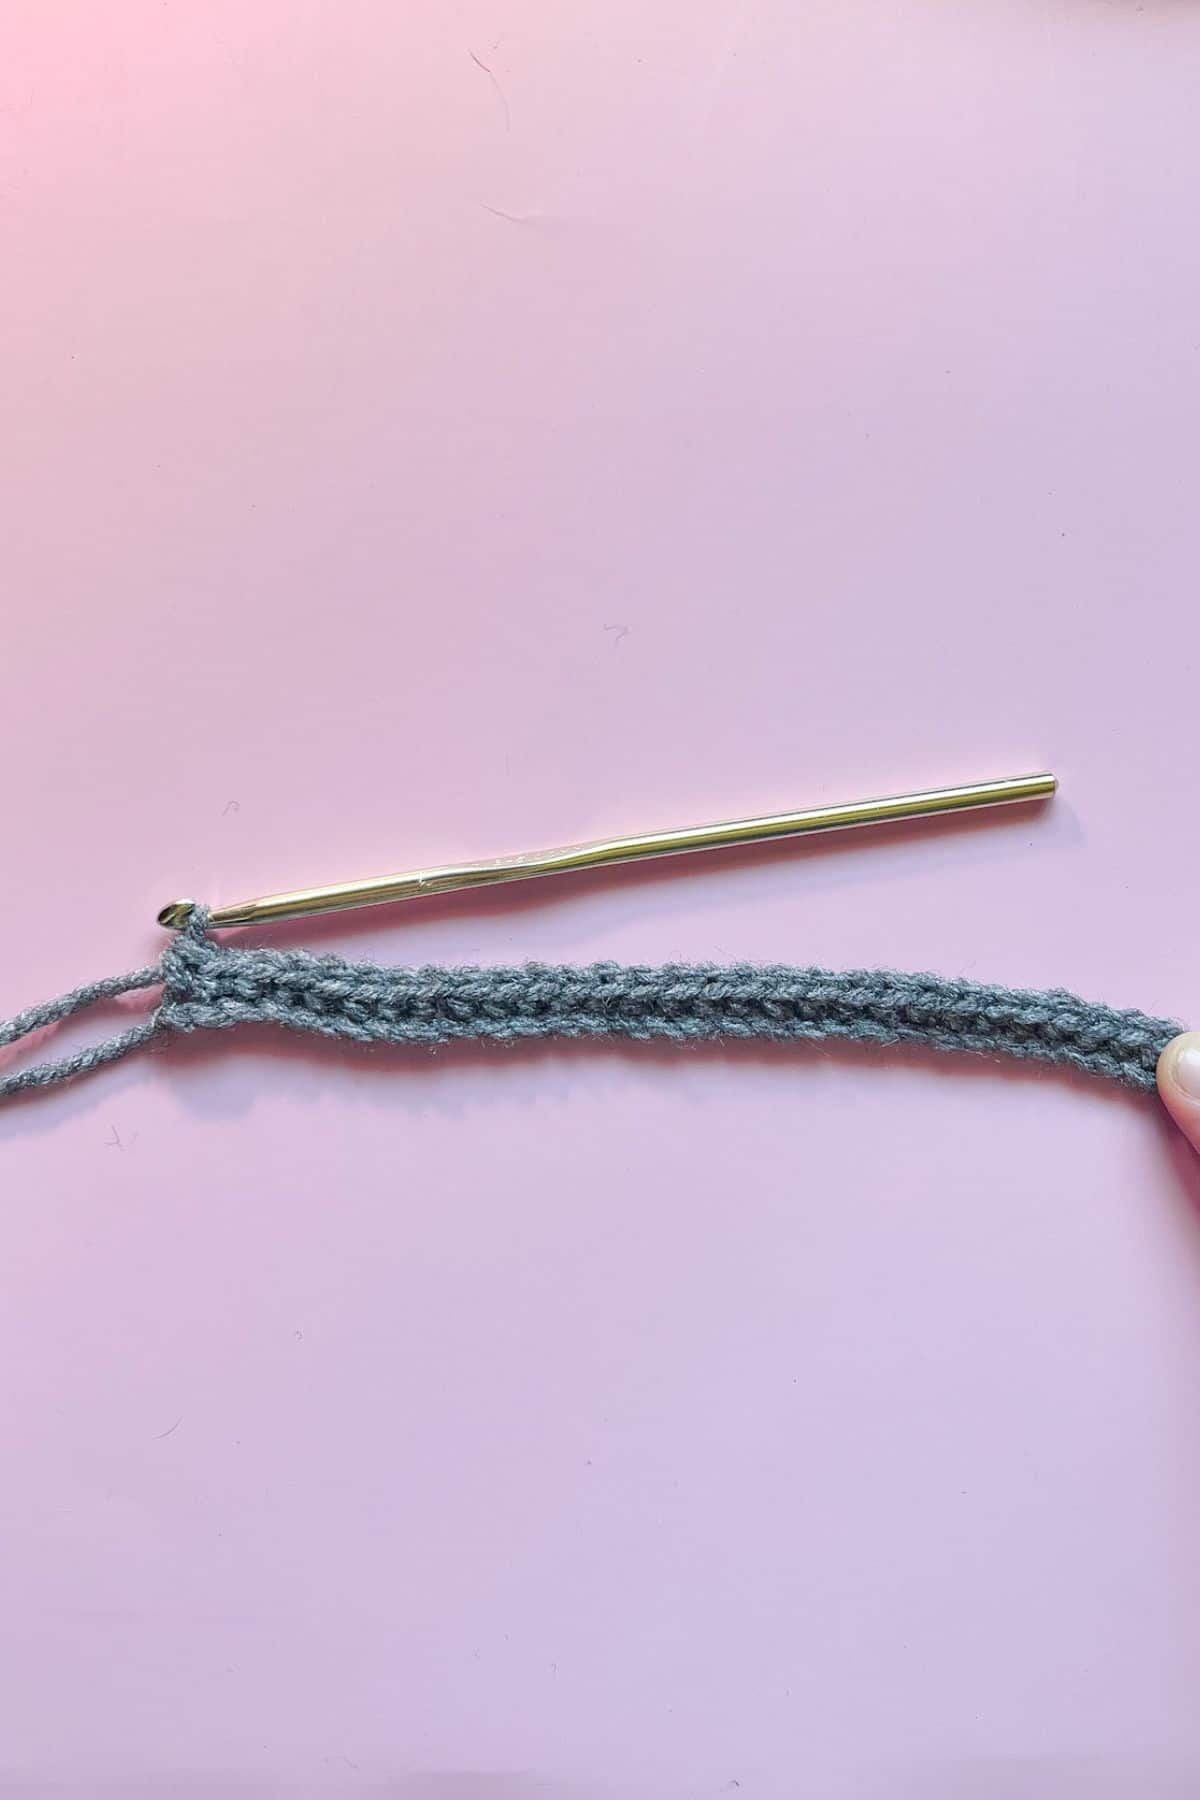
Row 2: In the second ch from hook make a sc. Continue making sc in the rest of the chs (30) Ch x1 and turn. (this chain is the turning chain DO NOT WORK THE TURNING CHAIN IN THIS ROW OR PRECEDING ROWS)
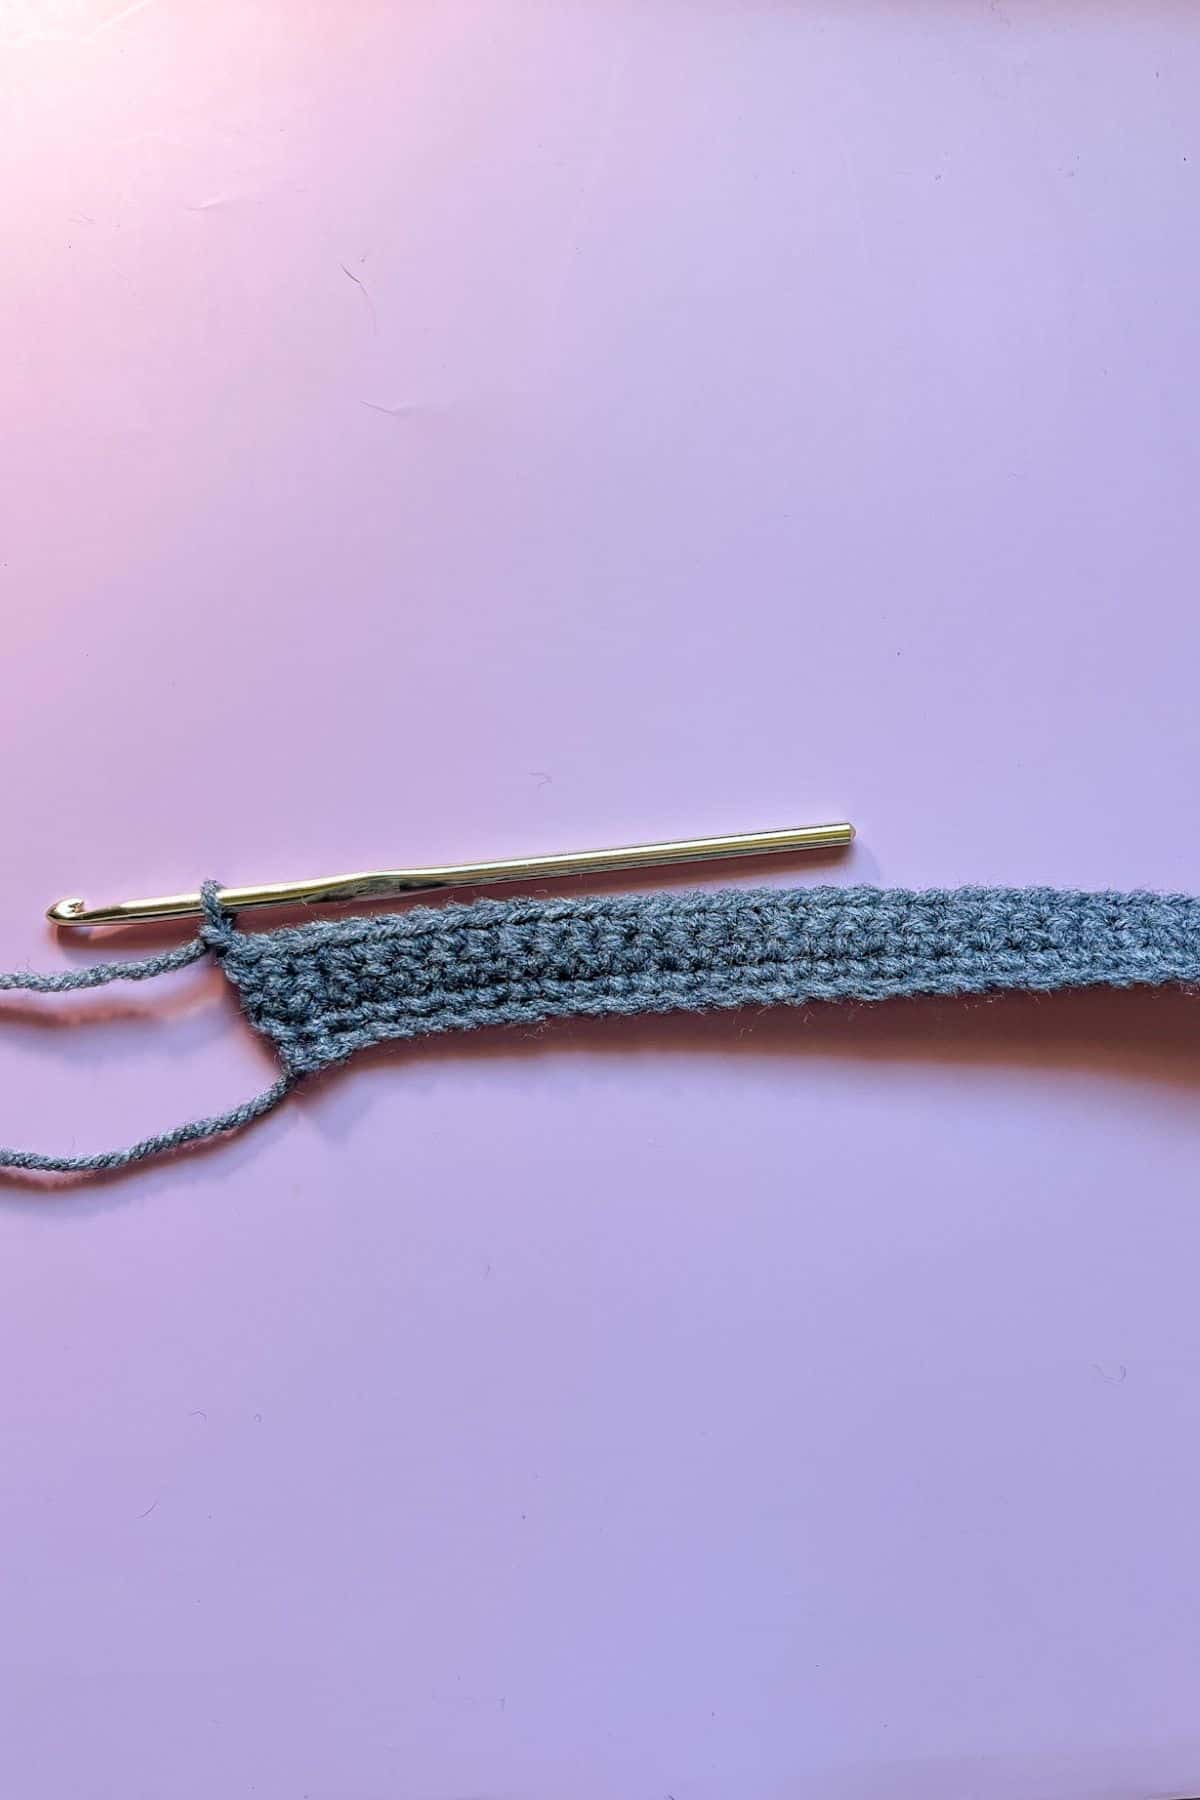
Row 3: Inc, sc x28, inc (32) Ch x1 and turn
Row 4: Sc x32 (32) Ch x1 and turn
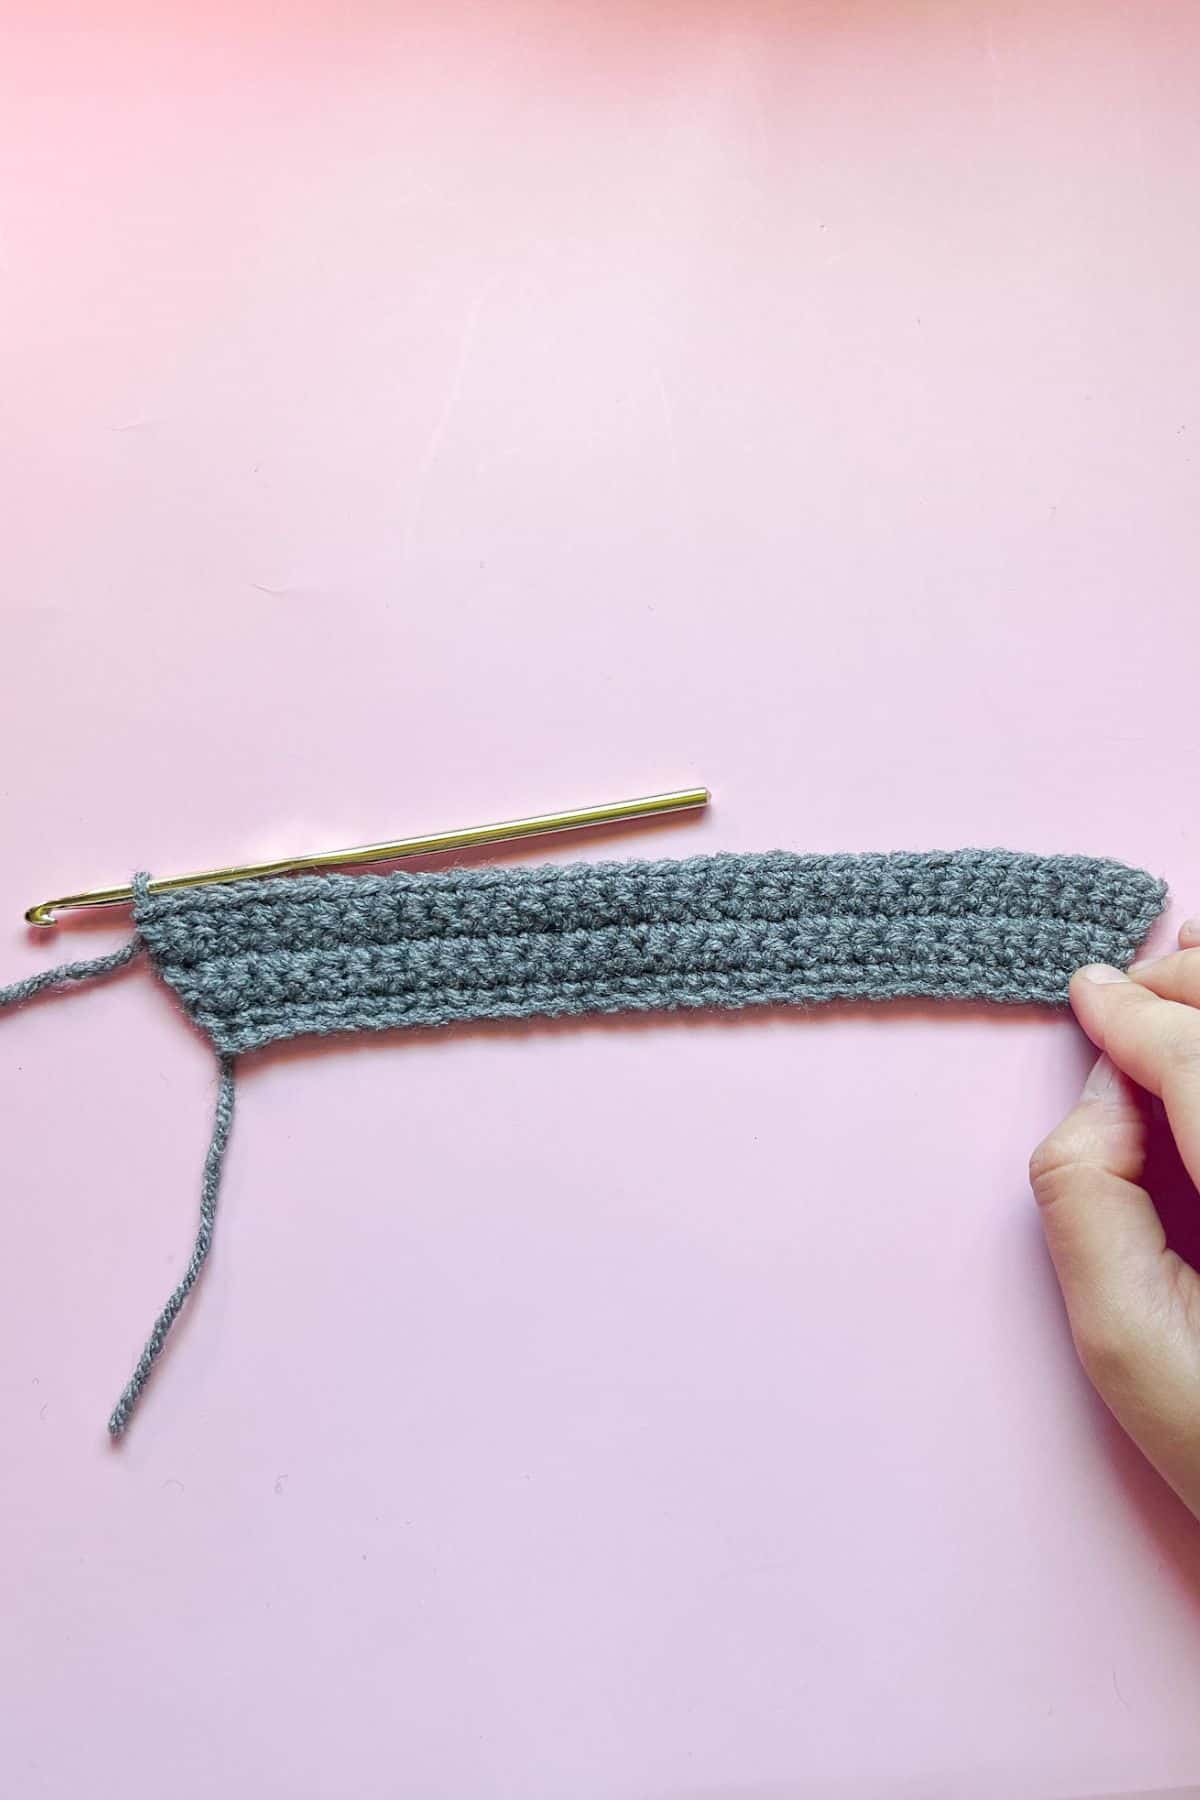
Row 5: Inc, sc x30, inc (34) Ch x1 and turn
Row 6: Sc x34 (34) Ch x1 and turn.
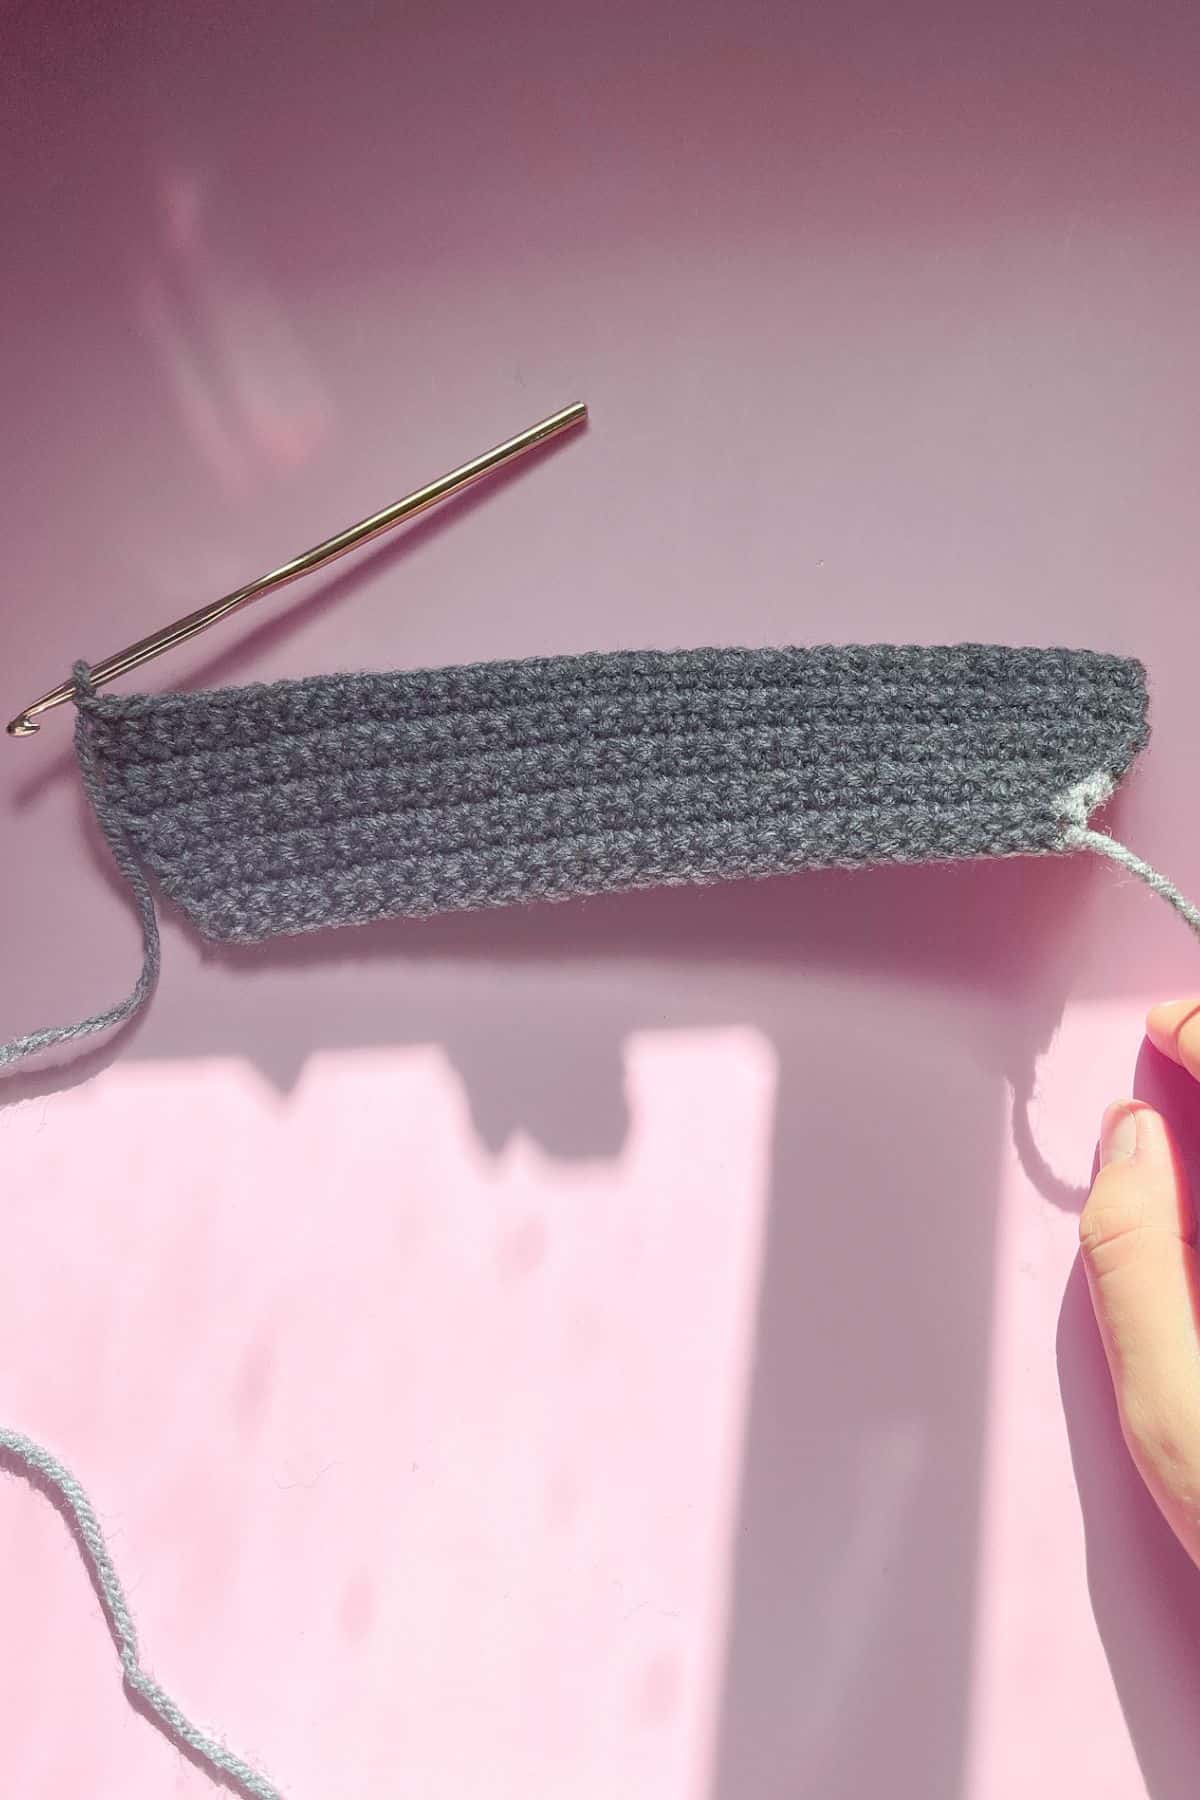
Row 7: Inc, sc x32, inc (36) Ch x1 and turn
Row 8-11: Sc x36 (36) ch x1 and turn
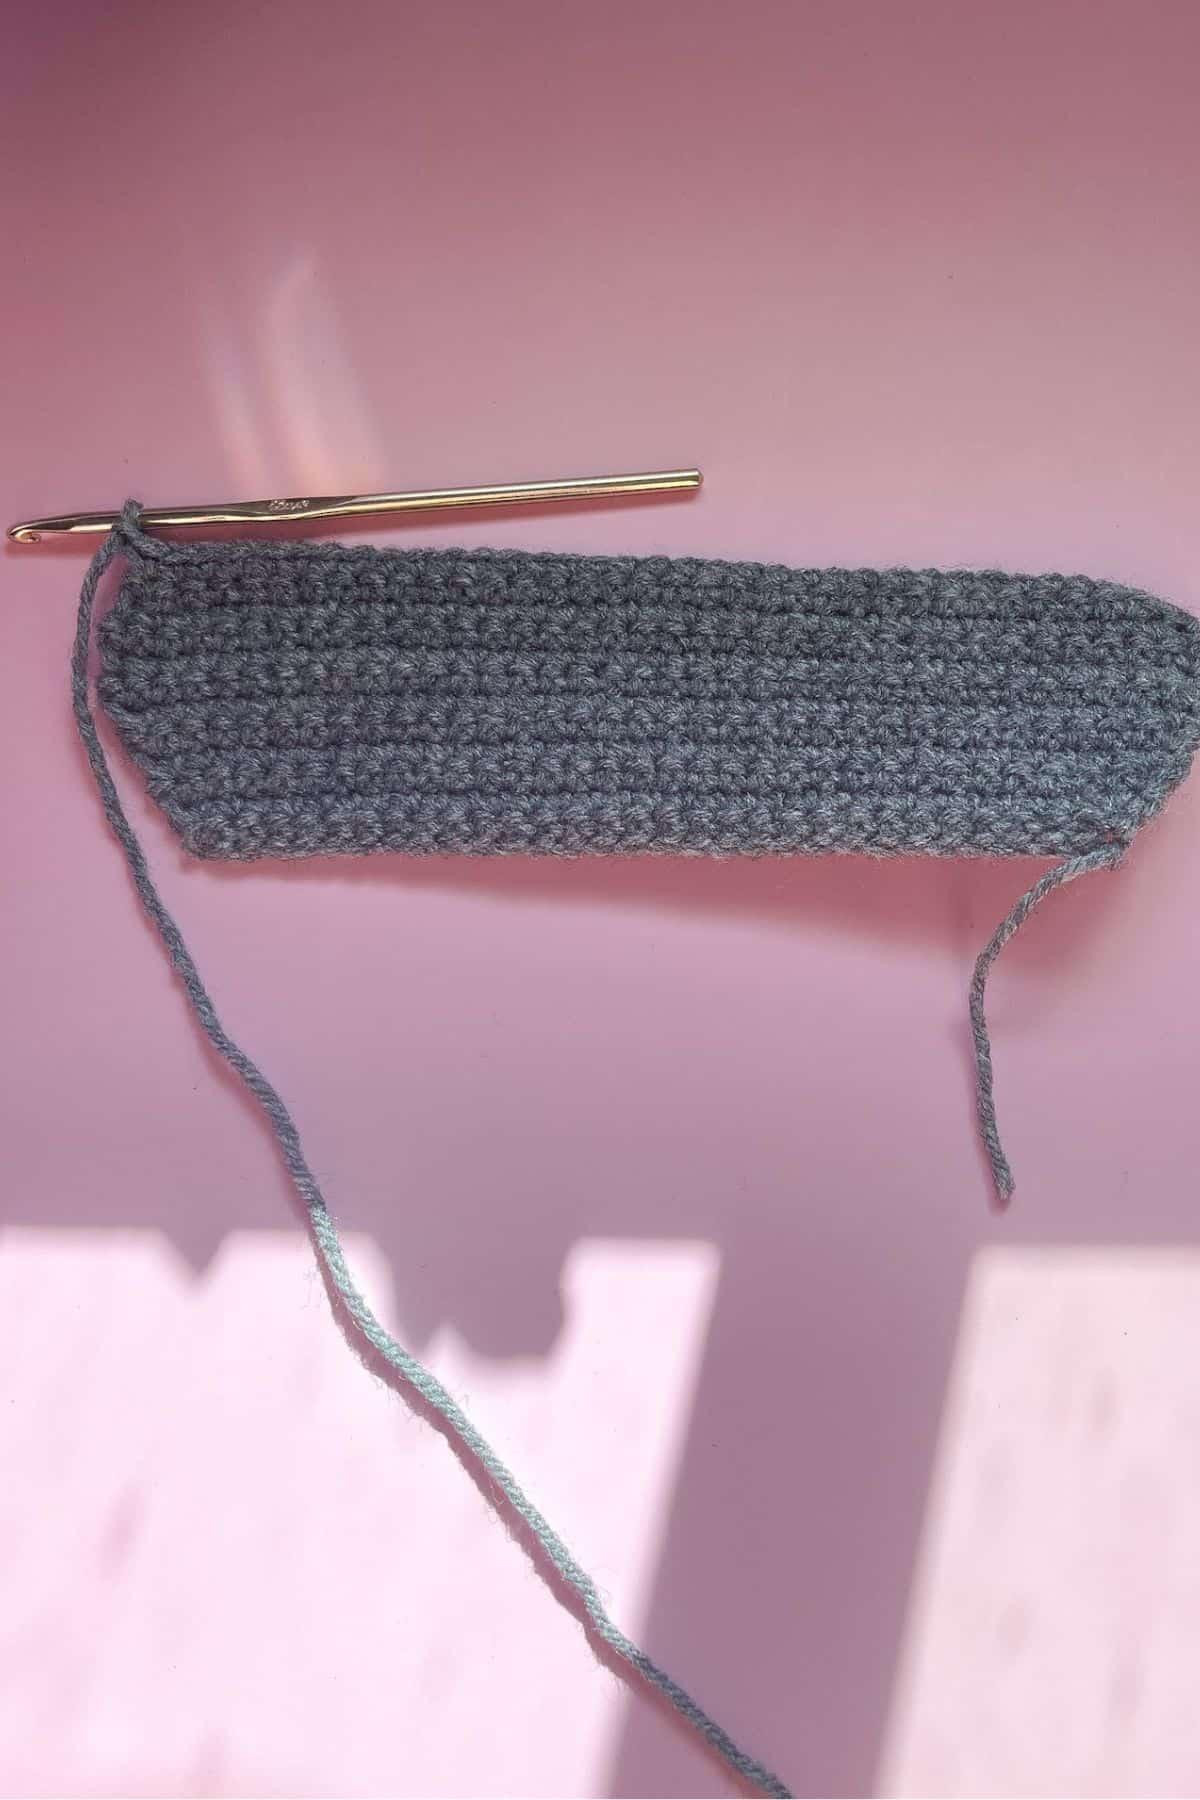
Row 12: Dec, 32, dec (34) Ch x1 and turn
Row 13: Sc x34 (34) Ch x1 and turn
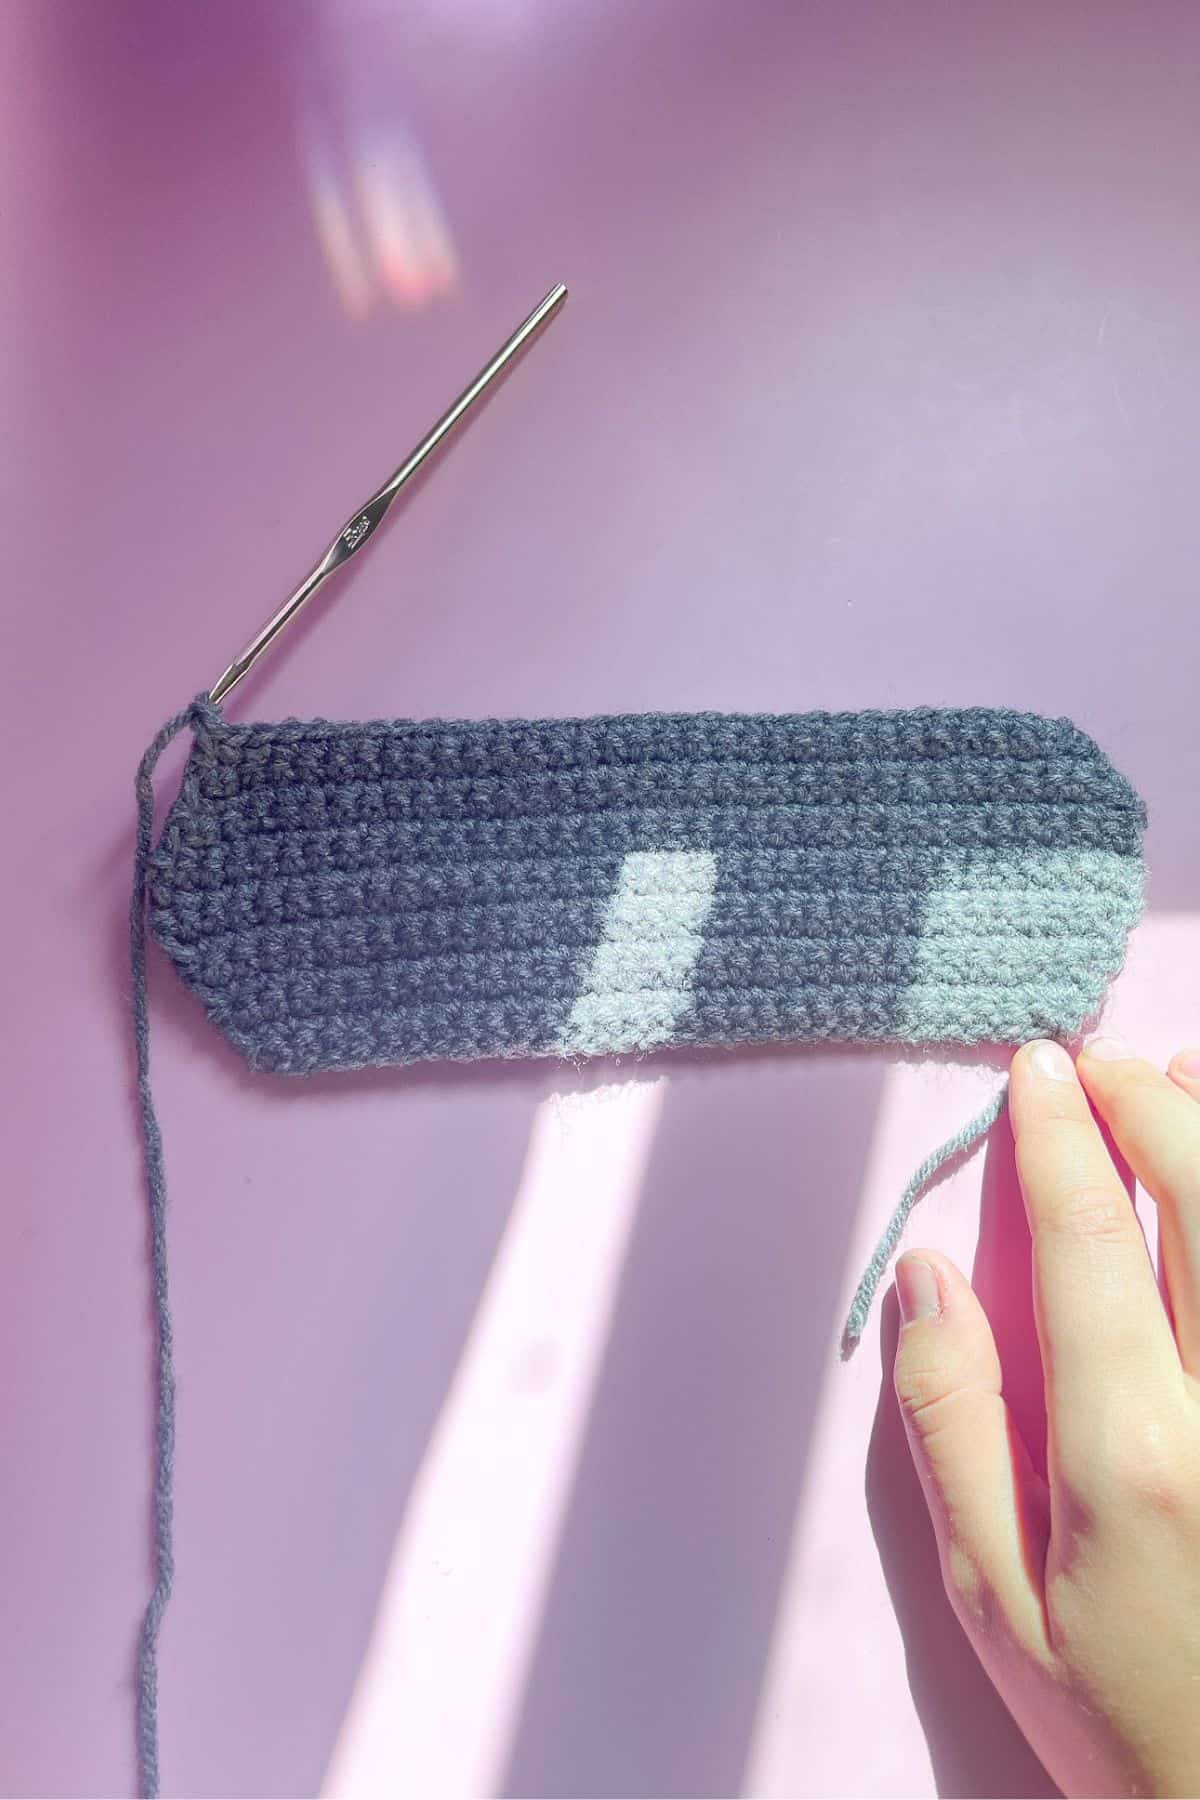
Row 14: Dec, 30, dec (32) Ch x1 and turn
Row 15: Sc x32 (32) Ch x1 and turn
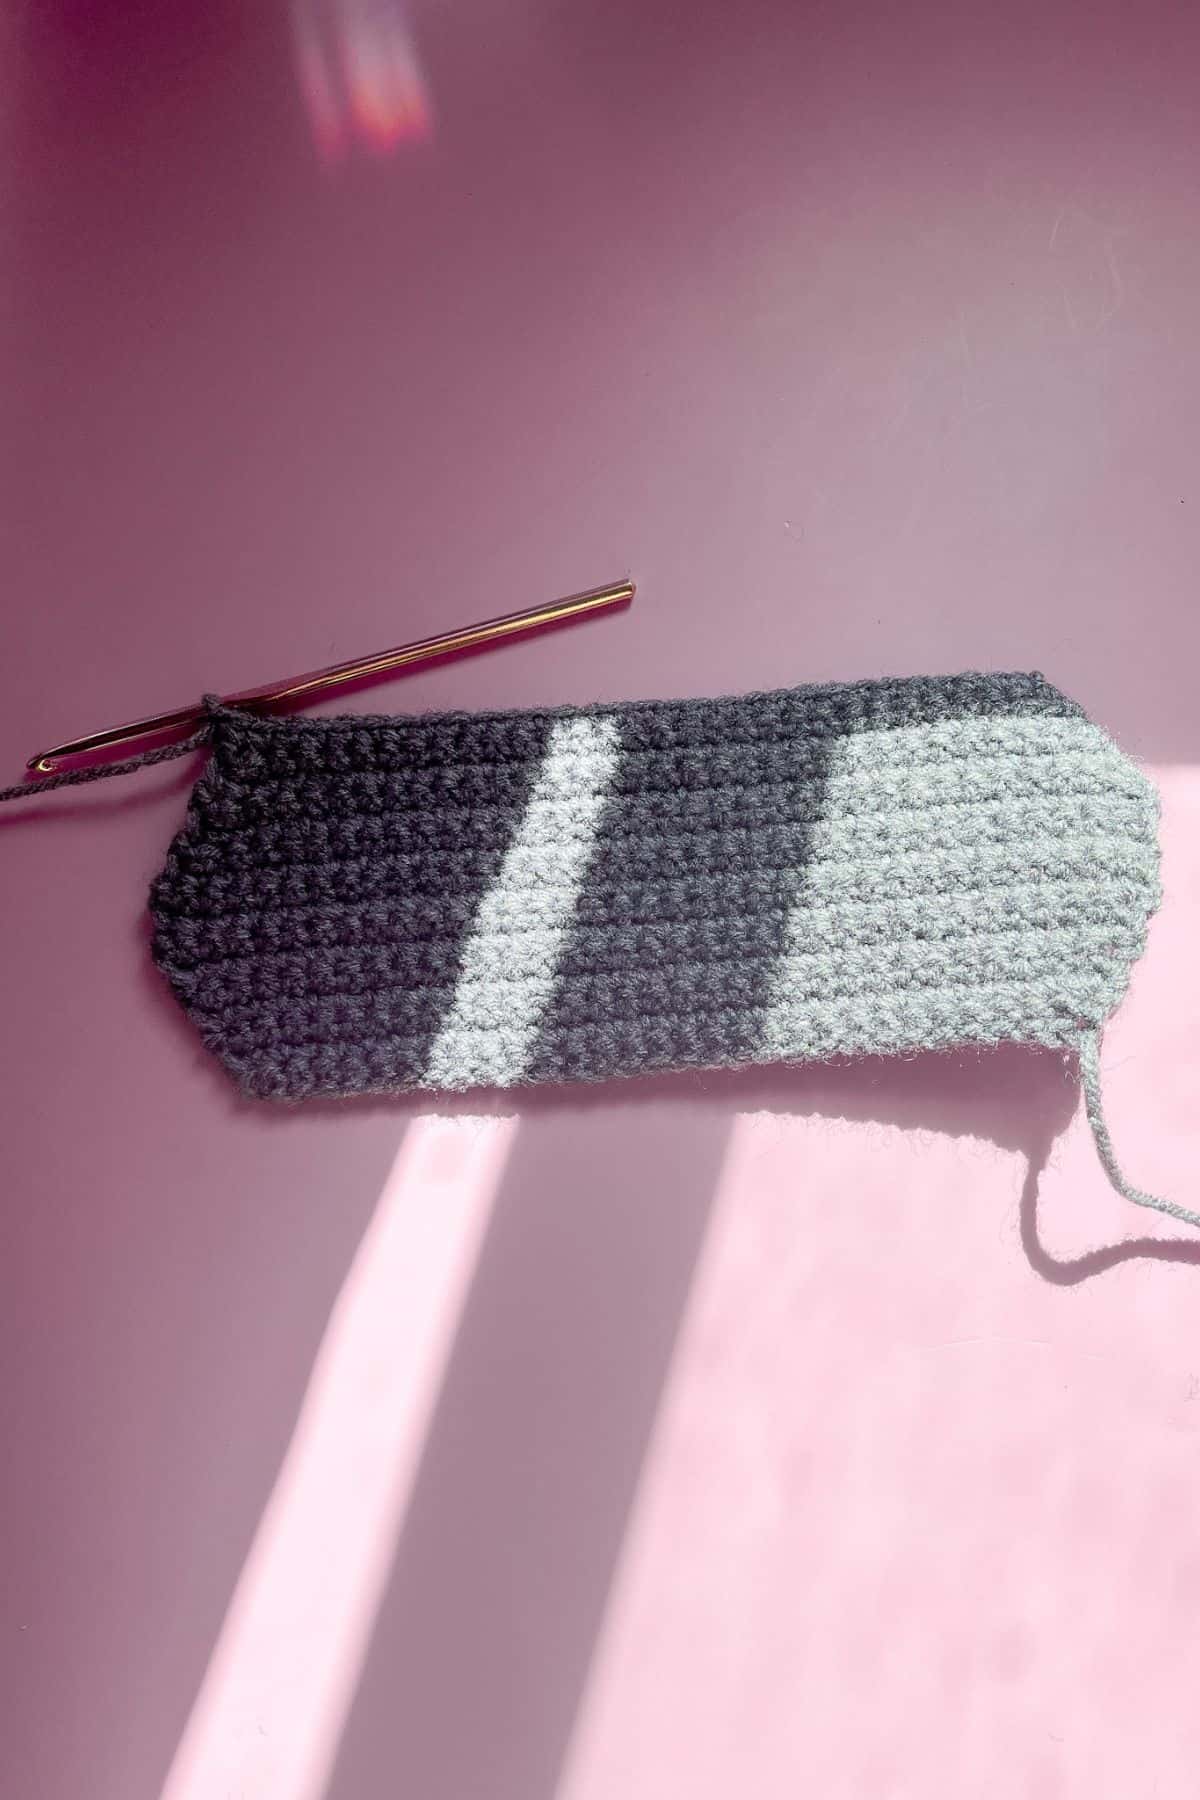
Row 16: Dec, 28, dec (30) Ch x1 and turn
Row 17: Sc x30 (30) Ch x1 and turn
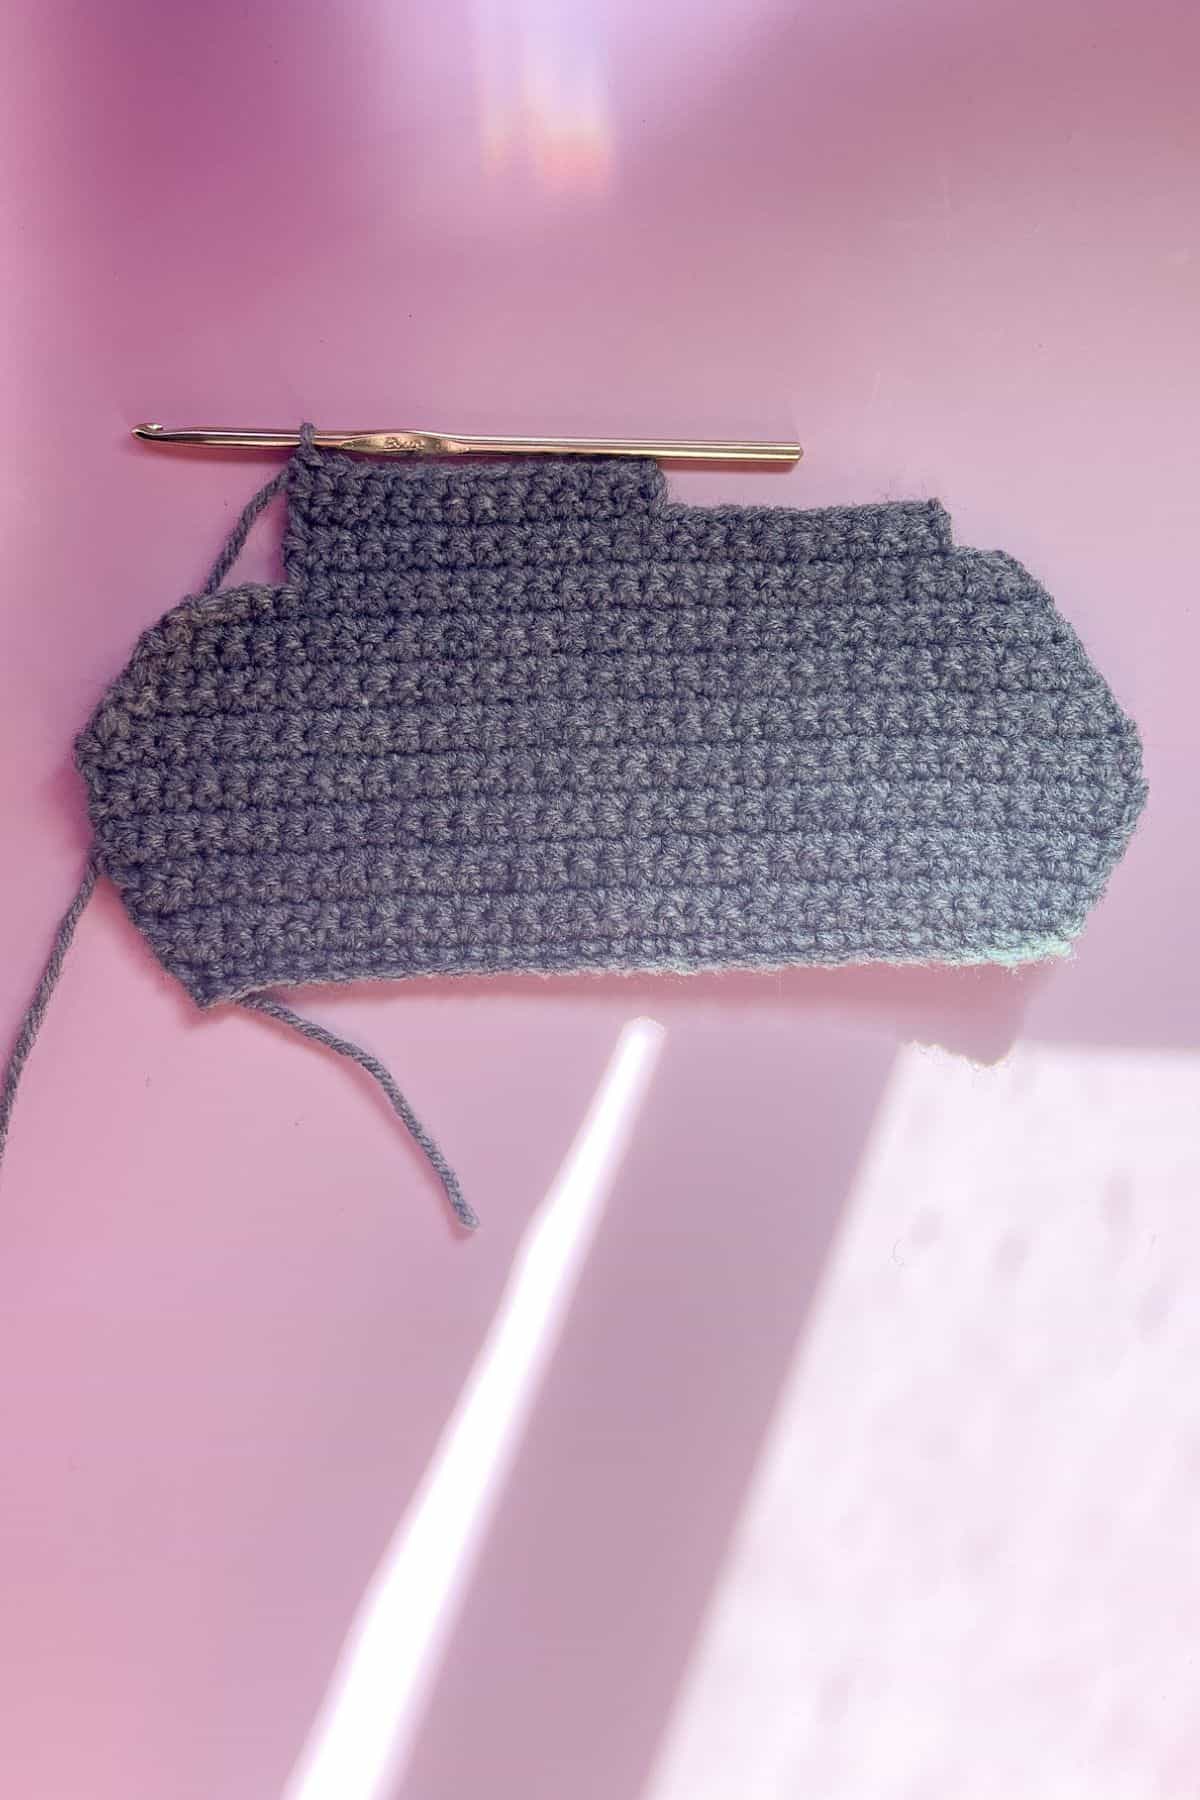
Row 18: Dec, sc x24 (25) Ch x1 and turn
Row 19-20: Sc x23 (23) Ch x1 and turn
Row 21-22: Sc x13 (13) Ch x1 and turn
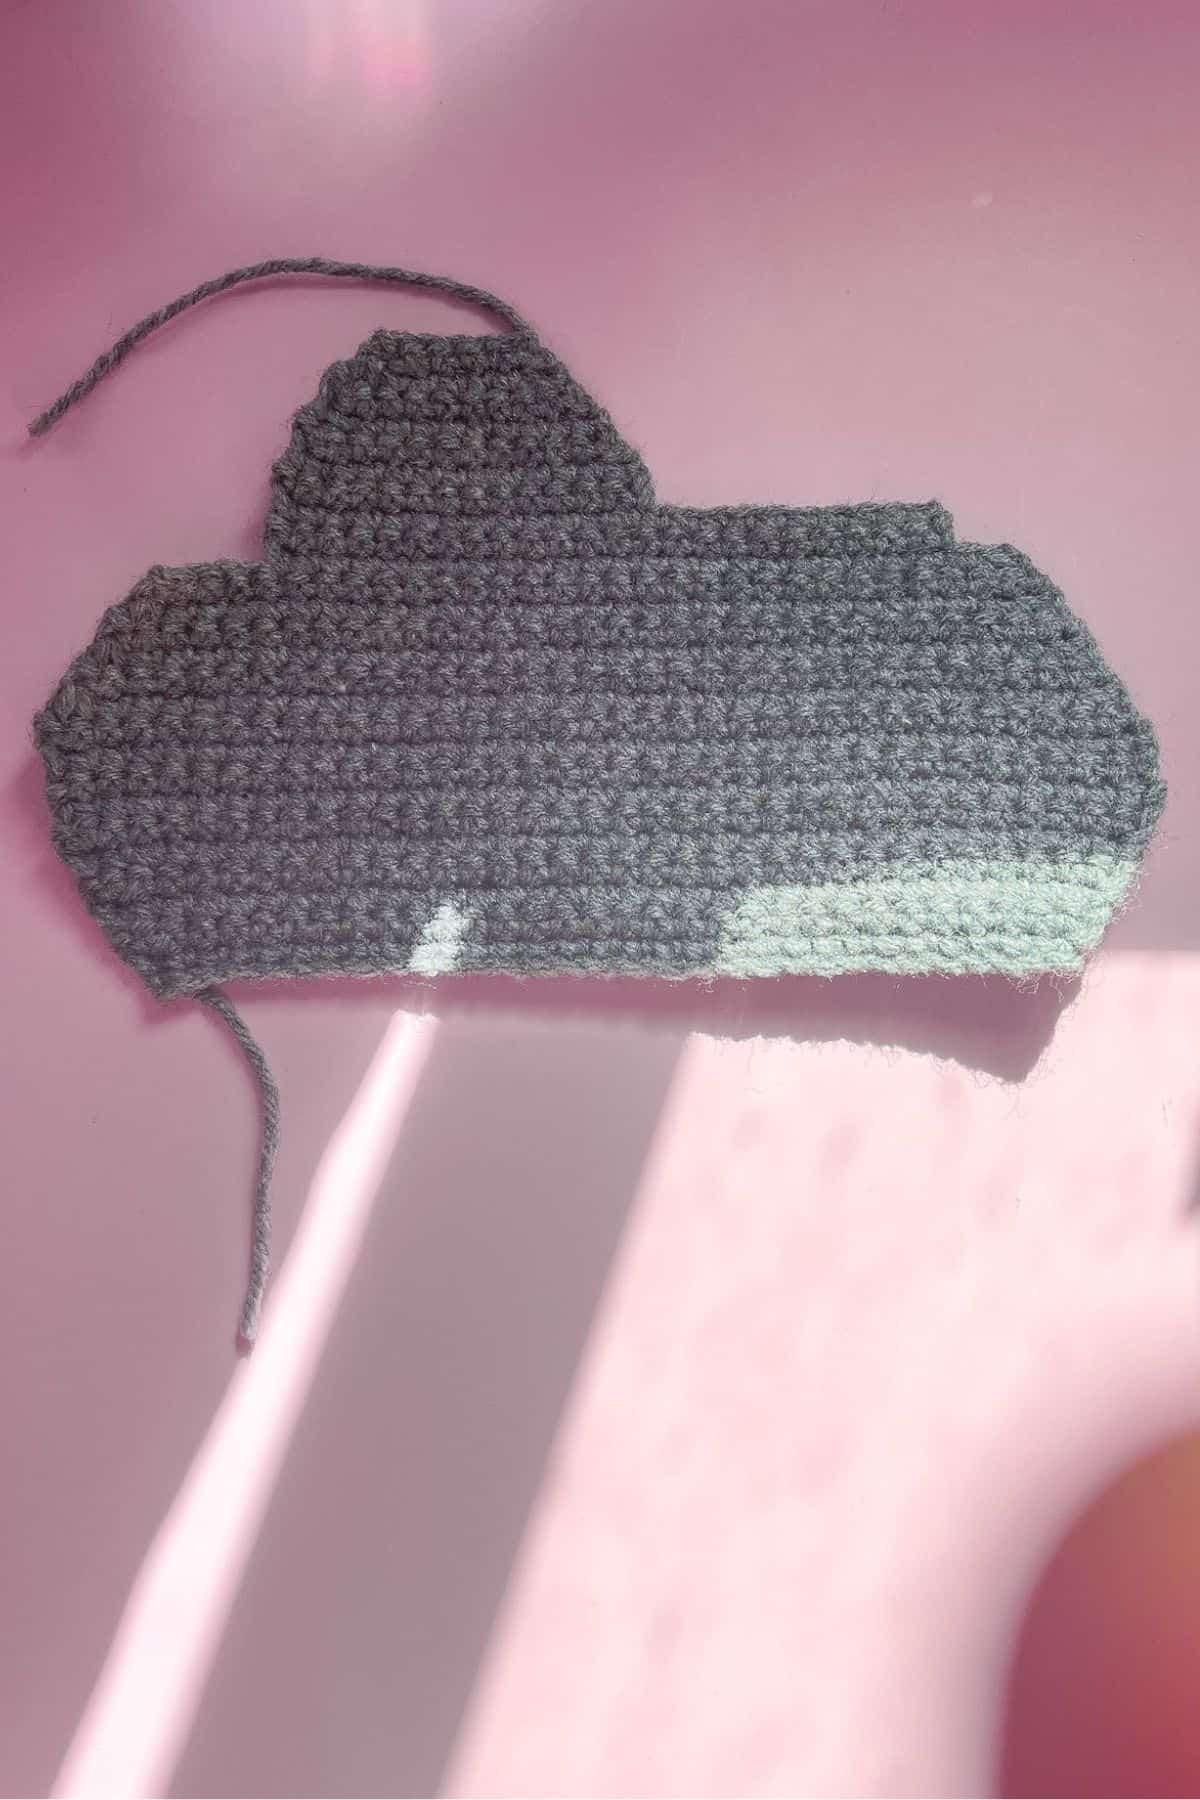
Row 23: Dec, sc x9, dec (11) Ch x1 and turn
Row 24: Sc x11 (11) Ch x1 and turn
Row 25: Dec, sc x7, dec (9) Ch x1 and turn
Row 26: Dec, sc x5, dec (7) Ch x1 and turn
Row 27: Dec, sc x3, dec (5) Fasten off and weave in the end.
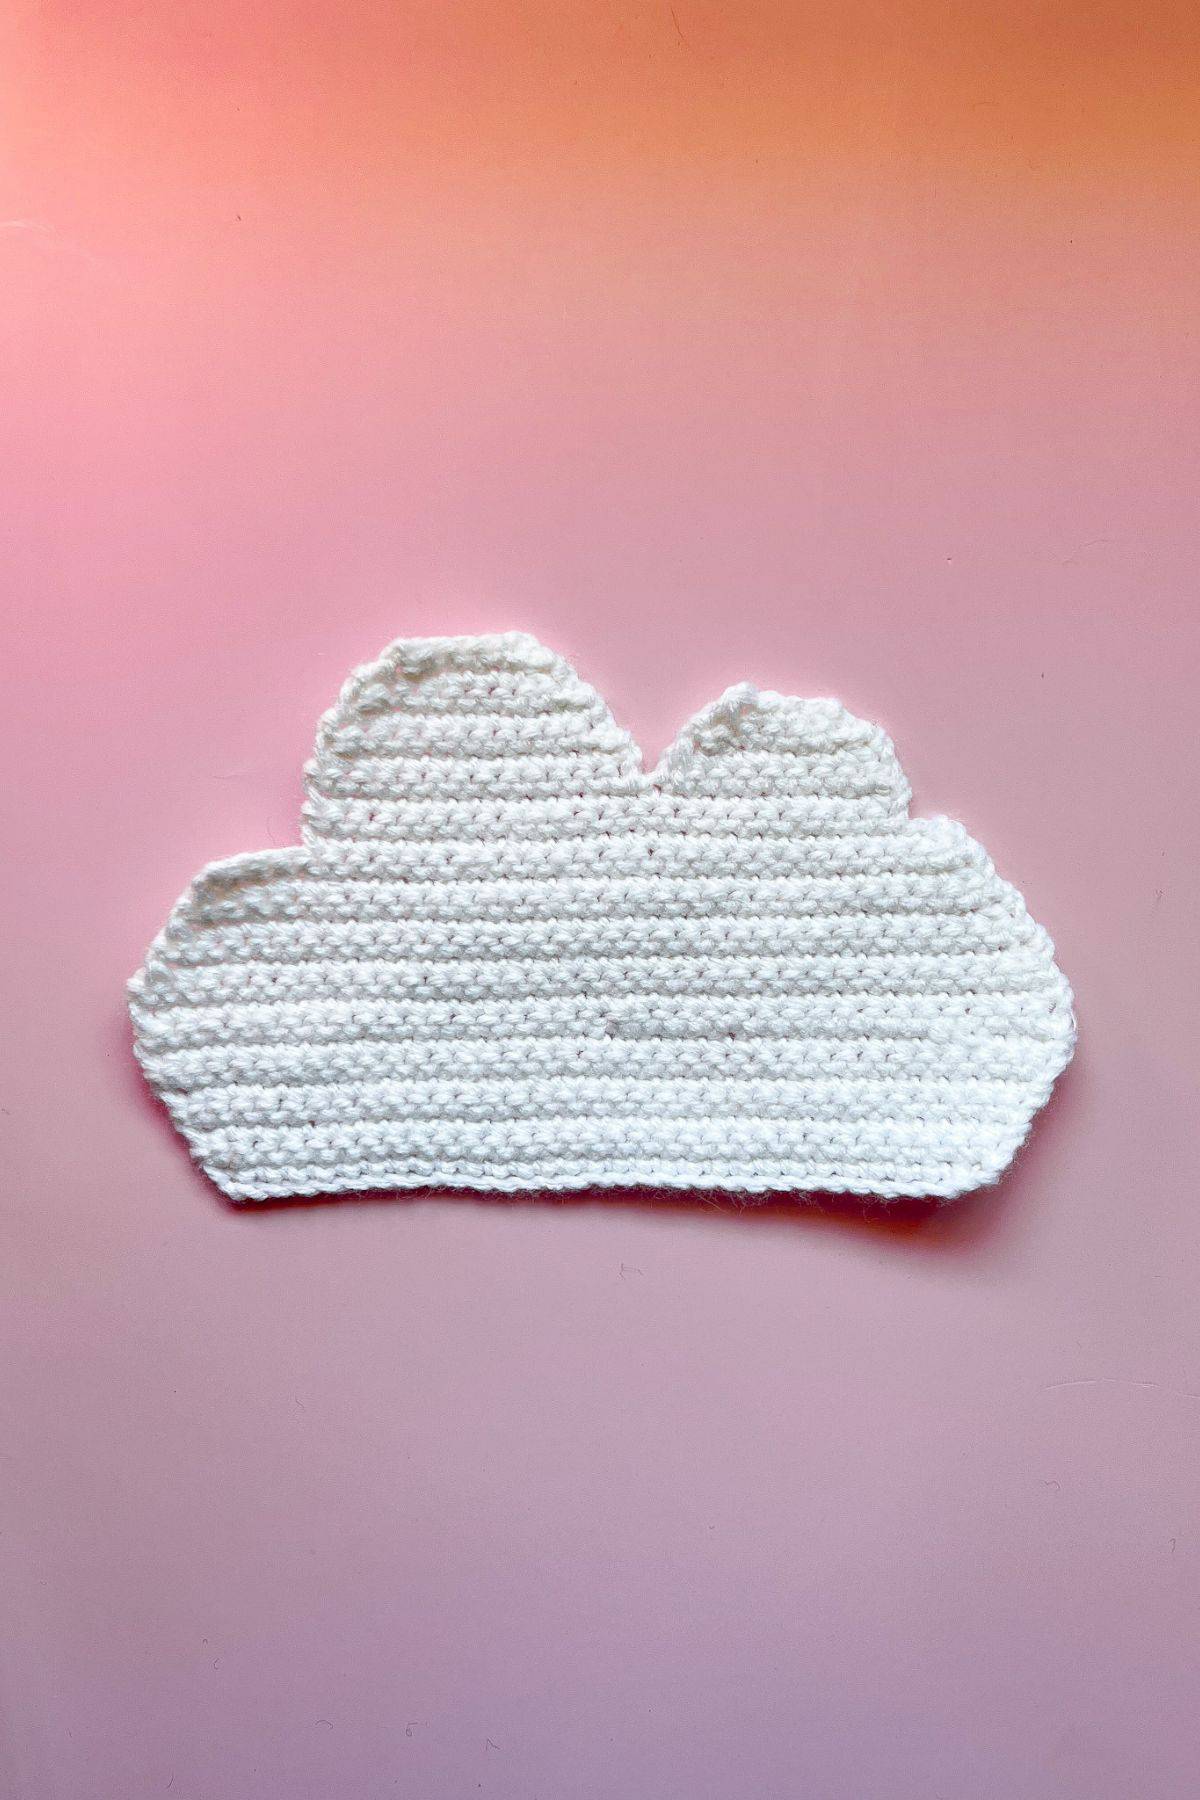
Row 21a: Now rejoin the yarn right at the base of where you made the large lump of cloud. This should be in the middle of the top long section of the cloud. We are going to be making the smaller cloud lump.
Rejoin by inserting the hook into the stitch closest to the previously done cloud lump, yarn over and pull through the stitch, then go through the loops on the hook.
Make 9 more sc in the row (10) Ch x1 and turn
Row 22b: Dec, sc x6, dec (8) Ch x1 and turn
Row 23c: Dec, sc x4, dec (6) Ch x1 and turn
Row 24d: Dec, sc x2, dec (4) Fasten off and weave in the tail.
You will make 4 of these in total: 2 white and 2 gray.
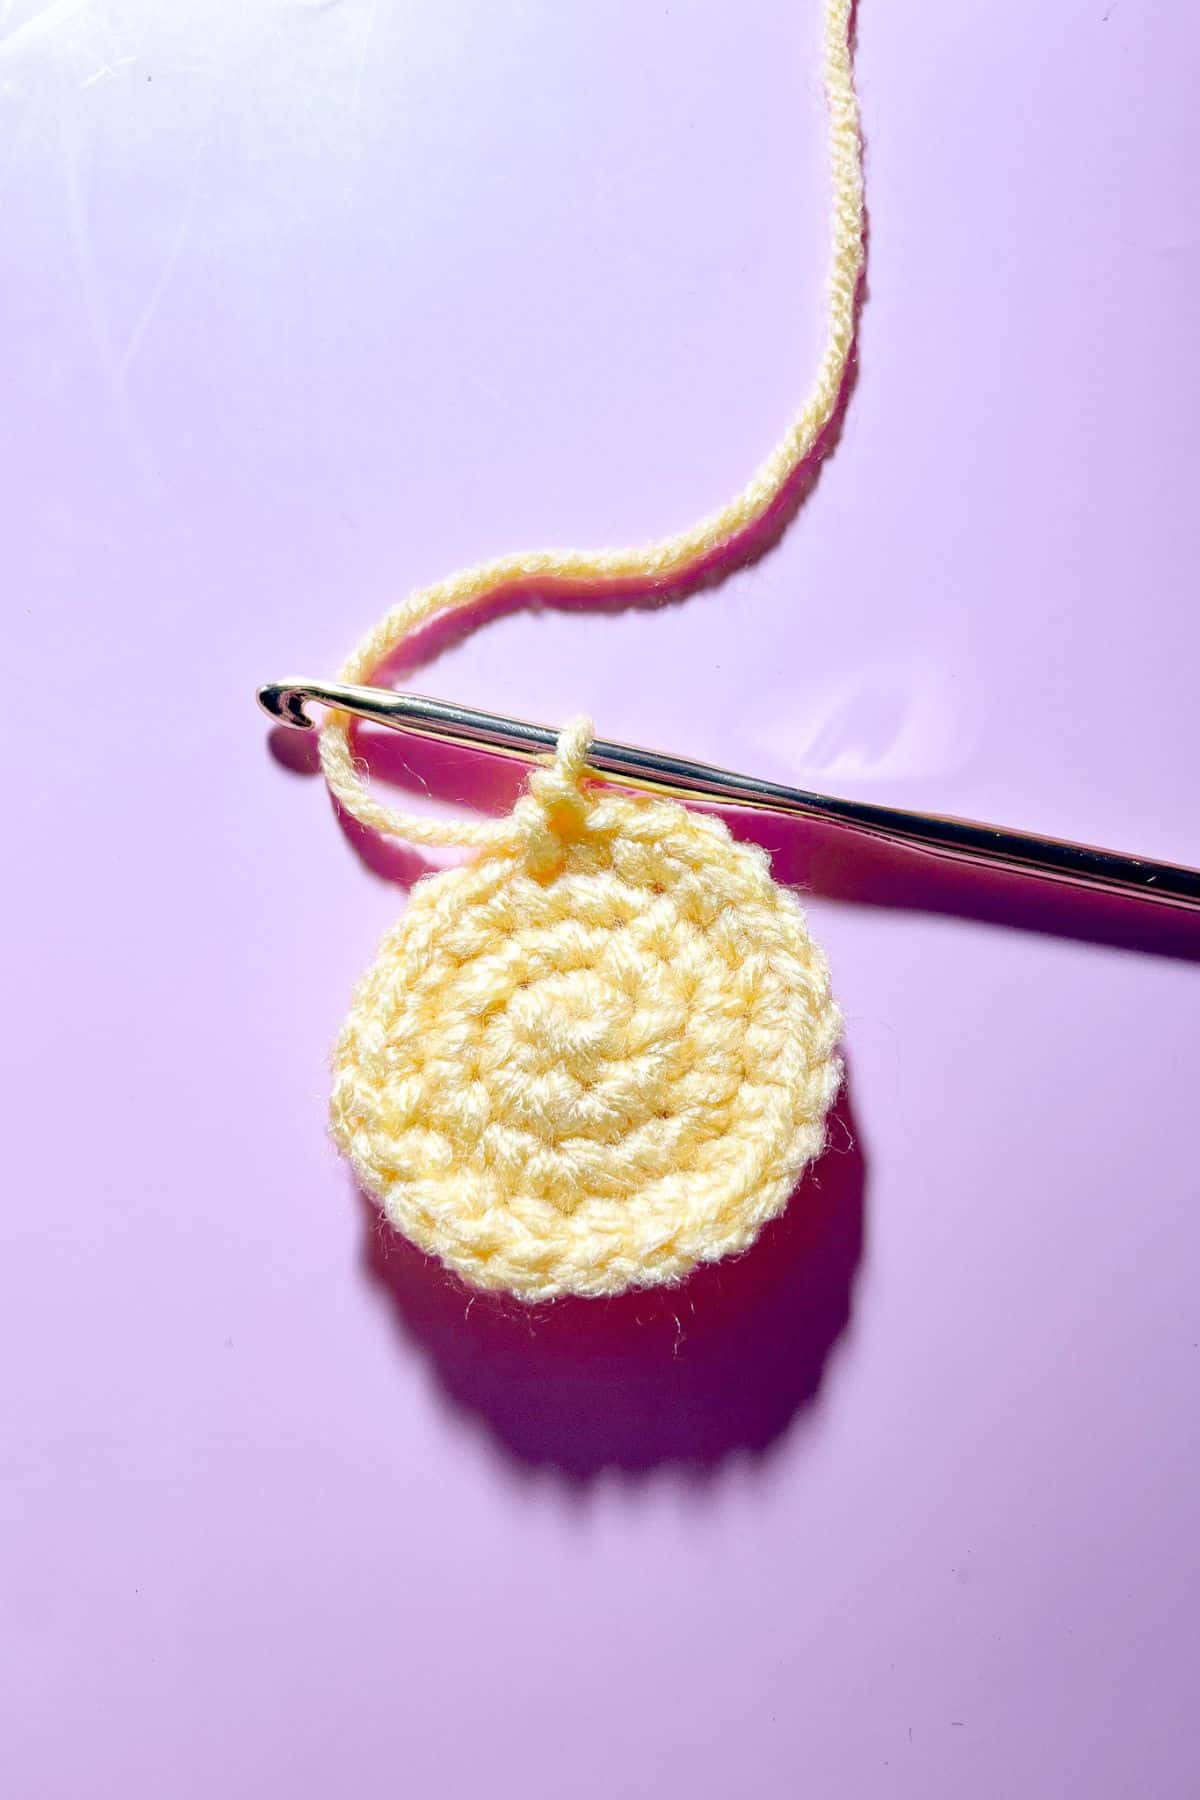
Crochet Sun Pattern:
For this crochet sun pattern we will be crocheting it in rounds.
Round 1: Using yellow yarn, make a MR and make sc x6 in the circle. If you find it difficult making a magic ring you can chain 2 and then crochet sc x6 in the second chain from the hook. (6)
Round 2: Inc in every sc. (12)
Round 3: Inc, sc, inc, sc and repeat until end of round (18)
Round 4: Inc, sc x2, inc, sc x2 and repeat until end of round (24)
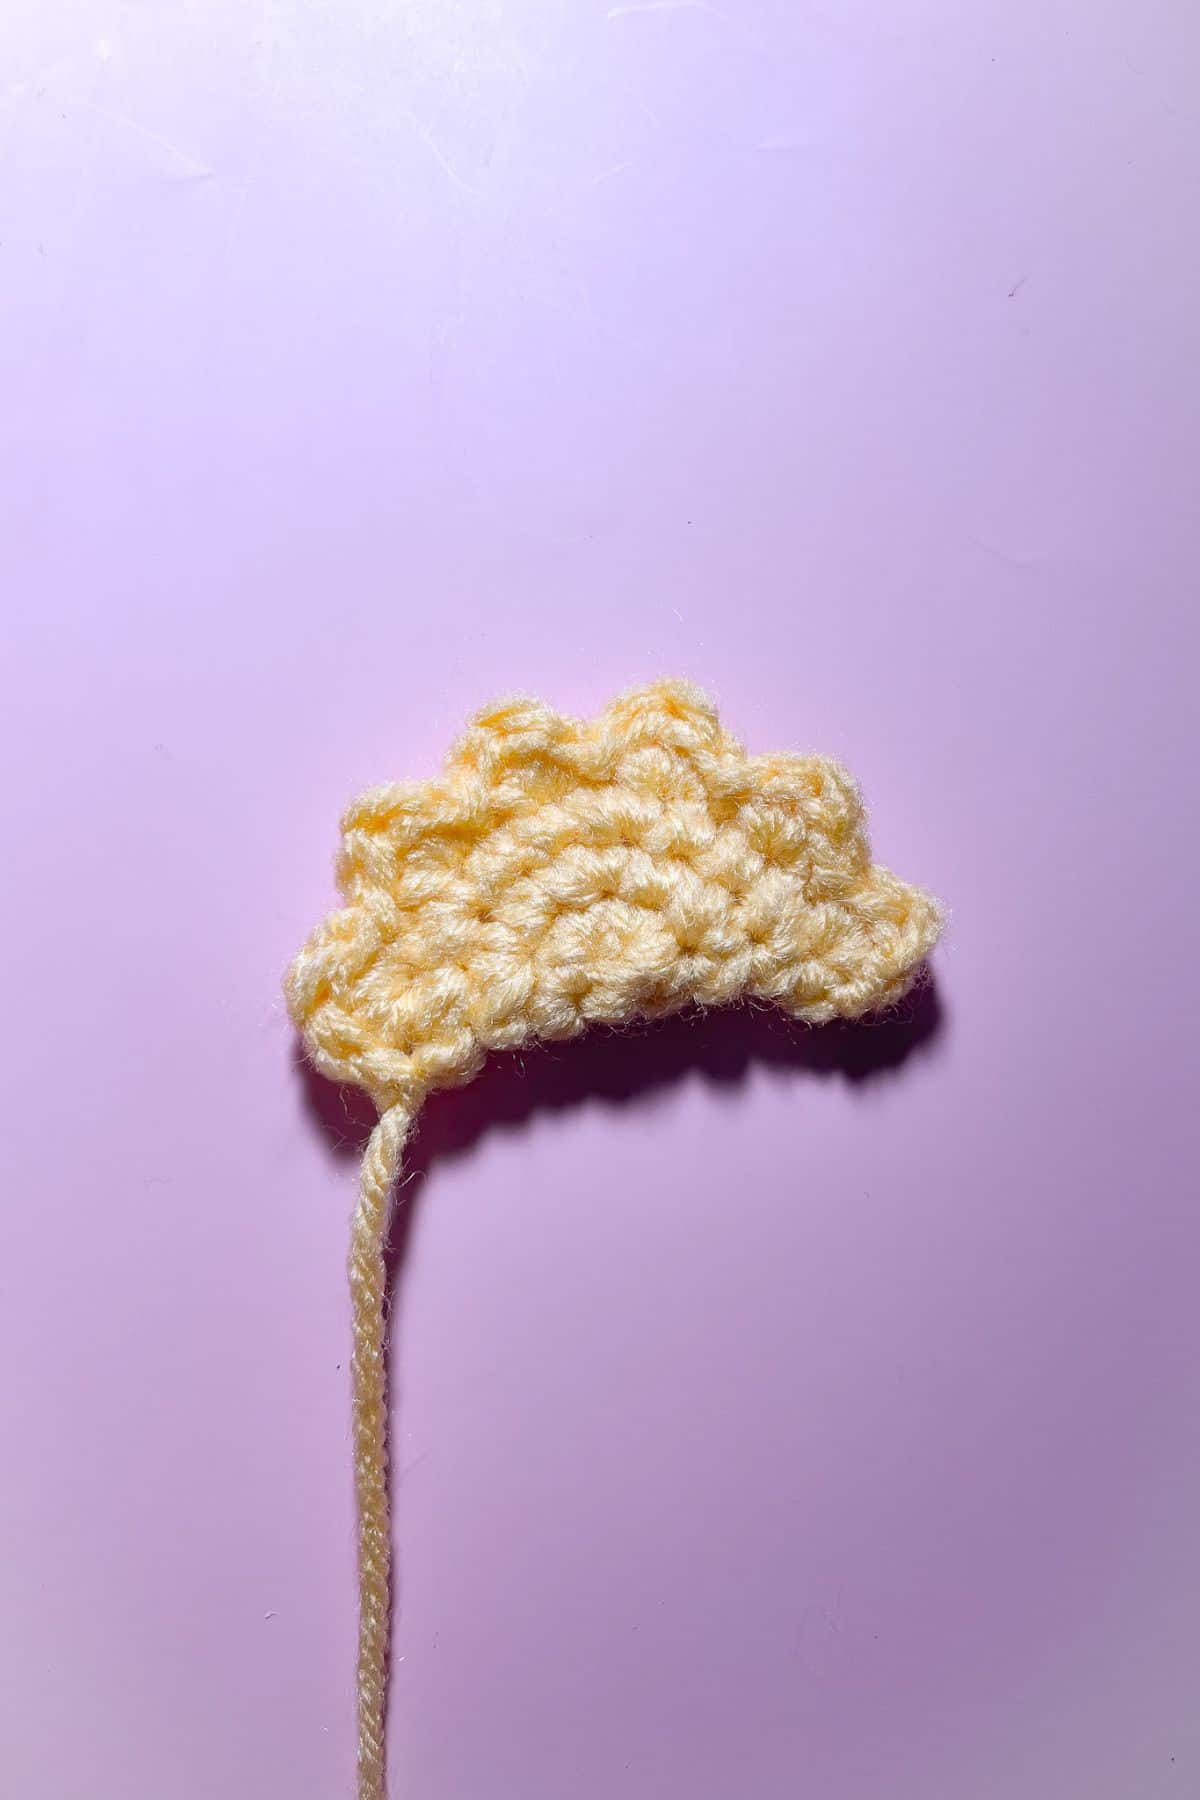
Round 5: You are going to fold the circle in half, ch 1 and turn so the half circle is oriented in a position that you can work along the curved edge. You will be crocheting through both sc on the half circle edge so it is crocheted shut. [Sc,dc,sc in 1 stitch, then sl st in the next stitch]. Repeat what is in the brackets until you have reached the end of the half circle. Then fasten off and leave a tail for sewing.
Now you have the crochet sun pattern finished!
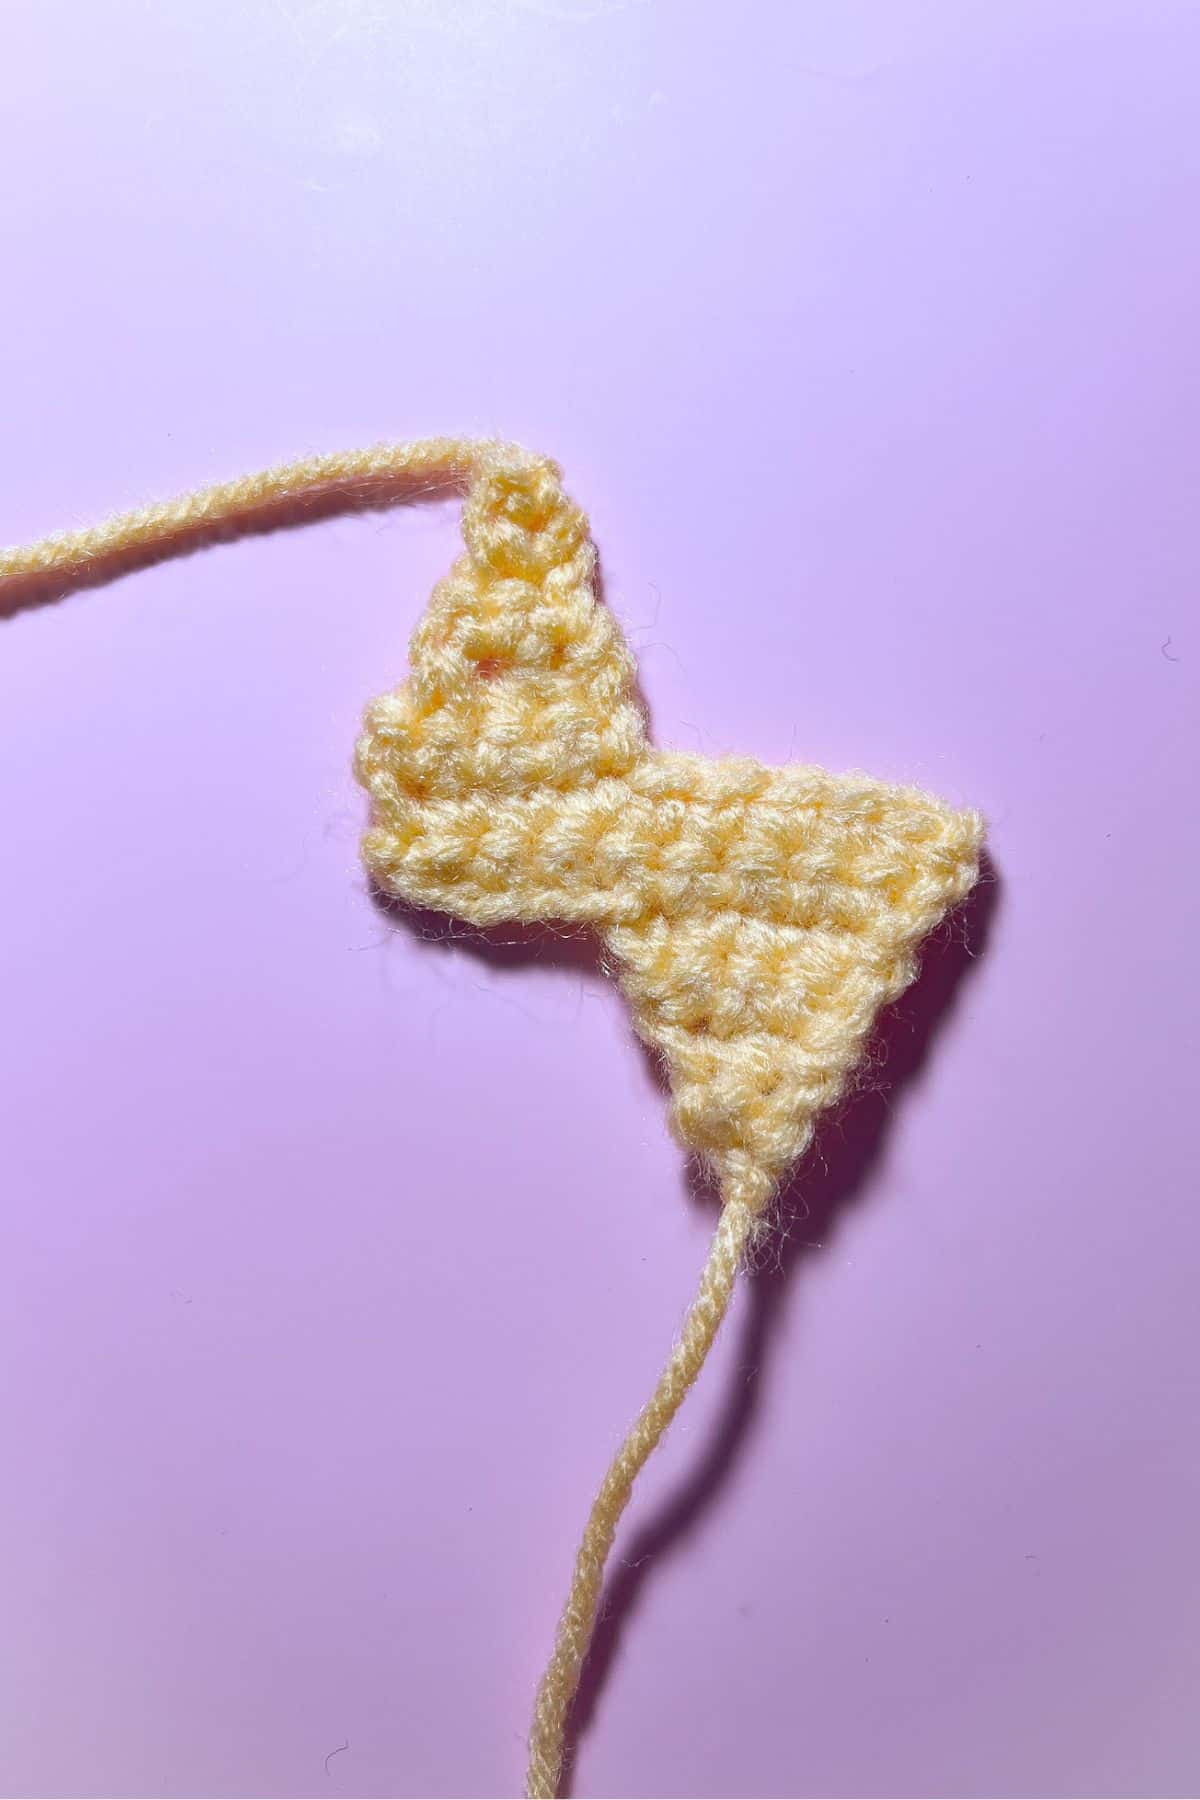
Crochet Lightning Bolt:
For this crochet lightning bolt pattern we will be crocheting it in rows.
Row 1: Using yellow yarn, Ch 2 and turn
Row 2: In the second chain from the hook make an increase. (2) Ch 1 and turn. Do not work in the turning chains. Always skip those.
Row 3: Sc x2 (2). Ch 1 and turn
Row 4: Inc x2 (4). Ch 1 and turn
Row 5: Sc x4 (4). Ch x5 and turn
Row 6: In the second ch from hook make a sc. Then Sc x7 for the rest of the row with an inc at the end (9). Ch 1 and turn
Row 7: Sc x9, ch 1 and turn (9)
Row 8: Sc x4, ch 1 and turn (4)
Row 9: Dec x2, ch 1 and turn (2)
Row 10: Sc x2, ch 1 and turn (2)
Row 11: Dec (1)
Row 12: Sc (1). Fasten off and leave a tail for sewing.
Now you have the crochet lightning bolt pattern finished!

Crochet cheeks:
Round 1: Using pink yarn, make a MR and make sc x6 in the circle. If you find it difficult making a magic ring you can chain 2 and then crochet sc x6 in the second chain from the hook. (6)
Now you have the crochet cheek pattern finished!

Finishing:
Place safety eyes on one white cloud and one gray cloud. Make sure the cloud formation is mirrored opposites because of the way we will construct this.
Sew on the cheeks to the face.
Embroider mouths to the cloud face, and then angry eyebrows on the gray cloud.
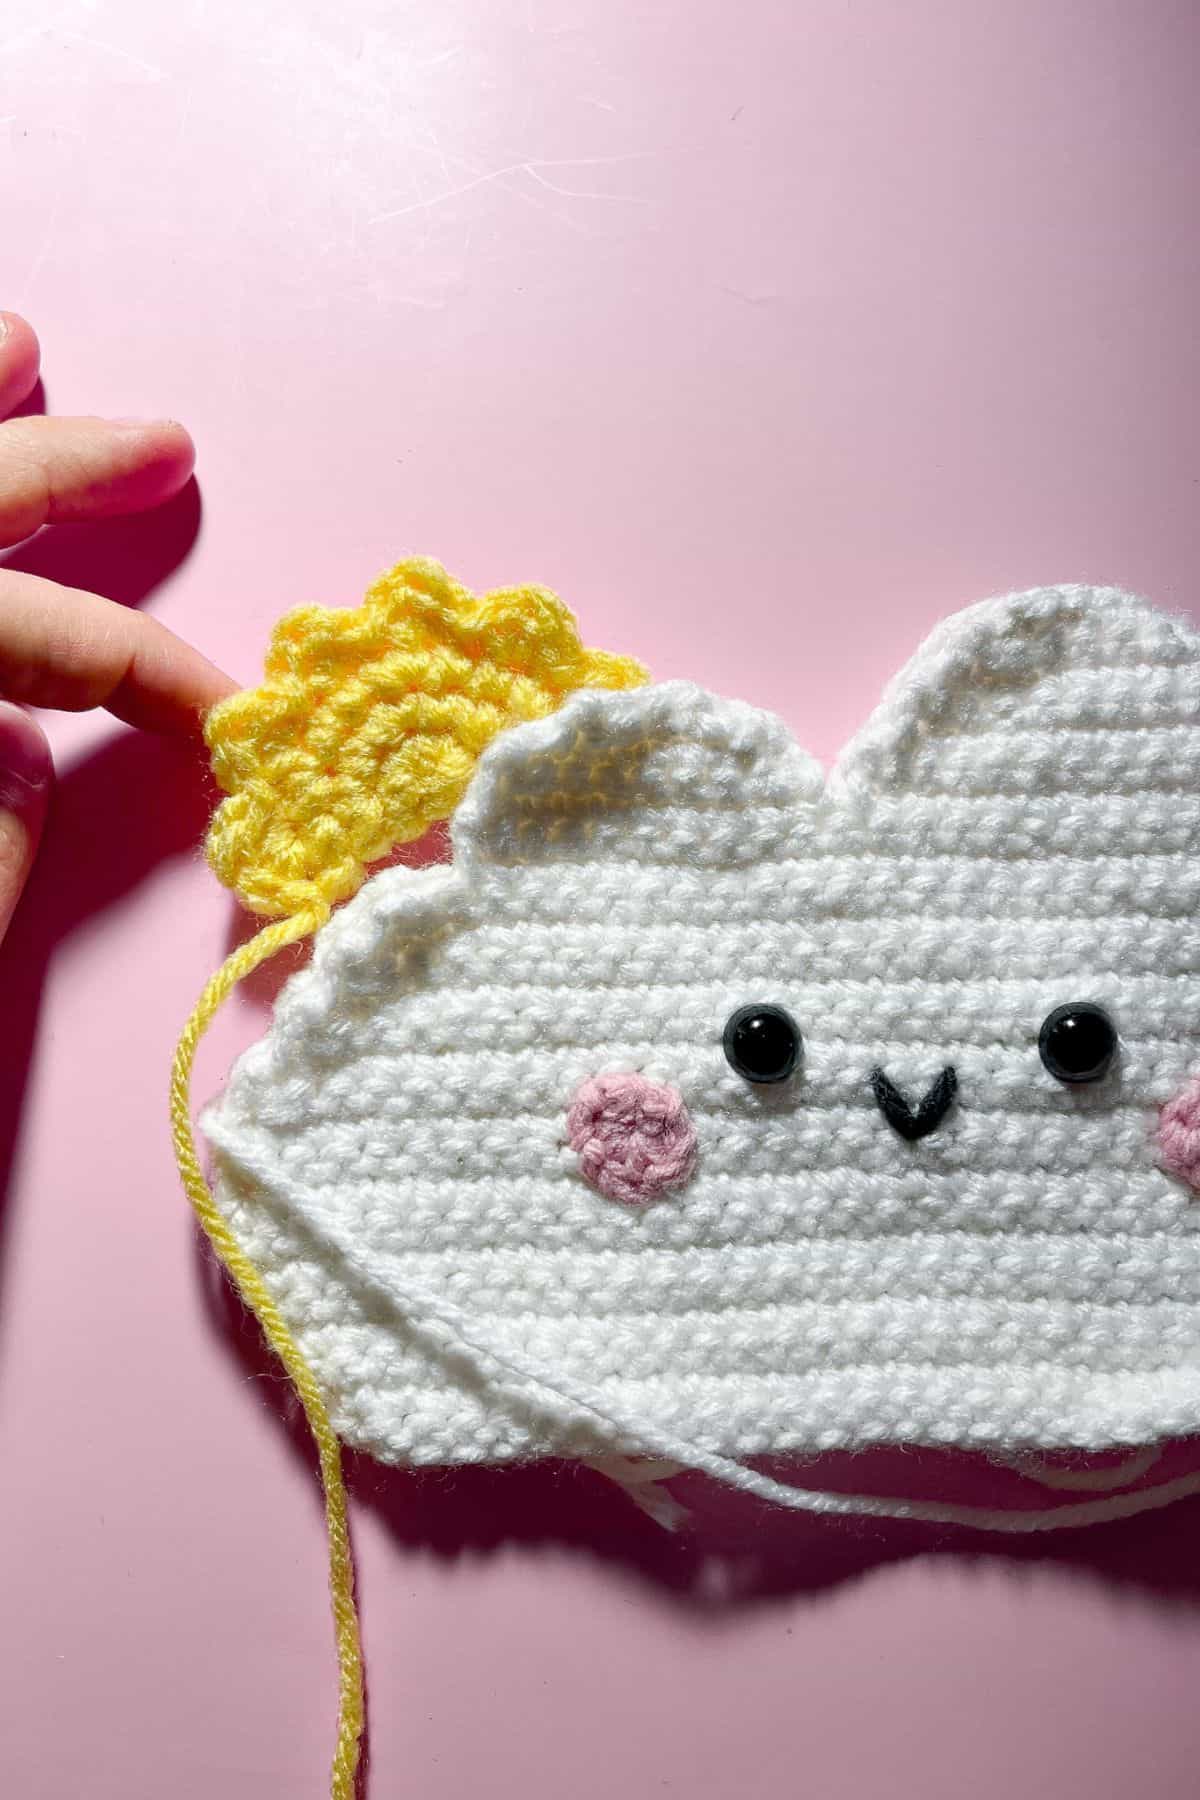
Sew the white cloud together by lining up the 2 pieces, make sure to sew in the crochet sun at the top as you sew the 2 crochet cloud pieces together. Make sure to crochet 1 inch or so at the bottom on each side of the cloud and leave an opening big enough for your hand to fit loosely. If you are using chunky yarn you may need to sew the bottom more, but again leave an opening at the bottom.
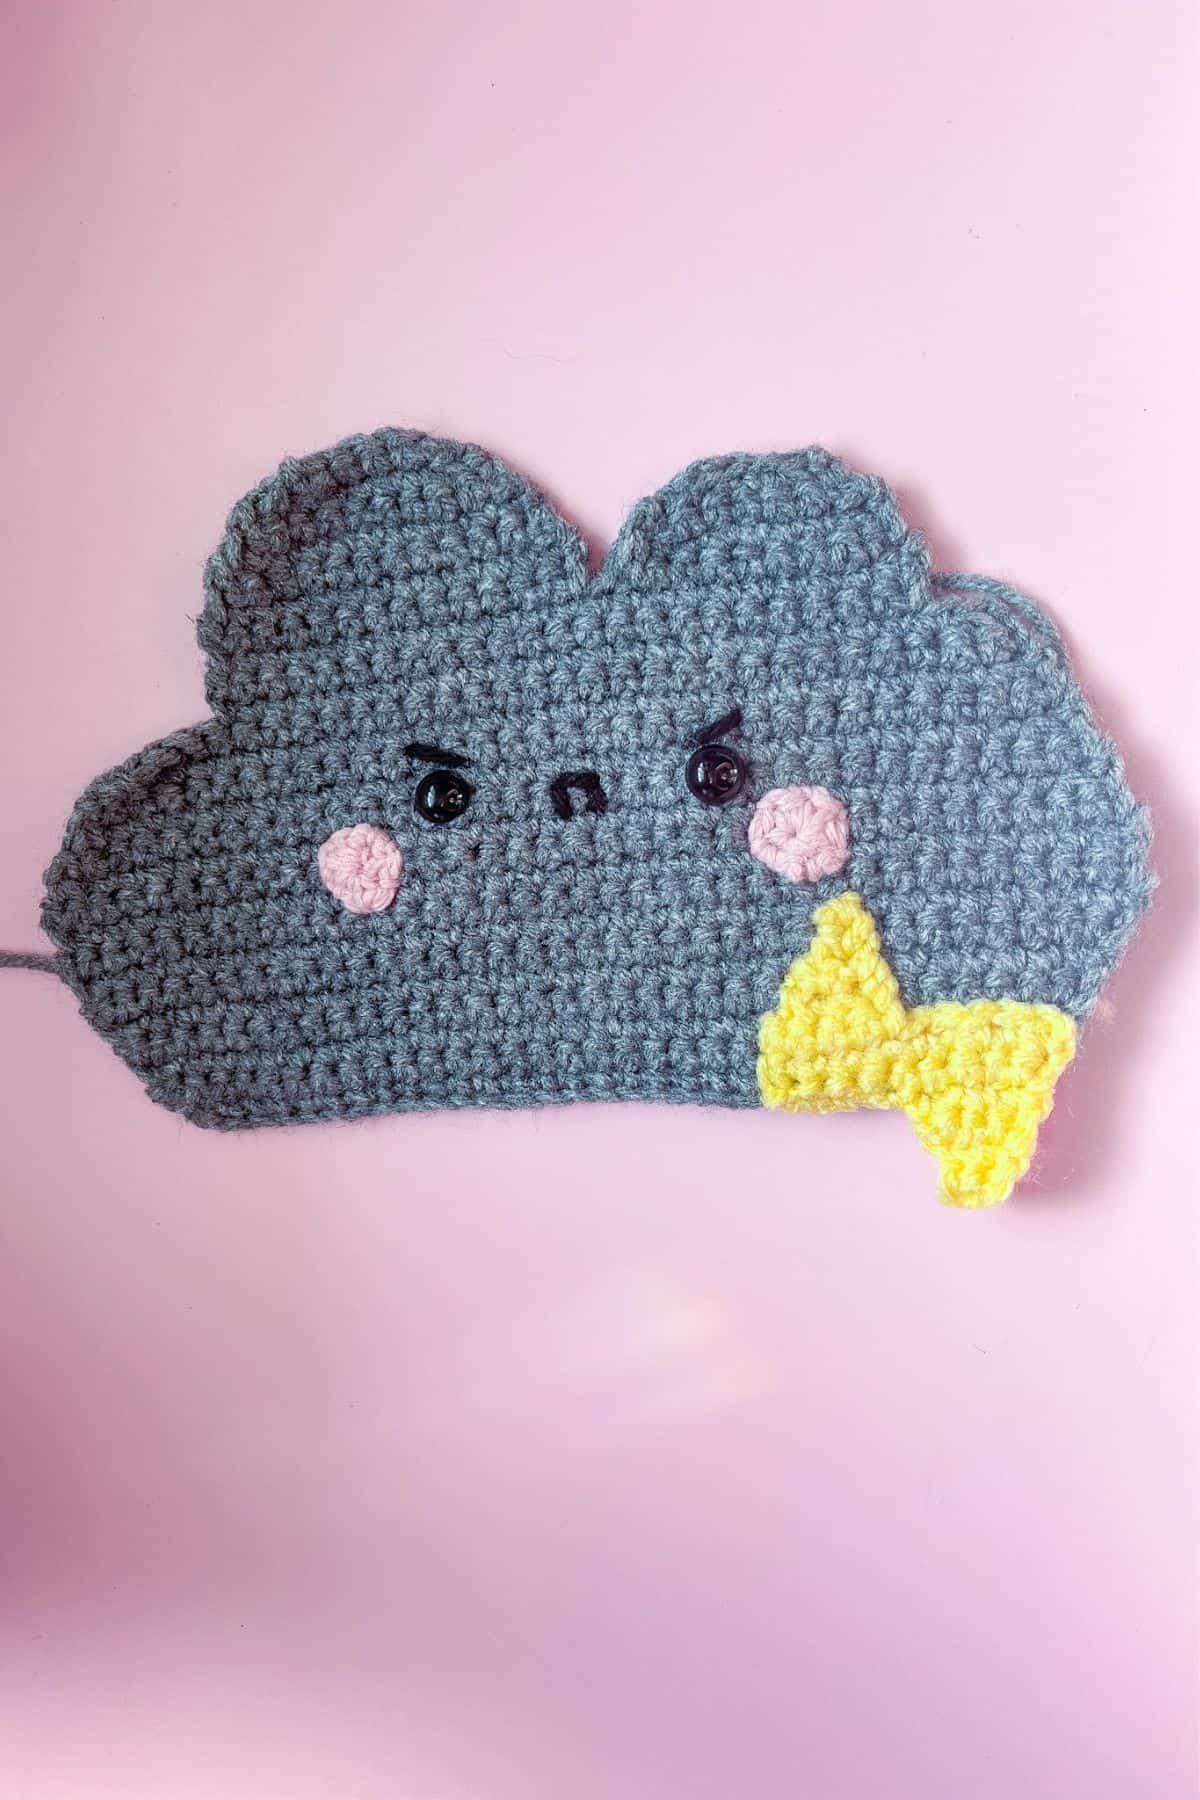
Sew the gray cloud together just like the white cloud, make sure the hole at the bottom is the same size as the finished cloud. Then sew on the lightning bolt.
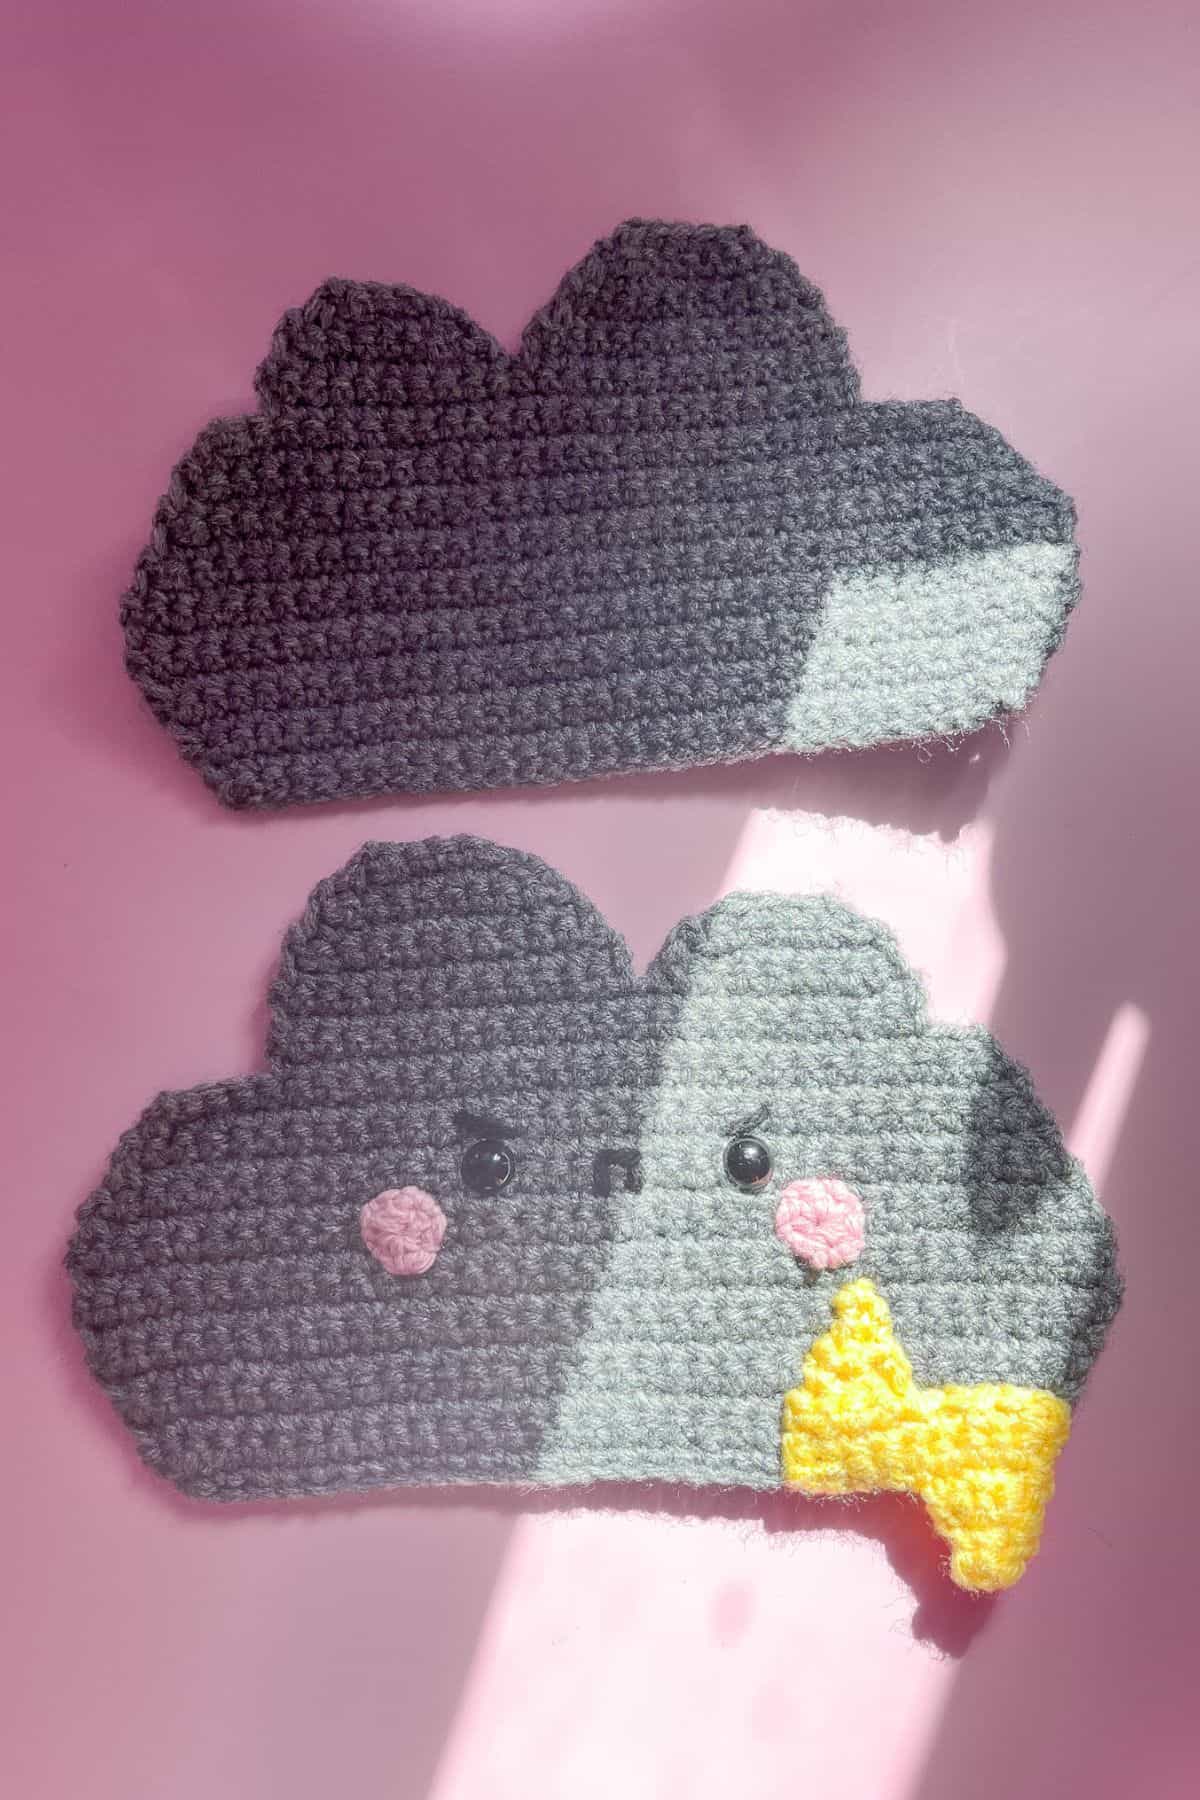
Now you have 2 clouds finished and need to join them together. The holes at the bottom should be the same size so line them up so the clouds should now be mirrored with holes touching. Take either white or gray yarn and sew the two holes together, carefully going into only one side of the hole. You do not want to go through both the front and back of the hole because then you will no longer have a cavity to push the cloud into the other cloud.
Once the 2 clouds are successfully joined, fasten off and weave in any loose ends.
Then try and stuff one of the clouds into the other, smoothing it out as you stuff it if need be and then try it in the reverse.
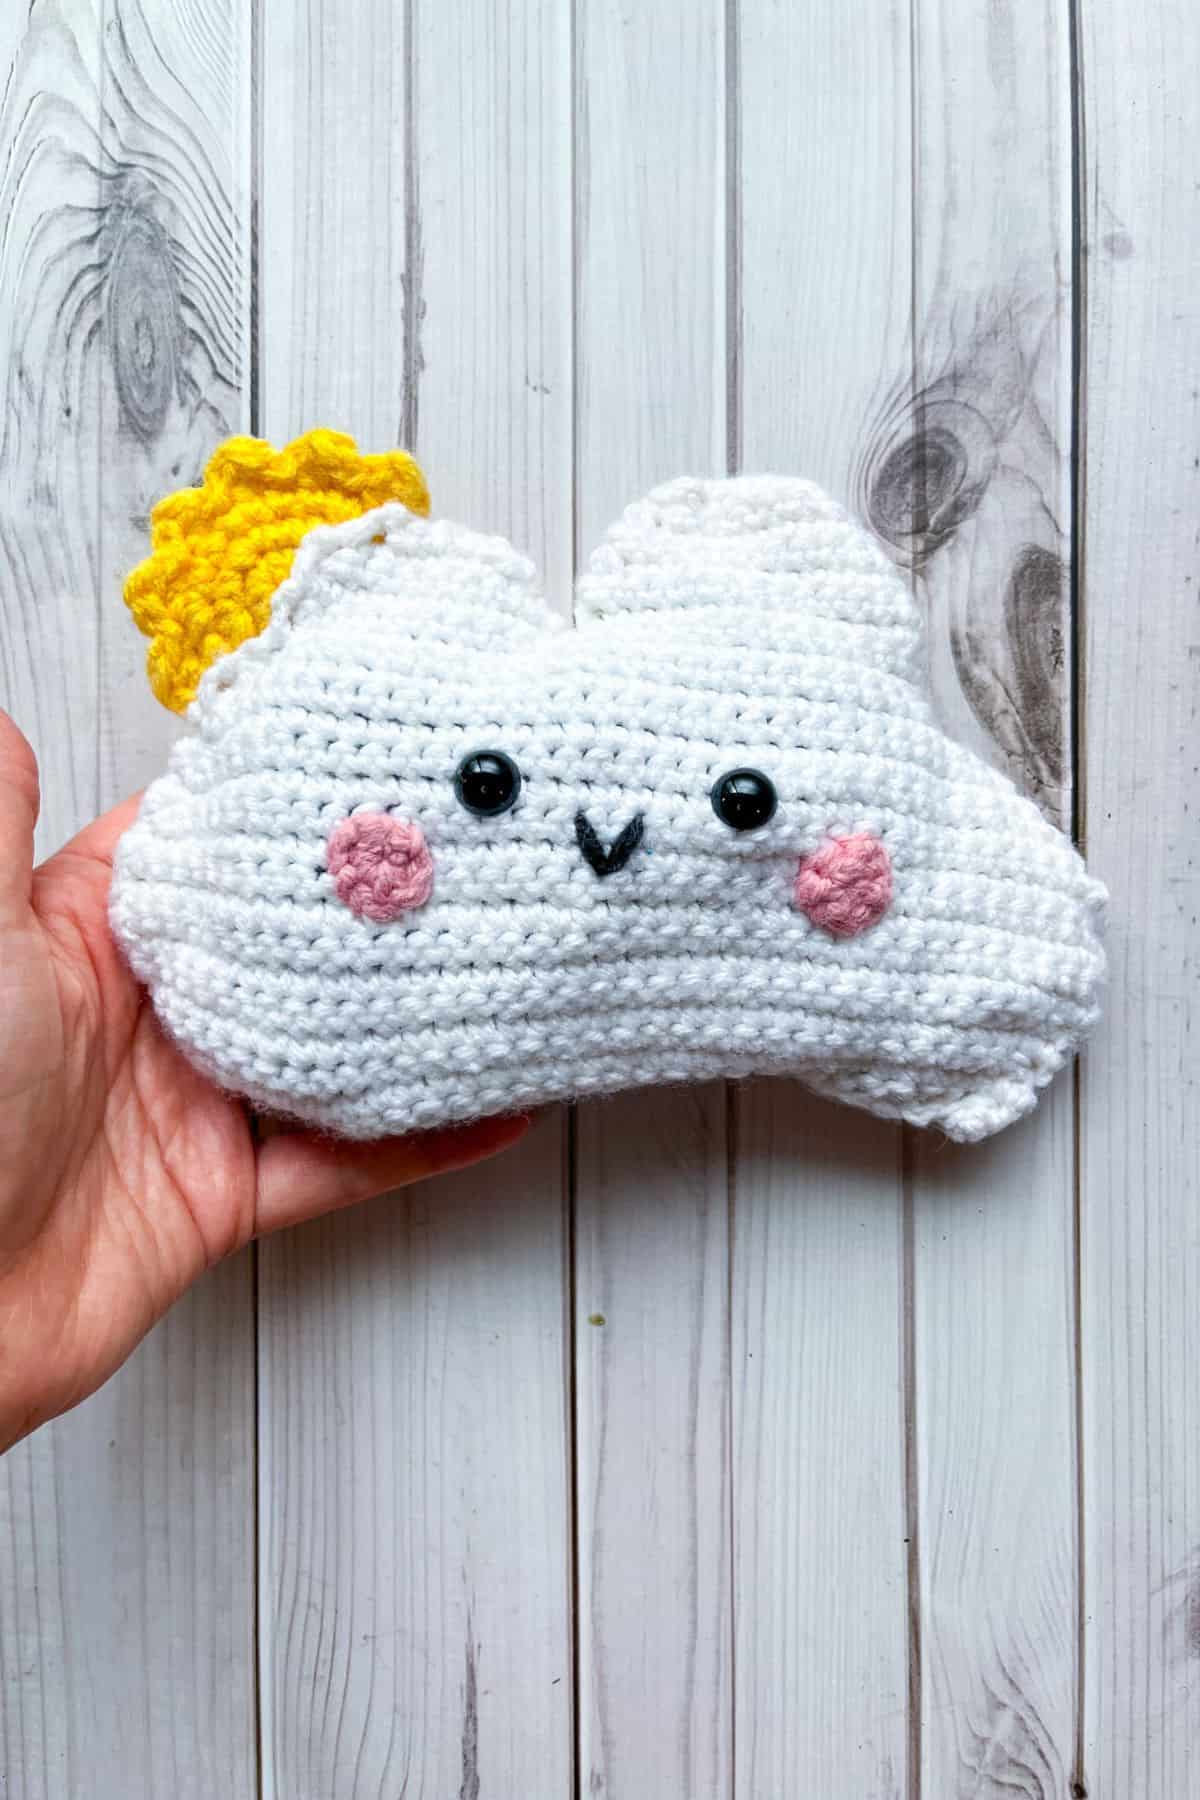
And now you should have a really cute reversible crochet cloud with a crochet sun and crochet lightning made from my reversible crochet cloud pattern!
If you are looking for another fun reversible crochet pattern check out my crochet volcano pattern!
🐌Expert Tips
- Face Design: Customize the expressions with different yarn colors for a unique look. You can even add accessories like bows or hats for extra fun!
🧵 Pattern FAQs
Sure! I don't have patterns for them, but you could try rain and rainbows!
You can embroider eyes with yarn instead, creating a personalized touch.
Hand wash gently in cold water and lay flat to dry to maintain its shape.
🧶More Great Crochet Patterns



If you tried this Crochet Cloud Pattern (Reversible) (or any other pattern on my website), please let me know how it went in the 📝 comments below. I'd love to hear from you!

Crochet Cloud Pattern (Reversible)
Materials
- 1 skein white yarn
- 1 skein dark grey yarn
- 1 small ball yellow yarn
- 1 small ball pink yarn
- 1 small ball black yarn
- 5mm crochet hook
- Tapestry needle
- Safety eyes
Abbreviations (US terms)
- mr = Magic ring
- sc = Single crochet
- ch = Chain
- inc = Increase
- dec = Decrease
- sl st = Slip Stitch
- dc = Double Crochet
Instructions
Crochet Cloud Pattern x4:
- For this crochet cloud pattern we will be working in rows.
- Row 1: Ch x31 and turn
- Row 2: In the second ch from hook make a sc. Continue making sc in the rest of the chs (30) Ch x1 and turn. (this chain is the turning chain DO NOT WORK THE TURNING CHAIN IN THIS ROW OR PRECEDING ROWS)
- Row 3: Inc, sc x28, inc (32) Ch x1 and turn
- Row 4: Sc x32 (32) Ch x1 and turn
- Row 5: Inc, sc x30, inc (34) Ch x1 and turn
- Row 6: Sc x34 (34) Ch x1 and turn.
- Row 7: Inc, sc x32, inc (36) Ch x1 and turn
- Row 8-11: Sc x36 (36) ch x1 and turn
- Row 12: Dec, 32, dec (34) Ch x1 and turn
- Row 13: Sc x34 (34) Ch x1 and turn
- Row 14: Dec, 30, dec (32) Ch x1 and turn
- Row 15: Sc x32 (32) Ch x1 and turn
- Row 16: Dec, 28, dec (30) Ch x1 and turn
- Row 17: Sc x30 (30) Ch x1 and turn
- Row 18: Dec, sc x24 (25) Ch x1 and turn
- Row 19-20: Sc x23 (23) Ch x1 and turn
- Row 21-22: Sc x13 (13) Ch x1 and turn
- Row 23: Dec, sc x9, dec (11) Ch x1 and turn
- Row 24: Sc x11 (11) Ch x1 and turn
- Row 25: Dec, sc x7, dec (9) Ch x1 and turn
- Row 26: Dec, sc x5, dec (7) Ch x1 and turn
- Row 27: Dec, sc x3, dec (5) Fasten off and weave in the end.
- Row 21a: Now rejoin the yarn right at the base of where you made the large lump of cloud. This should be in the middle of the top long section of the cloud. We are going to be making the smaller cloud lump.
- Rejoin by inserting the hook into the stitch closest to the previously done cloud lump, yarn over and pull through the stitch, then go through the loops on the hook.
- Make 9 more sc in the row (10) Ch x1 and turn
- Row 22b: Dec, sc x6, dec (8) Ch x1 and turn
- Row 23c: Dec, sc x4, dec (6) Ch x1 and turn
- Row 24d: Dec, sc x2, dec (4) Fasten off and weave in the tail.
- You will make 4 of these in total: 2 white and 2 gray.
Crochet Sun Pattern:
- For this crochet sun pattern we will be crocheting it in rounds.
- Round 1: Using yellow yarn, make a MR and make sc x6 in the circle. If you find it difficult making a magic ring you can chain 2 and then crochet sc x6 in the second chain from the hook. (6)
- Round 2: Inc in every sc. (12)
- Round 3: Inc, sc, inc, sc and repeat until end of round (18)
- Round 4: Inc, sc x2, inc, sc x2 and repeat until end of round (24)
- Round 5: You are going to fold the circle in half, ch 1 and turn so the half circle is oriented in a position that you can work along the curved edge. You will be crocheting through both sc on the half circle edge so it is crocheted shut. [Sc,dc,sc in 1 stitch, then sl st in the next stitch]. Repeat what is in the brackets until you have reached the end of the half circle. Then fasten off and leave a tail for sewing.
- Now you have the crochet sun pattern finished!
Crochet Lightning Bolt:
- For this crochet lightning bolt pattern we will be crocheting it in rows.
- Row 1: Using yellow yarn, Ch 2 and turn
- Row 2: In the second chain from the hook make an increase. (2) Ch 1 and turn. Do not work in the turning chains. Always skip those.
- Row 3: Sc x2 (2). Ch 1 and turn
- Row 4: Inc x2 (4). Ch 1 and turn
- Row 5: Sc x4 (4). Ch x5 and turn
- Row 6: In the second ch from hook make a sc. Then Sc x7 for the rest of the row with an inc at the end (9). Ch 1 and turn
- Row 7: Sc x9, ch 1 and turn (9)
- Row 8: Sc x4, ch 1 and turn (4)
- Row 9: Dec x2, ch 1 and turn (2)
- Row 10: Sc x2, ch 1 and turn (2)
- Row 11: Dec (1)
- Row 12: Sc (1). Fasten off and leave a tail for sewing.
- Now you have the crochet lightning bolt pattern finished!
Crochet cheeks:
- Round 1: Using pink yarn, make a MR and make sc x6 in the circle. If you find it difficult making a magic ring you can chain 2 and then crochet sc x6 in the second chain from the hook. (6)
- Now you have the crochet cheek pattern finished!
Finishing:
- Place safety eyes on one white cloud and one gray cloud. Make sure the cloud formation is mirrored opposites because of the way we will construct this.
- Sew on the cheeks to the face.
- Embroider mouths to the cloud face, and then angry eyebrows on the gray cloud.
- Sew the white cloud together by lining up the 2 pieces, make sure to sew in the crochet sun at the top as you sew the 2 crochet cloud pieces together. Make sure to crochet 1 inch or so at the bottom on each side of the cloud and leave an opening big enough for your hand to fit loosely. If you are using chunky yarn you may need to sew the bottom more, but again leave an opening at the bottom.
- Sew the gray cloud together just like the white cloud, make sure the hole at the bottom is the same size as the finished cloud. Then sew on the lightning bolt.
- Now you have 2 clouds finished and need to join them together. The holes at the bottom should be the same size so line them up so the clouds should now be mirrored with holes touching. Take either white or gray yarn and sew the two holes together, carefully going into only one side of the hole. You do not want to go through both the front and back of the hole because then you will no longer have a cavity to push the cloud into the other cloud.
- Once the 2 clouds are successfully joined, fasten off and weave in any loose ends.
- Then try and stuff one of the clouds into the other, smoothing it out as you stuff it if need be and then try it in the reverse.
- And now you should have a really cute reversible crochet cloud with a crochet sun and crochet lightning made from my reversible crochet cloud pattern!



Nelly says
Thank you for a very sweet pattern. I made a little pillow of it. Nelly
Kimberly Arenas says
Im happy you liked it!